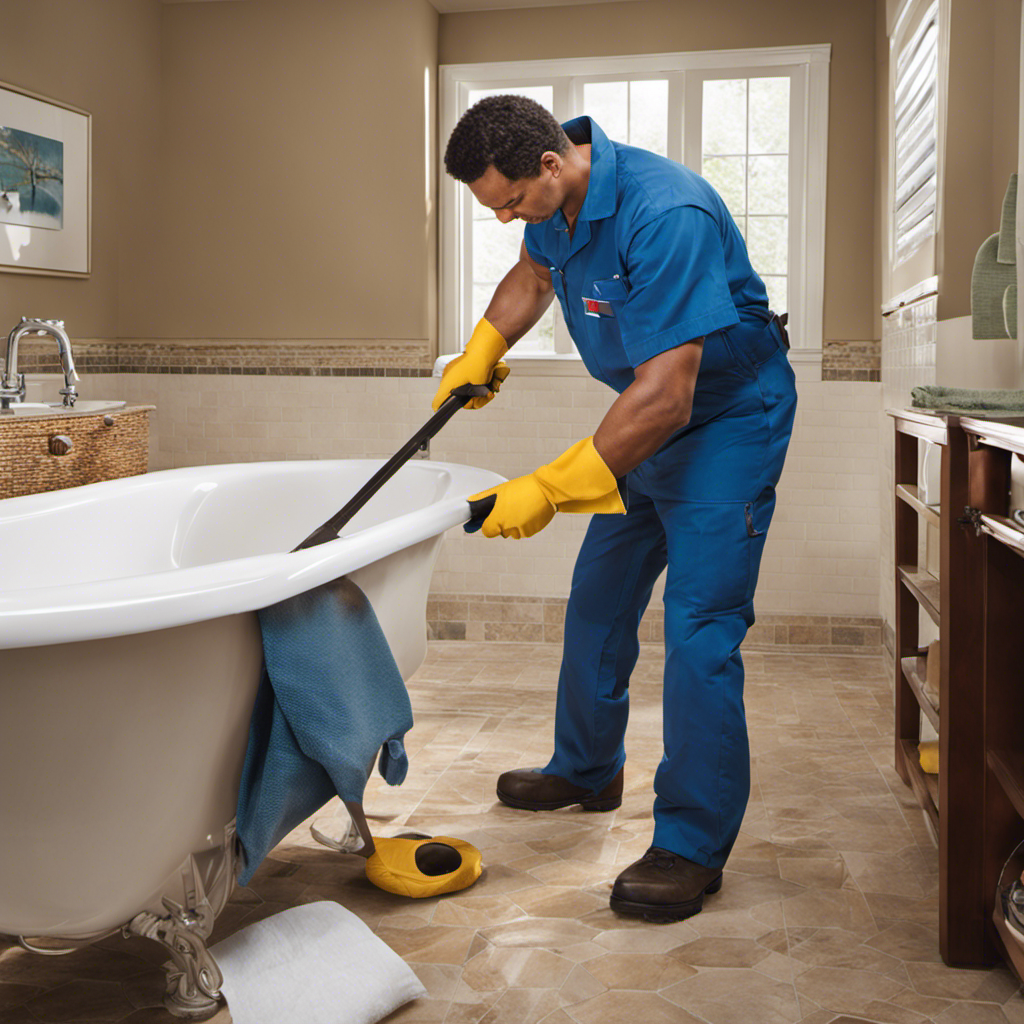
Well, folks, if you’ve ever found yourself knee-deep in frustration while trying to unclog your bathtub drain, then do I have a solution for you!
In this article, I’m going to show you exactly how to remove that stubborn drain stopper like a pro. With just a few simple tools and a little bit of know-how, you’ll be able to tackle this task with ease.
So, let’s roll up our sleeves and get ready to bid farewell to those pesky clogs!
Key Takeaways
- The tools required for drain stopper removal include a screwdriver, pliers, a drain key, and needle-nose grips.
- Steps for removing the drain stopper include locating the lever or knob, turning it counterclockwise, and using pliers or grips if necessary.
- Steps for removing the overflow plate involve unscrewing it, disconnecting the linkage, and pulling it out from the bathtub wall.
- Tips and challenges during removal include applying lubricant, using pliers for a better grip, cleaning the drain thoroughly, and seeking professional help if needed.
Tools Required
To remove the drain stopper from your bathtub, you’ll need a few tools. Proper maintenance of bathtub drains is essential to ensure smooth water flow and prevent clogs.
There are different types of drain stoppers available in the market, such as pop-up stoppers, trip lever stoppers, and lift and turn stoppers. Depending on the type of stopper you have, you may need specific tools like a screwdriver, pliers, or a drain key to remove it. It’s important to choose the right tool to avoid damaging the stopper or the drain itself.
Once you have the necessary tools, you can proceed to locate the drain stopper and begin the removal process.
Locate the Drain Stopper
First, you’ll want to find the small lever or knob that controls the plug in your tub. This is usually located near the drain or on the overflow plate. If you’re having trouble finding it, try looking for a small hole or slot where a screwdriver or key can be inserted.
Once you’ve located the lever or knob, simply turn it counterclockwise to loosen and remove the drain stopper. If the lever or knob is stuck or not working properly, there are alternative methods of removing the drain stopper.
One method is to use pliers or a pair of needle-nose grips to grip the stopper and turn it counterclockwise. Another method is to use a drain removal tool, which can be purchased at most hardware stores.
Remove the Overflow Plate
Removing the overflow plate is an essential step in fixing a bathtub drain stopper. The process involves carefully unscrewing the plate using a screwdriver, disconnecting the linkage from the trip lever, and pulling out the plate from the bathtub wall.
To successfully remove the plate, you’ll need a flathead screwdriver and possibly a pair of pliers for extra grip. However, potential challenges during the removal process can include rusted or stripped screws, which may require additional tools or techniques to overcome.
Plate Removal Process
The next step in the process is figuring out how to unscrew the plate. Plate maintenance is crucial for proper functioning of the drain stopper in a bathtub. If you are experiencing any issues with your stopper, troubleshooting them at the plate level is a good place to start. To remove the plate, you will need a screwdriver that fits the screws on the plate. First, locate the screws on the plate. Then, using the screwdriver, turn the screws counterclockwise to loosen them. Once the screws are loose, gently pull the plate away from the wall. Be careful not to damage the surrounding area. Follow the instructions below to unscrew the plate:
| Step | Instruction |
|---|---|
| 1 | Locate the screws on the plate. |
| 2 | Using a screwdriver, turn the screws counterclockwise to loosen them. |
| 3 | Gently pull the plate away from the wall. |
| 4 | Store the screws in a safe place. |
| 5 | Proceed with further maintenance or troubleshooting as needed. |
Remember to handle the plate with care to avoid any potential damage. Once you have successfully removed the plate, you can move on to the next step in the process.
Tools Needed for Removal
To unscrew the plate, you’ll need a screwdriver that fits the screws on it. In addition to the screwdriver, you will also need a pair of pliers to grip and turn the plate if it is stuck. It is important to have these tools ready before starting the removal process to ensure a smooth and efficient experience.
Here is a step-by-step guide on the tools needed for removing the drain stopper bathtub plate:
-
Screwdriver: Make sure you have a screwdriver that matches the type of screws on the plate. This will ensure a secure grip and prevent any damage to the screws.
-
Pliers: Keep a pair of pliers handy in case the plate is difficult to turn with just the screwdriver. The pliers will provide additional leverage and help loosen the plate.
By having these tools ready, you can proceed confidently with the removal process.
Now, let’s explore the potential challenges during removal and how to overcome them.
Potential Challenges During Removal
When encountering potential challenges during removal, you may want to consider using lubricant to loosen any stuck parts. Difficulties can arise when removing a drain stopper from a bathtub, but with the right troubleshooting techniques, you can overcome them. Here are some tips to help you navigate through the process:
-
Apply lubricant: Using a lubricant like WD-40 can help loosen any rust or debris that may be causing the stopper to stick.
-
Use pliers: If the stopper is still difficult to remove, try using a pair of pliers to get a better grip and apply more force.
-
Clean the drain: Sometimes, the stopper may be stuck due to a buildup of hair or other debris in the drain. Cleaning it thoroughly can help eliminate this problem.
-
Check the linkage: The linkage connecting the stopper to the overflow plate can sometimes get twisted or bent, causing difficulties in removal. Inspect it and make any necessary adjustments.
-
Seek professional help: If all else fails and you’re still facing difficulties, it may be time to call a professional plumber who can handle the situation with expertise.
Remove the Drain Stopper Lever
Start by unscrewing the lever to remove the drain stopper from the bathtub. The lever is the mechanism that controls the stopper, allowing you to open and close the drain.
To remove it, follow these steps:
- Locate the lever on the overflow plate, which is usually located on the side of the bathtub.
- Use a screwdriver to unscrew the lever counterclockwise until it is loose.
- Once the lever is loose, gently pull it out of the overflow plate.
- You may need to wiggle it back and forth to loosen it completely.
- Once the lever is disconnected, the drain stopper should be free to remove from the bathtub.
Unscrew the Drain Stopper Assembly
First, you’ll want to unscrew the assembly to detach it from the drain mechanism. This step is crucial in drain stopper replacement and troubleshooting drain stopper issues. Here’s a step-by-step guide to help you with this process:
- Locate the drain stopper assembly underneath the bathtub.
- Use a screwdriver or pliers to turn the assembly counterclockwise.
- Apply gentle pressure while turning until the assembly becomes loose.
- Once loose, carefully lift the assembly out of the drain.
- Inspect the assembly for any signs of damage or wear.
By following these steps, you’ll be able to remove the drain stopper assembly effectively.
Now, let’s move on to the next section, where we will discuss how to clean the drain stopper and drain to ensure optimal performance.
Clean the Drain Stopper and Drain
To effectively clean the drain stopper and ensure optimal performance, you’ll need a mixture of vinegar and baking soda. These household cleaning products work together to break down any buildup and eliminate unpleasant odors.
Here’s a step-by-step guide to cleaning your drain stopper and keeping your drains flowing smoothly:
-
Remove the drain stopper by unscrewing it or lifting it out, depending on the type of stopper you have.
-
Mix equal parts vinegar and baking soda in a small bowl or cup.
-
Pour the mixture down the drain, allowing it to fizz and bubble.
-
Use a brush or cloth to scrub the drain stopper, removing any debris or residue.
-
Rinse the drain stopper with warm water to remove any remaining cleaning solution.
-
Replace the drain stopper and run water to ensure proper drainage.
Regular drain maintenance is essential to prevent clogs and keep your plumbing system in good condition. By using simple cleaning products like vinegar and baking soda, you can maintain a clean and healthy drain system.
Reassemble the Drain Stopper
Once the drain stopper is clean and free of debris, you can easily reassemble it by following these simple steps.
- Start by examining the drain stopper and identifying its different parts.
- Make sure to align the stopper with the drain opening correctly.
- Insert the stopper into the drain and secure it in place by tightening the retaining nut.
- Test the stopper by filling the bathtub with water and checking if it seals properly.
- If the stopper is not working correctly, troubleshoot by checking for any loose connections or damaged parts.
When reassembling the drain stopper, it is important to avoid some common mistakes. These include not aligning the stopper properly, failing to tighten the retaining nut securely, or overlooking any damaged parts.
Conclusion
In conclusion, removing a bathtub drain stopper may seem like a daunting task, but it can be done smoothly with the right tools and a little know-how.
By following the steps outlined in this article, you’ll be able to locate and remove the drain stopper with ease. Remember to clean and reassemble the stopper to ensure a smooth draining experience in the future.
Just like a puzzle coming together, this process will reveal a clear path for your bathtub’s water to flow freely once again.


