Are you tired of the constant drip, drip, drip coming from your bathtub faucet? Well, fret no more! In this step-by-step guide, we will show you how to repair that annoying dripping faucet.
By following our simple instructions and gathering the necessary tools, you’ll be able to disassemble the faucet handle, repair or replace faulty components, and reassemble the faucet with ease.
Say goodbye to wasted water and hello to a perfectly functioning bathtub faucet!
Key Takeaways
- Examine the washers and O-rings for wear or damage
- Gather necessary tools and supplies
- Disassemble the faucet handle carefully
- Repair or replace the faulty components

Empava Whirlpool Tub,48 in Freestanding Air Jetted Bathtub, Japanese Soaking Tub with Pre-Molded Seat, 36 Air Jets for Spa-Like Relaxation, Glossy White Luxury Acrylic Design
Luxurious Air Jet Massage System: Equipped with 36 precision air pinhole jets powered by a ½ HP air...
As an affiliate, we earn on qualifying purchases.
Identifying the Cause of the Dripping Faucet
To figure out why your bathtub faucet is dripping, you should start by examining the washers and O-rings for any signs of wear or damage. These small components are commonly the cause of faucet leaks.
Begin by turning off the water supply to the faucet. Then, remove the handle and the decorative cap to access the cartridge or stem assembly. Inspect the washers and O-rings for any cracks, tears, or deterioration. If you find any damage, they will need to be replaced.
Another common cause of dripping faucets is a faulty valve seat. To troubleshoot this issue, use a valve seat wrench to remove the valve seat and inspect it for any pitting or corrosion. If necessary, replace the valve seat to stop the dripping.

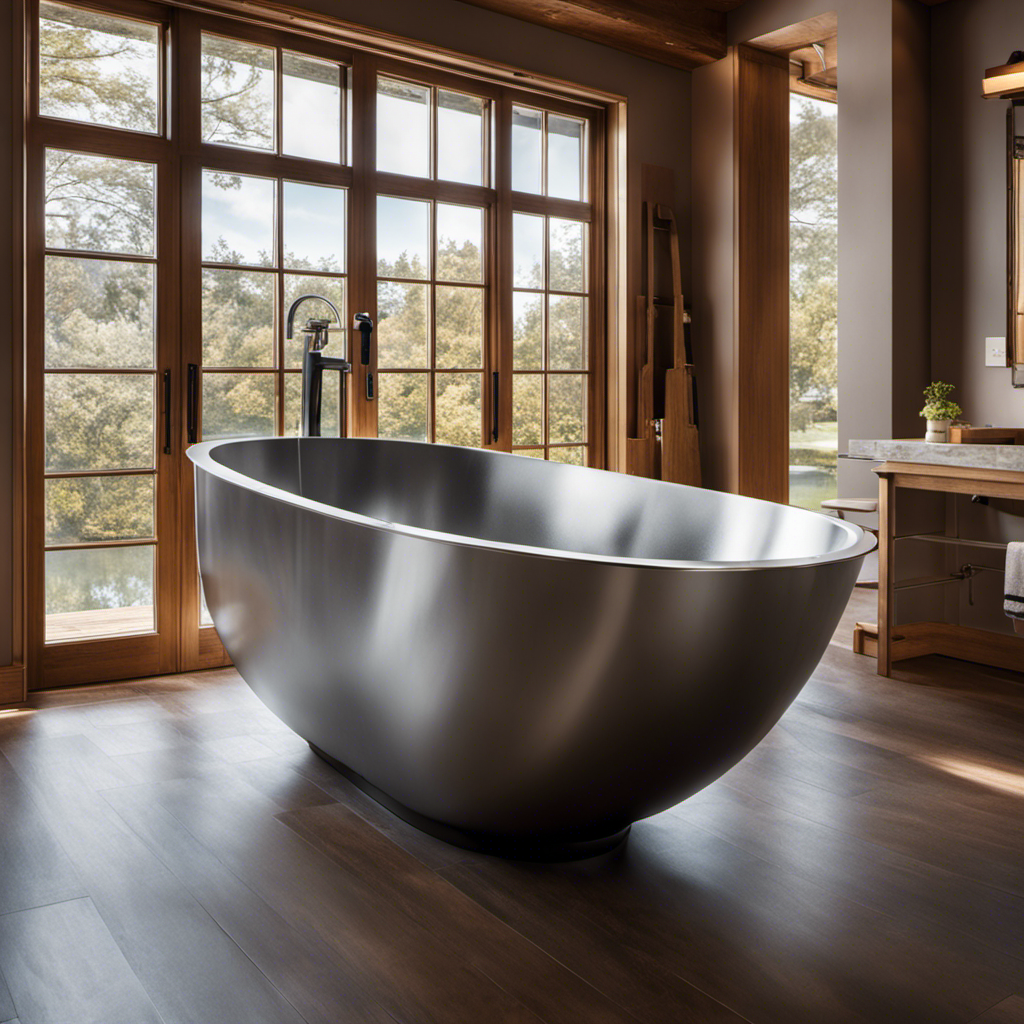
WOODBRIDGE 72" x 35-3/8" Whirlpool Water Jetted and Air Bubble Freestanding Heated Soaking Combination Bathtub wirh LED control panel and Faucet, BJ400+F0041CH
✅[DIMENSIONS AND SPECIFICATIONS]: Exterior Dimension: 72" L x 35-3/8" W x 32-5/8" H – Effective Tub Capacity: 65...
As an affiliate, we earn on qualifying purchases.
Gathering the Necessary Tools and Supplies
First, you’ll need a few tools and supplies to get started on fixing that annoying leak in your bathtub faucet. Before diving into the repair process, it’s important to understand the common causes of bathtub faucet leaks.
These can include worn-out O-rings, faulty cartridges, or damaged valve seats. To ensure a drip-free bathtub faucet, regular maintenance is essential.
Here are some maintenance tips to keep in mind:
-
Inspect the faucet regularly for any signs of leaks or drips.
-
Clean the faucet regularly to remove any debris or mineral buildup that can cause leaks.
-
Replace worn-out parts promptly to prevent further damage.
Now that you know the common causes and essential maintenance tips, let’s gather the necessary tools and supplies to fix that leaky bathtub faucet.
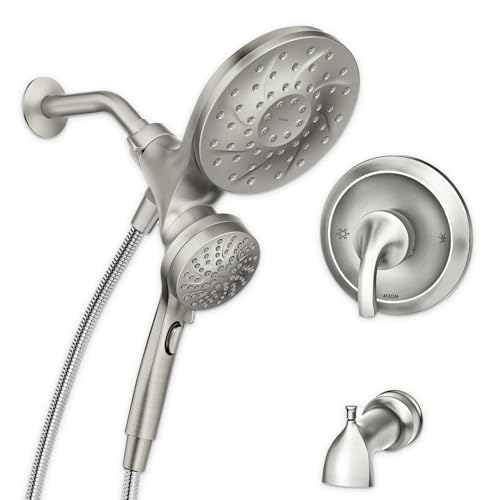
Moen Engage Multi-Function Handshower and Rainfall Shower Head Trim Combo with Handle, Tub Spout, Metal Hose and Valve, Brushed Nickel, 82304SRN
MAGNETIC BASE: The magnetic docking system allows you to easily detach and use as a handheld shower head...
As an affiliate, we earn on qualifying purchases.
Disassembling the Faucet Handle
Now, you’ll need to start disassembling the handle of your leaky bathtub faucet.
Before you begin, it’s essential to understand common faucet problems and explore alternative solutions. By doing so, you can determine the best course of action for repairing your faucet.
Begin by locating the small screw on the side of the handle. Use a screwdriver to remove it carefully. Once the screw is removed, gently pull the handle away from the faucet. Some handles may require a bit of wiggling to loosen. If you encounter resistance, try using a handle puller tool.
With the handle removed, you can now access the inner components of the faucet and proceed with further repairs or replacements as needed.

59 Inch Corner Jetted Tub - Luxury White Whirlpool Plastic Acrylic Bathtub with 7 Color Light Perfect for Couples' Relaxation and Wellness Home Spa, Ergonomical Designed Bathtub with Water Message
[Ergonomic Design for Ultimate Comfort] Featuring dual headrests and ergonomically angled sides, this bathtub delivers exceptional support for...
As an affiliate, we earn on qualifying purchases.
Repairing or Replacing the Faulty Components
After removing the handle, you can easily access the inner components of the faucet for repair or replacement. Before you start, it’s important to identify the faulty component causing the drip. Common culprits include worn-out washers, O-rings, or cartridges. Here is a step-by-step guide to repairing or replacing these components:
-
Turn off the water supply: Locate the shut-off valve and close it to prevent any water flow to the faucet.
-
Disassemble the faucet: Using a wrench or pliers, remove the retaining nut or cartridge clip to access the faulty component.
-
Refer to the table below for common components and repair methods:
| Component | Repair Method |
|---|---|
| Washer | Replace |
| O-Ring | Replace |
| Cartridge | Repair or replace |
- Follow the appropriate repair method for the faulty component. Consult the manufacturer’s instructions or seek professional assistance if needed.
Reassembling the Faucet and Testing for Leaks
To ensure there are no leaks, reassemble the faucet carefully and test it after completing the repairs or replacements.
Start by checking the water pressure to ensure it is at a suitable level. Turn on the water supply valves and observe the water flow. If the pressure is too low, you may need to adjust the water pressure regulator.
Next, install the faucet cartridge back into its housing. Make sure it is aligned correctly and secure it with the retaining nut. Use a wrench to tighten it, but be careful not to overtighten.
Once the cartridge is in place, reattach the handle and any other components that were removed.
Frequently Asked Questions
How Long Does It Typically Take to Repair a Dripping Bathtub Faucet?
To repair a dripping bathtub faucet, it typically takes about 30 minutes to an hour. Common causes include worn-out washers or O-rings. Follow these step-by-step instructions to fix it: turn off the water supply, dismantle the faucet, replace the faulty parts, and reassemble everything.
Can I Use Household Items Instead of Purchasing Specialized Tools and Supplies?
You can definitely use household items instead of buying specialized tools and supplies to repair a dripping bathtub faucet. There are alternatives available that can get the job done effectively and save you money.
Are There Any Specific Safety Precautions I Should Take While Disassembling the Faucet Handle?
When disassembling the faucet handle, take precautions to avoid injury. Wear safety goggles and gloves to protect your eyes and hands. Tools needed may include a screwdriver, pliers, and an adjustable wrench.
If I Am Unable to Identify the Cause of the Dripping Faucet, What Should I Do?
If you can’t identify the cause of the dripping faucet, start by checking for common issues like a worn-out washer or a loose valve stem. Follow troubleshooting steps for a dripping bathtub faucet to diagnose and fix the problem.
Is There a Specific Brand or Type of Replacement Components That Are Recommended for Repairing a Dripping Bathtub Faucet?
To repair a dripping bathtub faucet, start by identifying the cause. If you can’t figure it out, don’t worry. There are recommended brands for replacement components and common types you can use.
Conclusion
In conclusion, you’ve successfully tackled the troublesome task of fixing a dripping faucet. By diligently identifying the cause, gathering the necessary tools, and skillfully disassembling the handle, you were able to repair or replace the faulty components.
Reassembling the faucet with precision and testing for leaks ensured a job well done. Remember, practice makes perfect, so keep honing your handy skills and soon you’ll be a faucet-fixing maestro!