
Have you ever looked at your bathtub and noticed chips and cracks in the enamel? Don’t worry, I’ve got you covered!
In this article, I’ll show you step-by-step how to repair bathtub enamel and restore it to its former glory.
We’ll start by preparing the surface and cleaning any stains.
Then, I’ll guide you through repairing the chips and cracks using an enamel repair kit.
Finally, we’ll finish off by buffing and polishing the surface for a flawless finish.
Let’s get started!
Key Takeaways
- Clean the bathtub thoroughly before repairing the enamel.
- Choose cleaners specifically designed for removing bathtub stains and avoid abrasive cleaners.
- Fill small chips with a porcelain repair compound and patch larger cracks with resin and hardener.
- Apply matching enamel paint to blend the repair and finish with a sealant for protection.

Tub Repair Kit White, Tub Chip and Bathtub Repair Kit for Enamel, Fiberglass, Acrylic, Porcelain, Patch and Repairs Chips, Crack, Scratches, Rust, Holes on Tubs, Toilet, Sink, Shower, Tray in Bathroom
Permanently Repair Bathtub Chips, Cracks and Holes: For Fiberglass, Enamel, Acrylic; restore a glossy, non-yellowing, leak-stopping and chip…
As an affiliate, we earn on qualifying purchases.
As an affiliate, we earn on qualifying purchases.
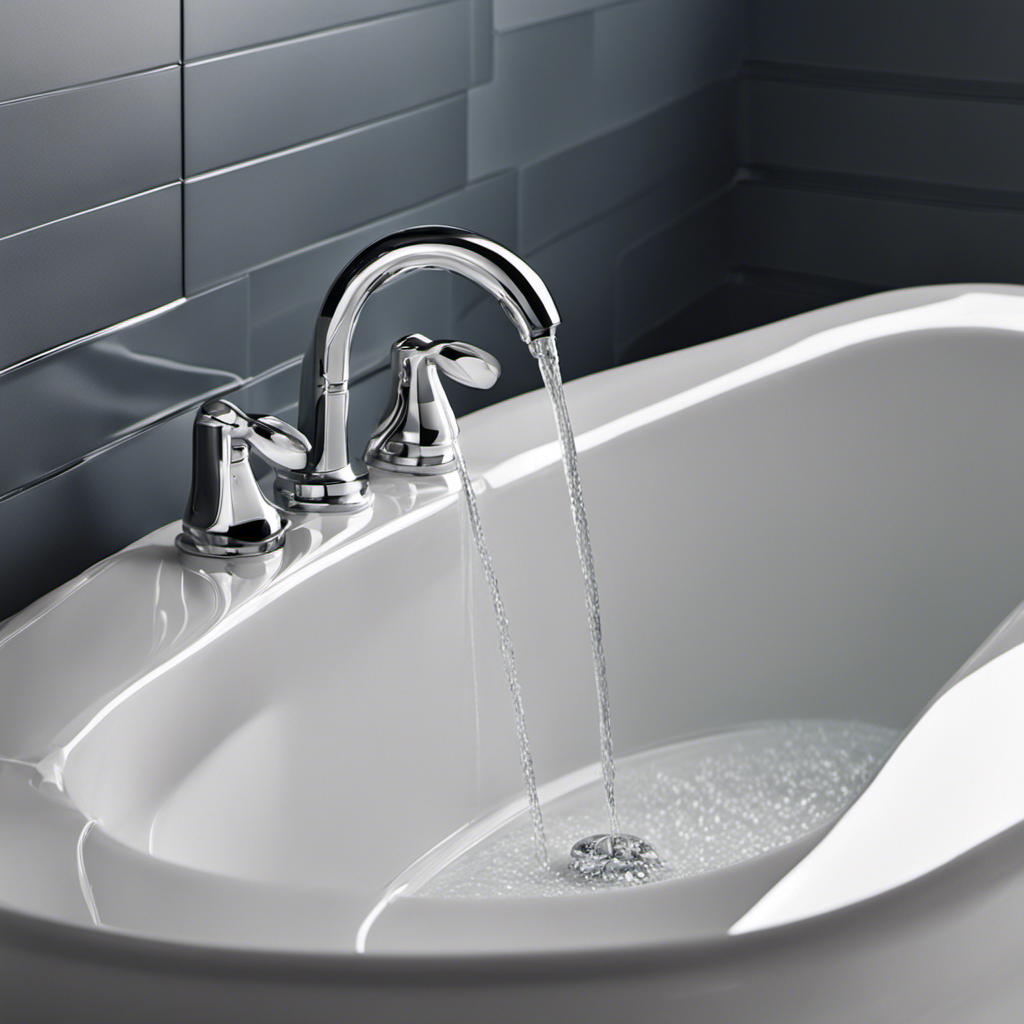
Preparing the Bathtub Surface
Now, it’s time to start preparing your bathtub surface for repair.
Proper surface preparation is essential for a successful bathtub enamel repair.
To begin, you will need to use a sanding technique to create a smooth and even surface.
Start by cleaning the bathtub thoroughly to remove any dirt or grime.
Then, use a fine-grit sandpaper or sanding sponge to gently sand the damaged areas.
Be careful not to apply too much pressure, as this can damage the enamel further.
The goal is to create a roughened surface that will allow the repair material to adhere properly.
Once the sanding is complete, wipe away any dust or debris before moving on to the next step.
The next step is cleaning and removing stains.
porcelain repair compound for bathtubs
As an affiliate, we earn on qualifying purchases.
As an affiliate, we earn on qualifying purchases.
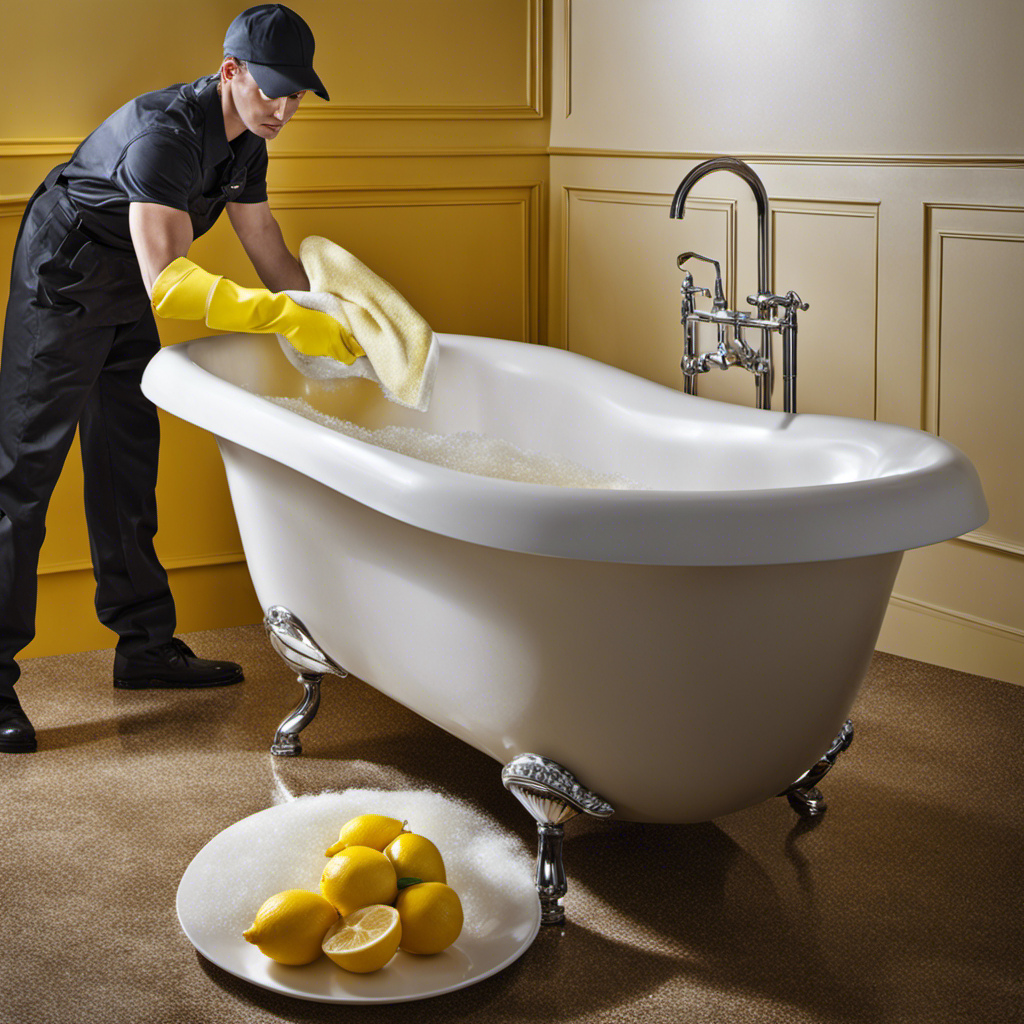
Cleaning and Removing Stains
To effectively clean and remove stains from your bathtub, it’s important to use the right cleaning products and techniques. Here are three essential steps to help you get rid of tough stains and prevent future discoloration:
-
Choose the right cleaning products: Look for cleaners specifically designed for removing stains from bathtubs. Avoid abrasive cleaners that can damage the enamel surface.
-
Scrub with a gentle brush or sponge: Use a soft-bristle brush or sponge to scrub the stained areas. Apply the cleaning solution and gently scrub in a circular motion to lift the stains.
-
Rinse thoroughly and dry: After scrubbing, rinse the bathtub thoroughly with warm water to remove any residue. Dry the surface completely to prevent water spots and future stains.
By following these steps, you can effectively clean your bathtub and keep it looking fresh and stain-free.
Now, let’s move on to repairing chips and cracks in the enamel.

Coconix Tile & Stone Repair Kit | Fix Cracks, Chips, and Scratches on Bathtubs, Tile and Stone Floors, Walls, and Counters | Easy Application with Kneadable Putty
1 MILLION HAPPY CUSTOMERS: Trusted worldwide, our repair kits have helped over a million people restore their favorite…
As an affiliate, we earn on qualifying purchases.
As an affiliate, we earn on qualifying purchases.
Repairing Chips and Cracks
When it comes to repairing chips and cracks in a bathtub enamel, there are three key points to consider.
First, filling small chips involves carefully applying a porcelain repair compound to the damaged area and allowing it to dry.
Second, when patching larger cracks, it is important to first clean and dry the area before applying a waterproof epoxy or filler.
Filling Small Chips
First, gather the necessary materials for filling small chips in your bathtub enamel. You will need:
-
Epoxy filler: This special adhesive is designed to bond to enamel and provide a strong and durable repair.
-
Sandpaper: Use a fine-grit sandpaper to smooth out the chipped area before applying the filler.
-
Paint: Once the filler has dried and been sanded down, you can use enamel paint to match the color of your bathtub and cover up the repair.
To begin filling the chipped areas, clean the surface thoroughly and dry it completely. Then, apply the epoxy filler to the chip, making sure to fill it completely and smooth out any excess. Allow the filler to dry according to the manufacturer’s instructions before sanding it down to create a seamless finish.
Finally, apply the matching enamel paint to blend the repair with the rest of the bathtub.
With these simple steps, you can easily repair and fill small chips in your bathtub enamel.
Patching Larger Cracks
For patching larger cracks, you’ll need a fiberglass repair kit that includes resin, hardener, and a fiberglass cloth. This method is ideal for repairing deep cracks in your bathtub enamel.
If you have extensive damage or are unsure about tackling the repairs yourself, it might be best to consider professional bathtub repairs. However, if you want to give it a try, start by cleaning the cracked area thoroughly to remove any dirt or debris.
Next, mix the resin and hardener according to the instructions provided with the repair kit. Apply the mixture to the crack using a putty knife, making sure to fill it completely.
Then, lay the fiberglass cloth over the repair, pressing it down firmly. Allow the patch to dry completely, following the recommended curing time.
Once the patch is dry, you can move on to the next step of finishing and sealing.
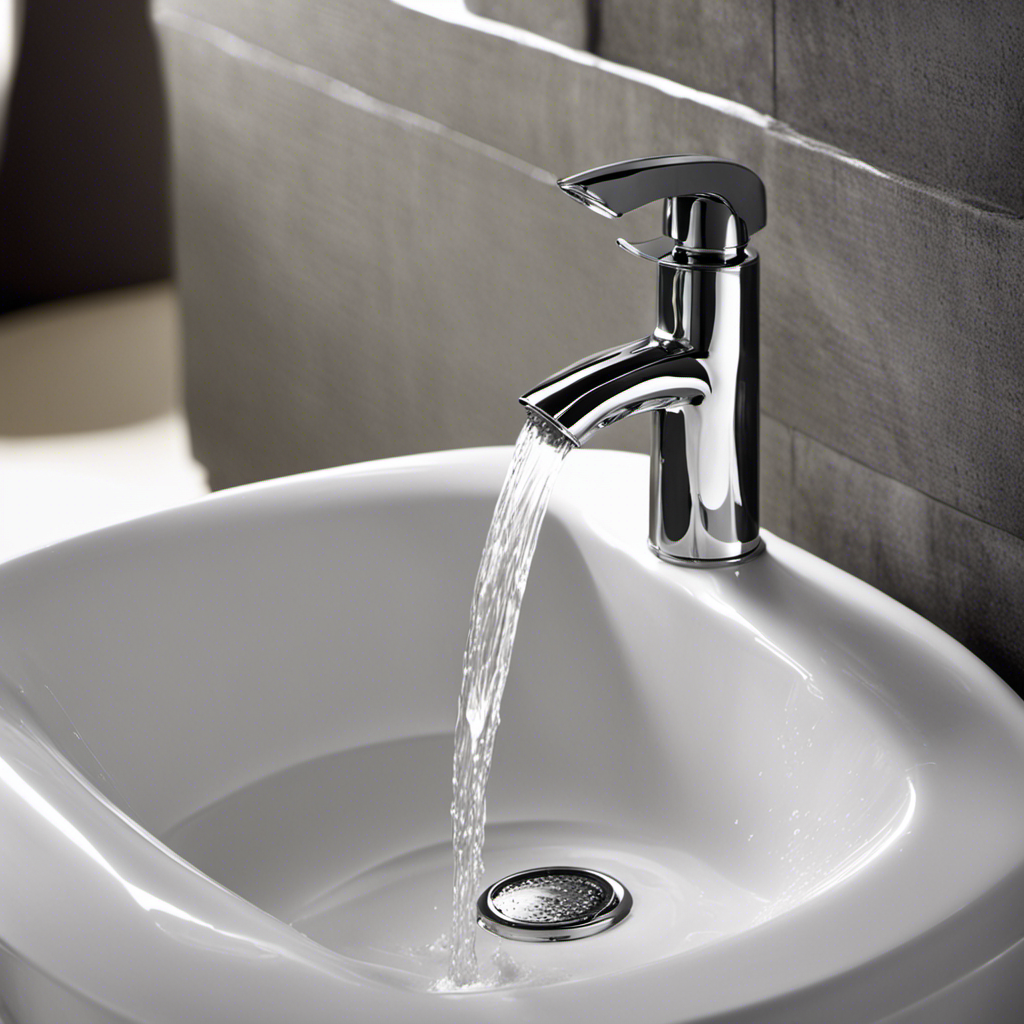
Finishing and Sealing
After patching the larger cracks in my bathtub enamel, I was ready to move on to finishing and sealing the repaired areas. Choosing the right sealant is crucial to ensure a long-lasting and professional-looking finish. Here are some tips for achieving a glossy finish:
-
Select a high-quality enamel paint that matches the color of your bathtub. This will help restore the original look and provide a seamless repair.
-
Before applying the sealant, make sure the patched areas are clean and dry. Remove any dust or debris using a soft cloth or sponge.
-
Apply the sealant evenly and smoothly using a paintbrush or roller. Start from the edges and work your way towards the center for a neat and seamless finish.
bathtub surface buffing and polishing kit
As an affiliate, we earn on qualifying purchases.
As an affiliate, we earn on qualifying purchases.
Applying Enamel Repair Kit
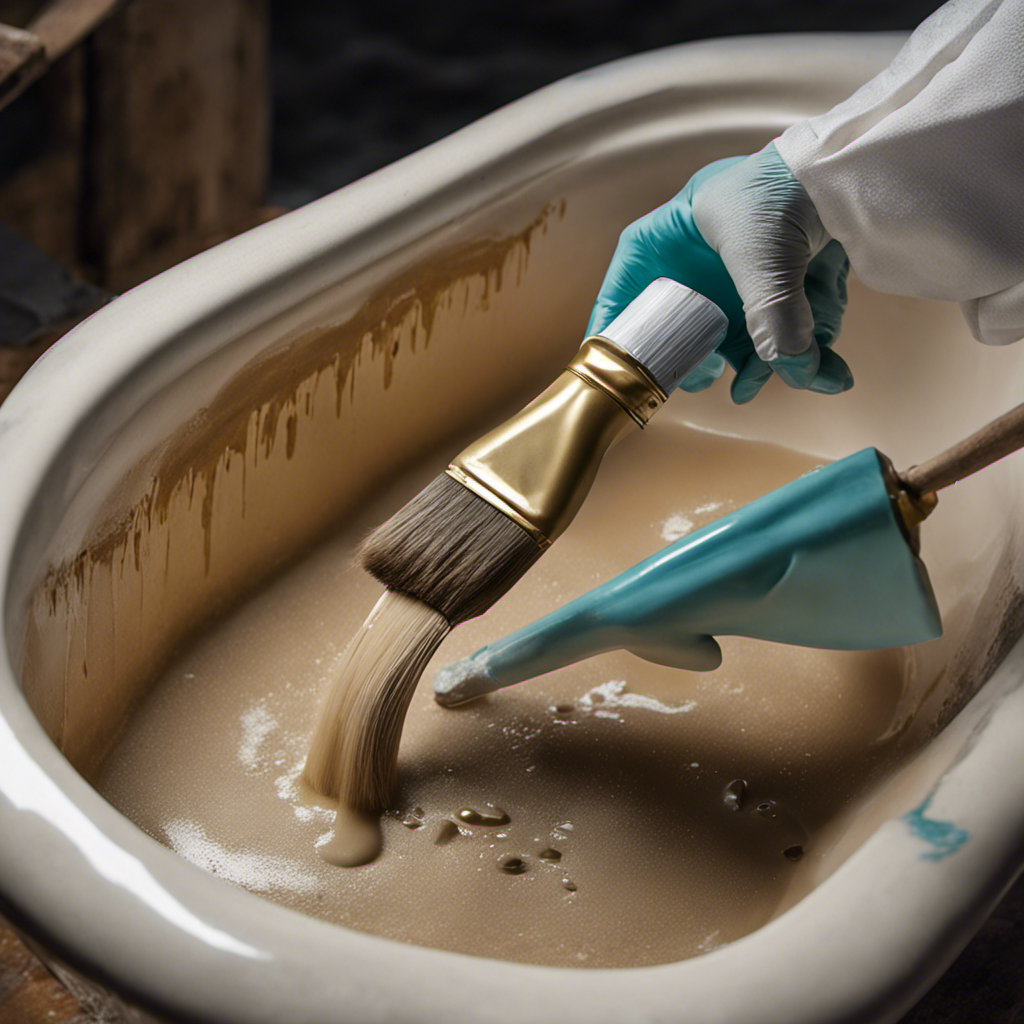
To apply the enamel repair kit, you’ll need to thoroughly clean the bathtub surface. Enamel repair techniques can be a cost-effective way to restore the appearance of your bathtub without the need for expensive replacements.
Begin by cleaning the bathtub with a non-abrasive cleaner and rinse it thoroughly. Dry the surface completely before applying the enamel repair kit. Follow the instructions provided with the kit carefully, as each product may have different application methods. Typically, you will need to mix the repair compound according to the instructions and apply it to the damaged area using a brush or applicator. Allow the repair compound to dry completely before moving on to the next step.
After the repair compound has dried, you can begin buffing and polishing the surface to achieve a smooth and glossy finish.
Buffing and Polishing the Surface
When it comes to achieving a smooth and polished finish on enamel surfaces, there are several key techniques to consider.
One important aspect is the polishing techniques for enamel, which involve using specific tools and materials to remove imperfections and enhance the shine.
Additionally, buffing plays a crucial role in achieving a smooth finish by gently removing any remaining roughness and creating a flawless surface.
Polishing Techniques for Enamel
For a shiny finish on your bathtub enamel, try using a polishing compound. This technique is a great way to restore the enamel and give your bathtub a fresh, new look. Here are three steps to effectively polish your enamel:
-
Clean the surface: Before applying the polishing compound, make sure to thoroughly clean the bathtub enamel. Use a non-abrasive cleaner to remove any dirt or grime.
-
Apply the polishing compound: Using a soft cloth, apply a small amount of polishing compound to the surface of the enamel. Gently rub the compound in circular motions, covering the entire area.
-
Buff the surface: Once the polishing compound is applied, use a clean cloth to buff the enamel. This will help remove any residue and bring out the shine.
By following these steps, you can achieve a smooth and glossy finish on your bathtub enamel.
Transitioning into the next section about buffing for a smooth finish, let’s explore the importance of this step in the enamel restoration process.
Buffing for Smooth Finish
Buffing the surface after applying the polishing compound helps to remove any residue and enhance the glossy finish on your bathtub enamel. Buffing is a technique that involves using a buffing pad or cloth to gently rub the surface of the enamel in circular motions. This process helps to smooth out any imperfections and bring out the shine of the enamel. When choosing a buffing pad, it’s important to consider the type of enamel and the level of damage. There are different types of buffing pads available, such as wool, foam, and microfiber. Additionally, it’s important to use the right polishing products for the job. Some popular polishing products include enamel polish, rubbing compound, and polishing wax. The table below provides a comparison of different buffing techniques and polishing products.
| Buffing Technique | Polishing Product |
|---|---|
| Circular Motion | Enamel Polish |
| Back and Forth | Rubbing Compound |
| Cross-Hatch | Polishing Wax |
| Random Orbit | Microfiber Cloth |
Remember to always follow the manufacturer’s instructions when using these products and techniques. Happy buffing!
Maintaining and Preventing Future Damage
To keep your bathtub enamel in good condition, you’ll want to regularly clean and avoid using abrasive cleaners. Here are three essential tips to prevent discoloration and avoid chemical damage:
-
Use gentle cleaners: Opt for non-abrasive cleaners specifically formulated for enamel surfaces. Avoid harsh chemicals, bleach, or ammonia-based cleaners as they can cause discoloration and damage to the enamel.
-
Regular maintenance: Clean your bathtub regularly to prevent build-up of soap scum, hard water stains, and dirt. Use a soft cloth or sponge and a mild, non-abrasive cleaner to gently scrub the surface. Rinse thoroughly and dry with a soft towel to prevent water spots.
-
Protective measures: To avoid chemical damage, consider using a protective coating or enamel-safe wax on your bathtub. These products provide an extra layer of protection against stains and discoloration.
Conclusion
In conclusion, repairing bathtub enamel is like giving your bathtub a much-needed facelift. By following the steps outlined in this article, you can transform your worn-out tub into a sparkling masterpiece.
Just like a skilled artist, you will carefully prepare the surface, clean away any imperfections, and skillfully repair chips and cracks. With the application of an enamel repair kit, your bathtub will regain its former glory.
Finally, with a gentle buff and polish, your tub will shine like a diamond. Remember to maintain and prevent future damage, so your tub remains a work of art for years to come.