I’ve got a crack in my fiberglass bathtub and it’s driving me crazy. But fear not, because I’ve found the solution to fix it.
In this article, I’ll guide you through the step-by-step process of repairing that pesky crack.
We’ll start by identifying the crack and gathering the necessary tools and materials.
Next, we’ll prepare the bathtub surface for the repair.
Once the surface is ready, we’ll apply a fiberglass repair kit to fix the crack.
Finally, we’ll finish it off with a seal to ensure a long-lasting repair.
Get ready to say goodbye to that crack and hello to a beautifully restored bathtub.
Key Takeaways
- Carefully inspect the surface for visible signs of damage such as hairline cracks or larger fractures.
- Choose a fiberglass repair kit designed for fiberglass repairs and gather the necessary tools and materials.
- Thoroughly clean and dry the surface before applying the repair compound and roughen the surface around the crack.
- Mix the resin and hardener according to instructions, apply the mixture to the crack, and place a fiberglass patch over the repair. Smooth out air bubbles or excess resin and allow the repair to cure for the recommended time.
fiberglass bathtub repair kit
As an affiliate, we earn on qualifying purchases.
As an affiliate, we earn on qualifying purchases.
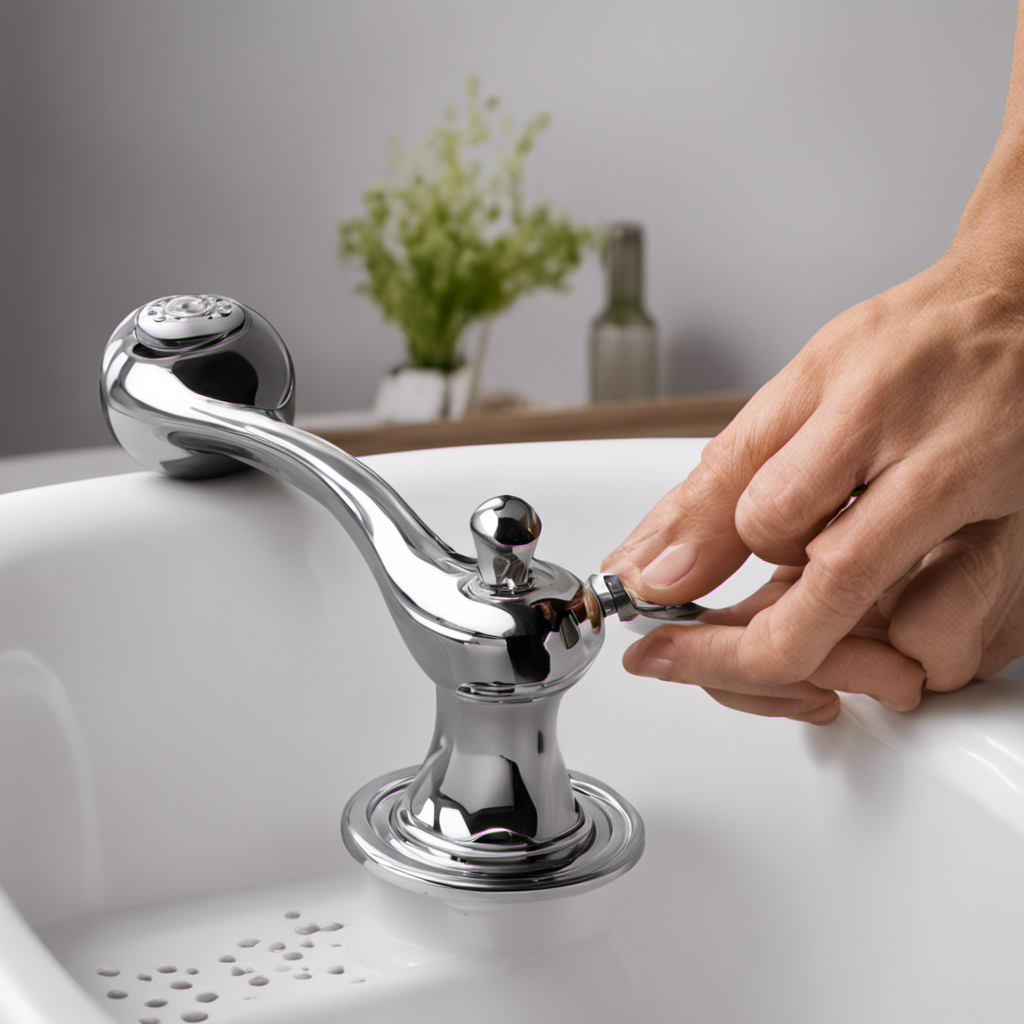
Identifying the Crack
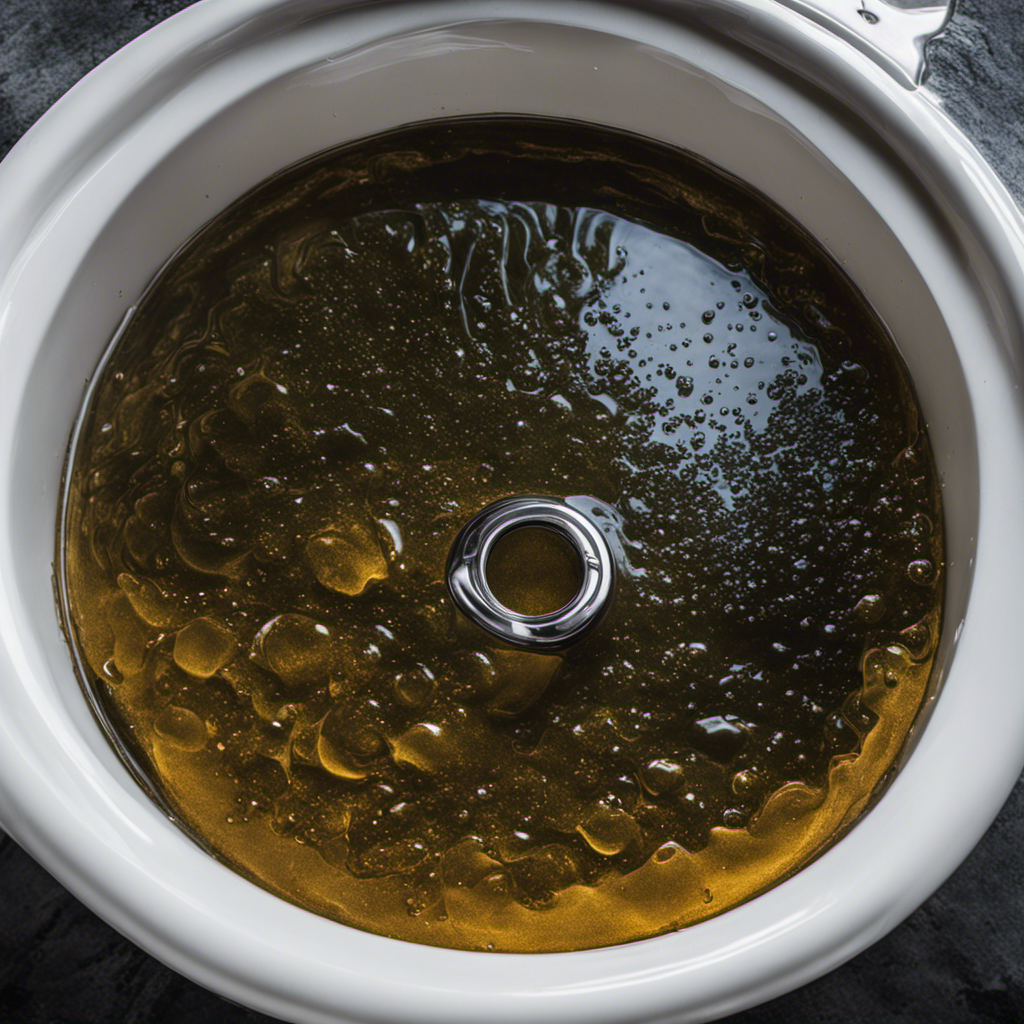
To identify the crack in your fiberglass bathtub, you’ll need to carefully inspect the surface for any visible signs of damage. Start by examining the bathtub for any hairline cracks or larger fractures. Pay close attention to areas where the surface may be discolored or uneven. Cracks are often found near the drain or along the edges of the bathtub.
Once you have identified the crack, it is important to determine the extent of the damage. Use a flashlight to shine light on the crack and check if it extends beneath the surface. This crack detection process will help you assess the severity of the damage and decide on the appropriate repair process.
Now that you have identified the crack, it’s time to gather the necessary tools and materials.
bathtub crack repair epoxy
As an affiliate, we earn on qualifying purchases.
As an affiliate, we earn on qualifying purchases.
Gathering the Necessary Tools and Materials
Start by gathering all the tools and materials you’ll need for the repair.
Choosing the right repair kit is crucial to ensure a successful fiberglass bathtub crack repair. Look for a kit specifically designed for fiberglass repairs, as it will have the necessary components for a durable fix.
Additionally, proper safety precautions must be followed during the repair process. Wear protective gloves, safety glasses, and a face mask to prevent any contact with harmful chemicals or fiberglass particles. Make sure to work in a well-ventilated area to avoid inhaling any fumes.
In terms of tools, you’ll need sandpaper, a utility knife, a mixing container, a fiberglass repair compound, a spreader tool, and a cloth for cleanup.
fiberglass repair patch for tubs
As an affiliate, we earn on qualifying purchases.
As an affiliate, we earn on qualifying purchases.
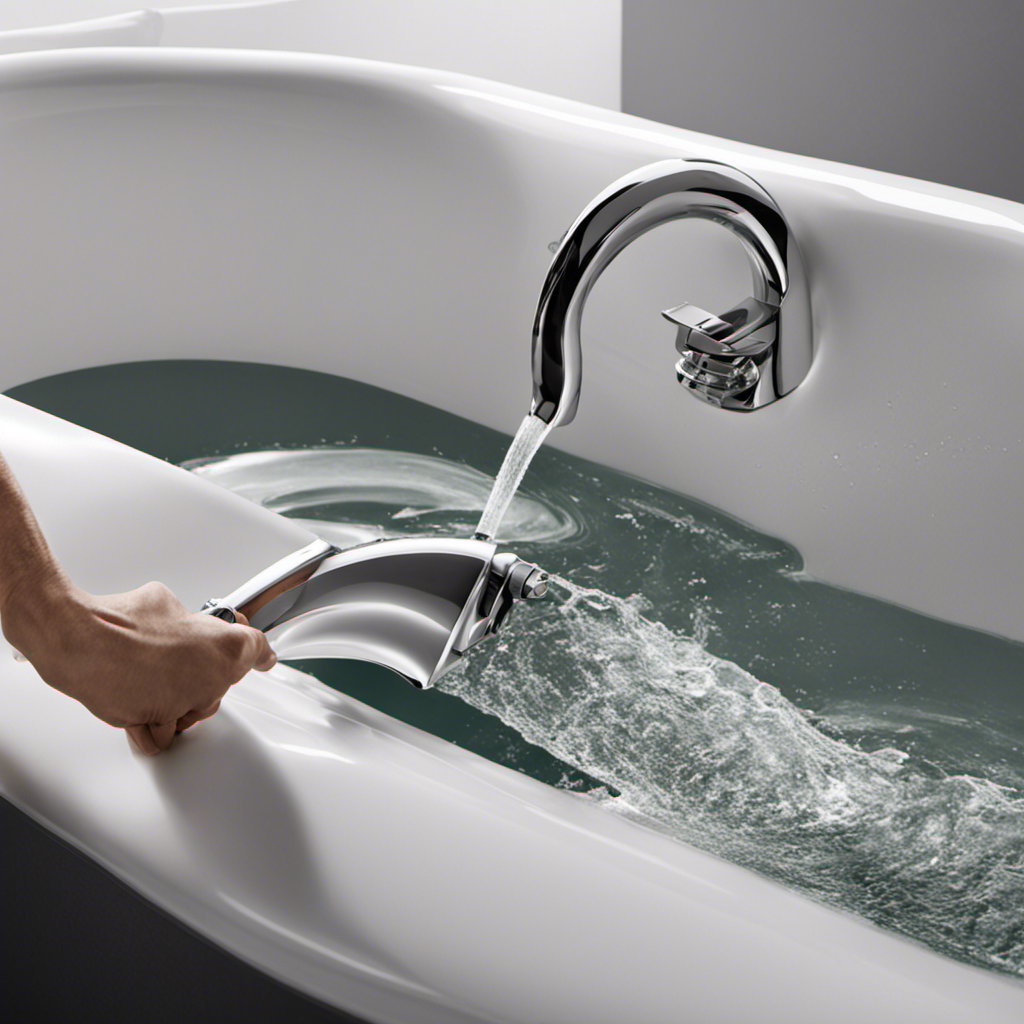
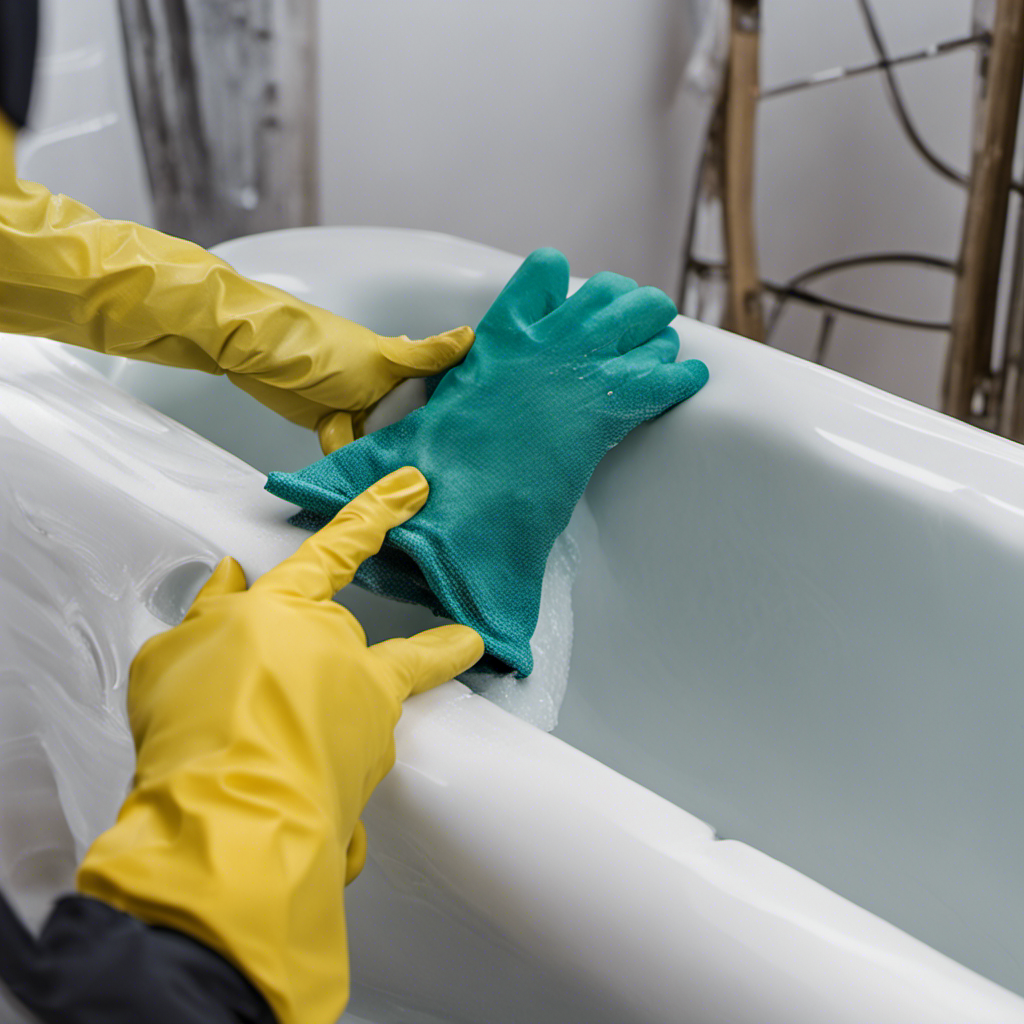
Preparing the Bathtub Surface
Before applying any repair compound, it’s important to thoroughly clean and dry the bathtub surface. Prepping the surface is crucial for the repair to adhere properly and ensure a long-lasting solution. To start, gather the necessary tools and materials, such as a sponge, mild detergent, and a clean cloth. Begin by removing any dirt, grime, or soap scum from the crack and surrounding area using the sponge and detergent. Rinse the surface thoroughly and dry it completely with a clean cloth. Next, use sanding techniques to roughen the surface around the crack. This helps the repair compound bond better with the fiberglass. Use a fine-grit sandpaper and sand in a circular motion until the surface feels slightly rough to the touch. Remember to wear protective gloves and a mask while sanding to avoid inhaling any particles. Once the surface is prepped, you can proceed with applying the repair compound.
| Tools | Materials | Techniques |
|---|---|---|
| Sponge | Mild detergent | Circular sanding motion |
| Clean cloth | Fine-grit sandpaper | Thorough cleaning and drying |
| Protective gloves |
bathtub surface prep tools
As an affiliate, we earn on qualifying purchases.
As an affiliate, we earn on qualifying purchases.
Applying the Fiberglass Repair Kit
Once you’ve prepped the surface, it’s time to apply the fiberglass repair kit. This step is crucial in restoring the integrity of your bathtub and preventing further damage.
Here are some important techniques to keep in mind when using the repair kit:
- Begin by mixing the resin and hardener according to the instructions provided.
- Apply the mixture to the crack using a brush or spatula, ensuring that it completely fills the damaged area.
- Place a fiberglass patch over the repair, pressing it firmly onto the wet resin.
- Smooth out any air bubbles or excess resin using a roller or squeegee.
- Allow the repair to cure for the recommended time, usually 24 hours.
By following these fiberglass repair techniques, you can effectively fix bathtub cracks and extend the lifespan of your tub.
Once the repair is completed, it’s important to finish and seal the repaired crack to ensure its long-term durability.
Finishing and Sealing the Repaired Crack
To ensure long-term durability, it’s essential to finish and seal the repaired area after following the fiberglass repair techniques.
Proper ventilation is of utmost importance during the repair process to ensure the safety of the user and to facilitate the drying process. Make sure to work in a well-ventilated area or use a fan to increase air circulation.
Now, let’s move on to achieving a smooth and seamless finish on the repaired crack. Start by sanding the repaired area with fine-grit sandpaper to remove any imperfections and create a smooth surface.
Next, apply a layer of fiberglass gel coat using a brush or spray gun, making sure to blend it evenly with the surrounding area. Allow it to dry completely before sanding it again with a finer grit sandpaper.
Frequently Asked Questions
How Long Will It Take for the Fiberglass Repair Kit to Fully Cure?
The fiberglass repair kit usually takes about 24-48 hours to fully cure. However, there are alternative bathtub repair methods that can provide quicker results, such as using epoxy resin or hiring a professional.
Can I Use a Different Type of Repair Kit Instead of a Fiberglass Repair Kit?
Using a different repair kit instead of a fiberglass one is possible, but it has pros and cons. Some alternative methods include epoxy or acrylic kits. However, it’s important to consider their durability and compatibility with your bathtub.
Is It Possible to Repair a Large Crack or Should I Replace the Entire Bathtub?
It is possible to repair a large crack in a fiberglass bathtub instead of replacing the entire bathtub. Properly repairing the crack with a fiberglass repair kit can save time and money.
Can I Use the Bathtub Immediately After Repairing the Crack?
Yes, you can use the bathtub immediately after repairing the crack. The drying time for the fiberglass repair kit is typically 24-48 hours, ensuring a strong and durable repair.
Will the Repaired Crack Be as Strong as the Original Bathtub Surface?
Yes, the repaired crack will be as strong as the original bathtub surface. However, it is important to consider the long-term effects and durability of the repaired crack to ensure its strength over time.
Conclusion
In conclusion, repairing a fiberglass bathtub crack is a straightforward process that can be done with the right tools and materials. By identifying the crack, preparing the surface, applying a fiberglass repair kit, and finishing and sealing the repaired crack, you can restore your bathtub to its original condition.
Just like fixing a crack in a bathtub, addressing problems in our lives requires careful assessment, planning, and execution. With perseverance and the right approach, we can overcome any obstacle and achieve lasting success.