I’m here to show you the ultimate guide on how to repair your fiberglass bathtub, with all the insider tips and tricks you need.
Don’t worry, it may seem like a daunting task, but I promise you can handle it. By following these steps, you’ll have your bathtub looking as good as new in no time.
So let’s roll up our sleeves and get ready to tackle this repair head-on!
Key Takeaways
- Inspect the entire surface of the tub for cracks, chips, or discoloration.
- Determine the cause of the damage and consider the extent of the damage.
- Gather all necessary materials before starting the repair process.
- Properly prepare the surface by cleaning and sanding before applying the fiberglass repair kit.
Assessing the Damage
Now, you’ll need to take a close look at the damage to determine the best course of action.
Evaluating the cost and determining the cause are essential steps in assessing the damage to your fiberglass bathtub.
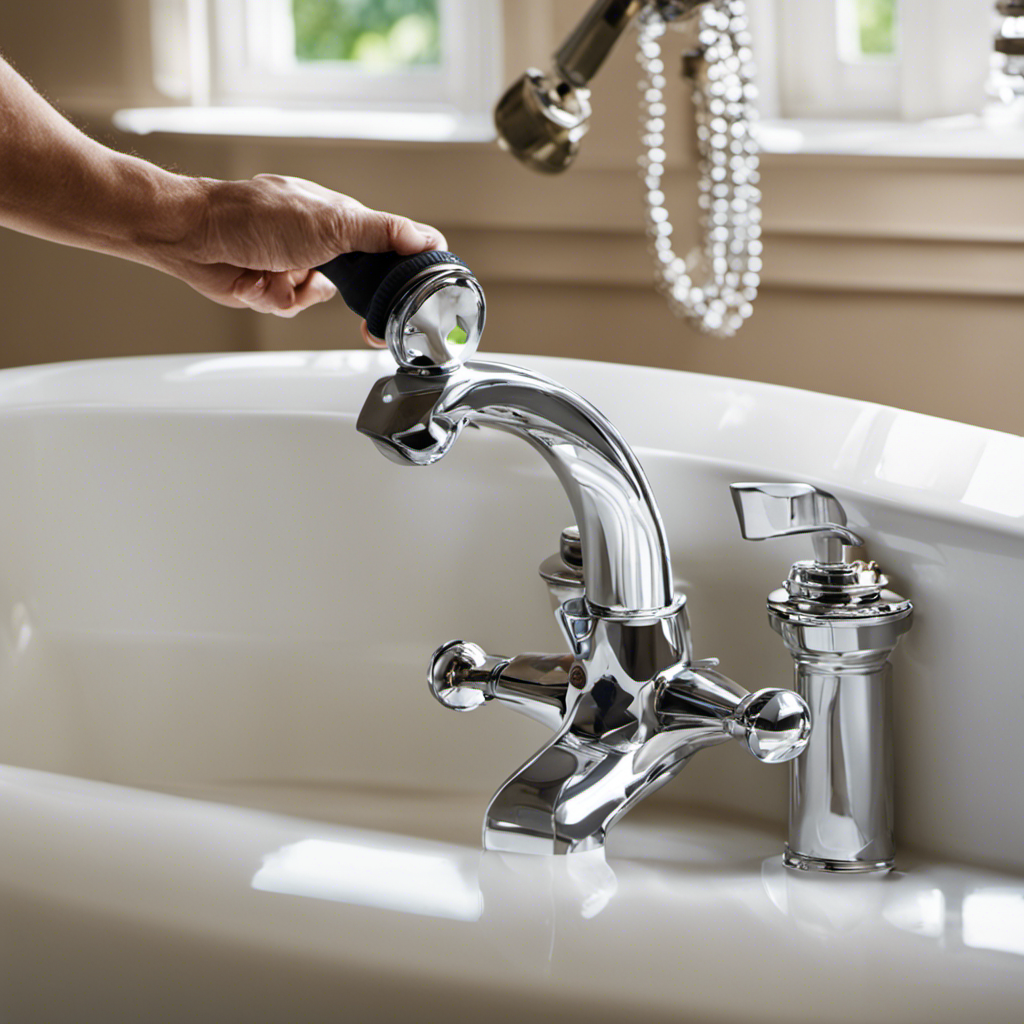
Firstly, carefully inspect the entire surface of the tub to identify any cracks, chips, or discoloration. Pay close attention to the areas around the drain, faucet, and handles as they are prone to damage.
Next, try to determine the cause of the damage. Was it due to a heavy impact or normal wear and tear? Understanding the cause will help you make informed decisions regarding the repair process.
Additionally, consider the extent of the damage and whether it requires professional assistance or if it can be fixed with DIY methods.
Gathering the Necessary Materials
To start, you’ll need to gather all the materials necessary for the job. Look for a kit specifically designed for fiberglass repairs, as it will contain all the components you need. Additionally, have the following tools on hand: safety goggles, gloves, sandpaper, a putty knife, and a mixing container.
Before you can begin the repair process, you’ll need to remove any old damaged fiberglass. This can be done by carefully sanding down the damaged area until it is smooth and level with the surrounding surface.
Once you have gathered the necessary materials and removed the damaged fiberglass, you can move on to preparing the surface for repair.
Preparing the Surface
Before you start, make sure you have all the necessary materials and tools for preparing the surface.
Cleaning and sanding the fiberglass bathtub is crucial to ensure proper adhesion of the repair materials. Here’s a step-by-step guide on how to prepare the surface:
-
Clean the surface: Use a mild detergent or a fiberglass cleaner to remove any dirt, grime, or soap scum from the bathtub. Rinse thoroughly and let it dry completely.
-
Sand the surface: Use a fine-grit sandpaper (around 220-grit) to lightly sand the entire bathtub. This helps to roughen the surface and create a better bond with the repair materials. Be sure to sand in a circular motion and avoid applying too much pressure.
-
Wipe off the dust: After sanding, use a clean cloth or tack cloth to wipe away any dust or debris left on the surface. This ensures a clean and smooth surface for the repair.
Applying the Fiberglass Repair Kit
Once the surface is prepared, you can start applying the fiberglass repair kit using the provided instructions. It is important to follow these steps carefully to ensure a successful repair. Here are some key points to keep in mind:
-
Apply the adhesive: Begin by mixing the adhesive according to the instructions provided. Use a spatula or brush to apply a thin layer of adhesive to the damaged area. Make sure to spread it evenly and cover the entire surface.
-
Sanding the surface: Before applying the adhesive, it is crucial to sand the surface to create a rough texture. This will help the adhesive bond properly with the fiberglass. Use sandpaper or a sanding block to gently sand the damaged area until it feels smooth and free from any loose particles.
-
Allow the adhesive to cure: Once the adhesive is applied, give it enough time to cure. Follow the instructions on the repair kit to determine the recommended curing time. This will ensure that the repair is strong and durable.
By properly applying the adhesive and sanding the surface, you are laying the foundation for a successful fiberglass bathtub repair.
Now, let’s move on to the next step: finishing and sealing the repair.
Finishing and Sealing the Repair
Now that you’ve applied the adhesive and sanded the surface, it’s time to finish and seal the repair. Choosing the right finishing products and understanding proper sealing techniques are crucial for a successful fiberglass bathtub repair. When it comes to finishing, there are various options available, such as gelcoat, paint, or epoxy. Gelcoat is a popular choice as it provides a smooth and glossy finish that matches the original bathtub surface. It is important to select a gelcoat that is specifically designed for fiberglass repairs. As for sealing the repair, using a high-quality marine-grade sealant is essential to prevent water leakage and ensure the longevity of the repair. It is recommended to follow the manufacturer’s instructions for proper application and curing time. Take a look at the table below for a visual representation of the different finishing products and sealing techniques:
| Finishing Products | Pros | Cons |
|---|---|---|
| Gelcoat | Provides smooth and glossy finish | Requires proper mixing and application |
| Paint | Wide variety of colors available | May require multiple coats for desired coverage |
| Epoxy | Durable and long-lasting | Requires careful mixing and application |
| Sealing Techniques | Pros | Cons |
|---|---|---|
| Marine-grade sealant | Prevents water leakage | May require reapplication over time |
| Silicone sealant | Flexible and waterproof | Can be messy and difficult to remove if needed |
Remember to carefully consider the characteristics and requirements of each product and technique before making your decision. Proper finishing and sealing will ensure that your fiberglass bathtub repair is not only functional but also aesthetically pleasing.
Conclusion
In conclusion, repairing a fiberglass bathtub is a task that requires careful assessment, proper materials, and precise application. By following the steps outlined in this article, you can successfully restore your bathtub to its former glory.
Just like a skilled craftsman molds clay into a masterpiece, you too can mold and repair your bathtub, making it strong and durable once again.
So don’t let a damaged bathtub be a thorn in your side. Grab your repair kit and get to work!


