
Did you know that a leaking bathtub valve can waste up to 3,000 gallons of water per year? If you’re tired of that annoying drip or if your valve is simply old and worn out, it’s time to replace it.
In this article, we’ll guide you through the step-by-step process of replacing a bathtub valve. With a few tools and a little know-how, you’ll have a fully functioning valve in no time.
So let’s get started!
Key Takeaways
- Understanding the different types of bathtub valves is crucial before attempting repairs or replacements.
- Gathering the necessary tools and materials, such as a screwdriver, adjustable wrench, plumber’s tape, and a new valve, is essential for the replacement process.
- Prioritizing safety by turning off the water supply, wearing protective gear, and following manufacturer’s instructions is important.
- The replacement process involves shutting off the water supply, removing the old bathtub valve using the appropriate tools, and installing the new valve properly.

Dual-Flush Actuator Plate for Concealed Cisterns Jet Black Gloss Compatible with 115.770.DW.5 Sigma01 Wall Mount Toilets Series
Color:Jet Black, Gloss; Material: High-quality molded plastic
As an affiliate, we earn on qualifying purchases.
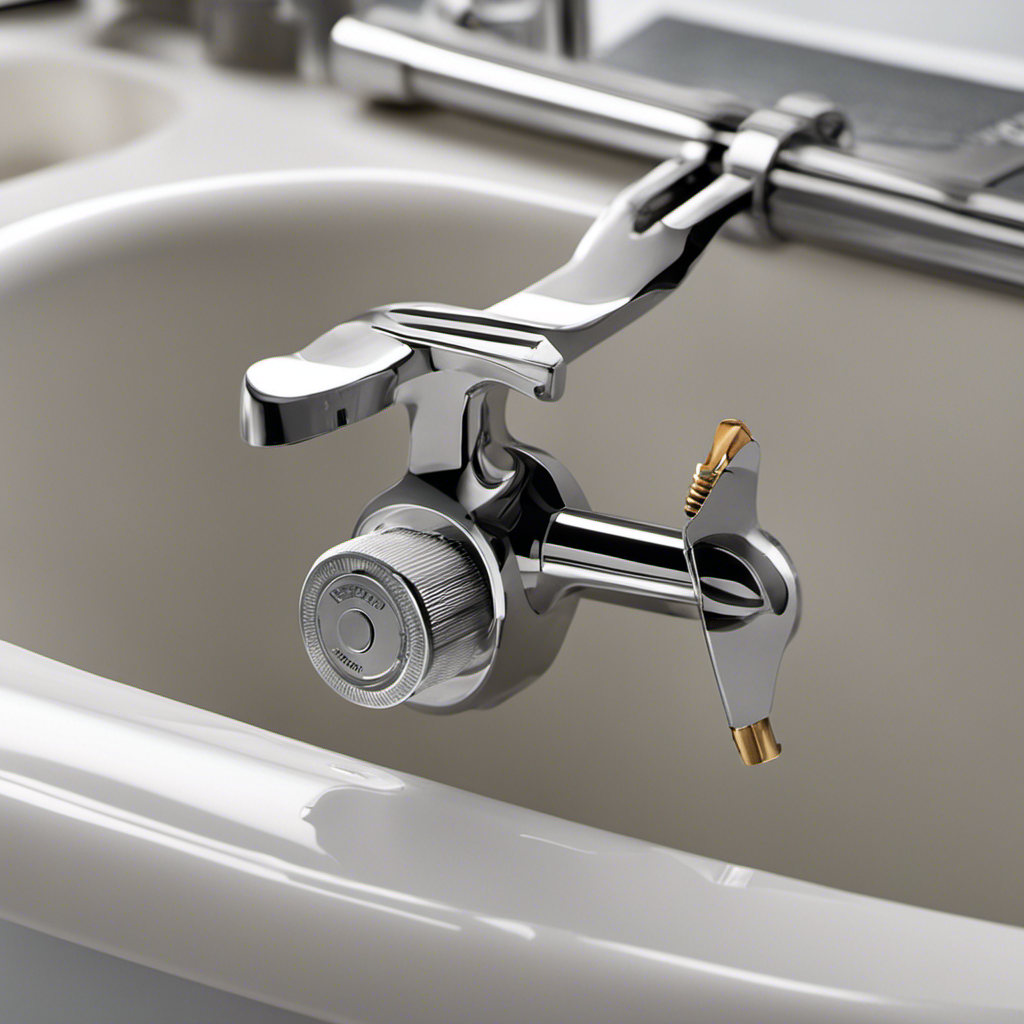
Understanding the Bathtub Valve
The bathtub valve controls the flow of water and is crucial for proper operation. Understanding the different types of bathtub valves and how to troubleshoot common issues is essential for any homeowner.
There are several types of bathtub valves available, including compression valves, ball valves, and cartridge valves. Each type has its own unique design and function, so it’s important to identify the specific type of valve you have before attempting any repairs or replacements.
Troubleshooting bathtub valve issues can range from minor leaks to complete valve failure. Common problems include dripping faucets, difficulty turning the handle, and inconsistent water temperature.

Banhey Dual Flush Actuator Plate, Compatible with Geberit 115.770.46.5. Replacement Parts for Concealed Cistern Toilet Repair (White)
Exquisite Appearance and Multiple Color Options of Toilet Tank Parts: The dual-flush actuator plate in the toilet tank...
As an affiliate, we earn on qualifying purchases.
Gathering the Necessary Tools and Materials
To gather all the necessary tools and materials for this task, you’ll need a screwdriver, an adjustable wrench, plumber’s tape, and a new valve. These items are essential to successfully replace a bathtub valve.
Here are some safety precautions to keep in mind during the replacement process:
- Turn off the water supply to the bathtub before starting any work.
- Wear protective gloves and safety goggles to prevent injuries.
- Use caution when handling sharp tools to avoid cuts.
- Ensure the area is well-lit to avoid accidents.
- Follow the manufacturer’s instructions for the replacement valve to ensure proper installation.
Choosing the right replacement valve is crucial for a successful replacement. Consider factors such as the type of valve, compatibility with your bathtub system, and the quality of the valve. It’s important to prioritize safety and choose a valve that meets your specific needs.
Los Flexi Concealed In-Wall Toilet Tank Carrier for Wall Hung Toilets, 0.8/1.6 GPF Dual Flush, Adjustable Height Tank Carrier, Includes Flush Actuator Plate for Wall Mount Toilet Setup
Durable Steel Construction: This in-wall toilet tank system supports most wall hung toilets with a sturdy steel frame,...
As an affiliate, we earn on qualifying purchases.
Shutting off the Water Supply
Before starting any work, remember to turn off the water supply to ensure a safe replacement process.
Shutting off the main valve is crucial to prevent any water damage or accidents during the bathtub valve replacement.
Locate the main water valve, which is usually found near the water meter or where the main water line enters your home.
Once you have located it, turn the valve clockwise until it is fully closed. This will stop the flow of water to the entire house, including the bathtub.
It is important to ensure that the valve is tightly closed to prevent any water from leaking.

Casta Diva in Wall Toilet Tank Carrier, Concealed Wall Hung Toilet Tank System with Black Dual-Flush Actuator Plate (2x4 / 2x6 Studs)
Toilet tank brace wall, fit for most wall mount toilet bowls, a black tank actuator plate included in...
As an affiliate, we earn on qualifying purchases.
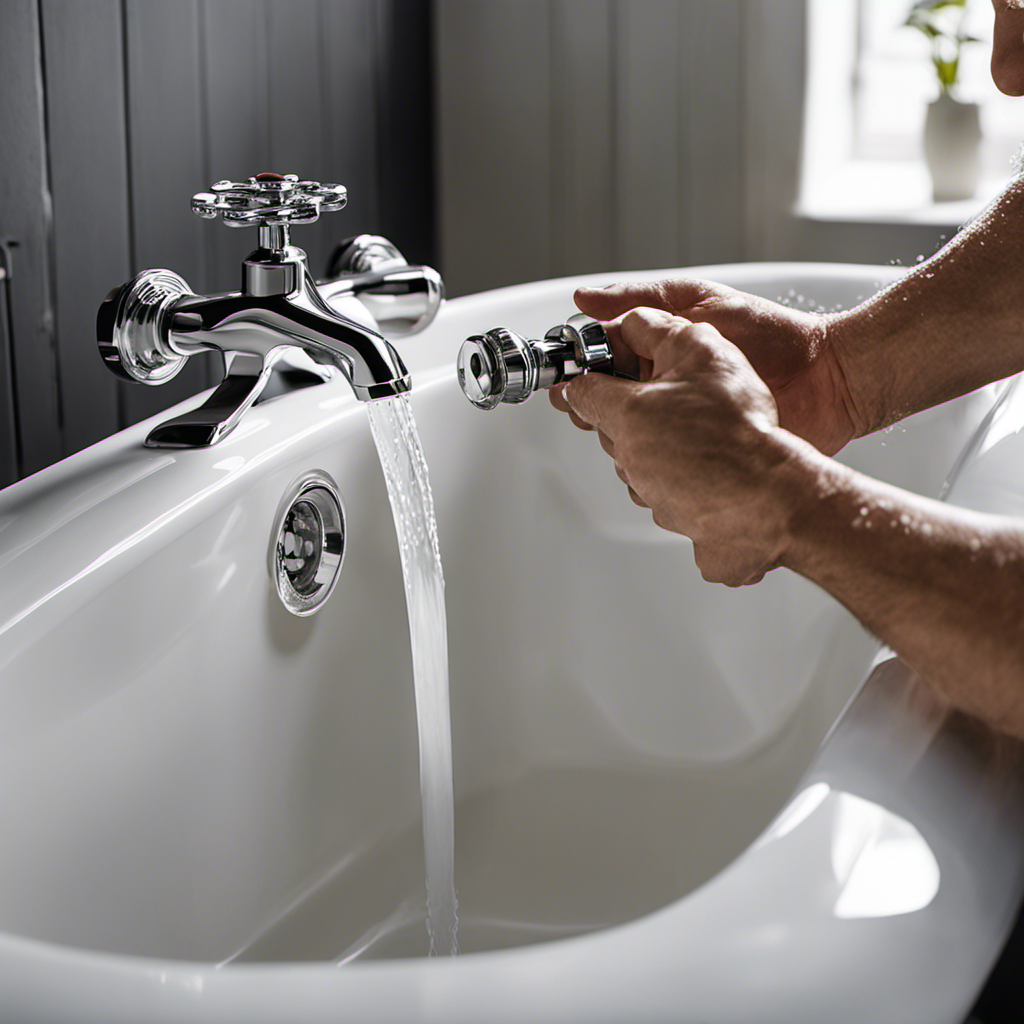
Removing the Old Bathtub Valve
After shutting off the water supply, you can easily remove the old bathtub valve. Start by following these steps:
- Gather the necessary tools: adjustable wrench, pliers, screwdriver, and a bucket.
- Remove the handle and escutcheon plate by unscrewing any visible screws.
- Use the adjustable wrench to loosen the bonnet nut, which holds the valve in place.
- Once the bonnet nut is loosened, use pliers to unscrew the valve stem from the pipe.
- Carefully remove the old valve from the wall, making sure not to damage any surrounding tiles or plumbing.
Proper disposal of the old bathtub valve is important. You can take it to a local recycling center or contact your local waste management facility for proper disposal options.
Common challenges faced when removing a bathtub valve include rusted or corroded parts, stuck bonnet nuts, and difficulty accessing the valve due to limited space.
With the old bathtub valve successfully removed, you can now move on to installing the new bathtub valve.
Transition: Now that you have removed the old bathtub valve, let’s move on to installing the new one.
Installing the New Bathtub Valve
Once you have gathered the necessary tools, it’s time to begin installing the new bathtub valve.
Properly sealing the new bathtub valve is crucial to prevent any leaks or water damage. Start by applying plumber’s tape to the valve threads to create a tight seal.
Then, carefully insert the valve into the opening, making sure it is aligned correctly. Use a wrench to tighten the valve securely, but be careful not to overtighten and risk damaging the valve or the pipes.
Once the valve is in place, turn on the water supply to check for any leaks. If you notice any leaks, try tightening the connections or replacing any faulty gaskets.
Troubleshooting common issues during bathtub valve installation is essential to ensure a successful installation.
Frequently Asked Questions
What Are the Common Signs That Indicate a Bathtub Valve Needs to Be Replaced?
If you notice a decrease in water pressure, inconsistent temperature, or leaks around the valve, these are common signs of a faulty bathtub valve. It’s important to identify when a replacement is needed.
Can a Bathtub Valve Be Repaired Instead of Replaced?
Yes, a bathtub valve can sometimes be repaired instead of replaced. It depends on the extent of the damage and the cost comparison between repairing and replacing. A professional can assess and advise you on the best course of action.
How Long Does It Typically Take to Replace a Bathtub Valve?
To efficiently replace a bathtub valve, start by choosing the right replacement. Follow these steps: turn off the water supply, remove the old valve, clean the area, install the new valve, and test for leaks. The process typically takes a few hours.
Are There Any Specific Safety Precautions That Should Be Followed While Replacing a Bathtub Valve?
When replacing a bathtub valve, it’s important to follow specific safety precautions. Make sure to turn off the water supply and wear protective gloves and eyewear. Use the necessary tools, such as a wrench, pliers, and pipe tape.
Can a Novice Diyer Replace a Bathtub Valve, or Is Professional Help Recommended?
As a novice DIYer, you may be tempted to tackle bathtub valve installation yourself. While it’s possible, professional help is recommended for a smoother experience. Don’t bite off more than you can chew.
Conclusion
Congratulations! You’ve successfully mastered the art of replacing a bathtub valve.
With your newfound expertise, you’ll be able to tackle any plumbing challenge that comes your way.
Your friends and family will be amazed by your skills and may even start referring to you as the ‘Valve Whisperer’.
So go ahead, bask in the glory of your plumbing prowess and revel in the satisfaction of a job well done.
Remember, with determination and a little bit of know-how, there’s no plumbing problem you can’t conquer!