Replacing a bathtub drain may seem like a daunting task, but fear not! I’m here to guide you through the process step by step. With the right tools and materials, you’ll be able to remove the old drain and install a new one with ease.
Don’t worry if you’re not a plumbing expert – I’ll explain everything in a way that’s easy to understand.
So let’s dive in and get your bathtub drain functioning like new again!
Key Takeaways
- Choose the right bathtub drain that matches the size and style of your current drain, considering materials like brass or stainless steel for durability.
- Gather the necessary tools and materials, including a drain removal tool, pliers, screwdriver, and plumber’s putty. Consider calling a professional plumber if needed.
- Follow the steps to remove the old bathtub drain, such as unscrewing the drain cover and lifting the drain flange out of the bathtub. Troubleshoot any issues that may arise.
- Prepare the new bathtub drain for installation by cleaning the area around the drain hole and ensuring it is free of obstructions or damage. Properly prepare the area to ensure a proper seal and prevent leaks.
Gathering the Necessary Tools and Materials
You’ll need to gather a few tools and materials before you can start replacing the bathtub drain. Choosing the right bathtub drain is crucial to ensure a proper fit and functionality. Look for a drain that matches the size and style of your current drain. It’s also important to consider the material of the drain, such as brass or stainless steel, for durability. Additionally, you’ll need a few tools for the job, including a drain removal tool, pliers, a screwdriver, and a plumber’s putty.
Now, let’s talk about tips for removing a stubborn drain. If your drain is stuck, try using a lubricant, such as WD-40, to loosen it. You can also use a drain removal tool or pliers to provide extra leverage. Apply gentle pressure and turn counterclockwise to loosen the drain. If all else fails, you may need to call a professional plumber for assistance.
With your tools and materials gathered, it’s time to move on to removing the old bathtub drain.
Removing the Old Bathtub Drain
To remove the old drain, start by unscrewing the drain cover using a screwdriver. This is usually located in the center of the drain and may require some effort if it’s rusted or stuck. If you encounter resistance, try spraying some penetrating oil onto the screws and let it sit for a few minutes before attempting again.
Once the screws are removed, lift the drain cover off and set it aside.
Next, you’ll need to disconnect the drain flange from the pipe below. This can be done by loosening the locknut, which is located underneath the bathtub. Use a pair of pliers to hold the drain body steady while unscrewing the locknut counterclockwise.
Once the locknut is removed, you should be able to lift the drain flange out of the bathtub. If you encounter any difficulties during this process, such as a stubborn locknut or a rusted drain, it’s important to troubleshoot these common issues before proceeding.
Preparing the New Bathtub Drain for Installation
After removing the old drain, I start preparing the new one by cleaning the area around the drain hole. This step is crucial to ensure a proper seal and prevent any leaks.
I grab a clean rag and some mild cleaning solution, then carefully wipe away any debris, grime, or residue that may have accumulated over time. It’s essential to have a clean surface for the new drain to adhere to.
Once the area is clean and dry, I inspect the drain hole to ensure it’s free of any obstructions or damage. If there are any issues, I address them before proceeding further.
Taking the time to properly prepare the area will make the installation of the new bathtub drain much smoother.
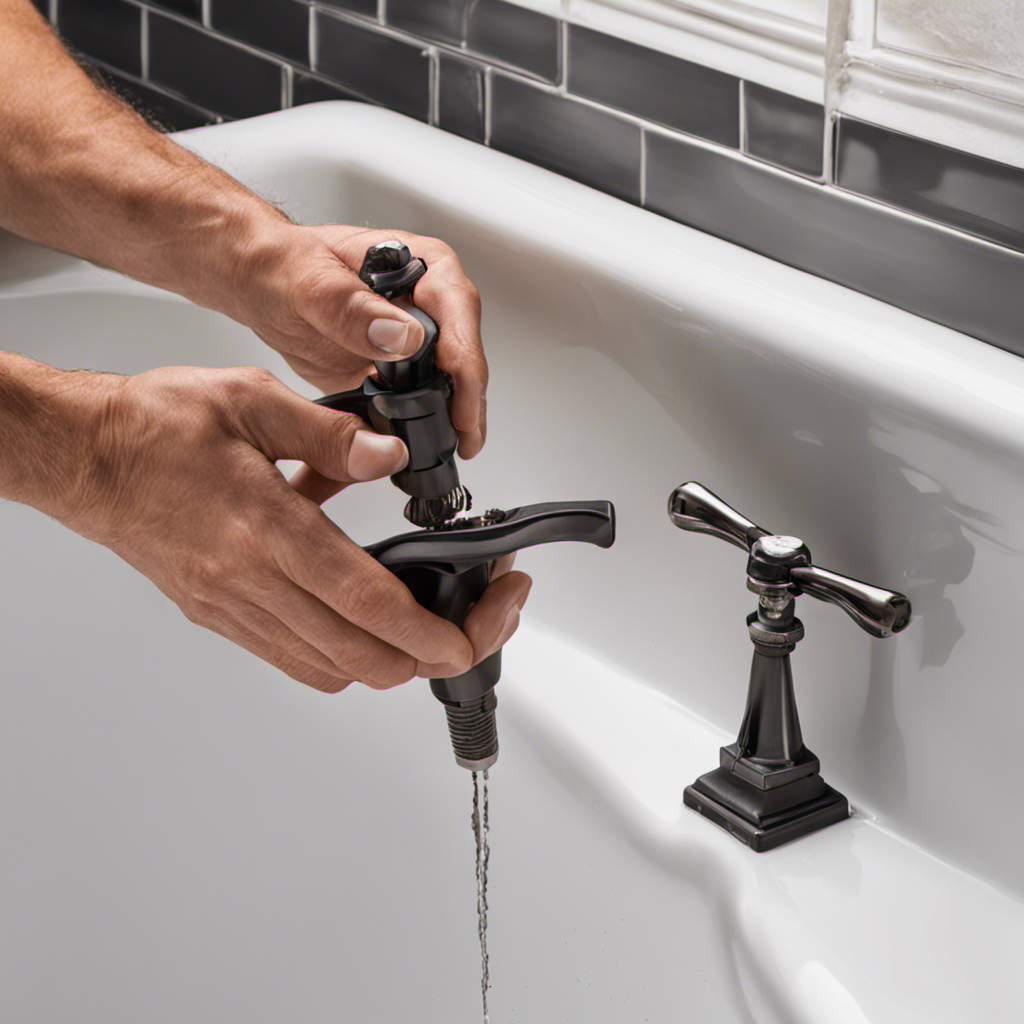
Installing the New Bathtub Drain
First, make sure the area around the drain hole is clean and dry before proceeding with the installation of the new drain.
Installing bathtub fixtures can be a daunting task, but with the right tools and knowledge, it can be done smoothly.
To begin, gather the necessary materials: a new drain, plumber’s putty, and a drain wrench.
Apply plumber’s putty to the underside of the flange and insert it into the drain hole, ensuring a tight fit.
Use the drain wrench to tighten the drain body securely.
Next, connect the drain pipe to the drain body, ensuring a watertight seal.
Finally, test the drain by running water and checking for any leaks.
If troubleshooting drain installation, ensure all connections are tight and properly sealed.
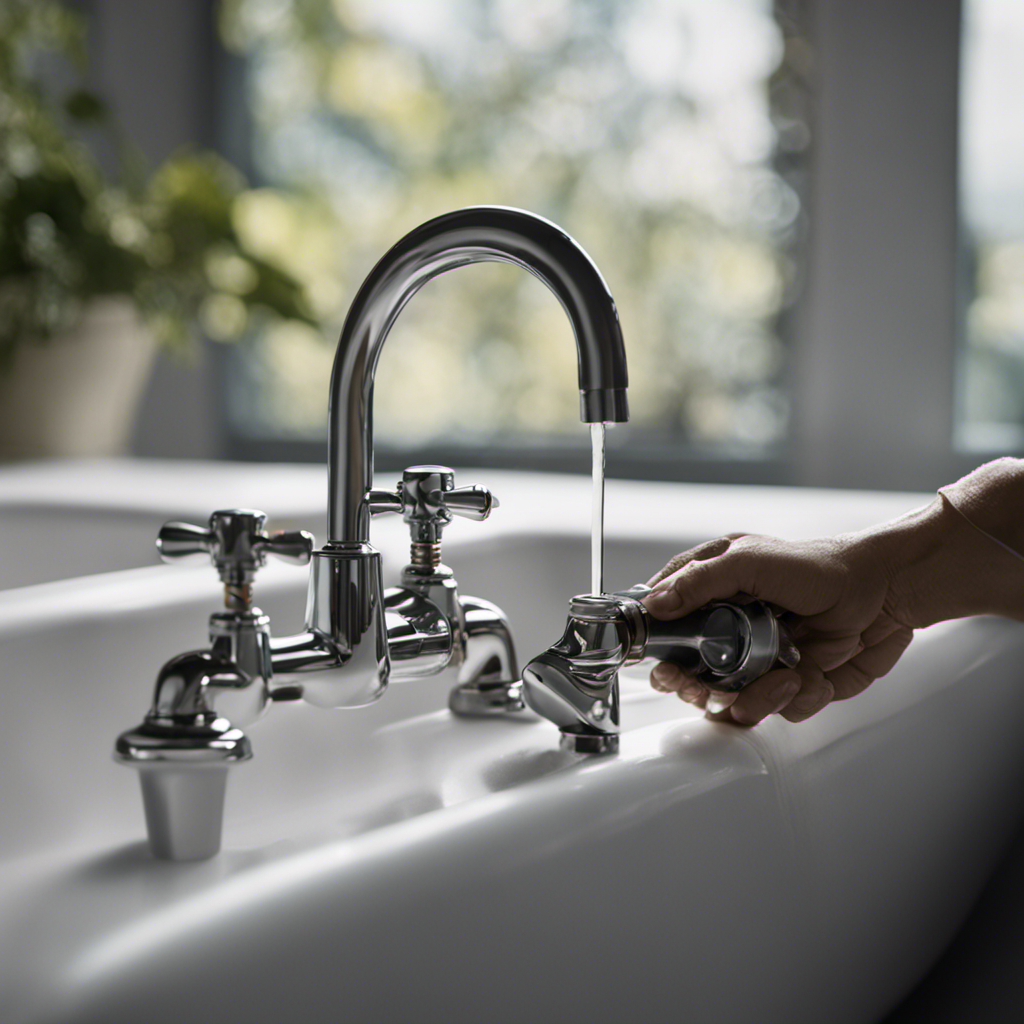
Testing the New Drain for Proper Functionality
After successfully installing the new bathtub drain, it’s important to ensure its functionality before completing the project. Testing the new drain is crucial to guarantee that it’s properly functioning and won’t cause any future issues.
Functionality of New Drain
To test the functionality of your new drain, you should first pour water down the drain and check for any leaks. This will ensure that the drain is properly installed and functioning as intended.
There are several advantages to having a new drain, such as improved water flow and prevention of clogs. Additionally, a new drain can enhance the overall appearance of your bathtub.
However, there may be some disadvantages to consider as well. For example, the installation process can be time-consuming and may require professional assistance. It is also important to choose a drain that is compatible with your bathtub’s plumbing system.
Overall, testing the new drain is crucial to ensure its proper functionality and to address any issues before they become major problems.
Now, let’s move on to the next section about testing the new drain.
Testing New Drain
Now that you have installed the new drain, you can begin testing its functionality. Testing the new drain is an essential step to ensure that it is working properly and to troubleshoot any potential issues.
One common mistake people make is not properly sealing the drain connections, which can lead to leaks and water damage. To test the functionality of the drain, fill the bathtub with water and let it sit for a while. Check for any signs of water leakage around the drain area.
Additionally, test the drain’s ability to quickly drain the water by releasing the stopper and observing how fast the water drains. If you notice any issues during the testing process, it is important to address them promptly to prevent further complications.
Cleaning up and Final Steps
Make sure you’ve wiped down the surrounding area and checked for any remaining debris before finishing up replacing the bathtub drain. Cleaning up after a plumbing project is just as important as the installation itself. Here are some cleaning and maintenance tips to ensure a job well done:
| Cleaning Tips | Maintenance Tips |
|---|---|
| Use a mild detergent to | Regularly inspect the |
| clean the bathtub surface | drain for any signs of |
| and surrounding area. | clogs or leaks. |
| Rinse thoroughly with | Keep a plunger nearby to |
| warm water to remove any | address minor clogs |
| residue. | immediately. |
Frequently Asked Questions
How Do I Know if I Need to Replace My Bathtub Drain?
If your bathtub drain is showing signs of being faulty, such as slow draining or leaks, it may be time to replace it. Follow these steps to replace your bathtub drain and ensure proper functionality.
Can I Replace the Bathtub Drain Without Removing the Entire Bathtub?
Yes, you can replace the bathtub drain without removing the entire bathtub. There are various options available for bathtub drain replacement, and the cost will depend on the specific method you choose.
What Are Some Common Problems That Can Occur During the Installation Process?
During the installation process, problems can arise such as leaks, improper alignment, or difficulty in removing the old drain. To troubleshoot, ensure proper sealing, align all components correctly, and use appropriate tools for removal.
Are There Any Special Tools Required to Install a New Bathtub Drain?
Yes, there are some special tools required for bathtub drain installation. These tools include a drain wrench, pliers, and a screwdriver. They are necessary for removing the old drain and installing the new one properly.
How Often Should the Bathtub Drain Be Replaced?
Replacing the bathtub drain depends on usage and maintenance. Signs of a faulty drain include slow draining, leaks, and odors. Regular cleaning and avoiding clogs can extend the lifespan.
Conclusion
In conclusion, replacing a bathtub drain is a task that can be easily accomplished with the right tools and materials. By following the steps outlined in this article, you can successfully remove the old drain and install a new one, ensuring proper functionality.
One real-life example of a successful bathtub drain replacement is when I helped my friend replace their drain. By carefully following the steps and using the correct tools, we were able to complete the task efficiently and without any issues.

Mateo’s flair for writing is matched only by his keen eye for design. As an interior designer turned writer, Mateo brings a unique perspective. He blends aesthetics with functionality in every piece he pens, providing readers with beautifully crafted content that’s also supremely useful.
Mateo loves exploring the latest bathroom tech trends and is our expert on smart toilets. When he’s not writing or designing, Mateo can be found sketching ideas for his next big project at local coffee shops.