I’ve always considered my bathroom to be a sanctuary, a place where I can escape the chaos of everyday life. But when my bathtub faucet started leaking, it disrupted my peaceful oasis.
Determined to restore tranquility, I embarked on a mission to replace the bathtub faucet cartridge. In this article, I will guide you through the process step by step, providing you with the knowledge and tools necessary to tackle this task with confidence.
Let’s get started and bring harmony back to your bathroom.
Key Takeaways
- Turn off the water supply before replacing the bathtub faucet cartridge.
- Choose the appropriate replacement cartridge based on the type of faucet.
- Use the proper tools, such as adjustable wrenches, screwdrivers, and pliers, for the replacement process.
- Test the water flow and check for leaks after installing the new cartridge.

Shower Faucet Set, 12" Ceiling Mount Rainfall Shower System with 2 Rain Shower Head and Multi-function Handheld Head Push Button Diverter Shower Faucet Trim Kit (12", Matte Black)
COMPREHENSIVE SHOWER SYSTEM- This shower faucet set comes with two shower heads that can be used together or...
As an affiliate, we earn on qualifying purchases.
Assessing the Faucet Cartridge
To assess the faucet cartridge, you’ll need to remove the handle and trim.
Diagnosing faucet problems can be tricky, but troubleshooting cartridge issues is a good place to start. The cartridge is a crucial component that regulates the flow of water in your bathtub faucet. It’s responsible for controlling both the hot and cold water supply.
If you’re experiencing leaks, low water pressure, or inconsistent temperature, the cartridge could be the culprit. To diagnose cartridge issues, first, turn off the water supply. Then, remove the handle and trim to access the cartridge. Inspect it for any signs of damage, such as cracks or wear.
If necessary, replace the cartridge with a new one to resolve the problem. Remember to follow the manufacturer’s instructions and use the correct replacement cartridge for your specific faucet model.

VANFOXLE Shower Faucet Set Matte Black Shower System,Push Button Diverter Shower Faucet with 2 in 1 Handheld,Ceiling Mount 10 Inch Shower Head with 6 Inch Wall Mount Shower Head
Push Button Diverter: Vanfoxle has developed an improved version of water control —— Replacing the traditional square-shaped controller...
As an affiliate, we earn on qualifying purchases.
Gathering the Necessary Tools and Materials
First, gather all the tools and materials you’ll need for this task. To replace a bathtub faucet cartridge, it’s crucial to choose the right replacement cartridge for your specific faucet model. Understanding the different types of faucets is essential in making this selection.
Start by identifying the type of faucet you have, whether it’s a compression, ball, cartridge, or ceramic disc faucet. Each type requires a specific replacement cartridge. Once you know the type, consult the manufacturer’s instructions or do some research to find the appropriate cartridge.
Additionally, gather a set of adjustable wrenches, screwdrivers, pliers, and a cartridge puller tool. Having these tools on hand will ensure a smooth and successful replacement process.

Gabrylly Shower System, Wall Mounted Shower Faucets Sets Complete for Bathroom with High Pressure 10" Rain Shower head and 3-Setting Handheld Shower Head Set, 2 Way Shower Valve Kit, Brushed Nickel
【Pressure Balance Shower Valve】Constructed of solid brass materials, The Shower Fixtures with a rough-in valve will be no...
As an affiliate, we earn on qualifying purchases.
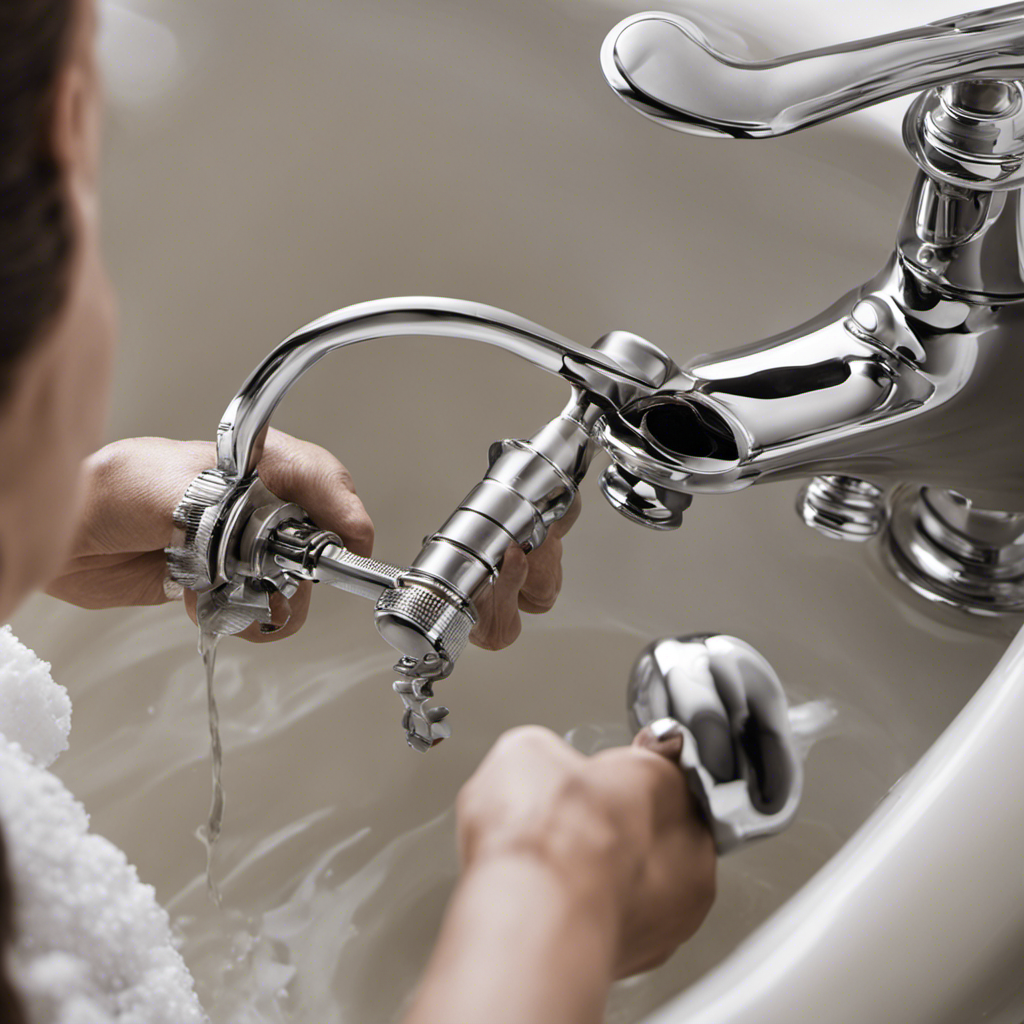
Removing the Old Cartridge
Now that you’ve gathered all the necessary tools and materials, it’s time to start removing the old cartridge from your bathtub faucet.
To begin, locate the set screw on the handle and use a screwdriver to loosen and remove it.
Next, firmly grasp the handle and pull it straight outwards to remove it from the base.
Once the handle is off, you’ll see the cartridge assembly. Depending on the type of faucet, you may need to use a cartridge puller or pliers to carefully remove the old cartridge.
If you encounter any resistance, try twisting the cartridge gently back and forth to loosen it before pulling it out completely.
Remember to troubleshoot any cartridge issues you may encounter during this process, such as leaks or difficulty turning the faucet on or off.

HammerHead Showers Solid Metal Single-Handle Trim Kit with Rough-In Shower Valve, Volume and Temperature Control, Pressure Balance, Chrome
THE PLUMBER'S CHOICE – Designed for EASY INSTALLATION and MAINTENANCE with a durable BRASS and STAINLESS STEEL construction,...
As an affiliate, we earn on qualifying purchases.
Installing the New Cartridge
When installing a new cartridge for your bathtub faucet, there are three key points that need to be addressed.
First, proper cartridge alignment is crucial to ensure that the faucet operates smoothly and effectively.
Second, securing the cartridge tightly is important to prevent any leaks or water damage.
Finally, testing for water flow ensures that the cartridge is functioning correctly and that the water is flowing at the desired rate.
Following these steps will help ensure a successful installation of the new cartridge.
Proper Cartridge Alignment
To properly align the bathtub faucet cartridge, you’ll need to ensure that it is inserted into the valve body correctly. Proper alignment is crucial for the cartridge to function effectively and prevent any leaks or drips.
Before inserting the cartridge, it is essential to inspect it for any signs of wear or damage. Regular cartridge maintenance is crucial to prolong its lifespan, but if it is beyond repair, there are cartridge replacement alternatives available.
Once you have verified the condition of the cartridge, align it with the valve body and gently push it in until it fits snugly. Take care not to force it, as this could cause damage.
Aligning the cartridge properly sets the stage for securing it tightly, which we will discuss in the next section.
Securing the Cartridge Tightly
To ensure a tight fit, carefully tighten the securing device around the cartridge. This step is crucial in preventing leaks and ensuring the proper functioning of your bathtub faucet.
When securing the cartridge, make sure to use the appropriate tools and apply even pressure to avoid any damage. If you encounter resistance or difficulty in tightening the securing device, double-check the alignment of the cartridge and its components. Ensure that all O-rings are in place and undamaged.
If you still experience issues, consult the manufacturer’s instructions or seek professional help.
Once you have securely fastened the cartridge, you can proceed to the next step of testing for water flow, ensuring that your bathtub faucet is working efficiently.
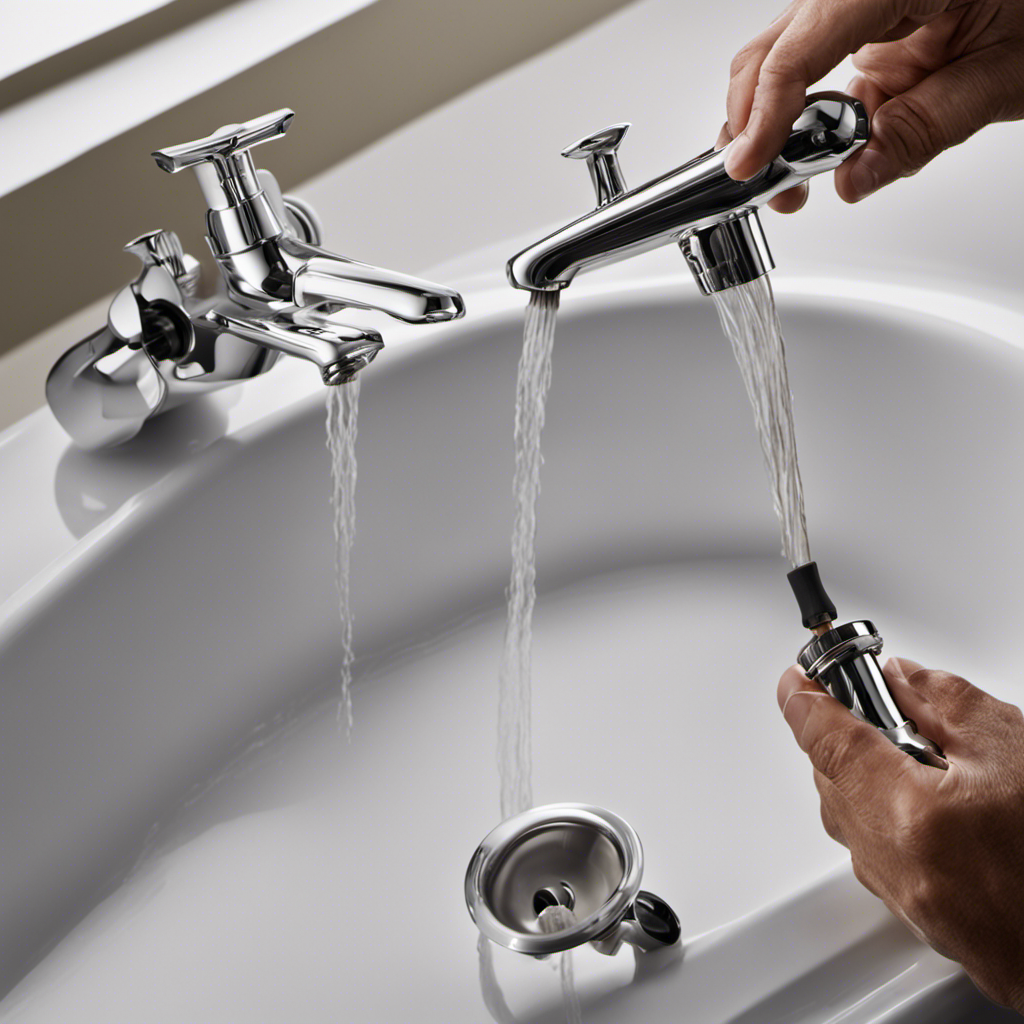
Testing for Water Flow
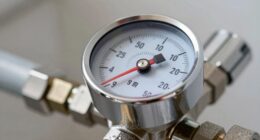
After securely fastening the cartridge, you can now check the water flow to ensure that it is working efficiently. To troubleshoot any issues with the water pressure, follow these steps:
- Turn on the water supply valves fully to allow maximum water flow.
- Open the faucet handle all the way to the ‘on’ position.
- Observe the water flow. It should be steady and strong.
- Check for any leaks around the cartridge or faucet connections.
- If the water flow is weak or inconsistent, you may need to adjust the water pressure by adjusting the valve on the main water supply line.
Testing the water flow is crucial to ensure that the replacement cartridge is functioning correctly. By following these steps, you can troubleshoot any water pressure issues and enjoy a properly working bathtub faucet.
Testing and Adjusting the Faucet
Once you’ve installed the new bathtub faucet cartridge, you’ll want to check for any leaks. To do this, turn the water supply back on and slowly open the hot and cold water handles. Check if there are any leaks coming from the cartridge or any other part of the faucet. If you notice any leaks, you may need to tighten the cartridge or replace any worn out seals.
In addition to checking for leaks, it’s also important to check for any water flow issues. If the water flow is weak or uneven, it could indicate a problem with the cartridge or the faucet aerator. Troubleshooting and repairing these issues will ensure that your new bathtub faucet cartridge functions properly.
Now, let’s move on to maintaining and extending the lifespan of the cartridge.
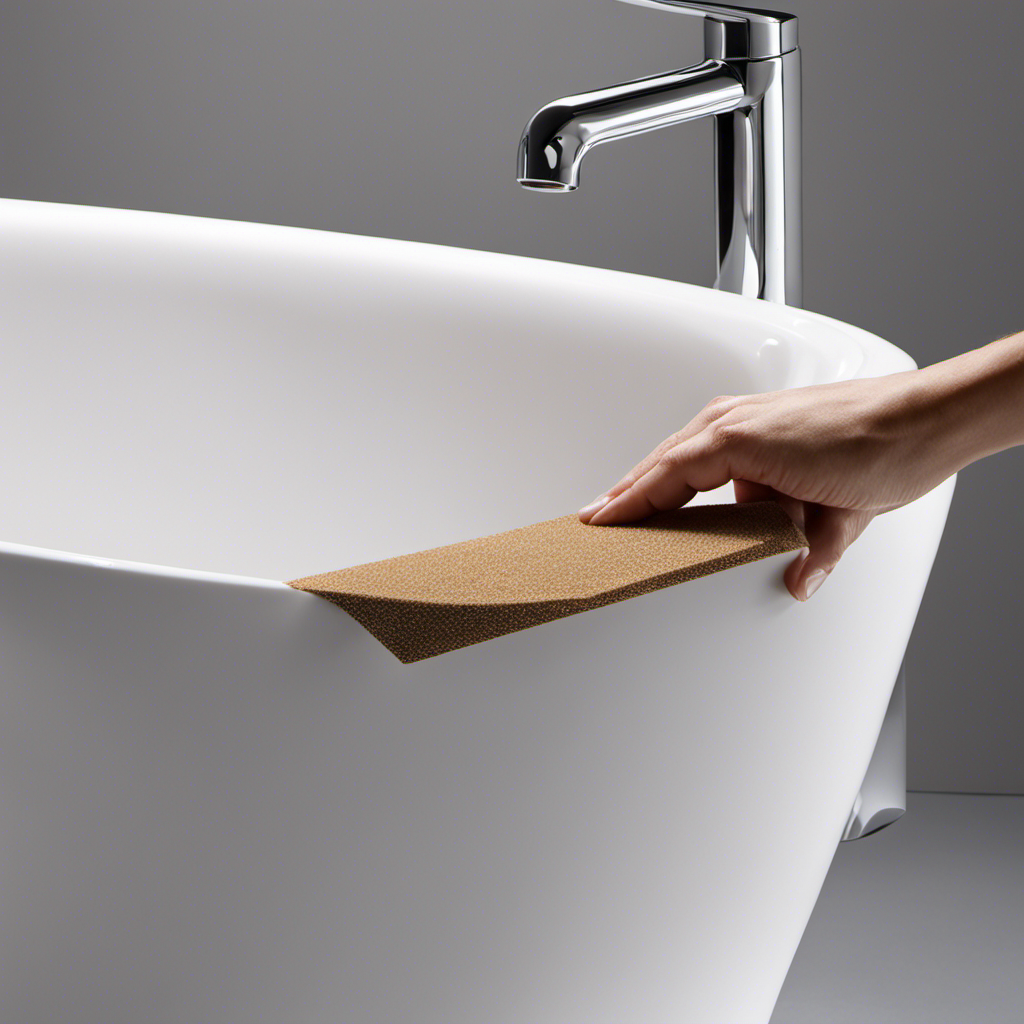
Maintaining and Extending the Lifespan of the Cartridge
Now that you know how to test and adjust your bathtub faucet, let’s discuss how to maintain and extend the lifespan of the cartridge.
Proper maintenance is crucial for ensuring the longevity of your cartridge and preventing any issues down the line. Here are some helpful tips:
- Regularly clean the cartridge to remove any buildup or debris that may affect its performance.
- Avoid using abrasive cleaners or harsh chemicals as they can damage the cartridge.
- Check for any leaks or drips and promptly repair them to prevent further damage to the cartridge.
- Lubricate the cartridge with a silicone-based lubricant to reduce friction and ensure smooth operation.
- Consider installing a water filter to prevent sediment and mineral buildup, which can negatively impact the cartridge’s lifespan.
Conclusion
In conclusion, replacing a bathtub faucet cartridge is a straightforward process that can be easily accomplished with the right tools and materials.
By assessing the cartridge, gathering the necessary supplies, and following the steps to remove and install the new cartridge, you can ensure a functional and leak-free faucet.
Remember to test and adjust the faucet before enjoying its renewed performance.
With proper maintenance, you can extend the lifespan of the cartridge and avoid future issues.
So go ahead, take charge of your faucet and enjoy a hassle-free bathing experience.