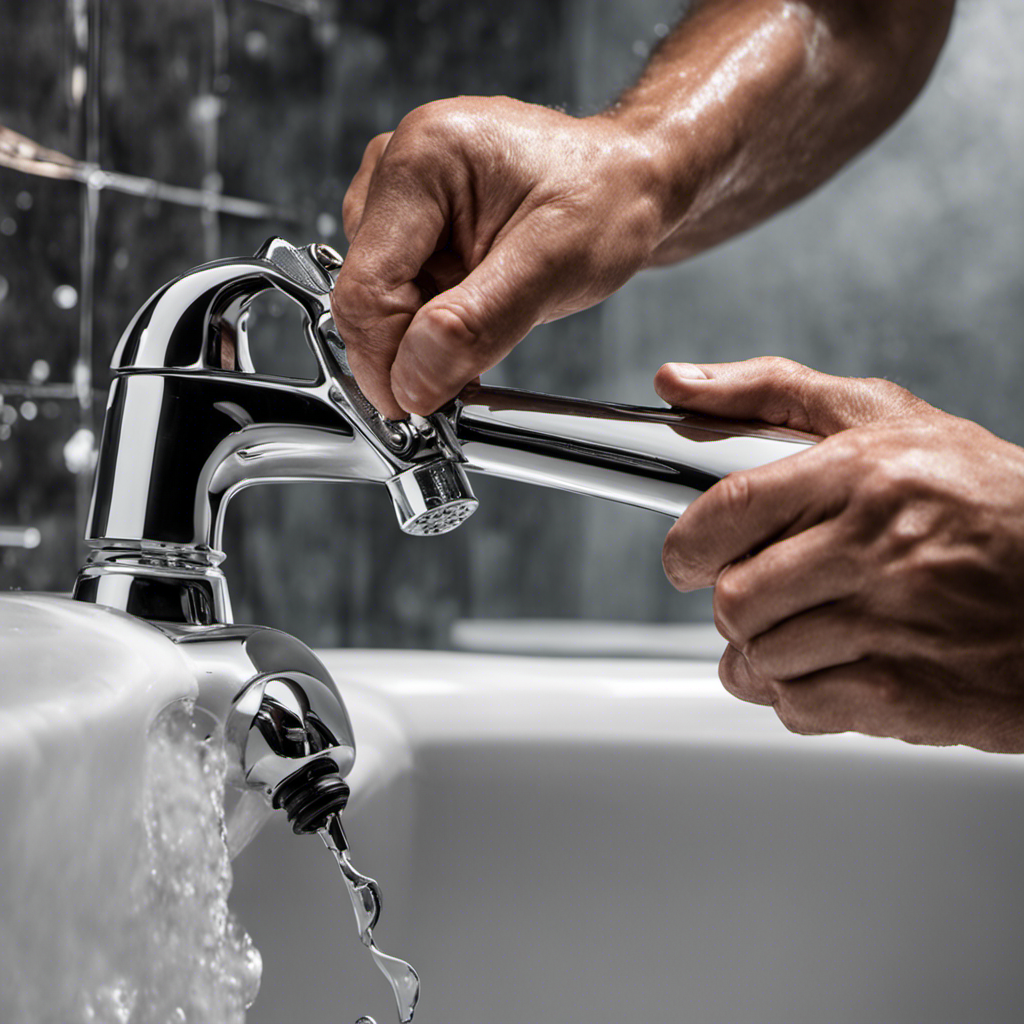
I’ve got a bathtub spout pipe that needs replacing, and I’m here to show you how it’s done.
With a few simple steps, some basic tools, and a little bit of know-how, you’ll have a brand new spout pipe in no time.
Say goodbye to leaks and hello to a fully functioning bathtub.
So let’s get started and dive into the world of plumbing as we learn how to replace a bathtub spout pipe.
Key Takeaways
- Visually evaluate the condition of the spout pipe for corrosion, cracks, or leaks.
- Check if the pipe is securely attached to the wall or if it wobbles.
- Use the appropriate tools like a pipe wrench and pliers for removing the old pipe.
- Ensure a proper fit of the new pipe by matching dimensions and specifications.
Assessing the Spout Pipe Condition
Before you begin replacing the bathtub spout pipe, it’s important to assess its condition. Inspecting the spout pipe is crucial to determine if it needs replacement.
Start by visually evaluating the pipe condition. Look for any signs of corrosion, cracks, or leaks. Run your fingers along the pipe to feel for any irregularities or roughness. Additionally, check if the pipe is securely attached to the wall or if it wobbles.
It’s essential to ensure that the pipe is in good condition before proceeding with the replacement process. If you notice any significant damage or deterioration, it is advisable to replace the spout pipe entirely.
Gathering the Necessary Tools and Supplies
To start, you’ll need a few tools and supplies for the job. Gathering supplies and choosing the right tools are crucial steps when replacing a bathtub spout pipe.
Here are the necessary items you’ll need:
-
Pipe wrench: This tool allows you to grip and turn the pipe fittings securely, ensuring a tight seal when installing the new spout pipe.
-
Teflon tape: This thin, white tape is used to create a watertight seal between threaded pipe fittings. It helps prevent leaks and ensures a proper connection.
-
Replacement spout pipe: Be sure to choose a spout pipe that matches the style and size of your bathtub. It’s important to measure the length and diameter of the existing pipe to find the correct replacement.
With these tools and supplies in hand, you’ll be ready to tackle the task of replacing your bathtub spout pipe with confidence and precision.
Removing the Old Bathtub Spout Pipe
When removing the old bathtub spout pipe, it’s crucial to select the proper tools for the job. The key tools needed include a pipe wrench, pliers, and a hacksaw.
However, there may be potential challenges faced during the removal process. For example, rusty or corroded pipes may require additional tools or techniques to successfully remove the old pipe.
Proper Tool Selection
Choosing the right tools is crucial for replacing the bathtub spout pipe. As a professional plumber, I understand the importance of tool maintenance and the impact it has on the job. Here are three alternative tool options that can make the task of replacing the bathtub spout pipe easier and more efficient:
-
Pipe wrench: This tool is essential for removing and installing the pipe. It provides a tight grip and allows for easy turning without damaging the pipe.
-
Tubing cutter: A tubing cutter is useful for cutting the new pipe to the desired length. It ensures a clean and precise cut, which is essential for a proper fit.
-
Thread seal tape: This tool is necessary for creating a watertight seal between the pipe and the spout. It prevents leaks and ensures a secure connection.
Potential Challenges Faced
One potential challenge faced during the replacement process is ensuring a proper fit of the new pipe. When replacing a bathtub spout pipe, it is essential to select a pipe that matches the dimensions and specifications of the old one. I have encountered several potential obstacles while replacing bathtub spout pipes, but with the right troubleshooting tips, these challenges can be overcome.
To assist you in troubleshooting potential obstacles during the replacement process, I have compiled a table with some common challenges and their corresponding solutions:
| Potential Obstacle | Troubleshooting Tip |
|---|---|
| Pipe is too short | Use a pipe extension |
| Pipe is too long | Cut the pipe to the desired length |
| Pipe doesn’t fit securely | Apply plumber’s tape for a tighter seal |
| Pipe is leaking | Use a pipe sealant or replace the pipe |
Installing the New Bathtub Spout Pipe
To install the new bathtub spout pipe, you’ll need to gather the necessary tools and materials. Here are some steps to guide you through the installation process:
-
Step 1: Shut off the water supply to the bathtub. This is crucial to prevent any leaks or accidents during the installation.
-
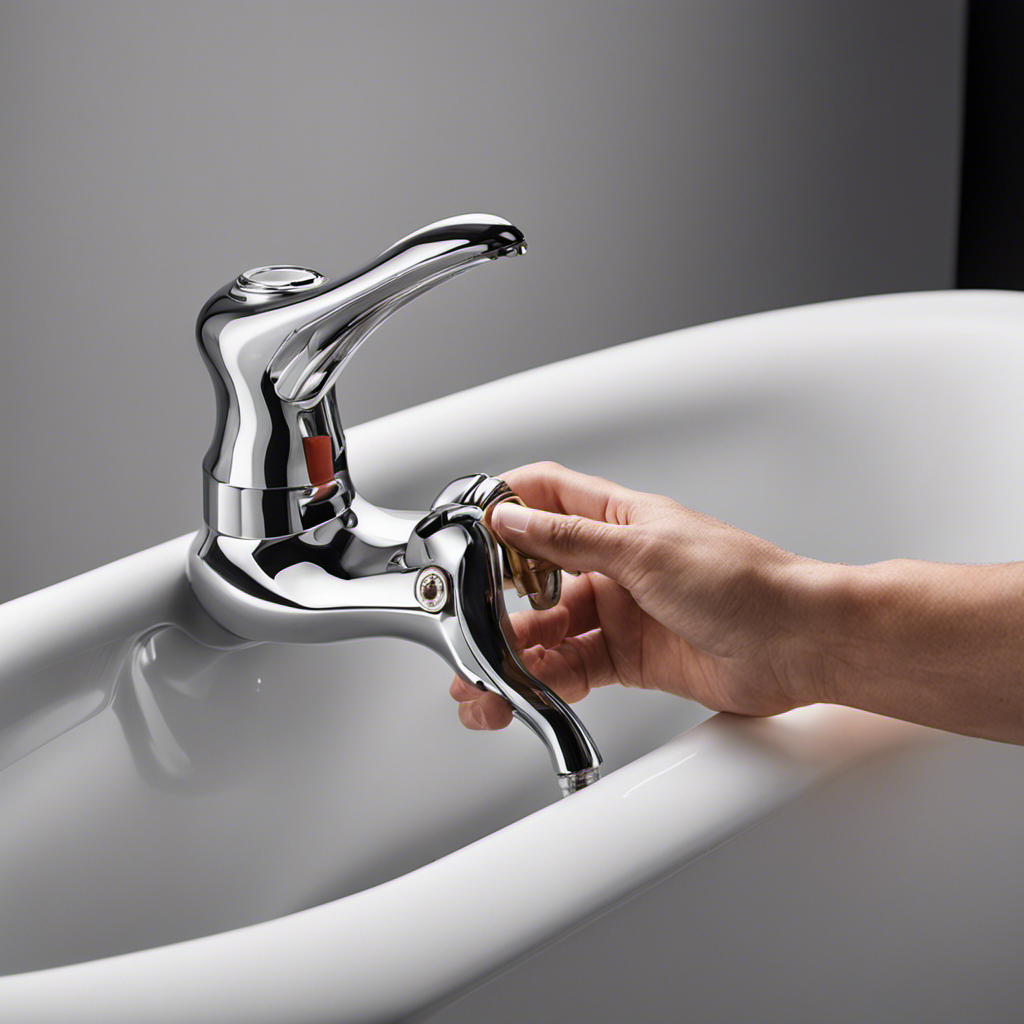
Step 2: Remove the old spout pipe by unscrewing it from the wall. Use a pipe wrench or pliers to loosen the connections and carefully pull it out.
-
Step 3: Clean the pipe threads and apply plumber’s tape to ensure a tight seal. This will help prevent any water leakage when installing the new spout pipe.
Once you have completed these steps, you can proceed with installing the new spout pipe. Make sure to follow the manufacturer’s instructions and secure the pipe tightly to the wall. Check for any leaks and troubleshoot as needed.
With the right tools and careful installation, you’ll have your new bathtub spout pipe ready in no time.
Testing the Replaced Spout Pipe for Leaks
Make sure you turn on the water supply and closely inspect the area around the installed pipe for any signs of leakage.
Once the new bathtub spout pipe is securely in place, it’s essential to conduct a pressure test to ensure there are no leaks.
Start by closing all other water outlets in the bathroom, including faucets and showerheads. Then, turn on the water supply and let it run for a few minutes.
During this time, carefully observe the area around the installed pipe for any signs of water leakage. Pay close attention to joints and connections, as these are common areas for leaks to occur.
If you notice any leaks, tighten the connections or apply plumber’s tape as necessary.
Once the pressure test is complete and there are no signs of leakage, you can proceed to the finishing touches and clean-up.
Finishing Touches and Clean-up
Now that the bathtub spout pipe replacement is complete, it’s time to focus on the finishing touches and clean-up.
This involves three important steps:
-
Cleaning and sanitizing: I’ll thoroughly clean and sanitize the area around the replaced spout pipe to ensure it’s free from any debris or contaminants.
-
Caulking and sealing: Next, I’ll apply caulk and sealant to provide a waterproof barrier and prevent any water leakage.
-
Final inspection and testing: Finally, I’ll conduct a final inspection and testing to make sure everything is in proper working order before considering the project complete.
Cleaning and Sanitizing
After removing the bathtub spout pipe, it’s important to clean and sanitize it before installing the new one. Cleaning and sanitizing the pipe ensures that any dirt, grime, or bacteria that may have accumulated over time are completely removed, promoting good hygiene and preventing any potential health hazards.
To effectively clean the pipe, there are a few recommended cleaning methods and products that can be used:
-
Vinegar and Baking Soda: Create a paste using equal parts vinegar and baking soda. Apply the paste to the pipe and scrub gently with a brush. Rinse thoroughly with water.
-
Bleach Solution: Mix one part bleach with ten parts water. Apply the solution to the pipe and let it sit for a few minutes. Scrub the pipe with a brush and rinse well to remove any residue.
-
Commercial Pipe Cleaners: There are several commercial pipe cleaners available in the market specifically designed for removing dirt and bacteria. Follow the instructions on the product for best results.
Caulking and Sealing
To properly seal the area around the bathtub, it’s important to use a waterproof caulk that will prevent water from leaking into the walls or floor. When it comes to re-caulking techniques, there are a few best sealing methods to ensure a long-lasting and effective seal.
First, ensure that the surface is clean and dry before applying the caulk. Remove any old caulk using a caulk removal tool or a putty knife.
Next, cut the caulk tube nozzle at a 45-degree angle to create an opening that allows for a smooth and controlled application. Apply a thin and even bead of caulk along the joint, making sure to fill any gaps or cracks.
Use a caulk smoothing tool or your finger to smooth out the caulk and create a neat finish. Finally, allow the caulk to dry and cure according to the manufacturer’s instructions before using the bathtub.
Following these re-caulking techniques and using the best sealing methods will ensure a watertight seal that protects your walls and floor from water damage.
Final Inspection and Testing
Before you finish the caulking process, it’s important to perform a final inspection and test to ensure that the seal is secure and there are no leaks. This step is crucial in preventing any water damage or potential issues down the line.
To conduct a thorough final inspection, follow these steps:
-
Visually inspect the caulked area for any gaps, cracks, or unevenness. Use a flashlight if needed to ensure no areas are missed.
-
Perform a water pressure test by turning on the water and checking for any leaks. Start with low pressure and gradually increase to simulate different water flow scenarios.
-
Check the surrounding areas for any signs of water leakage, such as dampness or water stains.
Conclusion
In conclusion, replacing a bathtub spout pipe is a manageable task with the right tools and supplies. By assessing the condition of the current pipe, removing it carefully, and installing a new one correctly, you can ensure a leak-free and functional spout.
Testing the replaced pipe for any leaks is crucial for its long-term durability. With a little effort and attention to detail, you can have a brand new spout pipe that enhances the functionality of your bathtub.
So why wait? Upgrade your bathtub spout pipe today and enjoy a refreshing bathing experience.


