I’ve been there – staring at a worn-out and outdated bathtub that desperately needs replacing. But fear not, because I’m here to guide you through the process.
In this article, I’ll share my expertise on how to replace your bathtub step-by-step. From assessing the condition of your bathtub to connecting the plumbing fixtures, I’ll cover it all.
So, let’s roll up our sleeves and get ready to transform your bathroom into a modern oasis.
Key Takeaways
- Inspect the bathtub surface for cracks, chips, or discoloration.
- Pay attention to the condition of the caulking and grout.
- Determine if a repair or full replacement is needed.
- Gather the necessary tools and materials for the bathtub replacement process.

XCQQ Electric Heated Bidet Toilet Seat with Warm Water Wash, Warm Air Dryer, Soft Closed Lid, Night Light, LED Display, Toilet Seat with Bidet Requires Outlet - Elongated
Electronic Bidet Toilet Seat: This heated toilet seat features a soft-close lid, warm air dryer, adjustable water temperature...
As an affiliate, we earn on qualifying purchases.
Assessing the Condition of Your Bathtub
First, you’ll want to take a close look at your bathtub to assess its condition. Evaluating the damage is an essential step before deciding on the best course of action. Start by inspecting the surface for cracks, chips, or discoloration. Check the edges and corners for any signs of leakage or water damage. Pay attention to the condition of the caulking and grout as well.
Once you have evaluated the extent of the damage, you can consider repair options. Is a simple patch-up enough, or does the entire bathtub need to be replaced? This assessment will help you determine the most appropriate solution for your bathtub.
Now, let’s move on to gathering the necessary tools and materials for the replacement process.
KERDE P30B Bidet Toilet Seat - Dual Control (Side Panel & Remote), Warm Water Wash, Heated Seat, Warm Air Dryer, LED Night Light,Existing Toilets Electric Bidet Elongated Electronic Heated Smart
𝐃𝐮𝐚𝐥 𝐂𝐨𝐧𝐭𝐫𝐨𝐥: 𝐒𝐢𝐝𝐞 𝐏𝐚𝐧𝐞𝐥 & 𝐖𝐢𝐫𝐞𝐥𝐞𝐬𝐬 𝐑𝐞𝐦𝐨𝐭𝐞:The KERDE P30B offers dual control options for ultimate convenience. Use the...
As an affiliate, we earn on qualifying purchases.
Gathering the Necessary Tools and Materials
Before you begin, make sure you have all the necessary tools and materials for the replacement. Gathering materials is an essential step in the bathtub replacement process. Here are some bathtub replacement tips to help you gather what you need:
-
Bathtub replacement kit: This includes all the necessary components for installing a new bathtub, such as the new tub, drain assembly, overflow cover, and installation instructions.
-
Wrenches: You’ll need both an adjustable wrench and a pipe wrench to loosen and tighten various connections.
-
Screwdriver: A Phillips screwdriver will come in handy for removing screws and securing new fixtures.
-
Putty knife: This tool will help you remove old caulk and adhesive from the existing tub.
-
Safety equipment: Don’t forget to gather safety goggles, gloves, and a dust mask to protect yourself during the process.
Now that you have all the necessary tools and materials, you can move on to the next step of removing the old bathtub.

ALPHA BIDET JX2 Elongated Bidet Toilet Seat, White, Endless Warm Water, *NEW* Bowl Mist, LED Light, Quiet Operation, Wireless Remote, Stainless Steel Nozzle, Sittable Lid, 3 Year Warranty
WARM AND SOOTHING - Tankless on-demand water heating for endless warm water
As an affiliate, we earn on qualifying purchases.
Removing the Old Bathtub
When it comes to removing an old bathtub, there are several key points to keep in mind.
First, you’ll need to remove the drain and fixtures, which can usually be done with a wrench and some elbow grease.
Next, you’ll want to disconnect the water supply, making sure to turn off the main water valve before doing so.
Removing Drain and Fixtures
To begin removing the drain and fixtures, you’ll need to gather a pair of pliers and a wrench. Here are the steps to replace your bathtub drain and fixtures:
-
Locate the drain cover and use the pliers to unscrew it counterclockwise.
-
Once the drain cover is removed, use the pliers to disconnect the drain flange by turning it counterclockwise.
-
Next, use the wrench to loosen the fittings connecting the fixtures to the water supply lines.
-
Carefully remove the fixtures from the bathtub by pulling them away from the wall.
-
Finally, use the pliers to disconnect the overflow drain assembly by unscrewing it counterclockwise.
By following these steps, you will be able to remove the old drain and fixtures in preparation for the installation of your new bathtub.
Now, let’s move on to the next step: disconnecting the water supply.
Disconnecting Water Supply
You’ll need to shut off the water supply valves before disconnecting the fixtures. When it comes to replacing a bathtub, one of the first steps is disconnecting the water supply. This is crucial to ensure a smooth and efficient process.
If you’re relocating the plumbing or simply replacing the fixtures, it’s important to handle this task with care. Hiring professionals can be a wise decision, especially if you’re not experienced in plumbing work. They have the knowledge and expertise to carry out the job safely. By entrusting the water supply disconnection to professionals, you can have peace of mind knowing that it will be done correctly.
Once the water supply is disconnected, you can move on to the next step of detaching the bathtub from the walls.
Detaching Bathtub From Walls
Now that we have successfully disconnected the water supply, the next step in replacing a bathtub is detaching it from the walls. This can be a bit challenging, but with the right tips and techniques, it can be done safely and efficiently. Here are some helpful suggestions for removing a bathtub:
- Start by removing the caulking around the edges of the tub using a utility knife or a caulk removal tool.
- Locate and remove any screws or nails that are securing the bathtub to the walls or floor.
- Use a pry bar or a crowbar to gently pry the tub away from the walls, starting from one corner and working your way around.
- Be cautious not to damage the surrounding tiles or the plumbing fixtures.
Once the tub is detached, carefully lift it out of the bathroom, making sure to have a helper for support.

Clirass Elongated Heated Toilet Seat with Night Light, Three Temperature Settings Heated Seat,70 in Power Cord, Fit Elongated Toilet, Cold Water Bidet Function Toilet Seat With Slow Close
3 Temperature Settings:Power supply connection required, With three adjustable temperature settings, you can choose a comfortable temperature heated...
As an affiliate, we earn on qualifying purchases.
Preparing the Area for Installation
Before installing a new bathtub, it’s important to properly prepare the area.
This involves clearing the workspace of any clutter or debris that may hinder the installation process.
Additionally, any old fixtures, such as faucets or showerheads, should be removed to ensure a clean and seamless installation.
Clearing the Workspace
First, make sure you’ve cleared the workspace before starting to replace the bathtub. This step is crucial for workspace organization and safety precautions.
Here are five key points to consider:
- Remove any objects or furniture near the bathtub area to create enough space for maneuvering.
- Ensure there are no electrical appliances or outlets near the workspace to prevent any accidents.
- Cover the floor with protective sheets or drop cloths to avoid any damage or debris.
- Organize your tools and materials in a designated area nearby for easy access during the installation process.
- Keep a first aid kit handy in case of any emergencies or accidents.
Removing Old Fixtures
Make sure you’ve cleared the workspace by removing any old fixtures to prepare for the bathtub replacement process. Before installing the new bathtub, it’s crucial to properly remove the old fixtures.
Start by removing any caulk around the edges of the bathtub using a caulk remover tool. This will ensure a clean surface for the new bathtub to be installed.
Next, you’ll need to disconnect the plumbing connected to the old bathtub. Turn off the water supply and use a wrench to loosen the connections. Be careful not to damage any pipes during this process.
Once the plumbing is disconnected, you can proceed with removing the old bathtub. This may require some heavy lifting, so make sure you have some assistance if needed.
With the old fixtures removed, you’re now ready to move on to installing the new bathtub.
Installing the New Bathtub
To begin installing the new bathtub, you’ll need to carefully position it in the designated area. Here are some key steps to follow:
-
Measure the space: Ensure that the new bathtub will fit properly in the area where the old one was removed.
-
Choose the right bathtub: Consider factors such as size, material, and style that best suit your needs and preferences.
-
Prepare the area: Clear out any debris, clean the floor, and make sure the plumbing is ready for installation.
-
Install new hardware: Attach any necessary brackets or supports to secure the bathtub in place.
-
Lower the bathtub into position: With the help of a friend, carefully lower the new bathtub into the designated area.
Now that the new bathtub is in place, it’s time to connect the plumbing fixtures and ensure everything is properly sealed and functioning.
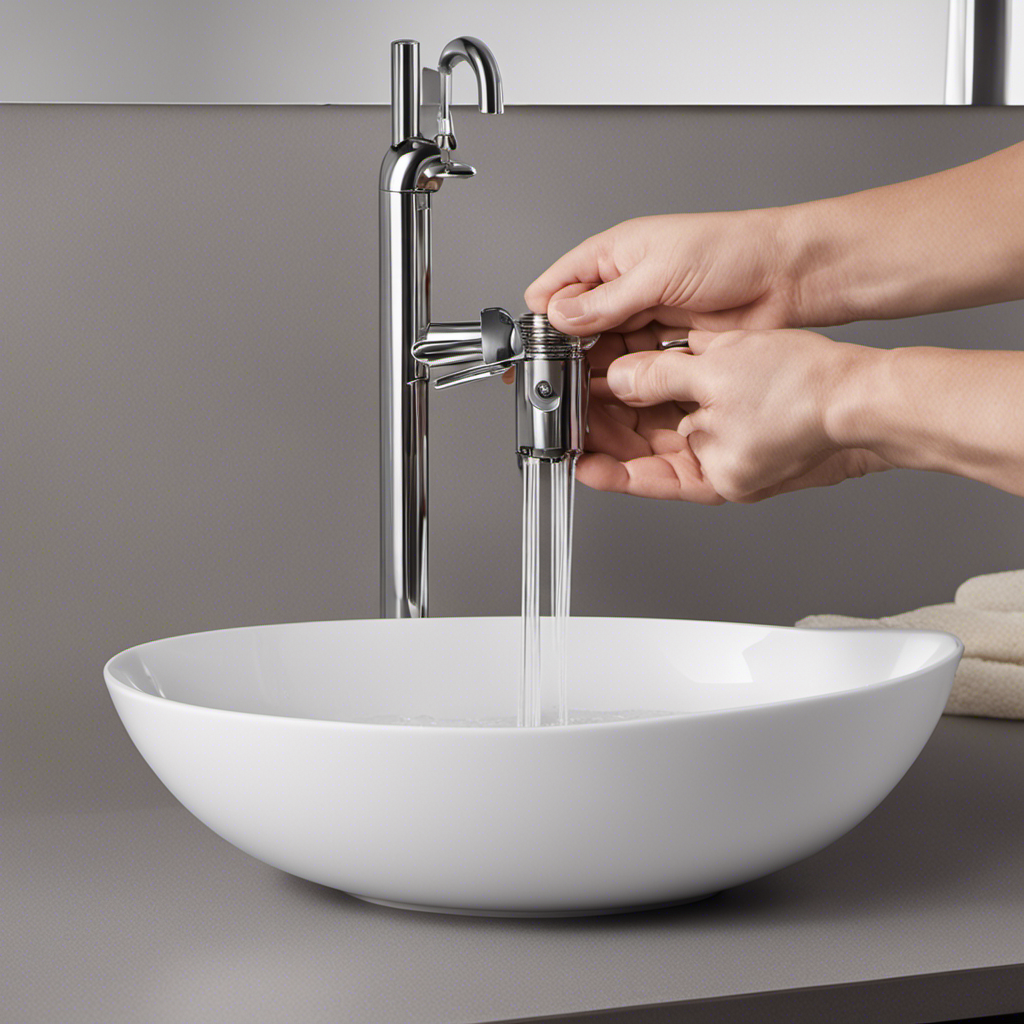
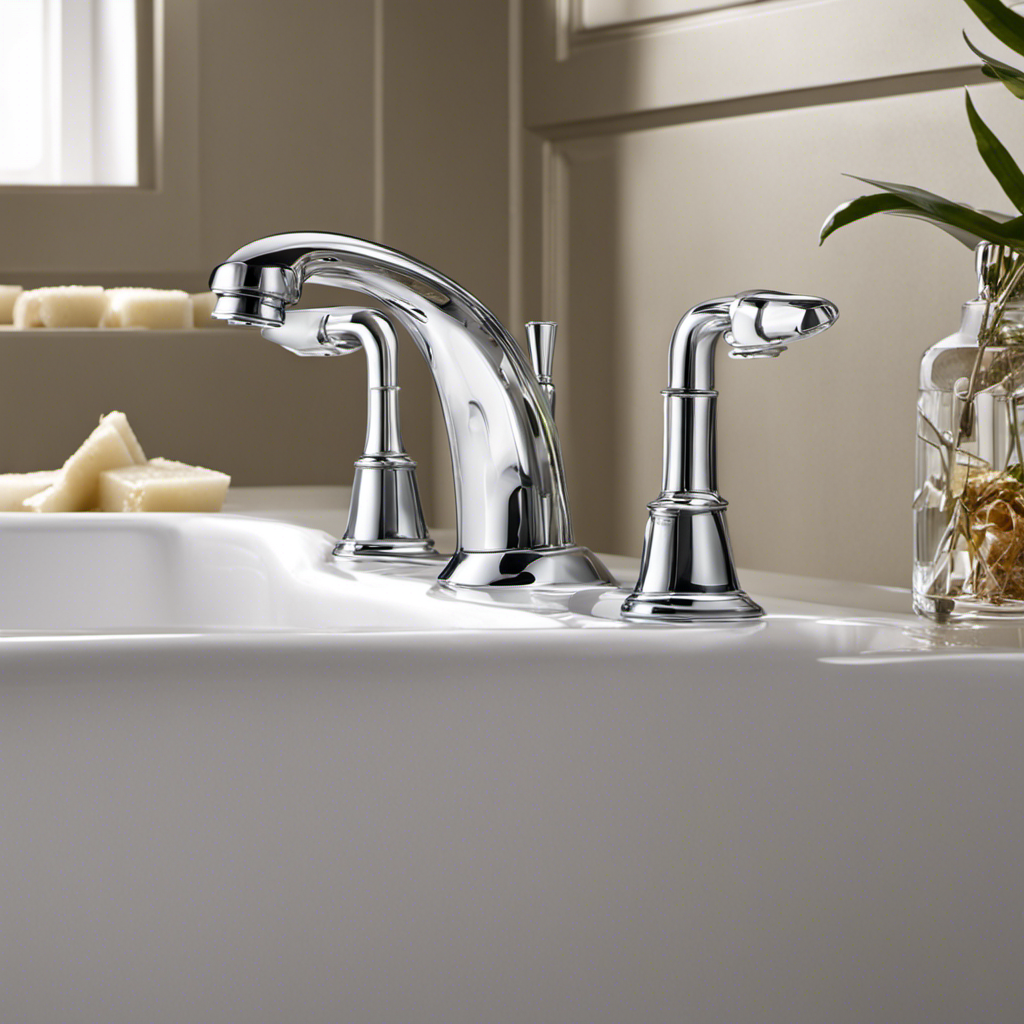
Connecting the Plumbing Fixtures
Once the new bathtub is securely in place, it’s important to connect the plumbing fixtures to ensure proper functionality.
Properly aligning plumbing connections is crucial in this process. To begin, I carefully inspect the existing plumbing and compare it to the new bathtub’s specifications. This allows me to determine the necessary adjustments and ensure a perfect fit.
I then connect the hot and cold water supply lines, making sure to tighten them securely to avoid leaks. Additionally, I connect the drain assembly, ensuring a watertight seal.
To guarantee proper water flow and pressure in the new bathtub, I test the connections by turning on the water and checking for any leaks or irregularities.
Sealing and Waterproofing the Bathtub
After aligning the plumbing connections, it’s important to seal and waterproof the bathtub to prevent any leakage or water damage. Proper waterproofing techniques are crucial in ensuring the longevity and durability of the bathtub installation.
Here are some key steps to follow:
- Choose the right caulk: Select a high-quality, waterproof caulk that is specifically designed for use in bathrooms.
- Clean and dry the surface: Thoroughly clean and dry the areas where the caulk will be applied to ensure proper adhesion.
- Apply caulk along the edges: Use a caulk gun to apply a bead of caulk along the edges of the bathtub, ensuring a continuous and even seal.
- Smooth and shape the caulk: Use a caulking tool or your finger to smooth and shape the caulk, removing any excess.
- Allow the caulk to dry: Follow the manufacturer’s instructions for the recommended drying time.
Testing for Leaks and Proper Drainage
Properly testing for leaks and ensuring proper drainage is essential to prevent any potential water damage or issues with the bathtub installation.
When it comes to testing for leaks, there are a few methods that I have found to be effective. First, I recommend filling the bathtub with water and letting it sit for a few hours. This allows you to check for any signs of leakage around the drain, faucet, or any other areas.
Another method is to use a water-filled bag and place it over the drain. If the water level drops, it indicates a leak.
Troubleshooting tips include checking the bathtub’s plumbing connections and ensuring they are tight and secure. Additionally, inspecting the bathtub’s sealant and caulking can help identify any potential areas where leaks may occur.
Cleaning and Finishing Touches
To give your bathtub a polished look, you can use a non-abrasive cleaner and a soft cloth to wipe away any dirt or grime. This will ensure that your bathtub stays clean and fresh for a longer period of time.
Here are some cleaning techniques and maintenance tips that I have learned over the years:
- Regularly clean your bathtub with a non-abrasive cleaner to prevent build-up of soap scum and grime.
- Use a soft cloth or sponge to wipe the surface of the bathtub, paying extra attention to the corners and edges.
- For stubborn stains, you can use a paste made of baking soda and water, and gently scrub the affected area.
- Avoid using harsh chemicals or abrasive scrubbers, as they can damage the surface of your bathtub.
- After cleaning, rinse the bathtub thoroughly with warm water to remove any residue.
Frequently Asked Questions
How Long Does It Typically Take to Replace a Bathtub?
Typically, bathtub replacement can take a few days. It involves removing the old tub, preparing the area, and installing the new one. When selecting a new bathtub, consider factors like size, material, and style.
Can I Replace a Bathtub Myself or Do I Need to Hire a Professional?
Sure, I can replace a bathtub myself. But let’s be real, unless you’ve got mad DIY skills, hiring a pro might save you from potential disasters. Consider the pros and cons, my friend.
What Are the Signs That Indicate It’s Time to Replace a Bathtub?
When it’s time to replace a bathtub, signs like cracks, leaks, and outdated appearance can indicate the need for a replacement. There are various options and materials available for bathtub replacement.
Are There Any Specific Safety Precautions I Should Take When Removing an Old Bathtub?
When removing an old bathtub, it’s crucial to prioritize safety. Wearing proper safety equipment like gloves, goggles, and a mask is essential. Be aware of potential hazards like sharp edges and heavy lifting.
How Much Does It Usually Cost to Replace a Bathtub?
When considering bathtub replacement options, it’s important to factor in the cost. Factors affecting bathtub replacement cost include the type of bathtub, materials, labor, and any additional modifications needed.
Conclusion
In conclusion, replacing a bathtub can be a challenging but rewarding project.
By assessing the condition of your bathtub and gathering the necessary tools and materials, you can ensure a smooth installation process.
Removing the old bathtub and preparing the area for installation are crucial steps that require attention to detail.
Installing the new bathtub and connecting the plumbing fixtures should be done with precision and care.
Sealing and waterproofing the bathtub is essential to prevent any leaks.
Finally, testing for leaks and proper drainage, as well as giving the bathtub a thorough clean, will ensure a successful replacement.
Remember, ‘measure twice, cut once’ to avoid any unnecessary mistakes.
Happy bathtub replacing!