I’ve always believed that a bathtub is like a sanctuary, a place where we can wash away the stress and worries of the day. But what happens when your faucet starts leaking or loses its charm? Fear not, because I’m here to guide you through the process of replacing that old faucet in your bathtub.
In just a few simple steps, we’ll have your sanctuary restored to its former glory. So grab your tools, roll up your sleeves, and let’s dive into this step-by-step guide together.
Key Takeaways
- Understanding the type of faucet in your bathtub is important for replacement
- Regularly clean the faucet to prevent mineral deposits
- Proper maintenance extends the lifespan of your faucet
- Properly sealing connections prevents water leaks and ensures efficient functioning

ZeroWater Official Replacement Filter - 5-Stage 0 TDS Water Filter Replacement IAPMO Certified to Reduce Lead, Chromium, and PFOA/PFOS 4-Pack
- Filter Pack Includes 4 Filters: Each with 15-gallon lifespan
- Effective 5-Stage Filtration: Removes dissolved solids for pure water
- Certified for Safety and Purity: IAPMO certified, BPA-free, reduces contaminants
As an affiliate, we earn on qualifying purchases.
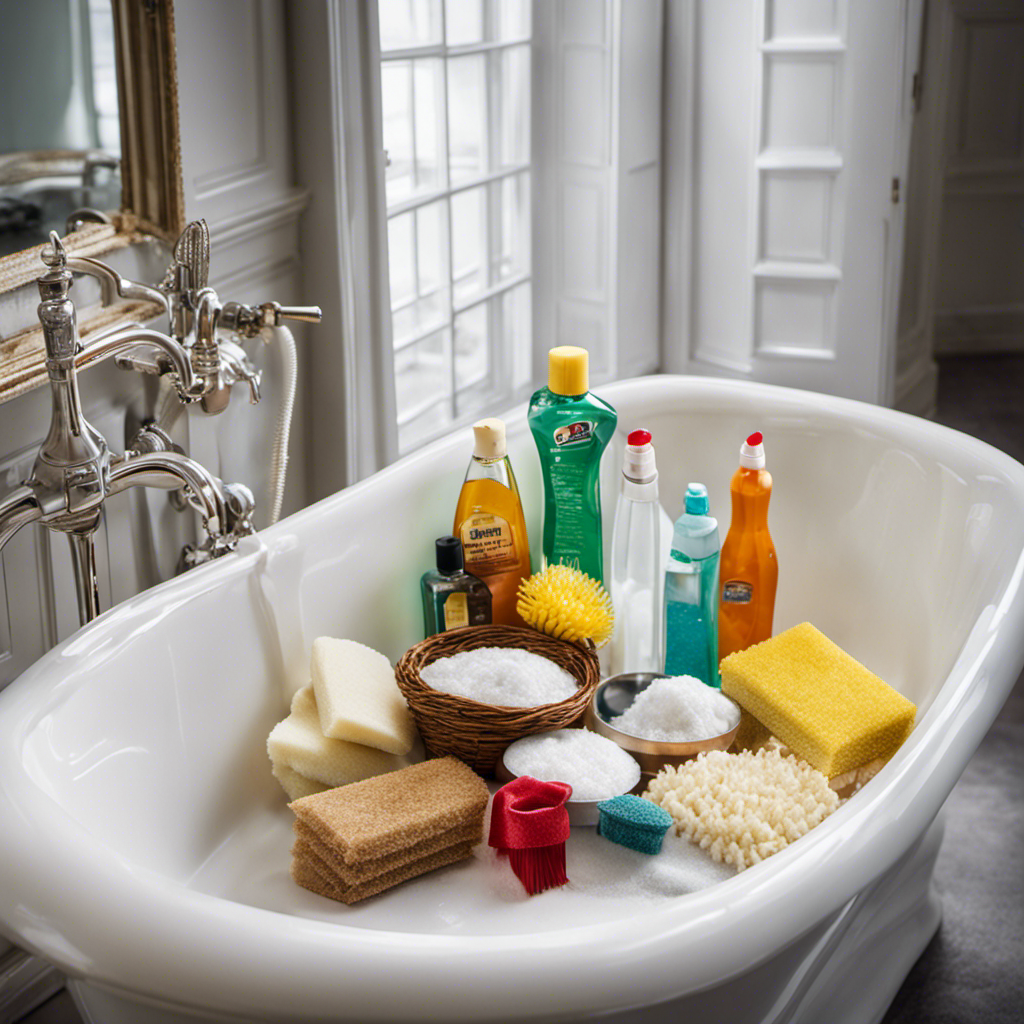
Required Tools and Materials
To replace the faucet in a bathtub, you’ll need a few tools and materials.
First, let’s talk about the different types of faucets you might come across. There are compression faucets, which have separate hot and cold handles that you turn to control the water flow. Then, there are cartridge faucets, which have a single handle that you move up and down to adjust both the temperature and flow. Lastly, there are ball faucets, which also have a single handle but move in all directions to control the water.
Now, let’s move on to faucet maintenance.
It’s important to regularly clean your faucet to prevent any build-up of mineral deposits. You can use a mixture of vinegar and water to remove any limescale or grime.
Additionally, make sure to check for any leaks or drips and replace any worn-out parts as needed.
Removing the Old Faucet
Start by disconnecting the water supply lines and unscrewing the nuts holding the old faucet in place. This will allow you to remove the old faucet and prepare for the installation of a new one.
Here are the steps to successfully remove the old faucet:
-
Turn off the water supply. Locate the shut-off valves for the hot and cold water lines and turn them clockwise to close them.
-
Use a wrench to disconnect the water supply lines from the faucet. Place a bucket or towel underneath to catch any water that may drip.
-
Remove the nuts holding the faucet in place. These can usually be found underneath the sink or bathtub. Use a wrench or pliers to loosen and remove them.
-
Once the nuts are removed, carefully lift the old faucet out of its position and set it aside.
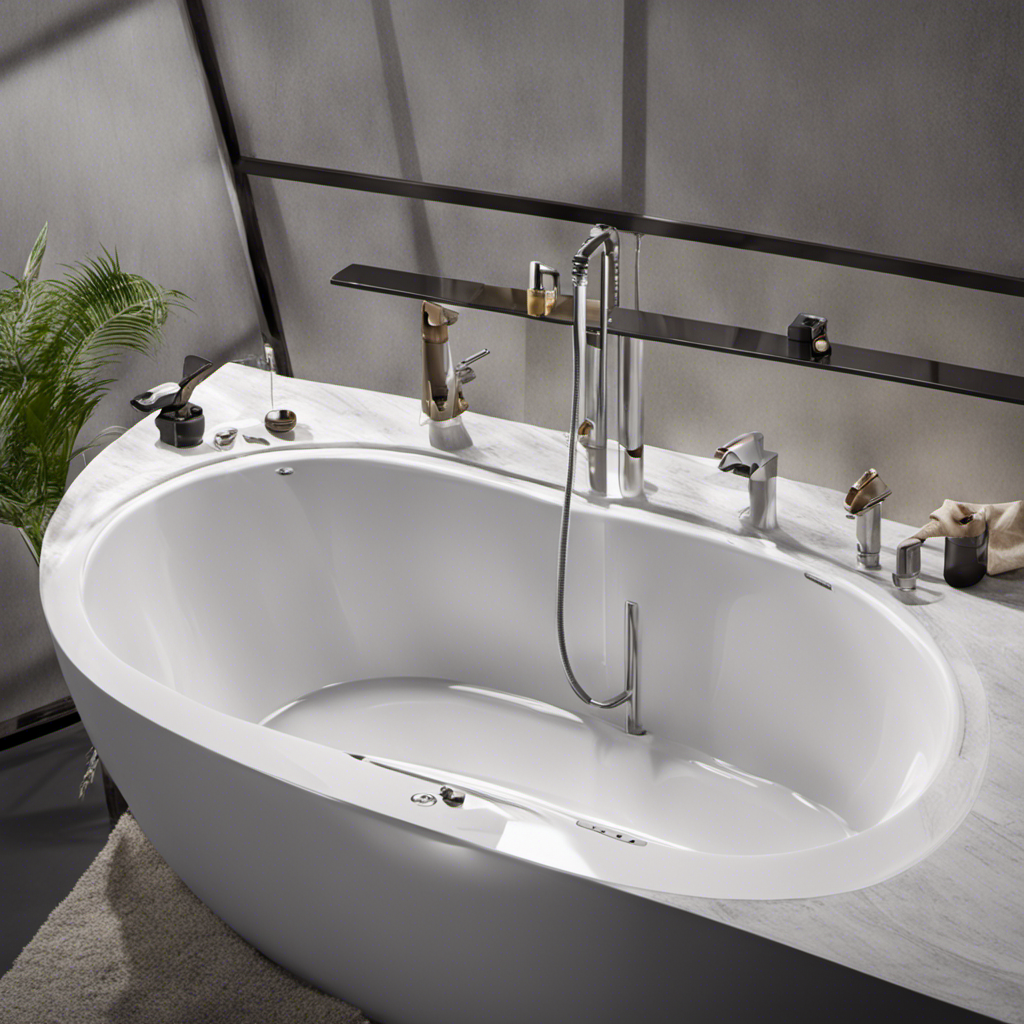
Installing the New Faucet
Now that you’ve successfully removed the old faucet, it’s time to carefully follow the instructions for installing the new one.
Start by placing a layer of plumber’s putty around the base of the faucet to create a watertight seal.
Carefully lower the faucet into the mounting holes on the bathtub, making sure it is aligned properly.
Use an adjustable wrench to tighten the mounting nuts underneath the tub, securing the faucet in place.
Next, attach the water supply lines to the corresponding hot and cold water valves, ensuring they are tight but not over-tightened.
Finally, turn on the water supply and check for any leaks. Remember to avoid common mistakes such as over-tightening the mounting nuts or cross-threading the water supply lines.
With the new faucet securely installed, it’s time to move on to connecting the plumbing.
Connecting the Plumbing
Once you’ve secured the new faucet in place, it’s time to connect the plumbing by attaching the appropriate pipes. Here’s a step-by-step guide to help you with this process:
-
Gather the necessary tools and materials, including pipe wrenches, plumber’s tape, and pipe connectors.
-
Start by applying plumber’s tape to the threaded ends of the pipes to ensure a tight seal.
-
Carefully attach the pipes to the corresponding connections on the faucet, making sure to tighten them securely with a pipe wrench.
-
Once all the connections are in place, turn on the water supply and check for any leaks. If you notice any leaks, tighten the connections further or replace any faulty parts.
It’s important to properly seal the connections to prevent any water leaks. Troubleshooting plumbing connections is crucial to ensure that your new faucet functions efficiently and effectively. Take your time and double-check all the connections to avoid any future problems.
Testing and Finishing Touches
After securing all the connections, it’s time to test the water supply and check for any leaks. To do this, turn on the water supply and let it run for a few minutes.
Observe the faucet closely for any signs of water leakage. If you notice any leaks, tighten the connections or replace any faulty parts.
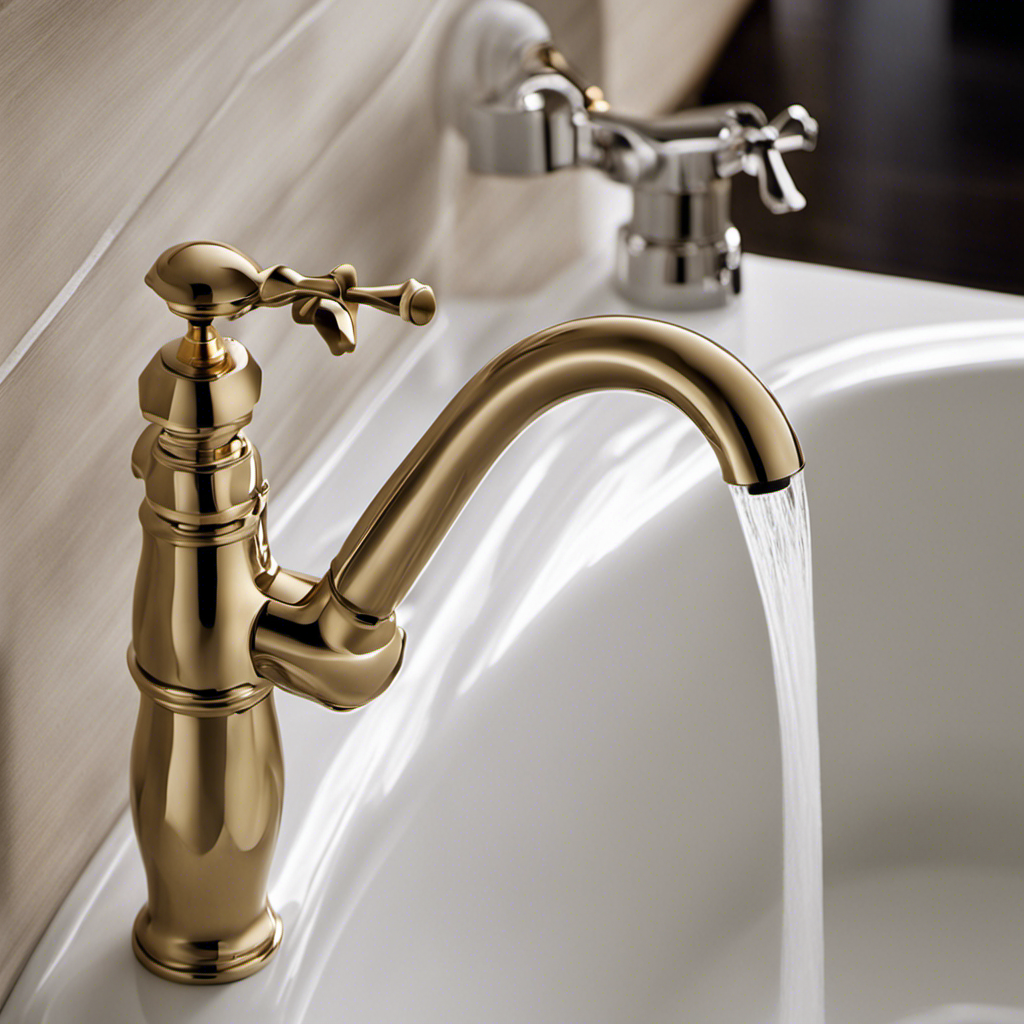
Once you’re confident that there are no leaks, it’s time to focus on the finishing touches. Choosing the right finish for your faucet is important as it can enhance the overall look of your bathtub. Consider the style and design of your bathroom and select a finish that complements it. Popular finishes include chrome, brushed nickel, and oil-rubbed bronze.
Apply the finish according to the manufacturer’s instructions, ensuring a smooth and even coating. Finally, wipe down the faucet to remove any fingerprints or residue, and enjoy your newly installed bathtub faucet.
Conclusion
In conclusion, replacing the faucet in a bathtub is a straightforward process that can be easily accomplished with the right tools and materials.
By following the step-by-step instructions provided, you can confidently remove the old faucet, install the new one, and connect the plumbing without any hassle.
Remember, practice makes perfect, so don’t be discouraged if you encounter any challenges along the way.
With a little patience and determination, you’ll have a shiny new faucet in your bathtub in no time, and you’ll be able to enjoy a relaxing soak without any leaks or drips to spoil the experience.
So go ahead, take the plunge and give your bathroom a refreshing upgrade!