
Looking to give your bathtub a fresh, watertight seal? Wondering how to tackle the task yourself? Well, look no further! In this article, we’ll guide you through the steps of resealing your bathtub using simple tools and materials that you probably already have at home.
By following our clear and concise instructions, you’ll be able to remove old caulk, apply a new sealant, and achieve a professional-looking finish.
Are you ready to transform your bathtub into a leak-free oasis? Let’s get started!
Key Takeaways
- Removing old caulk or sealant requires the use of caulk removal tools, heat gun or hairdryer, and caulk softening gel.
- When choosing new sealant, consider factors such as durability, flexibility, and resistance to moisture. Types of sealants include silicone, acrylic, and polyurethane.
- Before applying new caulk or sealant, clean the bathtub surface with a non-abrasive cleaner and thoroughly dry it to prevent mold and mildew growth.
- When applying new caulk or sealant, clean the surface thoroughly, cut the tip of the tube at a 45-degree angle, apply a steady bead of caulk, smooth it out with a caulk smoothing tool or finger, and wipe away excess caulk with a damp cloth.
Top picks for "reseal bathtub"
Open Amazon search results for this keyword.
As an affiliate, we earn on qualifying purchases.
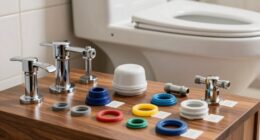
Gather the Necessary Tools and Materials
First, make sure you’ve got all the tools and materials you’ll need to reseal your bathtub. Proper bathtub maintenance is essential for keeping your bathroom clean and preventing water damage. When it comes to resealing, having the right tools and materials is crucial for a successful job.
You’ll need a caulk gun, silicone caulk, a putty knife, a utility knife, and a clean rag. The silicone caulk should be specifically designed for bathroom use, as it is waterproof and resistant to mold and mildew.
Before starting the resealing process, ensure that the surface is clean and dry. Gather all the necessary tools and materials beforehand to make the job easier and more efficient.
Following these resealing tips will help prolong the lifespan of your bathtub and prevent any potential water leaks.
Remove Old Caulk or Sealant
When it comes to removing old caulk or sealant, it’s important to choose the best method for the job. There are several options available, including using a caulk removal tool, a heat gun, or a chemical caulk remover. Each method has its own advantages and it’s important to consider factors such as the type of caulk, the condition of the surface, and personal preference.
Once the old caulk has been successfully removed, it’s time to choose a new sealant. Consider factors such as the type of material being sealed, the location, and the desired level of durability and flexibility. This will ensure that you select the right sealant for the job and achieve the best results.
Best Caulk Removal Methods
To remove the caulk, you’ll need a utility knife or a caulk removal tool. Here are some caulk removal alternatives and tools that can help you achieve a clean and effective removal process:
-
Chemical caulk remover: This solution softens the caulk, making it easier to scrape off.
-
Heat gun or hairdryer: Applying heat to the caulk can soften it, making it easier to remove.
-
Caulk softening gel: Similar to a chemical caulk remover, this gel softens the caulk for easy removal.
-
Manual caulk removal tools: These tools, such as a caulk scraper or caulk remover tool, are designed specifically to remove old caulk from surfaces without damaging them.
By using these caulk removal alternatives and tools, you can ensure a thorough and efficient removal process, preparing your bathtub for resealing.
Remember to follow safety precautions and always read the instructions before using any chemical products.
Choosing New Sealant
If you want to choose a new sealant for resealing your bathtub, there are several important factors to consider. The right sealant can make a significant difference in the longevity and effectiveness of your resealing project. When choosing a sealant, durability, flexibility, and resistance to moisture should be at the top of your list. A durable sealant will ensure that it can withstand the everyday wear and tear of a bathroom environment. Flexibility is important because it allows the sealant to expand and contract with temperature changes, preventing cracks and leaks. And resistance to moisture is crucial for preventing mold and mildew growth. To help you make an informed decision, here is a table comparing different types of sealants:
| Type of Sealant | Durability | Flexibility | Resistance to Moisture |
|---|---|---|---|
| Silicone | High | High | Excellent |
| Acrylic | Medium | Medium | Good |
| Polyurethane | High | High | Excellent |
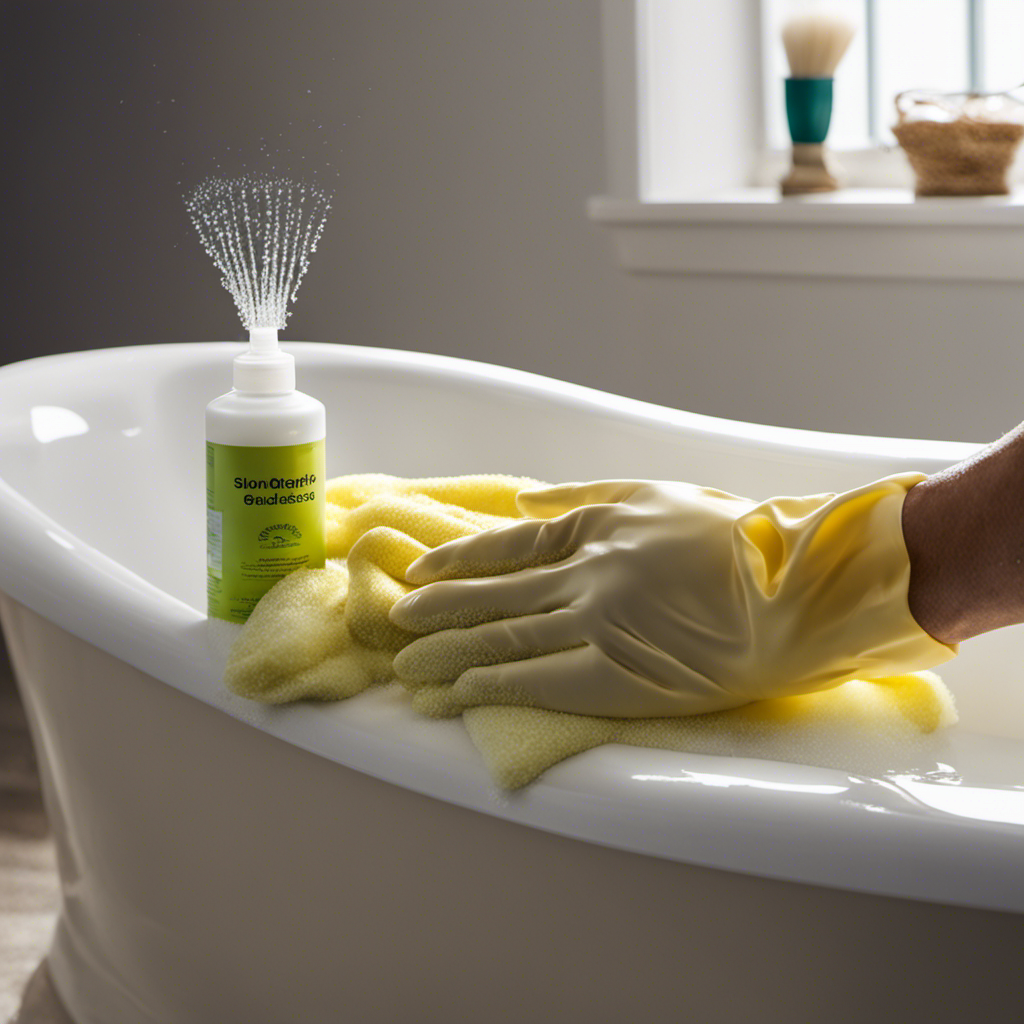
Clean and Prepare the Bathtub Surface
When it comes to properly cleaning your bathtub, there are a few key techniques you should be aware of.
First, make sure to use appropriate cleaning products and tools, such as a non-abrasive cleaner and a soft sponge or cloth.
Second, pay attention to any specific instructions or recommendations from the manufacturer regarding cleaning agents or techniques.
Lastly, take the time to thoroughly rinse and dry the surface to ensure it is ready for the necessary preparations before applying any new sealant or caulk.
Proper Cleaning Techniques
Cleaning the bathtub regularly helps prevent the buildup of grime and soap scum. By following proper cleaning techniques, you can ensure that your bathtub remains clean and hygienic.
Here are some tips to help you clean your bathtub effectively:
- Use a non-abrasive cleaner: Avoid using harsh chemicals or abrasive scrubbers, as they can damage the surface of your bathtub.
- Scrub gently: Use a soft cloth or sponge to scrub the bathtub in circular motions. This will help remove any dirt or stains without causing any scratches.
- Rinse thoroughly: After scrubbing, make sure to rinse the bathtub thoroughly with warm water. This will remove any residue from the cleaner and ensure a clean finish.
- Dry properly: After cleaning, it’s important to dry the bathtub properly to prevent the growth of mold and mildew. Use a clean towel or a squeegee to remove excess moisture.
Necessary Surface Preparations
Now that you’ve properly cleaned your bathtub, it’s time to prepare the surface for resealing.
Surface protection is essential to ensure a smooth and long-lasting finish. Begin by covering any nearby fixtures or surfaces with plastic sheets or masking tape to prevent accidental spills or damage.
Next, use a fine-grit sandpaper to gently roughen the bathtub surface. This will create a better bond between the new sealant and the old surface. After sanding, wipe away any dust or debris with a damp cloth and allow the bathtub to dry completely.
The drying time may vary depending on the type of sealant you plan to use, so it’s crucial to follow the manufacturer’s instructions. Once the surface is dry, you’re ready to move on to the next step of resealing your bathtub.
Apply New Caulk or Sealant
To begin applying new caulk or sealant, make sure you have all the necessary materials. It’s important to choose the right color caulk that matches your bathtub to achieve a seamless finish. Here are some tips to help you apply the caulk evenly:
-
Clean the surface thoroughly: Remove any old caulk or sealant, dirt, and grime from the bathtub surface. Use a mild cleaner and scrub gently to ensure a clean surface for the new caulk to adhere to.
-
Prepare the caulk gun: Load the caulk tube into the caulk gun and cut the tip of the tube at a 45-degree angle. This will allow for a smooth and controlled application.
-
Apply the caulk: Start at one end of the bathtub and apply a steady bead of caulk along the joint. Use even pressure on the caulk gun and maintain a consistent speed to ensure an even application.
-
Smooth out the caulk: Use a caulk smoothing tool or your finger to smooth out the caulk and create a neat finish. Wipe away any excess caulk with a damp cloth.
Smooth and Shape the Caulk or Sealant
Once you have applied the caulk, use a caulk smoothing tool or your finger to smooth and shape the caulk for a professional finish. Smoothing and shaping the caulk is an important step in resealing a bathtub as it ensures a neat and aesthetically pleasing result. There are various techniques and methods that can be employed to achieve a smooth and well-shaped caulk line. Here are some effective smoothing techniques and shaping methods:
| Smoothing Techniques | Shaping Methods |
|---|---|
| Apply even pressure and glide the smoothing tool or your finger along the caulk line in one continuous motion. | Use a caulk shaping tool to create clean, crisp edges and corners. |
| Dip your finger in a bowl of warm soapy water before smoothing the caulk for a smoother finish. | Use a damp sponge or cloth to remove excess caulk and clean up any mistakes. |
| Use a wet finger to smooth silicone caulk, as it helps to prevent sticking and ensure a uniform finish. | Use masking tape as a guide to create straight lines and precise shapes. |
Allow the Caulk or Sealant to Dry
Allow the caulk or sealant to dry completely before using the bathtub. The drying process is essential to ensure that the caulk forms a strong and watertight seal.
Here are some important points to keep in mind during the drying process:
-
Give it time: Depending on the type of caulk or sealant used, it may take anywhere from a few hours to a few days for it to fully dry. Be patient and give it enough time to cure properly.
-
Avoid water exposure: Keep the bathtub dry during the drying process. Water can interfere with the drying process and compromise the effectiveness of the seal.
-
Check for leaks: After the caulk has dried, carefully inspect the area for any signs of leaks or gaps. Troubleshooting leaks early on can prevent further damage and ensure the longevity of the seal.
-
Seek professional help if needed: If you encounter any issues during the drying process or notice persistent leaks, it may be best to consult a professional for assistance.
Once the caulk or sealant has dried and any necessary troubleshooting has been done, it’s time to test for leaks or gaps.
Test for Leaks or Gaps
After the caulk or sealant has completely dried, it’s important to check for any leaks or gaps in the bathtub. Proper leak detection is crucial to ensure that your resealing job is successful.
Start by filling the tub with water to the maximum level. Leave it for about 15 minutes and then check for any water leakage or drips. Inspect the areas where the caulk or sealant was applied and pay close attention to corners, edges, and seams.
If you notice any leaks or gaps, you will need to reapply the caulk or sealant in those areas. Use a waterproof sealant that specifically states it can be used in wet areas to ensure a proper seal.
Taking the time to test for leaks and gaps will help you identify any potential issues and allow you to fix them promptly.
Clean up Any Excess Caulk or Sealant
Make sure to remove any excess caulk or sealant from the bathtub once it has dried completely. This step is crucial to ensure a clean and professional finish.
To remove excess caulk or sealant, follow these cleaning techniques:
- Use a caulk removal tool or a putty knife to gently scrape away any visible caulk or sealant residue.
- Wipe the area with a damp cloth to remove any loose particles.
- For stubborn residue, apply a caulk remover solution and let it sit for a few minutes before scrubbing with a soft brush.
- Rinse the area thoroughly with water to remove any remaining residue.
Maintain and Care for the Resealed Bathtub
To keep your newly sealed bathtub in good condition, it’s important to regularly clean and dry the surface. Proper bathtub maintenance is crucial for preventing mold growth and ensuring that your bathtub stays in great shape for years to come.
After each use, wipe down the surface of the bathtub with a mild detergent and warm water. Be sure to remove any soap scum or residue that may have accumulated. Dry the tub thoroughly with a clean towel to prevent moisture from lingering and promoting mold growth.
Additionally, it’s important to regularly inspect the sealant around the bathtub and reapply if necessary. By following these simple steps, you can maintain a clean and mold-free bathtub.
Frequently Asked Questions
How Often Should I Reseal My Bathtub?
You should reseal your bathtub every 1-2 years to ensure it remains watertight and prevents leaks. The best time to reseal is when the weather is dry, as this allows the sealant to cure properly.
Can I Use Regular Household Cleaner to Clean the Bathtub Surface Before Resealing?
Yes, regular household cleaners can be effective in cleaning the bathtub surface before resealing. However, there are alternative cleaning methods specifically designed for this task that may yield better results.
Is It Necessary to Remove All the Old Caulk or Sealant Before Applying New Caulk?
Scraping old caulk or sealant is necessary before applying new caulk. Proper cleaning of the bathtub surface is essential to ensure a good seal. Removing the old caulk allows the new caulk to adhere properly.
How Long Should I Wait for the Caulk or Sealant to Dry Before Using the Bathtub?
Before using the bathtub, wait for the caulk or sealant to dry completely. It’s essential for a proper seal. While waiting, ensure you’ve applied the caulk evenly and prepared the bathtub surface properly.
What Type of Caulk or Sealant Should I Use for My Bathtub?
To properly reseal your bathtub, use the best caulk brands available. Start by choosing a silicone-based caulk that is specifically made for bathrooms. Ensure a clean, dry surface before applying the caulk using a caulk gun for a smooth finish.
Conclusion
In conclusion, resealing your bathtub is a simple and essential task that can prevent water damage and keep your bathroom looking fresh.
By following the steps outlined above, you can easily achieve a watertight seal and maintain the longevity of your bathtub.
Remember, taking care of your bathtub is as important as taking care of yourself! So grab your tools, get sealing, and transform your bathing experience into a blissful oasis that will make you feel like you’re floating on a cloud!