Are you tired of stepping into a worn-out, dingy bathtub every day? Don’t worry, we have the solution for you.
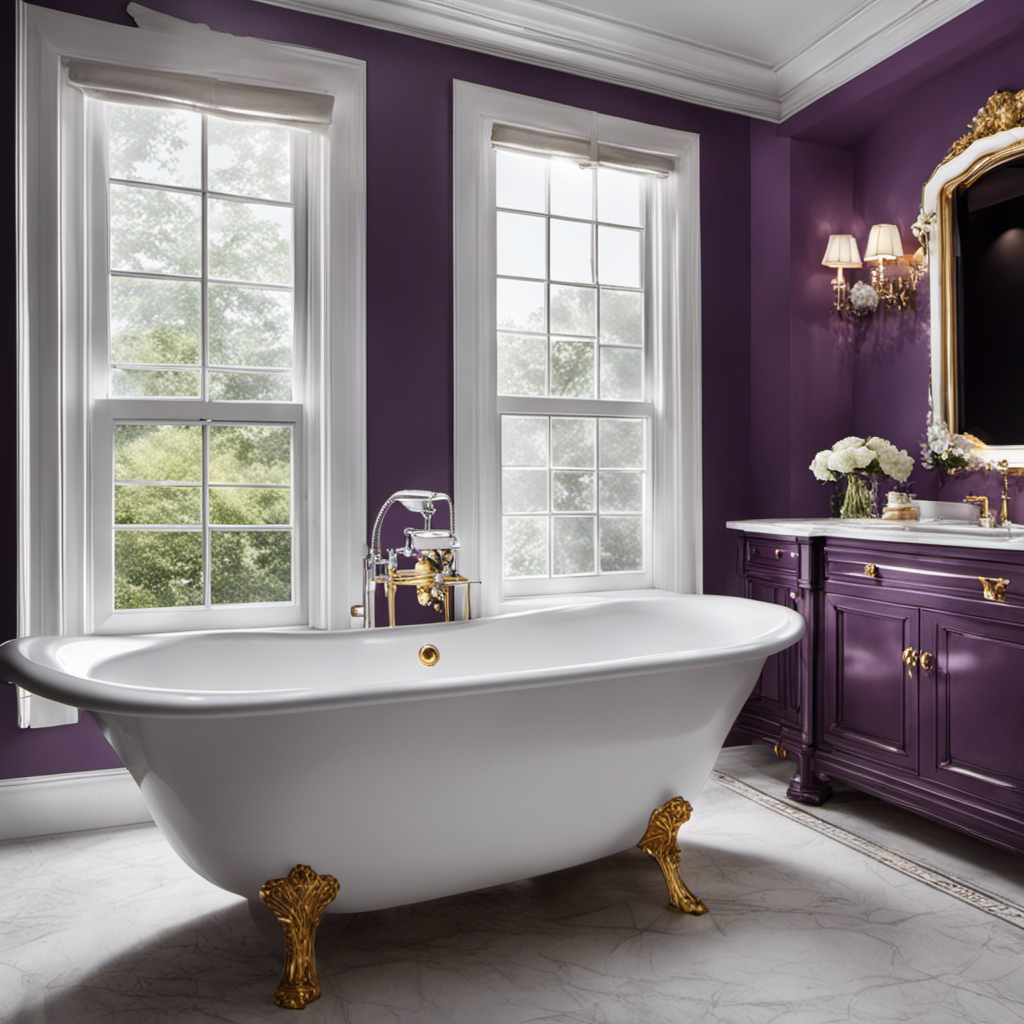
Imagine soaking in a beautifully restored bathtub, its surface smooth and gleaming, just like the day it was installed.
In this step-by-step guide, we will show you how to restore your old bathtub to its former glory. From assessing the condition to repairing and refinishing, we will walk you through every detail, ensuring a stunning transformation.
Get ready to bring new life to your beloved bathtub.
Key Takeaways
- Assess the condition of the bathtub and determine the best restoration method
- Take safety precautions, such as wearing gloves and ensuring good ventilation
- Repair chips, cracks, and damage by cleaning the area, smoothing edges, and filling with repair material
- Refinish and reglaze the bathtub using high-quality products, applying primer and topcoat for a smooth finish

Rust-Oleum 384165 Tub And Tile Refinishing 2-Part Kit, 32 oz, Gloss White
Prepare and paint surface the same day with a tough, with tub and tile’s 2-part epoxy acrylic formula…
As an affiliate, we earn on qualifying purchases.
As an affiliate, we earn on qualifying purchases.
Assessing the Condition of the Old Bathtub
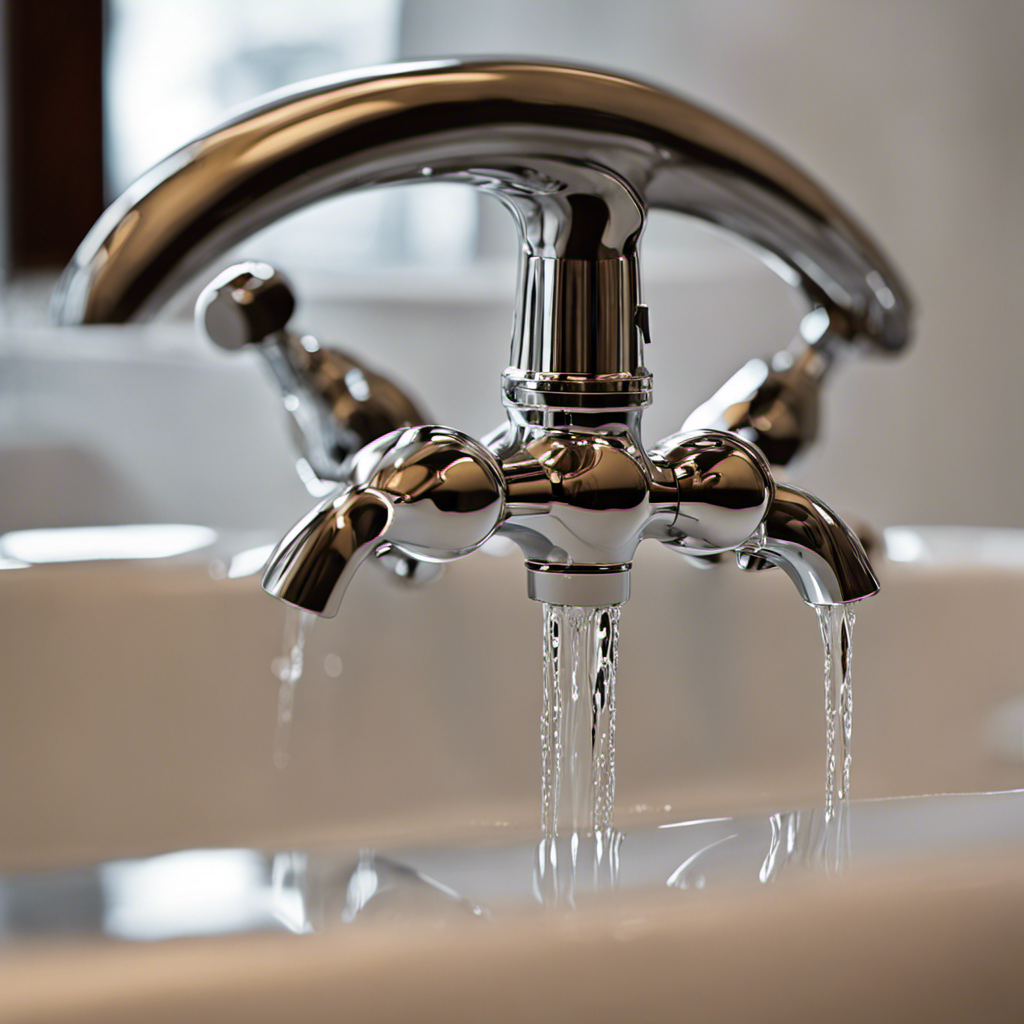
You should start by examining the surface of the old bathtub for any cracks or chips. Assessing the extent of the damage is crucial in determining the best course of action for restoring your bathtub.
Carefully inspect the entire surface, paying close attention to the edges and corners. Look for any signs of wear, discoloration, or rust. Take note of the size and depth of any cracks or chips you find.
Once you have assessed the condition of the bathtub, you can move on to identifying potential solutions. Depending on the extent of the damage, you may need to consider options such as repairing the cracks, filling in the chips, or even resurfacing the entire bathtub.
Taking the time to thoroughly evaluate the condition of your bathtub will help you determine the most effective restoration method.

Tub Repair Kit White, Tub Chip and Bathtub Repair Kit for Enamel, Fiberglass, Acrylic, Porcelain, Patch and Repairs Chips, Crack, Scratches, Rust, Holes on Tubs, Toilet, Sink, Shower, Tray in Bathroom
Permanently Repair Bathtub Chips, Cracks and Holes: For Fiberglass, Enamel, Acrylic; restore a glossy, non-yellowing, leak-stopping and chip…
As an affiliate, we earn on qualifying purchases.
As an affiliate, we earn on qualifying purchases.
Preparing the Bathtub for Restoration
Before starting the restoration process, it’s important to properly prepare the bathtub. This step is crucial to ensure that the restoration is successful and the end result is a beautiful and functional bathtub.
Here are some steps to follow:
-
Gather the necessary cleaning products: You will need a bathtub cleaner, a scrub brush, a sponge, and gloves.
-
Remove any loose debris: Before cleaning, remove any loose debris such as hair or soap scum from the bathtub.
-
Apply the cleaner: Spray the cleaner onto the surface of the bathtub and let it sit for a few minutes to loosen any dirt or stains.
-
Scrub the surface: Use the scrub brush or sponge to scrub the bathtub, paying special attention to any areas with stains or buildup.
-
Rinse thoroughly: After scrubbing, rinse the bathtub thoroughly with water to remove any remaining cleaner residue.
Safety Precautions:
-
Wear gloves to protect your hands from harsh chemicals.
-
Ensure the bathroom is well-ventilated to avoid inhaling fumes.
-
Keep cleaning products out of reach of children and pets.
-
Follow the instructions on the cleaning products for proper usage.
-
If using abrasive cleaners, test a small area first to avoid damaging the surface of the bathtub.

Tub Cast Roll On Bathtub Refinishing Kit by Ekopel – Primer + Top Coat Included – DIY Bathtub & Tile Reglazing Kit for Porcelain, Fiberglass & Cast Iron – Bright White Gloss, Low Odor, Made in USA (Standard Tub)
TUB CAST ROLL ON – PREP IS THE PROJECT – Tub Cast Roll On delivers best results when…
As an affiliate, we earn on qualifying purchases.
As an affiliate, we earn on qualifying purchases.
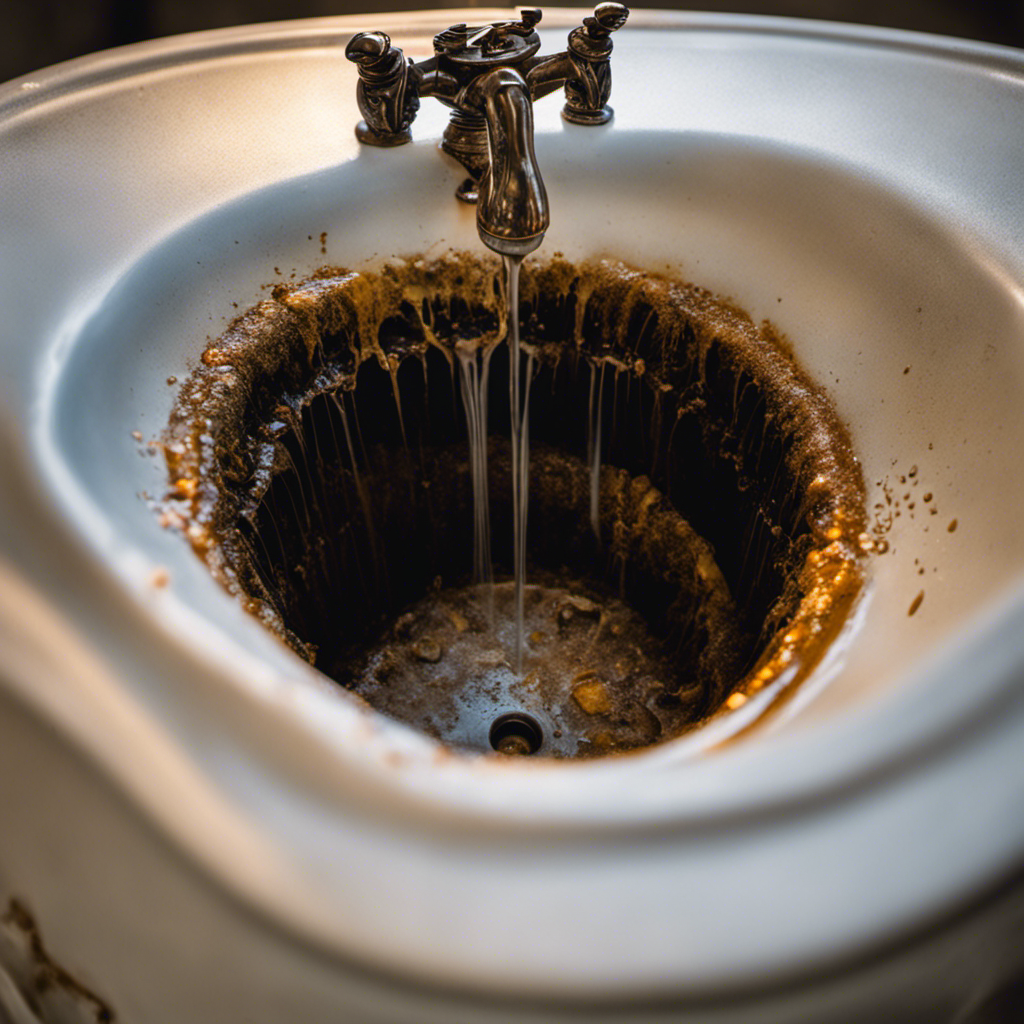
Repairing Chips, Cracks, and Damage
To repair chips, cracks, and other damage on your bathtub, start by assessing the extent of the issues and gathering the necessary supplies.
First, examine the bathtub carefully to identify any scratches, chips, or cracks that need attention. Take note of their size and location.
Next, gather the supplies you’ll need: a bathtub repair kit, sandpaper, a putty knife, and a cleaning solution.
Begin by cleaning the damaged area with the cleaning solution, making sure to remove any dirt or debris. Then, use the sandpaper to smooth the edges of the scratches or chips.
After that, prepare the repair material according to the instructions on the kit and fill the holes or cracks with it using the putty knife. Smooth out the surface and let it dry as per the kit’s instructions.
Tub Repair Kit White, Tub Chip and Bathtub Repair Kit for Enamel, Fiberglass, Acrylic, Porcelain, Patch and Repairs Chips, Crack, Scratches, Rust, Holes on Tubs, Toilet, Sink, Shower, Tray in Bathroom
Permanently Repair Bathtub Chips, Cracks and Holes: For Fiberglass, Enamel, Acrylic; restore a glossy, non-yellowing, leak-stopping and chip…
As an affiliate, we earn on qualifying purchases.
As an affiliate, we earn on qualifying purchases.
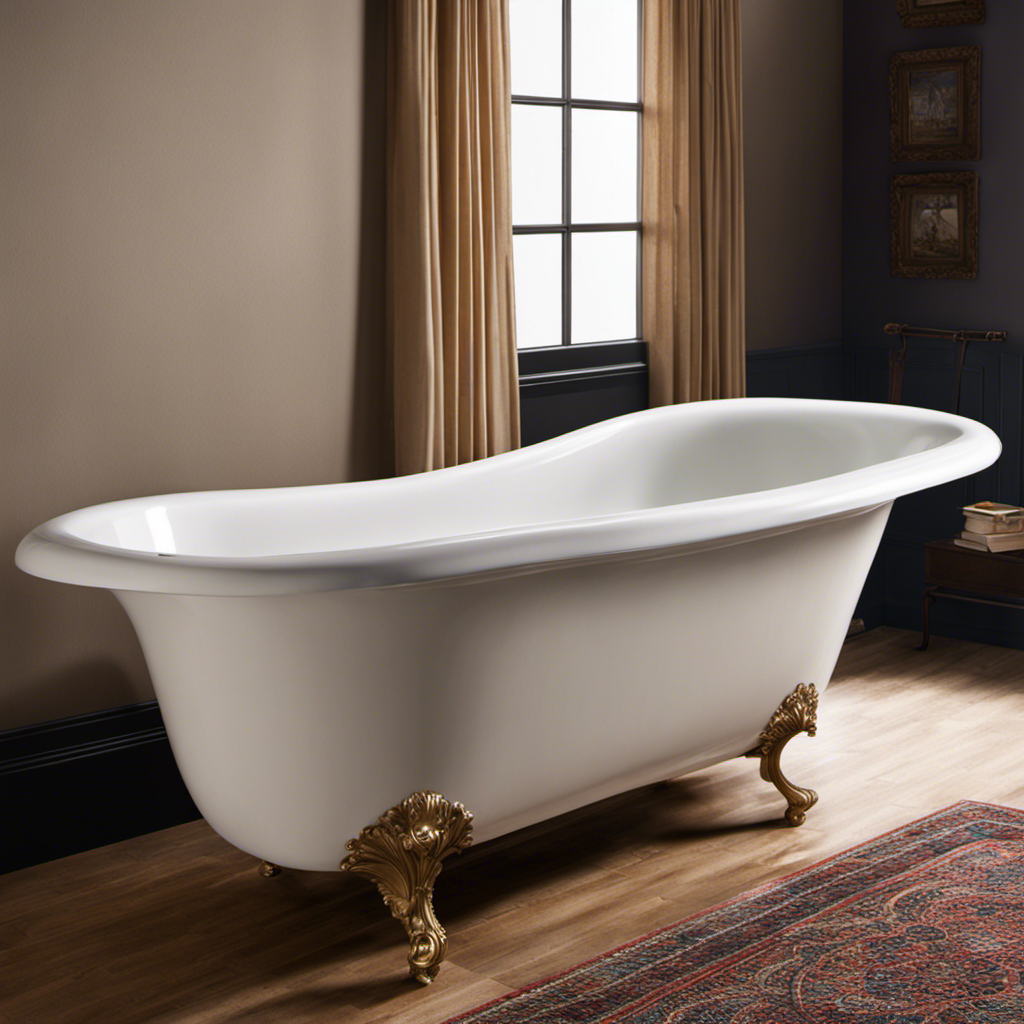
Refinishing and Reglazing the Bathtub
For a fresh new look, consider refinishing and reglazing your bathtub to give it a beautiful, smooth surface. Here’s how you can do it:
-
Start by choosing the right bathtub refinishing products. Look for high-quality refinishing kits that include all the necessary materials such as cleaners, primers, and topcoats.
-
Before starting the process, make sure to thoroughly clean the bathtub and remove any existing coatings or residues.
-
Apply the primer to the bathtub surface, following the instructions provided in the refinishing kit. This will help the new coating adhere properly.
-
Once the primer is dry, apply the topcoat evenly to achieve a smooth and glossy finish. Allow sufficient drying time as specified by the manufacturer.
-
Finally, inspect the bathtub for any imperfections and make touch-ups if necessary.
While DIY bathtub reglazing can be cost-effective, it’s important to consider the pros and cons. On one hand, it can save you money and give you a sense of accomplishment. On the other hand, it requires meticulous preparation and can be time-consuming.
Maintaining and Caring for the Restored Bathtub
After refinishing and reglazing, it’s crucial to regularly clean and use non-abrasive cleaners to maintain the restored bathtub’s glossy finish. Here are some cleaning techniques to help you keep your bathtub looking its best and prevent future damage:
-
Start by rinsing the bathtub with warm water to remove any loose dirt or debris.
-
Use a mild, non-abrasive cleaner specifically designed for bathtubs. Avoid harsh chemicals or abrasive scrubbers, as they can damage the finish.
-
Apply the cleaner to the tub’s surface and let it sit for a few minutes to loosen any grime.
-
Gently scrub the bathtub using a soft sponge or cloth in circular motions.
-
Rinse the bathtub thoroughly with warm water to remove any residue.
-
Dry the surface with a clean, soft towel to prevent water spots.
Frequently Asked Questions
How Much Does It Cost to Restore an Old Bathtub?
Restoring an old bathtub can vary in cost depending on factors like materials and labor. You can choose between DIY or hiring a professional, each with its own pros and cons.
Can I Restore My Bathtub Myself or Do I Need to Hire a Professional?
Can you restore your bathtub yourself or should you hire a professional? DIY bathtub restoration can be a cost-effective option, but hiring a professional offers expertise, saves time, and ensures a high-quality result.
How Long Does the Restoration Process Typically Take?
Restoration time for an old bathtub can vary depending on the condition and the specific restoration process used. The duration of restoration can range from a few hours to a few days.
What Are Some Alternative Options to Bathtub Restoration?
Looking to restore your old bathtub? Consider alternative options like bathtub refinishing or bathtub liners. These methods can give your tub a fresh new look without the hassle of a full restoration process.
Are There Any Safety Precautions I Should Take During the Restoration Process?
When restoring an old bathtub, it’s important to prioritize your safety. Make sure to wear the necessary safety equipment like goggles and gloves. Additionally, gather all the necessary tools before starting the restoration process.
Conclusion
Congratulations! You’ve successfully restored your old bathtub, bringing it back to its former glory.
By assessing the condition, preparing, repairing, refinishing, and maintaining the bathtub, you’ve transformed it into a stunning centerpiece for your bathroom.
Now, you can relax and revel in the resplendent results of your hard work and dedication.
Remember, with proper care and attention, your restored bathtub will continue to shine and serve you for years to come.
Happy bathing!