
Are you tired of dealing with leaks and water damage in your bathtub? Well, you’re not alone. Did you know that a staggering 70% of homeowners struggle with bathtub sealing issues?
But don’t worry, sealing your bathtub is easier than you might think. In this article, we’ll guide you through the step-by-step process of sealing your bathtub using simple tools and materials. By the end, you’ll have a watertight seal that will keep your bathroom dry and free from any potential damage.
Let’s get started!
Key Takeaways
- Inspect the entire surface of the bathtub for visible damage such as cracks or chips before sealing.
- Use a caulk specifically designed for bathroom use, labeled as ‘tub and tile’ or ‘bathroom caulk’.
- Thoroughly clean the surface of the bathtub with rubbing alcohol and remove any existing caulk or sealant before applying the new seal.
- Regularly inspect and maintain the caulking to prevent water damage and mold growth.

GE Advanced Silicone Caulk for Kitchen & Bathroom, White, 2.8 fl oz Tube, 1 Pack – 100% Waterproof Silicone Sealant, 5X Stronger Adhesion, Shrink & Crack Proof
100% Silicone Caulk Protection: This silicone caulk white provides ultimate waterproof protection, ensuring a reliable seal against water…
As an affiliate, we earn on qualifying purchases.
As an affiliate, we earn on qualifying purchases.
Assessing the Condition of Your Bathtub
Now, you’ll want to take a close look at the condition of your bathtub to determine if it needs sealing. Start by evaluating any visible damage, such as cracks or chips. These can lead to water leakage and further deterioration if left untreated. Repairing cracks is essential before applying a sealant.
Inspect the entire surface of the bathtub, paying attention to the corners and edges where cracks are more likely to occur. Use a flashlight to check for any hidden damage that might not be immediately apparent. It’s crucial to address these issues before proceeding with the sealing process to ensure a long-lasting and effective seal.
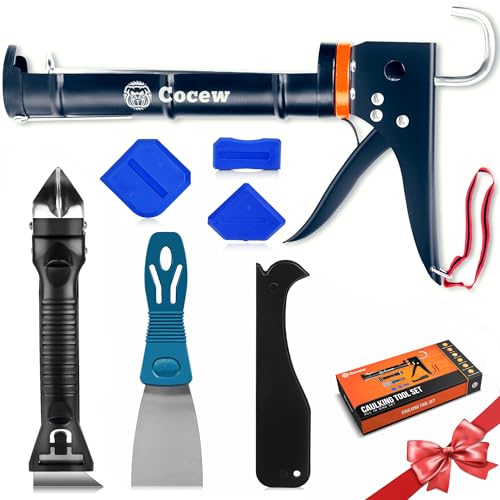
Caulk Gun Kit, Smooth Silicone Caulking Gun and Caulk Remover Tool, Sealant Finishing Tool Grout Scraper for Kitchen Bathroom Window Sink Joint, All in One with Gift Box
【Easy to operate】Cocew Caulking Gun is lightweight, the Smooth Pressure Rod is available with a high thrust ratio….
As an affiliate, we earn on qualifying purchases.
As an affiliate, we earn on qualifying purchases.
Gathering the Necessary Tools and Materials
First, you’ll need to grab all the necessary tools and materials for the task at hand.
When it comes to bathtub sealing techniques, choosing the right caulk is crucial. You want a caulk that is specifically designed for bathroom use, as it will be resistant to moisture and mold. Look for a caulk that is labeled as ‘tub and tile’ or ‘bathroom caulk’ at your local hardware store.
Additionally, you’ll need a caulking gun to apply the caulk evenly and smoothly. Make sure to have a utility knife or razor blade on hand to remove any old caulk before applying the new one.
Finally, gather some rubbing alcohol and a clean rag to clean the area before sealing.
With these tools and materials, you’ll be ready to tackle the task of sealing your bathtub effectively.

Tub Repair Kit White, Tub Chip and Bathtub Repair Kit for Enamel, Fiberglass, Acrylic, Porcelain, Patch and Repairs Chips, Crack, Scratches, Rust, Holes on Tubs, Toilet, Sink, Shower, Tray in Bathroom
Permanently Repair Bathtub Chips, Cracks and Holes: For Fiberglass, Enamel, Acrylic; restore a glossy, non-yellowing, leak-stopping and chip…
As an affiliate, we earn on qualifying purchases.
As an affiliate, we earn on qualifying purchases.
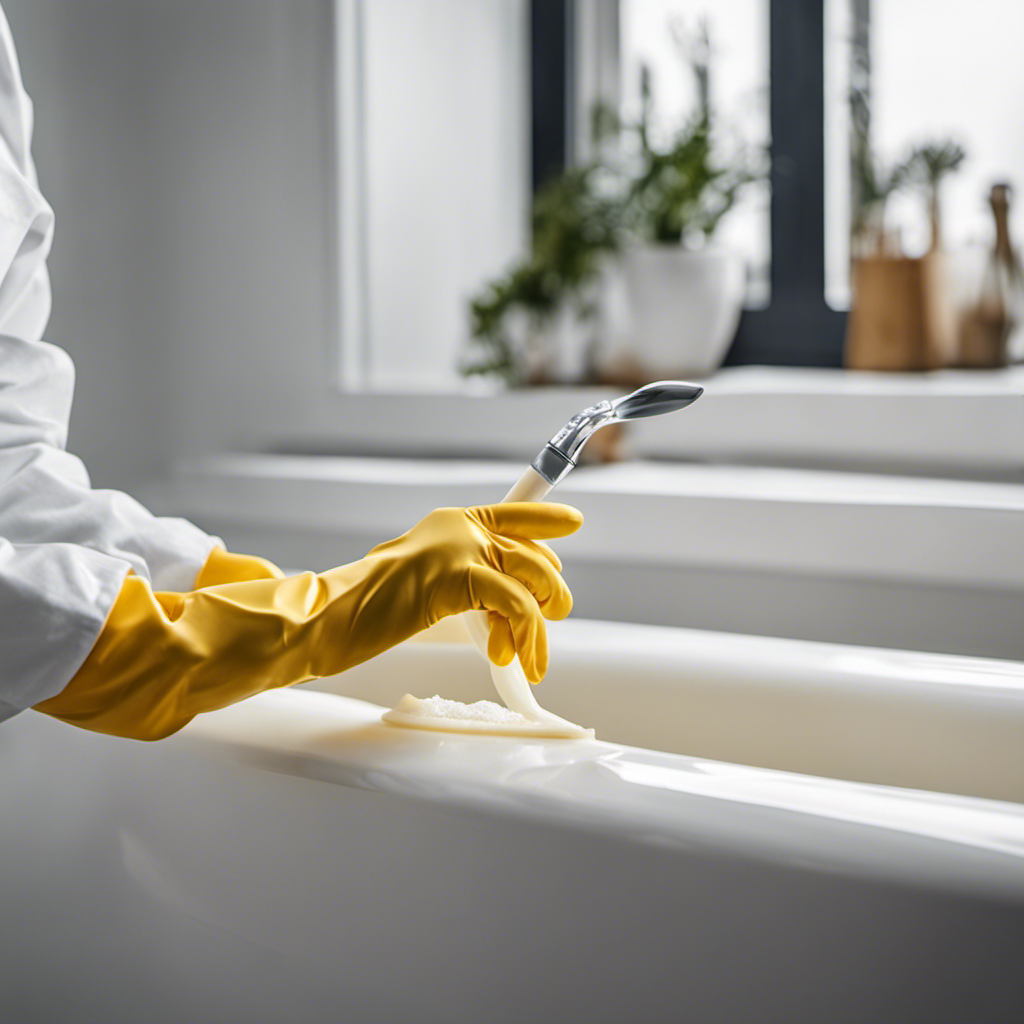
Preparing the Bathtub Surface
Before you start, make sure to thoroughly clean the surface of the bathtub with rubbing alcohol and a clean rag. This step is crucial for proper bathtub surface preparation. Cleaning the surface removes any dirt, grime, or soap scum that can interfere with the adhesion of the caulk or sealant. Additionally, it helps to remove any existing caulk or sealant that may be present.
To ensure that you have properly cleaned the surface, you can use a simple checklist. Here is a table that outlines the steps for bathtub surface preparation:
| Bathtub Surface Preparation |
|---|
| Remove any existing caulk or sealant |
| Clean the surface with rubbing alcohol and a clean rag |
| Ensure that the surface is completely dry before proceeding |

Gorilla 100% Silicone Waterproof Caulk, All‑Purpose Sealant, Mold & Mildew Resistant, Flexible Seal, White, 10 oz Cartridge (Pack of 1)
Indoor/Outdoor 100% Waterproof Caulk – Durable, long-lasting white silicone sealant for indoor and outdoor use; ideal for showers,…
As an affiliate, we earn on qualifying purchases.
As an affiliate, we earn on qualifying purchases.
Applying the Caulk or Sealant
To apply the caulk or sealant, you’ll want to start by cutting the tip of the caulk tube at a 45-degree angle and inserting it into a caulk gun. This caulk application technique ensures a smooth and controlled flow of sealant.
Before starting, it’s important to choose the right sealant for your bathtub. Silicone-based caulks are recommended for their flexibility and durability, making them ideal for sealing bathtubs.
Once you have your caulk gun ready, hold it at a slight angle and apply steady pressure to the trigger as you move along the joint between the bathtub and the wall. Make sure to maintain a consistent bead size and keep a damp cloth nearby to quickly wipe away any excess caulk.
Allow the caulk to cure for the recommended time before using the bathtub again. Following these steps will help you achieve a professional-looking seal that keeps your bathtub watertight and prevents leaks.
Smoothing Out the Caulk
As you smooth out the caulk, be sure to use a caulk smoothing tool or your finger for a clean and professional finish. Smoothing out the caulk is an important step in sealing a bathtub as it ensures a tight and watertight seal.
To achieve the best results, start by applying an even bead of caulk along the joint between the bathtub and the wall. Then, using a caulk smoothing tool or your finger, gently run it along the caulk line, applying even pressure to create a smooth and uniform finish. This helps to remove any excess caulk and create a seamless look.
Avoid the common mistake of rushing through this step, as it can result in an uneven or messy appearance. Take your time and use steady, controlled movements to achieve a professional-looking finish.
Allowing the Caulk to Dry
When it comes to allowing caulk to dry, it is important to understand the drying time and tips for faster drying.
The drying time for caulk can vary depending on factors such as humidity, temperature, and type of caulk used.
To speed up the drying process, you can try using a fan or opening windows to increase air circulation, as well as using a hairdryer on a low heat setting.
Caulk Drying Time
You’ll want to wait at least 24 hours for the caulk to dry completely before using your bathtub. This is important because premature use can cause the caulk to crack or peel, compromising its effectiveness.
To ensure that the caulk dries as quickly as possible, there are a few techniques you can use.
-
Proper ventilation: Opening windows or using a fan can help accelerate the drying process by promoting air circulation.
-
Applying thin layers: Thick layers of caulk take longer to dry. Applying thin, even layers allows for faster drying and better adhesion.
-
Using a caulk drying accelerator: Some products on the market can speed up the drying time of caulk. These accelerators can be applied after caulking and help reduce the waiting time.
Tips for Faster Drying
Proper ventilation and thin layers of caulk can help speed up drying time.
When sealing your bathtub, it’s important to ensure that the caulk dries quickly to prevent any issues such as mold growth. To expedite the drying process, open windows or turn on fans in the bathroom to improve air circulation. This will allow the moisture in the caulk to evaporate faster.
Additionally, applying thin layers of caulk instead of thick ones can also help speed up drying time. Thick layers take longer to dry and are more prone to trapping moisture, which can lead to mold growth.
Checking for Any Missed Spots
Before sealing the bathtub, make sure there aren’t any missed spots. Checking for proper adhesion is essential to ensure a long-lasting and watertight seal. Here are some troubleshooting tips for common sealing issues:
-
Use your fingers to run along the entire sealant line. Check for any gaps or areas where the sealant may not have adhered properly.
-
If you find any missed spots or gaps, use a caulk removal tool or a razor blade to carefully remove the old sealant. Clean the area thoroughly before resealing.
-
Pay attention to corners and edges, as these areas are prone to cracking or peeling. Apply additional sealant if needed, making sure to smooth it out for a professional finish.
Cleaning up Any Excess Caulk
Once you’ve finished applying the caulk, use a damp cloth to wipe away any excess residue. Cleaning up any excess caulk is an important step in achieving a professional-looking finish.
After applying the caulk, it’s common for some of it to spread beyond the intended area. To remove this excess caulk, dampen a cloth with warm water and gently wipe it along the caulk line. Be careful not to press too hard or you may smear the caulk.
If there are stubborn spots, you can use a caulk removal tool or a razor blade to carefully scrape off the excess. Once you have removed all the excess caulk, allow it to dry completely before using the bathtub again.
This cleaning technique will leave your bathtub looking clean and neat.
Maintaining the Sealed Bathtub
To keep your sealed bathtub in optimal condition, it’s important to take preventive measures against water damage.
Regularly inspect the caulking around the edges of the tub to ensure there are no gaps or cracks that could lead to leaks.
Additionally, establish a regular cleaning routine using non-abrasive cleaners to maintain the cleanliness and longevity of the sealed surface.
Preventing Water Damage
You should regularly check the caulking around your bathtub to prevent water damage. Over time, the caulking can deteriorate or develop cracks, allowing water to seep into the walls or floors, leading to costly repairs. By following these waterproofing techniques, you can effectively prevent water damage and the growth of mold in your bathroom:
- Inspect the caulking every few months for any signs of wear or damage.
- Clean the area thoroughly before reapplying caulking to ensure a proper seal.
- Use a high-quality silicone-based caulk that is specifically designed for bathroom use.
By taking these simple steps, you can maintain a watertight seal around your bathtub, preventing water damage and the growth of mold.
Regularly checking and maintaining the caulking will prolong the lifespan of your bathtub and keep your bathroom safe and dry.
Regular Cleaning Routine
Regularly cleaning your bathroom is essential for maintaining a hygienic and pleasant environment. Not only does it keep germs at bay, but it also helps in preventing damage to your bathtub.
By incorporating a regular cleaning routine, you can ensure that your bathtub remains in good condition for a long time. Start by using a mild cleaner and a soft cloth to clean the bathtub surface. Scrub gently to remove any dirt or stains. Pay special attention to the grout lines and corners where mold and mildew tend to accumulate.
Rinse thoroughly and dry the bathtub after each use to prevent water damage. Additionally, consider using a bathtub mat or non-slip stickers to protect the surface from scratches.
Frequently Asked Questions
How Long Does Caulk Typically Take to Dry?
The drying time for caulk can vary depending on factors such as humidity and temperature. It typically takes about 24 hours to fully dry. Make sure to properly prepare the surface before applying caulk and consider using a different type of sealant if needed.
Can I Use Any Type of Caulk for Sealing My Bathtub?
You can use various types of caulk for sealing your bathtub. However, it is important to choose the right caulk that is specifically designed for bathroom use. Following best practices is essential for a proper and long-lasting seal.
Is It Necessary to Remove the Old Caulk Before Applying a New One?
Yes, it is necessary to remove the old caulk before applying a new one. Removing caulk ensures proper adhesion and prevents leaks. There is no alternative to removing old caulk for a long-lasting seal.
Can I Use a Hairdryer to Speed up the Drying Process of the Caulk?
Using a hairdryer to speed up caulk drying can be tempting, but there are pros and cons. It can help expedite the process, but high heat can damage the caulk and compromise its effectiveness.
How Often Should I Reseal My Bathtub to Maintain Its Integrity?
To maintain the integrity of your bathtub, it is recommended to reseal it every 1-2 years. Use a high-quality silicone caulk for best results. Regular maintenance ensures that your bathtub remains watertight and prevents any potential damage.
Conclusion
So there you have it, sealing your bathtub is a piece of cake! Just follow these simple steps and you’ll have a beautifully sealed bathtub that will keep water from leaking and causing damage.
It’s amazing how such a small task can make such a big difference in the long run. And hey, who needs a peaceful, stress-free bath anyway? Embrace the constant worry of water damage and enjoy the thrill of constantly checking for missed spots.
Happy sealing!