
As a seasoned DIY enthusiast, I’ve learned that the devil is in the details when it comes to home improvement projects.
One area that often gets overlooked, but is crucial to maintain a water-tight environment, is the seal around a bathtub.
In this article, I’ll guide you through the steps of properly sealing your bathtub, from preparing the area to applying the right sealant.
By the end, you’ll have the knowledge and confidence to keep your bathtub leak-free for years to come.
So let’s dive in and get sealing!
Key Takeaways
- Clean and dry the area around the bathtub before sealing.
- Choose the right sealant based on the bathtub material.
- Properly clean and remove old sealant before applying the new one.
- Apply the sealant using correct caulking technique for a professional finish.
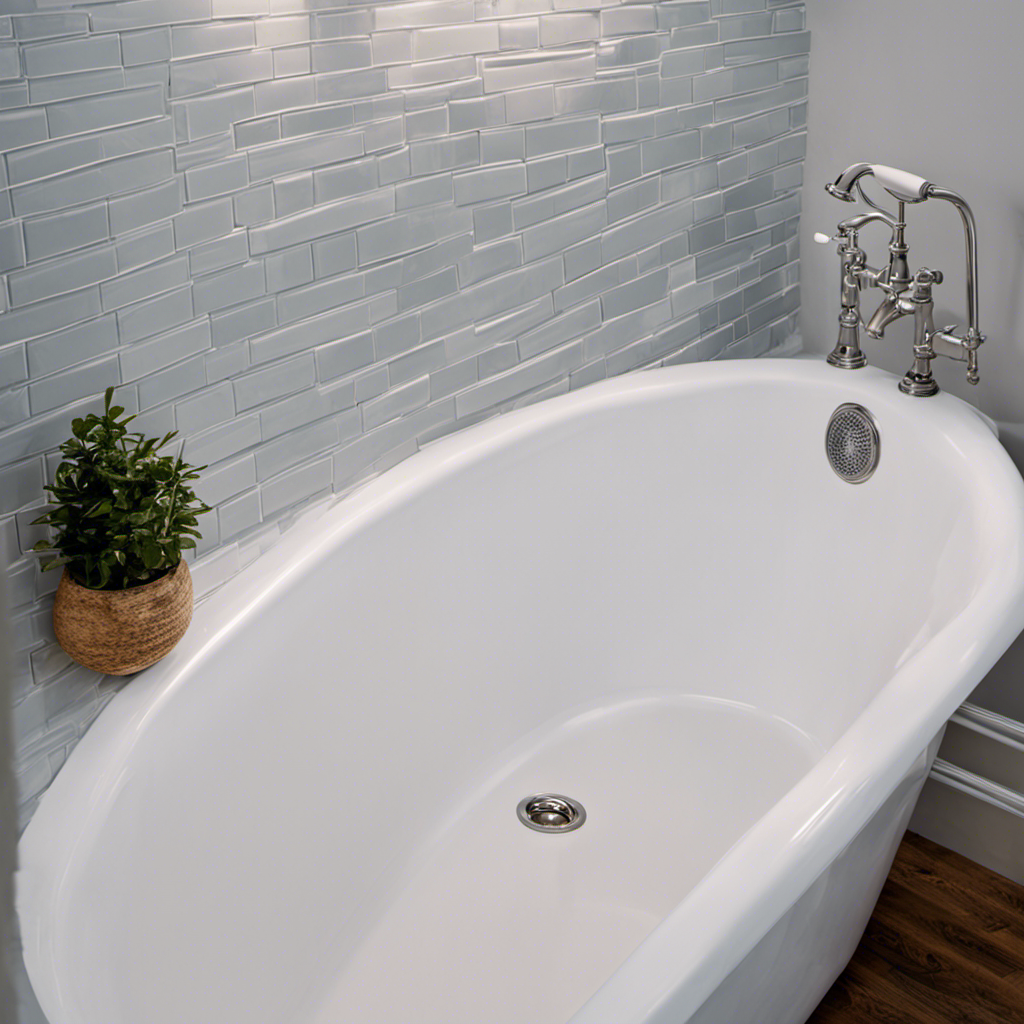
Preparing the Area
Before starting the sealing process, make sure you’ve properly cleaned and dried the area around the bathtub. This is crucial for a successful seal that will last.
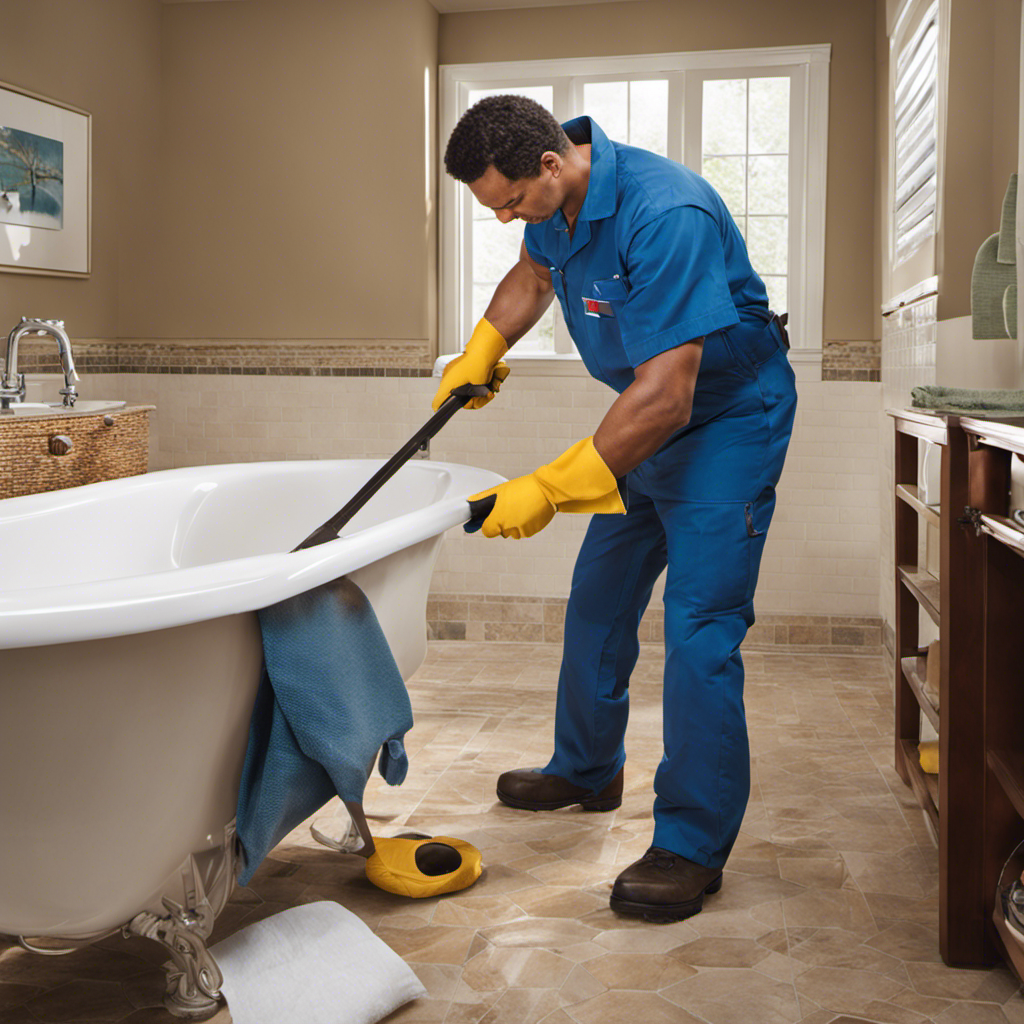
To prepare the area, start by removing any old caulk or sealant using a caulk remover tool or a scraper. Make sure to thoroughly clean the surface with a mild detergent and water solution to remove any dirt, grime, or soap residue.
Once the area is clean, dry it completely using a towel or a fan to ensure there is no moisture remaining. This step is important because any moisture left behind can prevent the caulk from adhering properly.
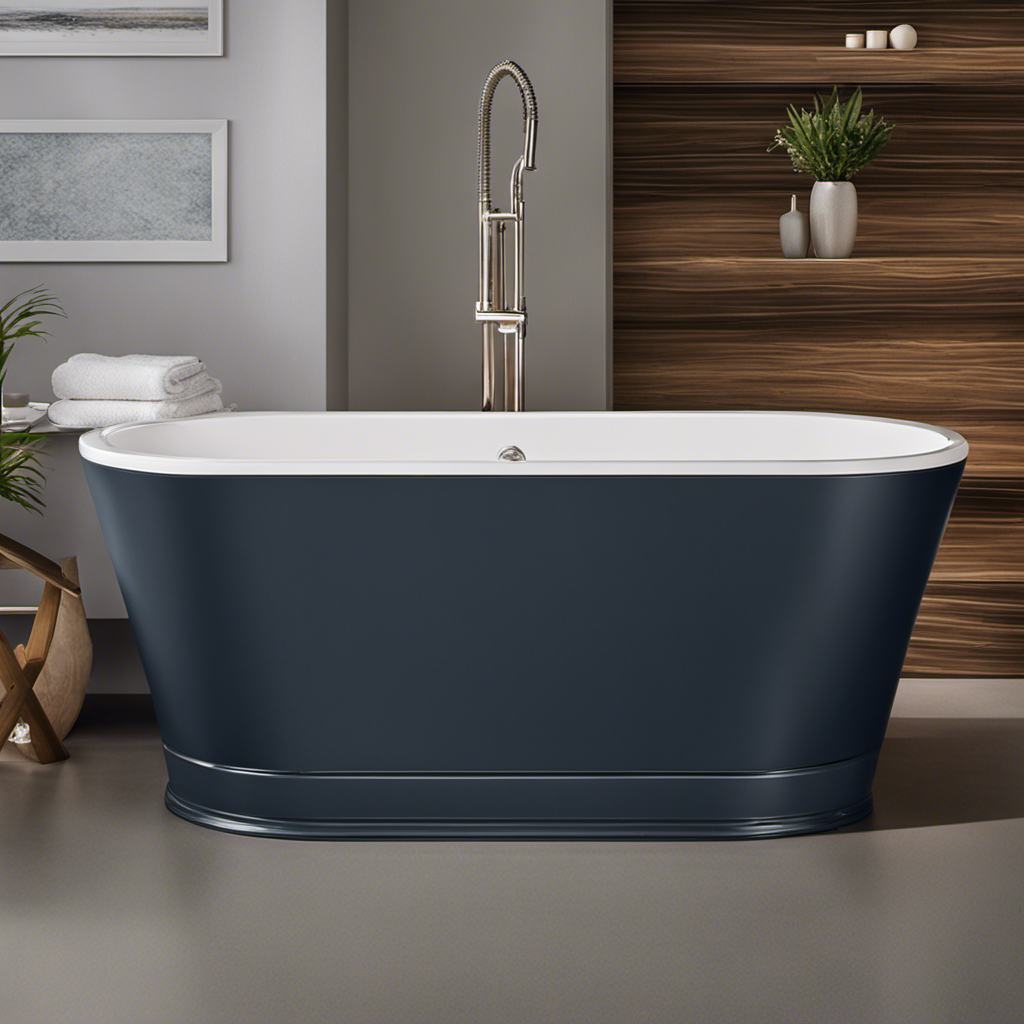
Choosing the Right Sealant
When deciding on the right sealant for your tub, make sure to consider the specific needs of your bathroom. Selecting the appropriate sealant is crucial to ensure a long-lasting and watertight seal around your bathtub.
One common mistake to avoid is using the wrong type of sealant for your specific bathtub material. For example, if you have a fiberglass or acrylic tub, using a silicone-based sealant is recommended, as it provides flexibility and prevents cracking. On the other hand, if you have a tile or porcelain tub, a caulk-based sealant is more suitable.
Another mistake to avoid is not properly preparing the surface before applying the sealant. Make sure to thoroughly clean and dry the area to ensure proper adhesion.
Transitioning into the next section about cleaning and removing old sealant, it is important to remove any existing sealant before applying a new one to ensure a clean surface.
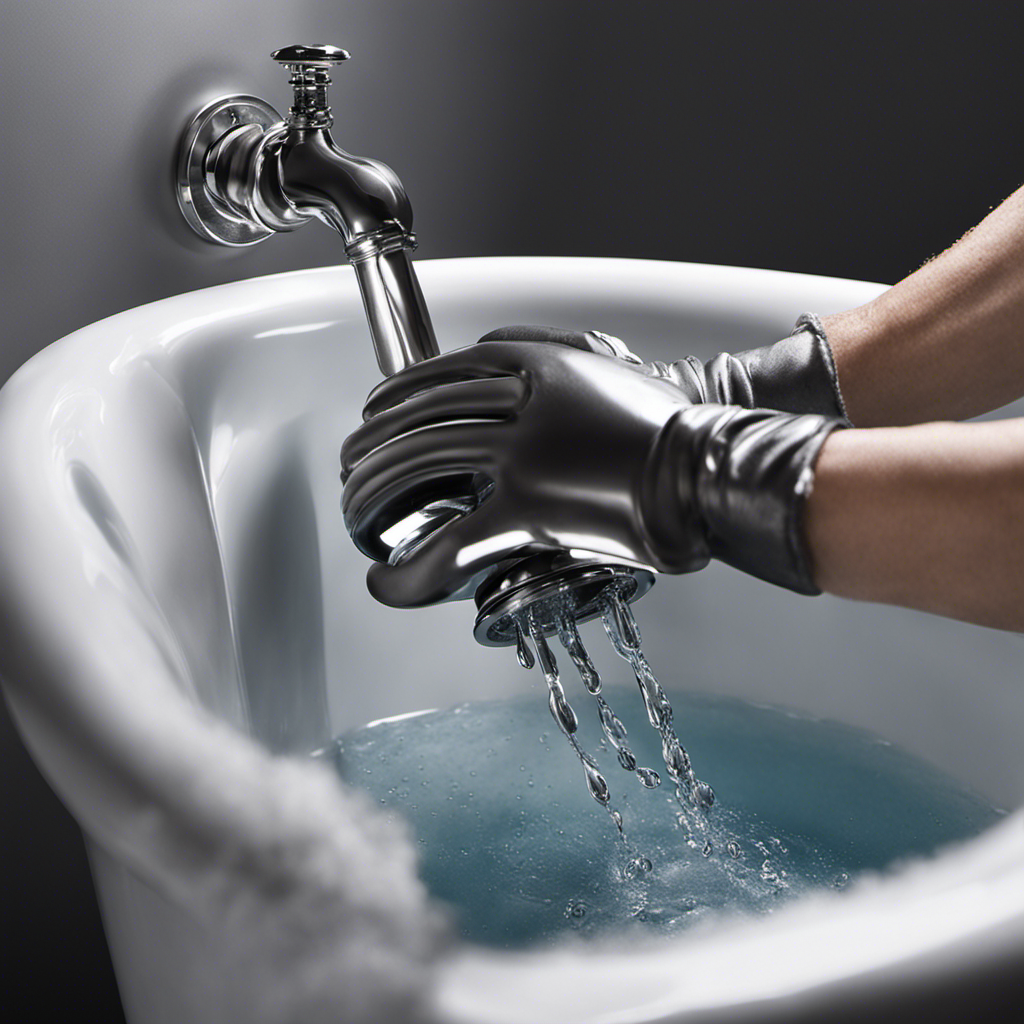
Cleaning and Removing Old Sealant
To effectively clean and remove old sealant, you should begin by using a scraper or utility knife to gently lift and peel away any loose or deteriorated sealant from the surface. This will ensure a clean and smooth surface for the new sealant to adhere to.
Here are some important steps to follow when removing old sealant:
- Use a mold and mildew cleaner to eliminate any mold or mildew that may have formed on the sealant.
- Apply the cleaner to the affected areas and let it sit for a few minutes before scrubbing with a brush.
- Rinse the area thoroughly with water and allow it to dry completely before proceeding.
Applying the Sealant
Once you have prepared the surface, you can start applying the new sealant using a caulk gun and a steady hand. To ensure a professional-looking finish, it’s important to master the correct caulking technique.
Begin by holding the caulk gun at a 45-degree angle and applying even pressure to the trigger as you move along the joint. Keep a steady hand to achieve a smooth, consistent bead of sealant.
If you encounter any issues, troubleshooting is key. One common problem is air bubbles in the sealant. To fix this, release the pressure on the caulk gun and gently puncture the bubble with a pin, then continue applying. Another issue is excess sealant. Simply wipe away the excess with a damp cloth before it dries.
With a little practice and attention to detail, you’ll have a perfectly sealed bathtub in no time.
Finishing and Maintenance
After applying the sealant, make sure to regularly clean and inspect the area to maintain its quality. Taking proper care of the sealant will ensure its longevity and effectiveness in preventing water damage.
Here are some essential steps to follow for finishing and maintaining your sealed bathtub area:
-
Cleaning:
-
Use a mild, non-abrasive cleaner to remove any dirt or grime from the sealed area.
-
Be cautious not to scrub too hard, as it may damage the sealant.
-
Inspection:
-
Regularly check the sealant for any signs of wear or deterioration.
-
Look out for cracks, gaps, or discoloration, as these can indicate problems with the sealant.
By regularly cleaning and inspecting the sealed area, you can address any issues promptly and ensure the continued effectiveness of the sealant.
Frequently Asked Questions
How Long Does It Typically Take for the Sealant Around a Bathtub to Dry?
Typically, the drying time for sealant around a bathtub can vary depending on the type of sealant used. It is important to properly prepare the bathtub surface before applying the sealant to ensure a strong and long-lasting seal. Additionally, there are common mistakes to avoid when sealing around a bathtub to ensure the best results.
Can I Use the Same Sealant for Both the Bathtub and the Surrounding Tiles?
Yes, you can use the same caulk for both the bathtub and surrounding tiles. However, there are alternatives to using sealant, such as silicone caulk, which provides a more durable and waterproof seal.
Is It Necessary to Completely Remove the Old Sealant Before Applying a New One?
Yes, it is necessary to completely remove the old sealant before applying a new one. By removing the old sealant, you ensure a clean and proper surface for the new sealant to adhere to, ensuring a watertight seal around your bathtub.
What Should I Do if the Sealant Around My Bathtub Starts to Crack or Peel?
If the sealant around my bathtub starts to crack or peel, I would repair the cracked sealant by removing the old sealant completely and applying a new one. To prevent sealant peeling, I would ensure proper ventilation and use a high-quality sealant.
Can I Use Silicone Sealant on a Fiberglass Bathtub?
Using silicone sealant on a fiberglass bathtub is not recommended. It can cause damage and is not compatible. Consider using alternative sealant options like acrylic or latex-based ones for a proper and long-lasting seal.
Conclusion
In conclusion, sealing around a bathtub is an important task that shouldn’t be taken lightly. By following the steps outlined in this article, you can ensure a watertight and durable seal that will protect your bathroom from water damage.
Remember to choose the right sealant for your specific needs and take the time to properly clean and remove any old sealant. With careful application and regular maintenance, your bathtub seal will stand the test of time.
So go ahead, take the plunge and give your bathtub the seal it deserves.