So, you’ve discovered a crack in your bathtub, huh? Don’t worry, I’ve got you covered.
In this article, I’ll walk you through the simple steps to seal that pesky crack and restore your bathtub to its former glory.
We’ll start by assessing the crack and gathering the necessary materials.
Then, I’ll show you how to prepare the surface and apply the sealant like a pro.
Finally, we’ll give the sealant some time to cure, ensuring a strong and long-lasting repair.
Let’s get started!
Key Takeaways
- Assess the length, width, and depth of the crack in the bathtub before proceeding with any repairs.
- Gather necessary materials such as epoxy putty, sandpaper, and a caulk gun for effective sealing.
- Prepare the surface by removing debris, cleaning with mild detergent, and allowing it to dry completely.
- Apply the sealant using a caulk gun, ensuring the entire crack is filled and excess sealant is smoothed out. Allow sufficient time for the sealant to cure before using the bathtub.

600ml Sausage Pneumatic Caulking Gun Silicone Sealant Gun Air Rubber Gun Caulk Applicator Tool with 10 Transparent Glue Nozzles
It is suitable for most glass adhesives, sheet metal adhesives and structural adhesives. It is widely used in...
As an affiliate, we earn on qualifying purchases.
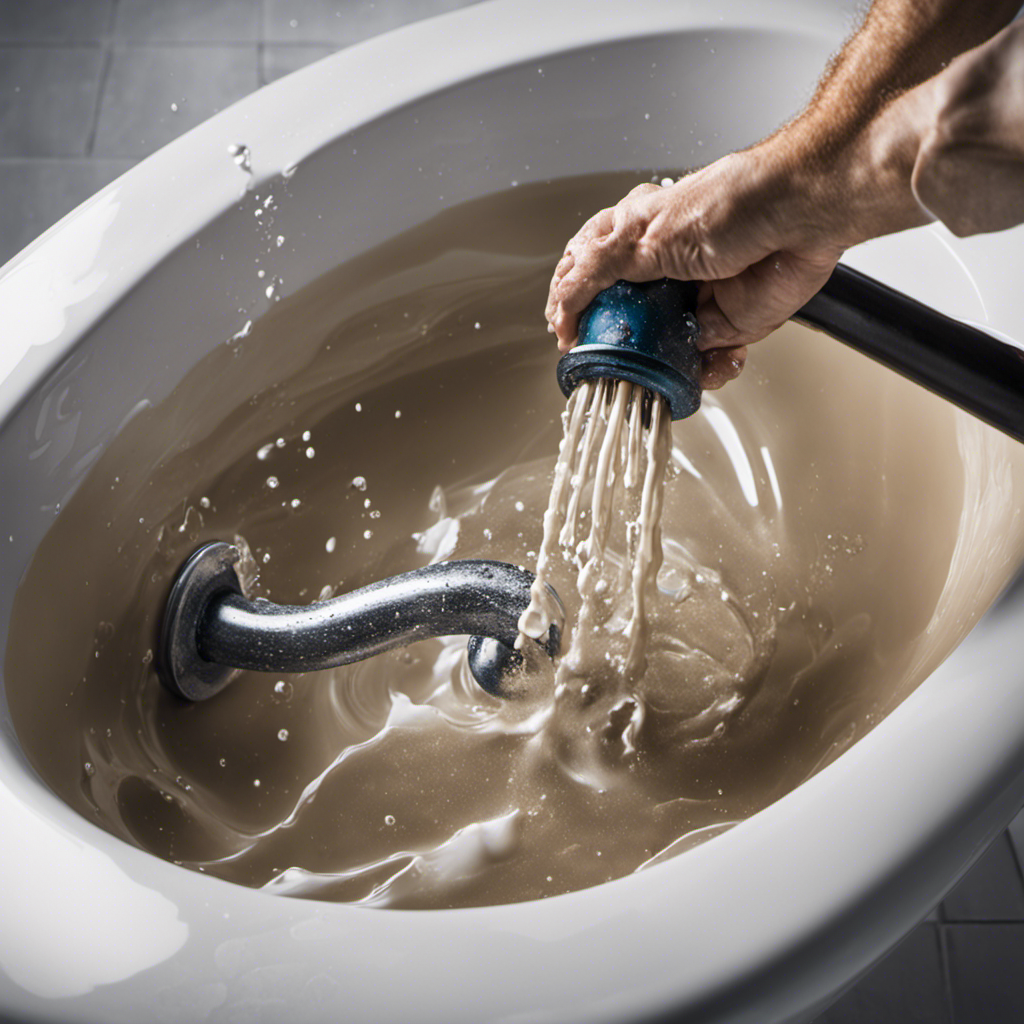
Assessing the Crack
Now, let’s take a closer look at the crack to determine its size and severity. Assessing the crack is crucial in determining the appropriate repairing techniques and cost estimation.
Start by examining the length and width of the crack. Use a ruler to measure its dimensions accurately.
Next, inspect the depth of the crack by gently running a fingertip across it. If the crack is superficial, repairing it is relatively simple and cost-effective. However, if the crack extends deeper, it may require more extensive repairs.
Evaluate the overall condition of the bathtub as well. If there are multiple cracks or if the bathtub is old and worn out, it might be more practical and cost-efficient to replace the entire unit rather than attempting to repair individual cracks.

SILIGUN™ Gen-3 Compact Caulking Gun - No Drip Caulk Gun - Patented Design - Lightweight ABS Frame - Works with All 10 oz Tubes
Compact Convenience – Seal up windows, trim, tile, and more with your innovative no drip caulk gun from...
As an affiliate, we earn on qualifying purchases.
Gathering the Necessary Materials
First, let’s make sure we have all the materials we need. When it comes to sealing bathtub cracks, finding alternative materials can be a cost-effective and practical solution. Here are some tips to avoid bathtub cracks and the necessary materials to gather:
| Materials | Purpose |
|---|---|
| Epoxy putty | Fills and seals cracks |
| Sandpaper | Smooths the surface |
| Caulk gun | Dispenses caulk |
By having these materials on hand, you’ll be well-prepared to tackle the task of sealing bathtub cracks. Epoxy putty is an excellent choice for filling and sealing cracks, while sandpaper helps to smooth the surface for a seamless finish. A caulk gun is essential for dispensing caulk effectively. Remember to choose high-quality materials to ensure long-lasting results. Now that we have all the necessary materials, let’s move on to preparing the surface for the sealing process.

Saker Caulk Gun Kit, Manual Caulking Gun with 11-in-1 Caulking Tool Set, Silicone Sealant Finishing Tools, Grout Scrapers & Shapers with Masking Tape for Bathroom, Kitchen, Window & Home Repair
Easy, Smooth, Dripless Operation:The Saker Caulking Tool Set features a lightweight, manual dripless caulk gun with a smooth...
As an affiliate, we earn on qualifying purchases.
Preparing the Surface
To get started, make sure you have properly cleaned the surface before moving on to the next step. Cleaning the surface is essential to ensure proper adhesion of the sealant and a long-lasting repair. Here are some steps to prepare the bathtub surface:
- Remove any loose debris or dirt using a brush or vacuum cleaner.
- Use a mild detergent or cleaner to remove any grease or soap scum.
- Scrub the surface with a non-abrasive sponge or cloth.
- Rinse thoroughly with clean water to remove any residue.
- Allow the surface to dry completely before proceeding.

Caulk Gun Kit Smooths No-drip Silicone Caulking Gun and Caulking Tools, Sealant Tools Grout Scraper For Kitchen Bathroom Sink Joint,With Gift Box Works 10OZ Tubes blue
Leikius caulk gun kit, a premium set designed for professionals and DIY user. Each caulking tool in our...
As an affiliate, we earn on qualifying purchases.
Applying the Sealant
Once the surface is dry, you can begin applying the sealant to the crack. Using the right sealant and proper application techniques are important to ensure a successful repair. Here is a table outlining the recommended sealants for different types of bathtubs:
| Bathtub Material | Recommended Sealant |
|---|---|
| Acrylic | Acrylic or silicone |
| Porcelain | Epoxy or silicone |
| Fiberglass | Polyester or epoxy |
To apply the sealant, start by cleaning the crack and removing any loose debris. Then, using a caulk gun, apply a thin, even layer of sealant directly onto the crack. Make sure to fill the entire crack and smooth out any excess sealant using a putty knife or your finger. Allow the sealant to dry according to the manufacturer’s instructions before using the bathtub again.
Allowing the Sealant to Cure
Now that the sealant is applied, you’ll need to give it time to cure properly. This is an essential step in ensuring that the sealant bonds effectively and provides a long-lasting solution for your bathtub crack.
The curing process is influenced by several factors, including the type of sealant used and the surrounding environment. To ensure the best results, here are some important considerations to keep in mind:
-
Allow sufficient time for the sealant to cure fully, as specified by the manufacturer. This can range from a few hours to a few days.
-
Maintain proper ventilation in the bathroom to facilitate the curing process. Open windows or use fans to remove excess moisture and promote air circulation.
-
Avoid using the bathtub until the sealant is completely cured to prevent any damage or compromise the effectiveness of the repair.
-
Regularly inspect the sealed crack during the curing process to ensure it remains intact and undisturbed.
-
Follow any additional instructions provided by the sealant manufacturer for optimal curing and long-term durability.
Conclusion
So there you have it, folks! By following these simple steps, you can easily seal the crack in your bathtub and prevent any further damage.
Remember to assess the crack carefully, gather the necessary materials, and prepare the surface properly before applying the sealant.
Allow the sealant to cure completely for the best results.
With a little bit of effort and the right techniques, you can restore your bathtub to its former glory and enjoy a relaxing soak without any worries.
So why wait? Get started on fixing that crack today!