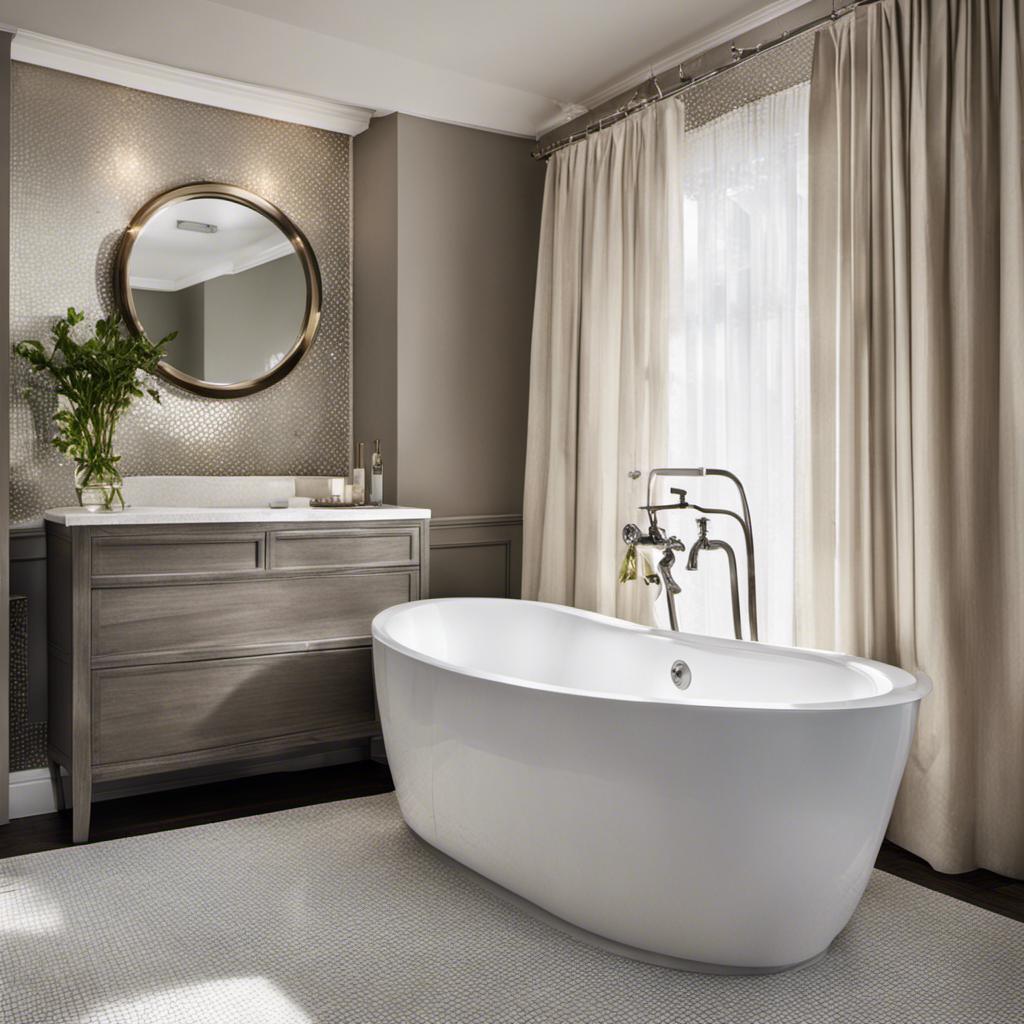
I’ve always loved the feeling of a long, relaxing soak in the bathtub. But recently, I started noticing some unsteady wobbles that made me question the safety of my tub. That’s when I realized it was time to take matters into my own hands and secure my bathtub to the wall.
In this article, I’ll share with you the step-by-step process, along with the necessary tools and materials, to ensure a rock-solid and secure bathtub that will give you peace of mind every time you step in.
Let’s get started!
Key Takeaways
- Assess the condition of the bathtub and wall for any damage or wear
- Measure the dimensions of the bathtub and compare them to the available wall space
- Choose a waterproof adhesive suitable for the material of the bathtub and wall
- Secure the bathtub to the wall using provided hardware and following safety precautions

GIOTOHUN Cat Water Fountain Filter: 12 Cat Fountain Filter Replacement - 12 Pet Fountains Filters Replacement - 6 Filters & 6 Sponges - Suitable for ATMZIQXR GIOTOHUN KOOGMOON UMOCUOY IHOUONE HOOISE
- Compatible with GIOTOHUN Stainless Steel Fountain: Fits GIOTOHUN 2.2L cat water dispenser
- Set of 12 Filters: Includes 6 carbon and 6 sponge filters
- Long-lasting Filters: Suitable for 3-6 months of use
As an affiliate, we earn on qualifying purchases.
Step 1: Assessing the Bathtub and Wall Structure
First, you’ll need to assess the structure of your bathtub and wall to determine the best method for securing them together. Assessing stability is crucial to ensure a safe and durable installation.
Start by examining the bathtub’s condition and the wall’s strength. Look for any signs of damage or wear that could affect the stability of the connection.
Next, ensure proper alignment by measuring the dimensions of the bathtub and comparing them to the available space on the wall. This will help you determine if any adjustments or modifications are necessary.
Additionally, consider the type of material used for both the bathtub and the wall to select the appropriate securing method.
Taking these steps will help guarantee a secure and well-aligned connection between your bathtub and wall.
Step 2: Gathering the Necessary Tools and Materials
Next, gather all the tools and materials you’ll need for this project.
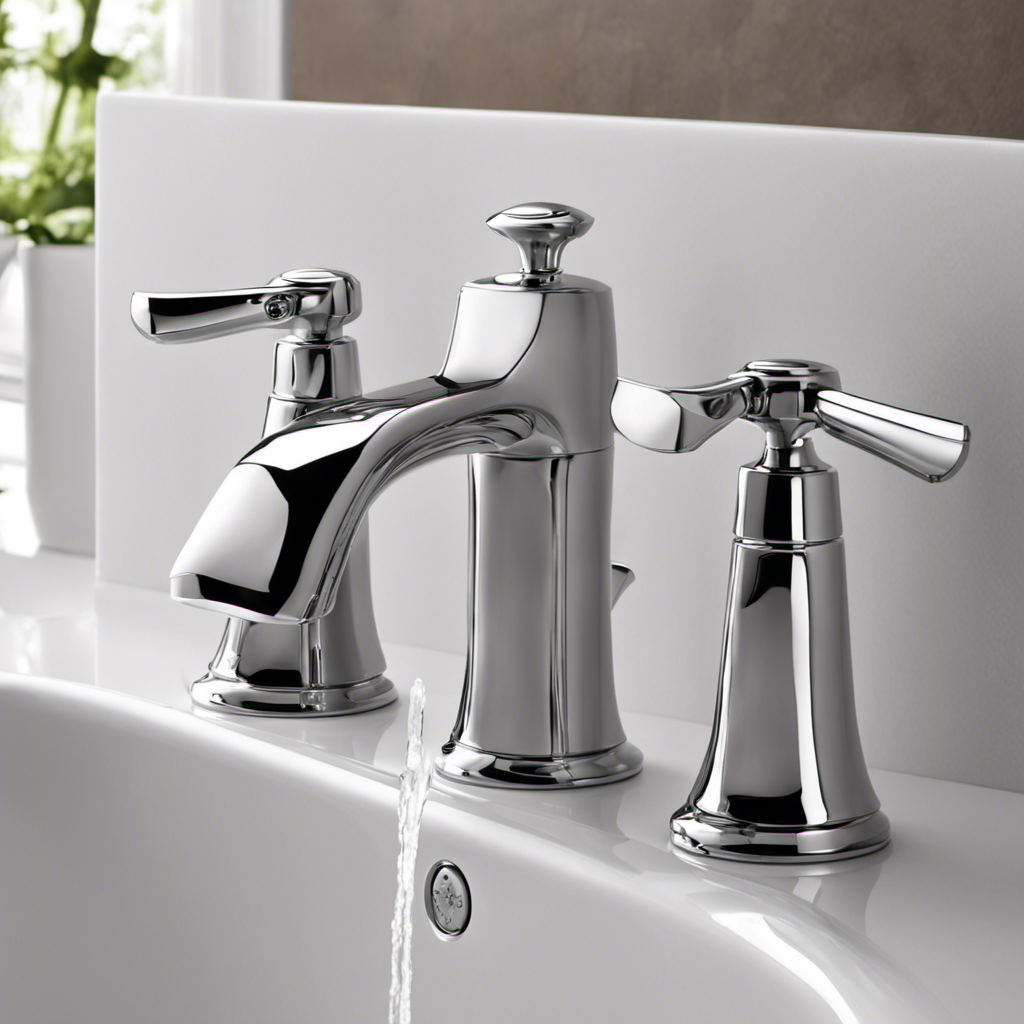
Choosing the right adhesive is crucial to ensure a secure attachment between your bathtub and the wall. Look for a waterproof adhesive specifically designed for bonding heavy materials like porcelain or fiberglass.
Additionally, you’ll need a tape measure to properly measure the dimensions of your bathtub. Measure the length, width, and height of the bathtub, as well as the distance between the wall and the bathtub. This will help you determine the amount of adhesive required and ensure a precise installation.
In terms of materials, you’ll need adhesive, a caulk gun, a putty knife, sandpaper, and a clean cloth.
Having all these tools and materials ready will make the installation process smoother and more efficient.
Step 3: Preparing the Bathtub and Wall for Installation
Now, you’ll want to thoroughly clean both the bathtub and the wall to ensure a smooth and successful installation. A clean surface is essential for proper adhesion and stability. Start by removing any existing caulking or adhesive from the bathtub and wall. Use a scraper or putty knife to gently scrape away any residue. Next, clean the surfaces with a mild detergent and warm water, making sure to remove any dirt, grease, or soap scum. Rinse thoroughly and dry completely.
To help you visualize this process, here is a table outlining the steps for preparing the bathtub and wall for installation:
| Step | Task |
|---|---|
| 1 | Remove existing caulking/adhesive |
| 2 | Scrape away residue |
| 3 | Clean surfaces with mild detergent and warm water |
| 4 | Rinse and dry completely |
Following these steps will ensure that your bathtub is properly prepared for installation and that the wall attachment is secure.
Step 4: Securing the Bathtub to the Wall
To ensure a stable installation, you’ll want to firmly attach the bathtub to the wall using the provided hardware. The securing method for attaching the bathtub to the wall may vary depending on the specific model and manufacturer’s instructions.
However, a common method involves using brackets and screws to secure the bathtub to the wall studs. Before starting the installation process, it is important to take necessary safety precautions. Make sure to wear protective gloves and safety glasses to avoid any injuries.
Additionally, carefully read and follow the manufacturer’s instructions for the specific securing method recommended for your bathtub model. This will ensure that the bathtub is securely attached to the wall, providing stability and safety for years to come.
Step 5: Testing and Finishing Touches
Before moving on, let’s make sure to test the bathtub for any leaks or issues. This step is crucial to ensure the durability and functionality of your installation. Here are some testing methods and finishing techniques to consider:
-
Water Test: Fill the bathtub with water and let it sit for a few hours. Check for any signs of leakage around the drain, faucet, or seams. If there are any leaks, address them promptly before proceeding.
-
Drain Test: Open the drain and check if the water drains properly. Ensure that there are no clogs or slow drainage issues. If needed, adjust the drain mechanism or clean out any debris.
-
Caulking and Sealing: Apply a waterproof caulk around the edges of the bathtub where it meets the wall. This will provide an extra layer of protection against water damage and prevent moisture from seeping into the walls.
Conclusion
In conclusion, securing your bathtub to the wall is an important step in ensuring the safety and stability of your bathroom. By following the steps outlined in this article, you can confidently install your bathtub and have peace of mind knowing it is securely attached.
It’s worth noting that according to a study conducted by the National Safety Council, falls are the leading cause of non-fatal injuries in the bathroom, with bathtub-related accidents being a significant contributor. Taking the time to properly secure your bathtub can help prevent these accidents and keep you and your loved ones safe.