
Did you know that a leaking bathtub faucet can waste up to 3,000 gallons of water per year? That’s enough to fill a swimming pool!
If you’re tired of that annoying drip and want to save water and money, you’ve come to the right place. In this article, I’ll guide you through the step-by-step process of stopping a leaking bathtub faucet.
With just a few tools and some patience, you’ll have your faucet working like new in no time.
Let’s get started!
Key Takeaways
- Leaking bathtub faucets can waste a significant amount of water, up to 3,000 gallons per year.
- Common causes of leaking bathtub faucets include faulty washers, loose or damaged valve seats, and faulty cartridges or O-rings.
- Essential tools for bathtub faucet repair include an adjustable wrench, screwdriver, and pliers.
- It is important to shut off the water supply before starting any repairs and to follow manufacturer’s instructions for disassembling and replacing faulty components.

HammerHead Showers Solid Metal Single-Handle Trim Kit with Rough-In Shower Valve, Volume and Temperature Control, Pressure Balance, Chrome
THE PLUMBER'S CHOICE – Designed for EASY INSTALLATION and MAINTENANCE with a durable BRASS and STAINLESS STEEL construction,...
As an affiliate, we earn on qualifying purchases.
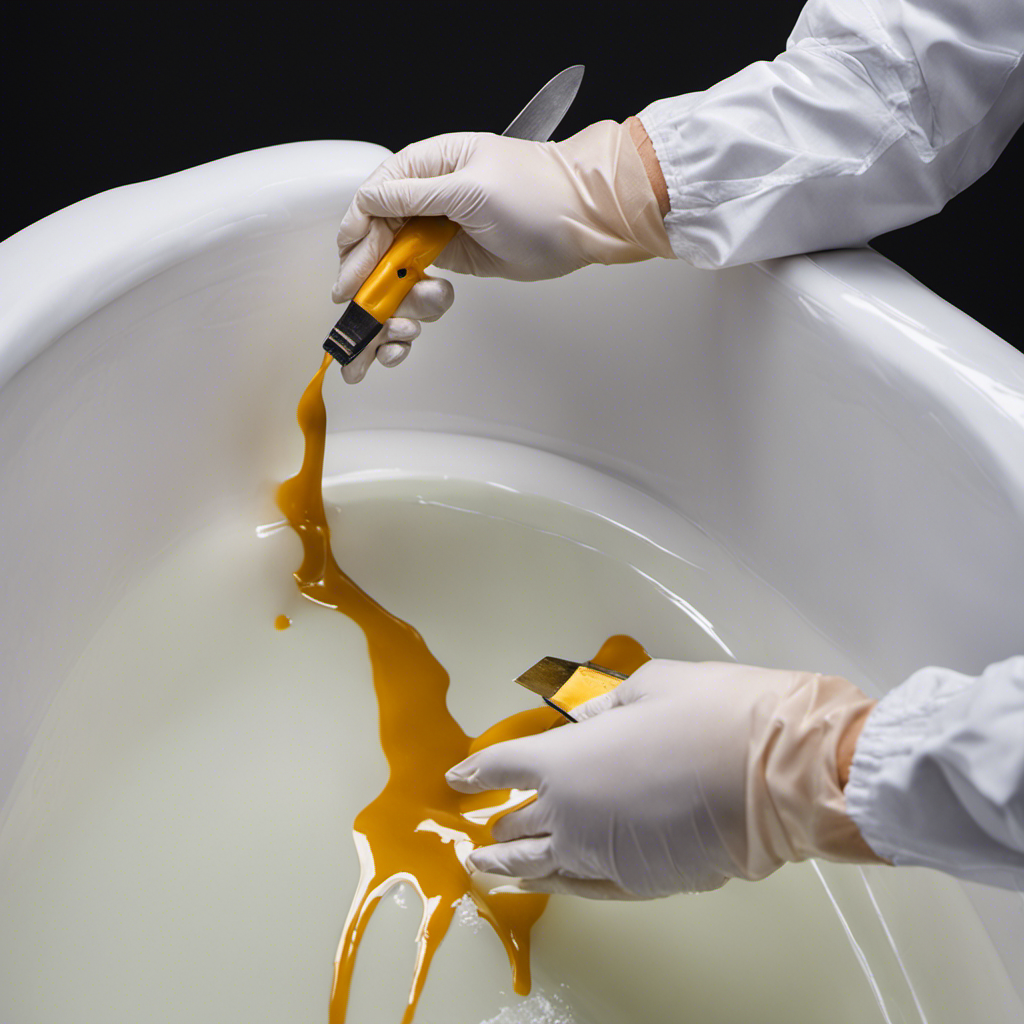
Understanding the Problem
To fix a leaking bathtub faucet, it’s important to understand the underlying issue. By identifying potential causes and recognizing common signs of a leaking bathtub faucet, you can effectively troubleshoot the problem.
One potential cause of a leaking faucet is a worn-out washer. If you notice water pooling around the faucet or a constant dripping sound, it could indicate a faulty washer that needs to be replaced.
Another possible cause is a loose or damaged valve seat. This can lead to water leaking from the base of the faucet.
Additionally, a faulty cartridge or O-ring can also contribute to a leaking bathtub faucet.

gotonovo Rainfall Bathroom Shower System Rain Shower Head and Handle Set Wall Mounted Shower Complete Combo Solid Brass Pressure Balancing Shower Mixer Valve 10 Inch Matte Black
1. 10-Inch Rainfall Shower Head – Luxurious Shower Experience: Oversized 10-inch square rainfall shower head delivers wide, even...
As an affiliate, we earn on qualifying purchases.
Gathering the Necessary Tools
You’ll need a few tools to fix the problem with your bathtub faucet. The table below lists the essential tools required for bathtub faucet repair:
| Tools | Description |
|---|---|
| Adjustable wrench | Used to loosen and tighten nuts and bolts. |
| Screwdriver | Needed to remove screws from the faucet handle. |
| Pliers | Useful for gripping and turning small parts. |
To fix a leaky faucet, you’ll need to gather these tools before starting the repair process. The adjustable wrench is crucial for removing the faucet’s handle and accessing the cartridge or stem inside. The screwdriver is necessary for unscrewing any screws that hold the handle in place. Pliers are handy for removing and replacing worn-out washers or O-rings. By having these tools readily available, you’ll be well-equipped to tackle any bathtub faucet repair and successfully fix a leaky faucet.
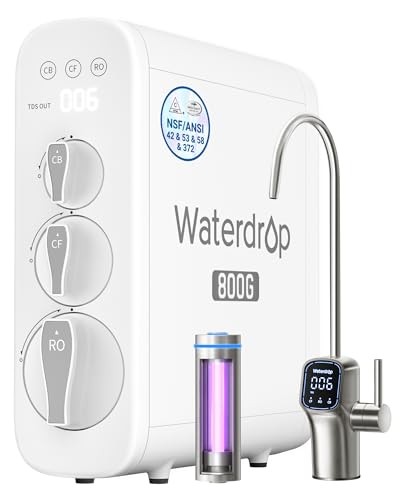
Waterdrop G3P800 Reverse Osmosis System, 800 GPD Fast Flow, NSF/ANSI 42 & 53 & 58 & 372 Certified, 3:1 Pure to Drain, Tankless Under Sink RO Water Filter System, LED Purifier, Smart Faucet
[ NSF/ANSI standard 42 & 53 & 58 & 372 certified ] This tankless reverse osmosis system is...
As an affiliate, we earn on qualifying purchases.
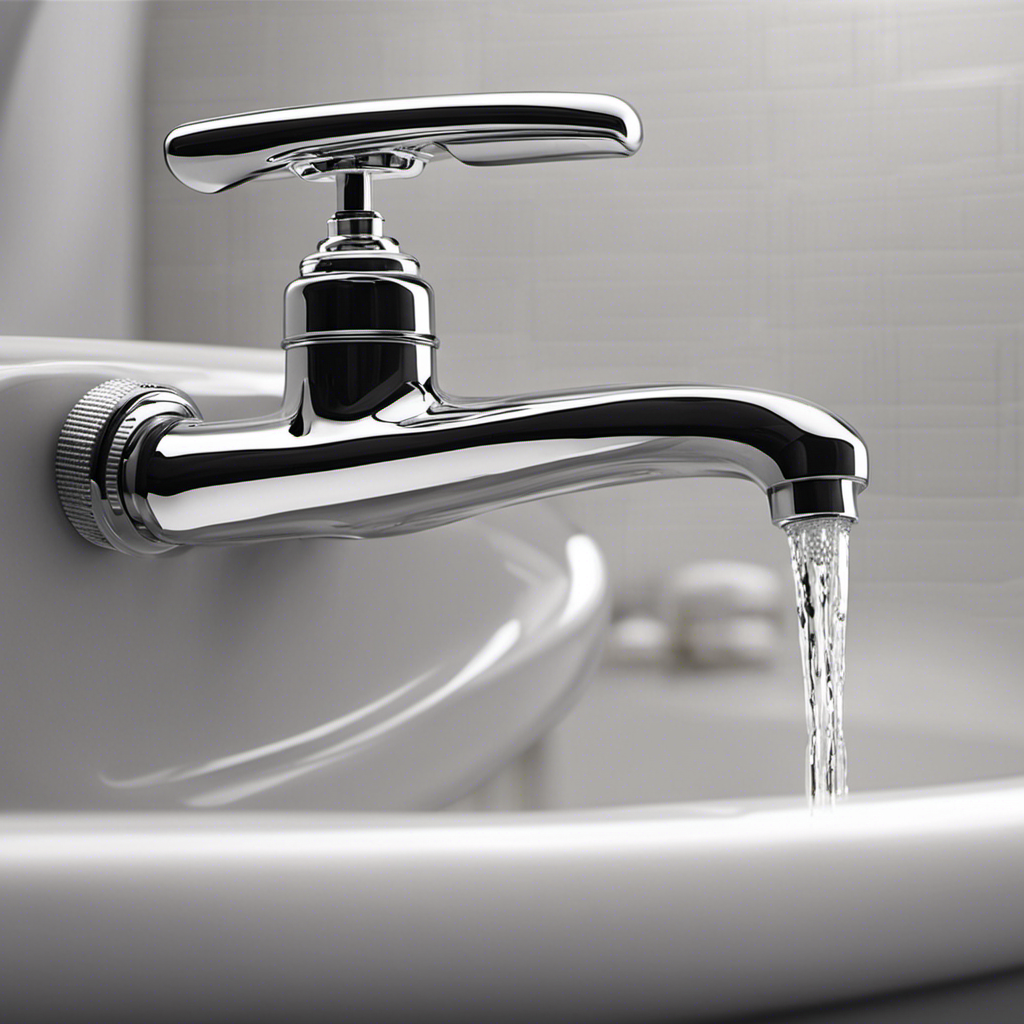
Shutting Off the Water Supply
Before starting any repairs, make sure to shut off the water supply to prevent any further damage. This is a crucial step in fixing a dripping faucet and replacing damaged washers.
To shut off the water supply, locate the shut-off valve under the sink or near the bathtub. Turn the valve clockwise until it is fully closed. This will stop the flow of water to the faucet and allow you to work on it safely.
It is important to shut off the water supply because attempting repairs while the water is still running can lead to water damage and make the job more difficult. By taking this simple precaution, you can save yourself time, money, and frustration when fixing your dripping faucet.

GLACIER FRESH GFU03 Reverse Osmosis System – 800 GPD, Non-Electric, 3:1 Pure-to-Drain, No Noise/No Drilling, 5-Stage Tankless Under-Sink RO Water Filter System, Reduces PFAS/PFOS, Classic Version
800 GPD High Capacity: The GLACIER FRESH GFU03 Reverse Osmosis System delivers an impressive 800 gallons per day—perfect...
As an affiliate, we earn on qualifying purchases.
Disassembling the Faucet
Before starting the process of disassembling the faucet, it’s important to gather the necessary tools and parts.
Some of the tools you’ll need include a set of screwdrivers, an adjustable wrench, and pliers.
Additionally, you may need replacement parts such as O-rings or washers.
Once you have all the necessary tools and parts, you can proceed with the step-by-step disassembly instructions to take apart the faucet and access the internal components.
Necessary Tools and Parts
To fix the leaking bathtub faucet, grab a wrench and a replacement washer. Here are some necessary tools and parts you’ll need for the job:
- Adjustable wrench: This will help you loosen and tighten the various parts of the faucet.
- Replacement washer: The most common cause of a dripping faucet is a worn-out washer. Make sure to choose the correct size and type for your faucet.
- Screwdriver: You may need a screwdriver to remove any screws or fasteners holding the faucet together.
- Plumber’s tape: This thin tape is used to create a watertight seal when reassembling the faucet.
Common mistakes when fixing a leaking bathtub faucet include using the wrong size washer or not properly tightening the components. It’s important to follow the manufacturer’s instructions or seek professional help if needed.
Now that you have the necessary tools and parts, let’s move on to the step-by-step disassembly instructions.
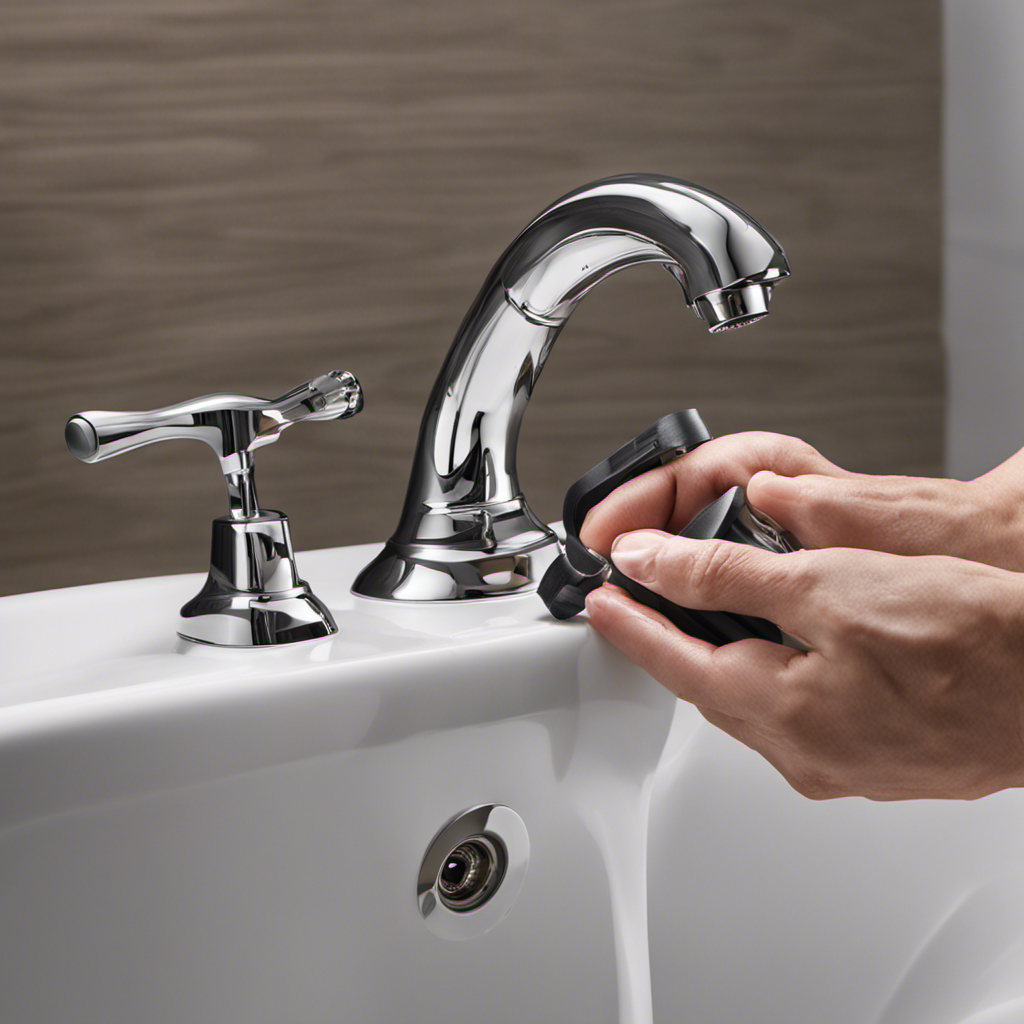
Step-By-Step Disassembly Instructions
Now that we have all the necessary tools and parts, let’s move on to the disassembling process.
First, turn off the water supply to the bathtub faucet. This is crucial to avoid any mishaps during the repair.
Next, remove the handle of the faucet by unscrewing the setscrew located underneath it. Once the handle is off, you will see a cap or bonnet nut that needs to be unscrewed to access the cartridge or valve assembly.
Carefully remove the cartridge or valve assembly and inspect it for any signs of damage or wear. This is where you can address the root cause of the leaks and fix them accordingly.
By following these disassembly instructions, you are one step closer to resolving the issue with your leaking bathtub faucet.
Now that we have disassembled the faucet and fixed any leaks, it’s time to move on to the next step: replacing faulty components.
Replacing Faulty Components
You’ll want to start by turning off the water supply to the faucet. Once that’s done, it’s time to replace the faulty components causing the leak. Here are four key steps to follow:
-
Remove the handle: Use a screwdriver or Allen wrench to remove the handle, exposing the cartridge or valve stem.
-
Replace the cartridge or valve stem: Depending on the type of faucet, you may need to replace either the cartridge or the valve stem. Follow the manufacturer’s instructions to remove the old one and install the new one.
-
Check the O-rings and washers: Inspect the O-rings and washers for any signs of damage or wear. Replace them if necessary to ensure a watertight seal.
-
Reassemble and test: Put the faucet back together in the reverse order of disassembly. Turn on the water supply and check for any leaks.
Testing and Reassembling the Faucet
When it comes to fixing a leaking bathtub faucet, it’s important to not only replace faulty components but also thoroughly test the faucet for any remaining leaks. This involves checking all the connections and joints for any signs of water leakage.
Once the testing is complete and the faucet is confirmed to be leak-free, the next step is to reassemble the components in the correct order and ensure tight fittings.
If any issues arise during this process or afterwards, troubleshooting common problems such as low water pressure or strange noises can help identify and resolve the problem effectively.
Testing for Leaks
To check for leaks in your bathtub faucet, start by turning off the water supply. This is crucial to avoid any potential mess or further damage. Once the water is off, follow these steps to identify and fix the leaks:
-
Inspect the faucet: Look for any visible signs of leaks, such as dripping water or water stains around the faucet.
-
Check the handles: Turn on the faucet handles one at a time and observe if water is leaking from the handles or the base.
-
Examine the spout: Run water through the spout and see if there are any leaks or drips coming from it.
-
Test the showerhead: If you have a showerhead attached to your bathtub faucet, turn it on and check for any leaks or water seepage.
Reassembling the Components
Once you’ve finished inspecting and fixing any leaks, it’s time to reassemble the components of your bathtub faucet. This step is crucial to ensure that your faucet functions properly and does not leak again. To begin, gather all the parts you previously removed, including the handle, stem, and cartridge. Refer to the table below for a visual guide on how to reassemble the faucet handle:
| Component | Order of Assembly |
|---|---|
| Gasket | 1 |
| Stem | 2 |
| Handle | 3 |
Start by replacing any worn or damaged gaskets with new ones. Then, insert the stem back into the faucet body, making sure it fits snugly. Finally, place the handle back onto the stem, aligning it properly. Tighten any screws or bolts as necessary to secure the handle in place. Once everything is reassembled, turn on the water supply to test for any remaining leaks.
Troubleshooting Common Issues
If you’re experiencing any issues with your bathtub faucet, there are a few common troubleshooting steps you can take. Here are four techniques that can help you identify and fix the problem:
-
Check for leaks: Inspect the area around the faucet for any signs of water leakage. Leaks can be caused by loose connections or worn-out parts.
-
Clean the aerator: Over time, mineral deposits can build up in the aerator, causing reduced water flow. Remove the aerator and clean it thoroughly to improve water pressure.
-
Replace worn-out washers: If you notice a constant dripping, worn-out washers could be the culprit. Turn off the water supply, disassemble the faucet, and replace any damaged washers.
-
Adjust the cartridge or valve: If the water temperature or pressure is inconsistent, the cartridge or valve may need adjustment. Consult the manufacturer’s instructions or seek professional help.
Frequently Asked Questions
Can I Fix a Leaking Bathtub Faucet Without Turning off the Water Supply?
I can fix a leaking bathtub faucet without turning off the water supply. By following the proper steps and using the right tools, I can save water and conserve resources while repairing the leak.
How Do I Know if the Faucet Components Need to Be Replaced or Just Repaired?
When it comes to faucet repair vs replacement, it’s important to look for signs of a damaged faucet. If the components are worn or corroded, they may need to be replaced.
What Should I Do if I Accidentally Damage the Faucet While Disassembling It?
If I accidentally damage the faucet while disassembling it, I should first assess the extent of the damage. Depending on the severity, I could explore repair options or look for replacement parts if necessary.
Can I Use Any Type of Wrench to Remove the Faucet Handle?
I wouldn’t recommend using any type of wrench to remove the faucet handle. Using the wrong wrench could cause damage and make the leak worse. It’s best to use the proper tools to avoid potential risks.
Is It Necessary to Test the Faucet After Reassembling It, or Can I Skip This Step?
It is necessary to test the faucet after reassembling it. Skipping this step can lead to potential consequences such as water leaks or improper functioning. Testing ensures that the faucet is working properly and prevents future issues.
Conclusion
In conclusion, fixing a leaking bathtub faucet is like mending a broken heart. Just as we gather the necessary tools and take the time to understand the problem, we must also be patient and gentle with ourselves.
By shutting off the water supply and replacing faulty components, we can heal the leak and restore balance to our lives.
So, let us embark on this journey of repair, knowing that with a little knowledge and precision, we can fix what is broken and find peace once again.