Hey there! Did you know that a dripping bathtub faucet can waste up to 3,000 gallons of water per year? That’s a lot of wasted resources and money down the drain!
Luckily, I’m here to help you put an end to that annoying drip. In this step-by-step guide, I’ll show you how to disassemble, identify and replace the faulty parts, and properly reassemble your bathtub faucet.
Plus, I’ll share some maintenance tips to prevent future dripping. Let’s get started and save some water, shall we?
Key Takeaways
- Understanding the causes of a dripping bathtub faucet helps determine necessary repair tools.
- The right tools and proper diagnosis are essential for effective solutions.
- There are various solutions for different faucet problems such as loose handle, worn-out washer, corroded valve seat, and faulty O-ring.
- Disassembling and replacing faulty parts of the faucet, such as the cartridge or valve seat, may be necessary for repair.
Understanding the Causes of a Dripping Bathtub Faucet
To understand why your bathtub faucet is dripping, you should first identify the common causes.
There are several reasons for bathtub faucet leaks, and knowing these causes will help you diagnose and fix the problem.
One common cause is a worn-out washer. Over time, the washer can become stiff or deteriorate, causing water to leak out.
Another cause could be a loose or damaged O-ring. This small rubber ring helps create a watertight seal, and if it is loose or damaged, water can escape.
Additionally, mineral deposits and sediment buildup can also cause your faucet to drip. These deposits can interfere with the proper functioning of the faucet’s internal components.
Understanding these causes will help you determine the necessary tools needed to repair your dripping bathtub faucet.
Tools You Will Need to Repair a Dripping Bathtub Faucet
When it comes to repairing a dripping bathtub faucet, having the right tools is essential. In order to successfully fix the issue, you will need a few key items.
In this discussion, I will outline the essential repair tools needed and provide step-by-step solutions for stopping a faucet from dripping.
Essential Repair Tools
You can fix your dripping bathtub faucet by using essential repair tools like a wrench and plumber’s tape.
Before you begin, it’s important to avoid common mistakes when using these tools. One common mistake is using too much force when tightening or loosening the faucet components. This can lead to damaged parts or stripped screws.
Another mistake is not using plumber’s tape properly. Make sure to wrap the tape clockwise around the threads to create a tight seal.
If you don’t have access to traditional repair tools, there are some alternatives you can try. For example, instead of a wrench, you can use a pair of pliers to loosen or tighten the faucet components. Additionally, if you don’t have plumber’s tape, you can use Teflon tape as a substitute.
Remember to follow these steps carefully to successfully fix your dripping bathtub faucet.
Faucet Dripping Solutions
One solution for the constant dripping is to tighten the faucet handle slightly. This is a simple fix that can be done without any specialized tools. However, if tightening the handle doesn’t solve the issue, there may be other underlying problems with the faucet that need to be addressed. Here are some common faucet repair techniques and DIY faucet fixes that can help you stop that annoying drip:
| Problem | Solution | Tools |
|---|---|---|
| Loose Faucet Handle | Tighten the handle by turning it clockwise | Adjustable wrench |
| Worn-out Washer | Replace the washer inside the faucet | Flathead screwdriver, pliers |
| Corroded Valve Seat | Clean or replace the valve seat | Valve seat wrench, plumber’s tape |
| Faulty O-ring | Replace the O-ring on the faucet stem | O-ring pick, plumber’s grease |
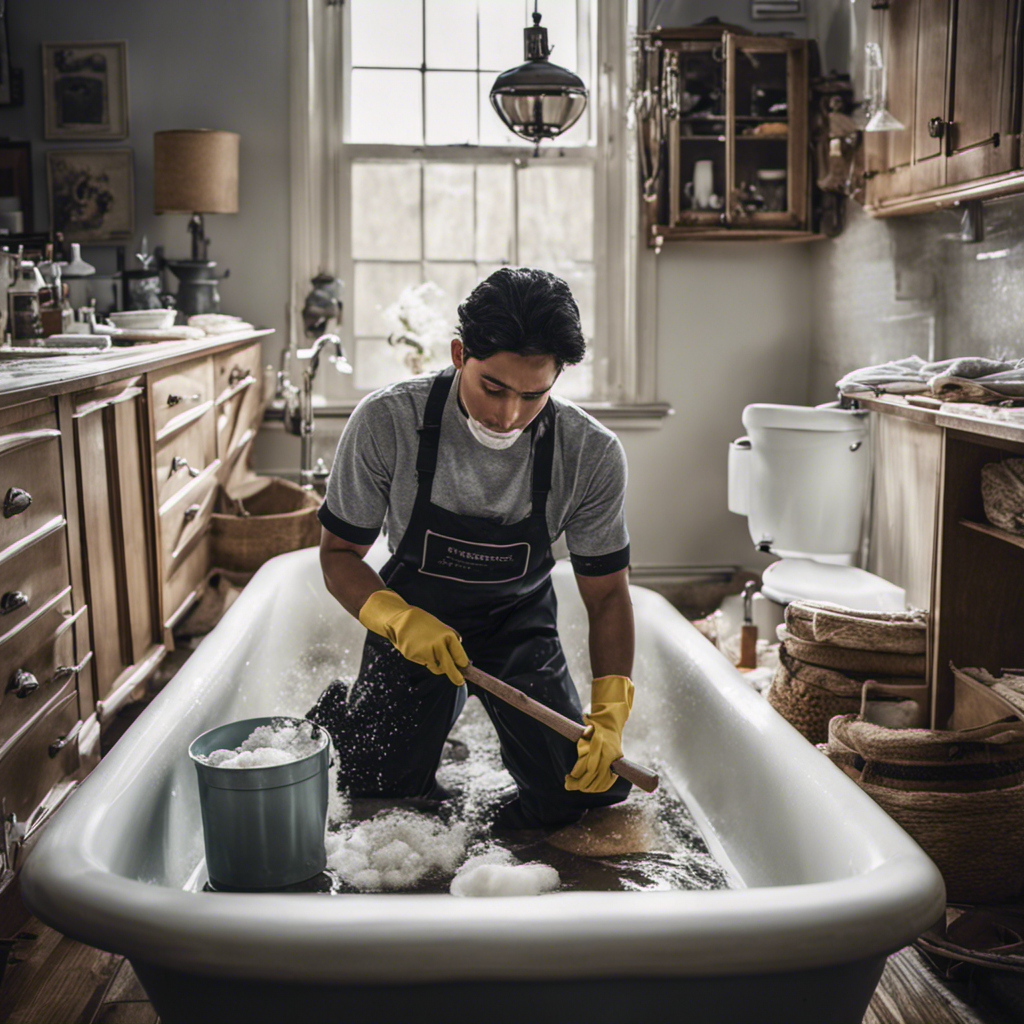
Step-By-Step Guide to Disassemble the Bathtub Faucet
To disassemble the bathtub faucet, start by turning off the water supply. This is a crucial step to ensure that no water leaks or accidents occur during the disassembling process.
Once the water supply is turned off, locate the screws or bolts that hold the faucet handle in place. Use a screwdriver or wrench to remove these screws or bolts.
Next, carefully remove the handle, exposing the cartridge or valve stem. Depending on the type of faucet, you may need to use a specialized tool to unscrew the cartridge.
Once the cartridge is removed, inspect it for any signs of damage or wear. If necessary, replace the cartridge with a new one.
These troubleshooting tips will help you identify and fix any issues with your bathtub faucet.
Identifying and Replacing the Faulty Parts of the Faucet
In this section, I’ll discuss common faucet problems and how to solve them.
One of the most common issues is a dripping faucet, which is often caused by worn-out washers. To fix this problem and ensure your faucet works properly, you’ll need to replace these worn-out washers. I’ll guide you through the step-by-step process of doing this.
Common Faucet Problems Solved
Are you tired of dealing with common faucet problems like a dripping bathtub faucet? Don’t worry, I’ve got you covered. Let’s dive into some faucet troubleshooting and maintenance tips to solve these issues once and for all.
-
Inspect the O-Rings: Start by shutting off the water supply and removing the faucet handle. Check the O-rings for any signs of wear or damage. If needed, replace them with new ones.
-
Clean the Aerator: A clogged aerator can cause low water pressure or uneven water flow. Unscrew the aerator from the spout and clean it thoroughly using a toothbrush and vinegar.
-
Check the Valve Seat: A worn-out valve seat can lead to leaks. To fix this, remove the valve seat using a seat wrench and replace it with a new one.
-
Replace the Cartridge: If all else fails, the cartridge might be the culprit. Remove the old cartridge and install a new one to fix the dripping issue.
Replacing Worn-Out Washers
In the previous section, we discussed common faucet problems and their solutions.
Now, let’s move on to a specific issue: fixing a leaky bathtub faucet by replacing worn-out washers.
Here are the steps to follow:
-
Turn off the water supply: Locate the shut-off valve near the faucet and turn it clockwise to stop the water flow.
-
Remove the old handle: Use a screwdriver to unscrew the handle and gently pry it off.
-
Replace the washer: Locate the stem assembly and remove the retaining nut. Take out the old washer and replace it with a new one of the same size and shape.
By following these steps, you can successfully replace worn-out washers and fix your leaky bathtub faucet.
With the new washer in place, you are now ready to properly reassemble the bathtub faucet after repairs.
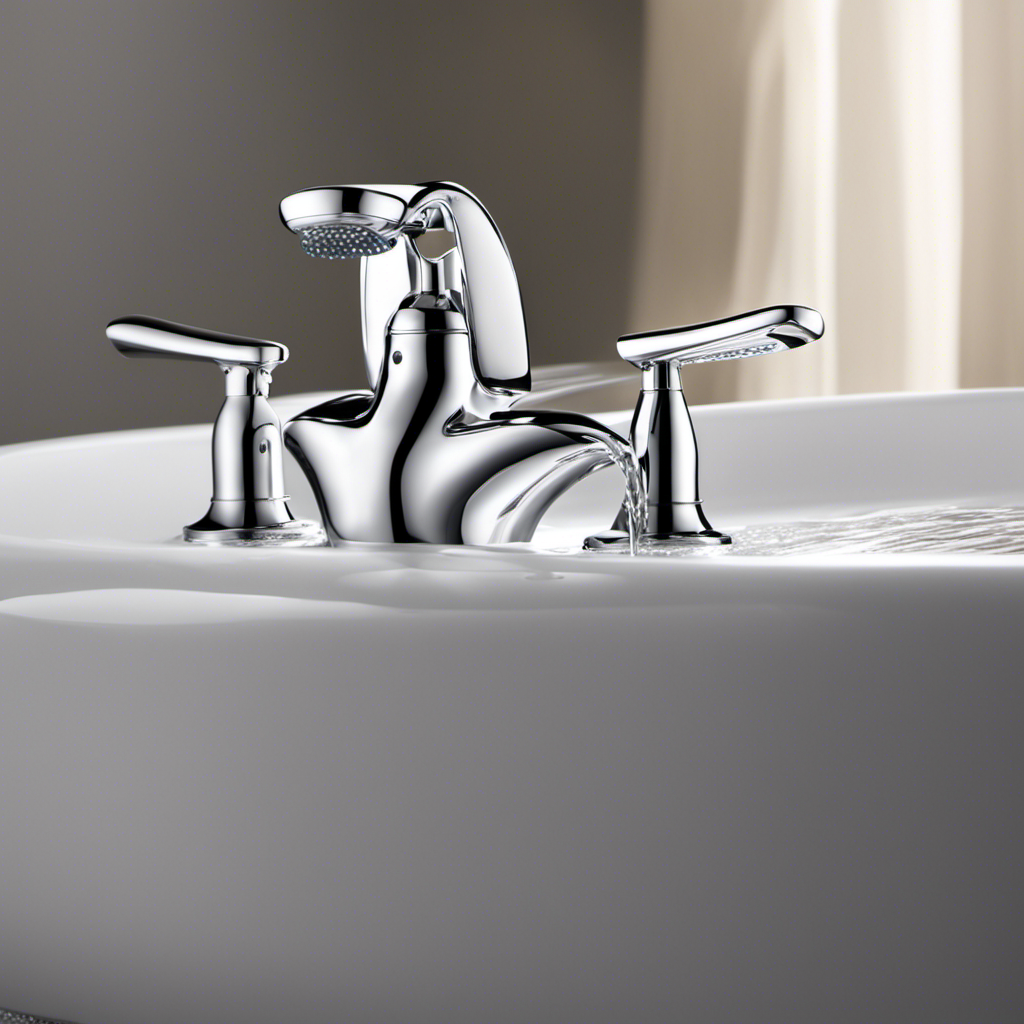
Properly Reassembling the Bathtub Faucet After Repairs
To properly reassemble the bathtub faucet after repairs, make sure you tighten all the connections securely. This step is crucial in preventing any leaks or issues with the faucet in the future. Here are some proper reassembling techniques to follow:
- Start by placing the rubber washer on the bottom of the faucet stem.
- Insert the stem back into the faucet body, ensuring it fits snugly.
- Use a wrench to tighten the stem nut securely.
- Reattach the handle and tighten any screws or bolts.
- Turn on the water supply to test for any leaks.
If you encounter any common reassembly issues, refer to the table below for troubleshooting tips:
| Issue | Troubleshooting |
|---|---|
| Leaking handle | Check for loose screws or worn-out O-rings |
| Water flow issues | Clean or replace the cartridge or aerator |
| Handle stuck | Lubricate the stem or replace the handle mechanism |
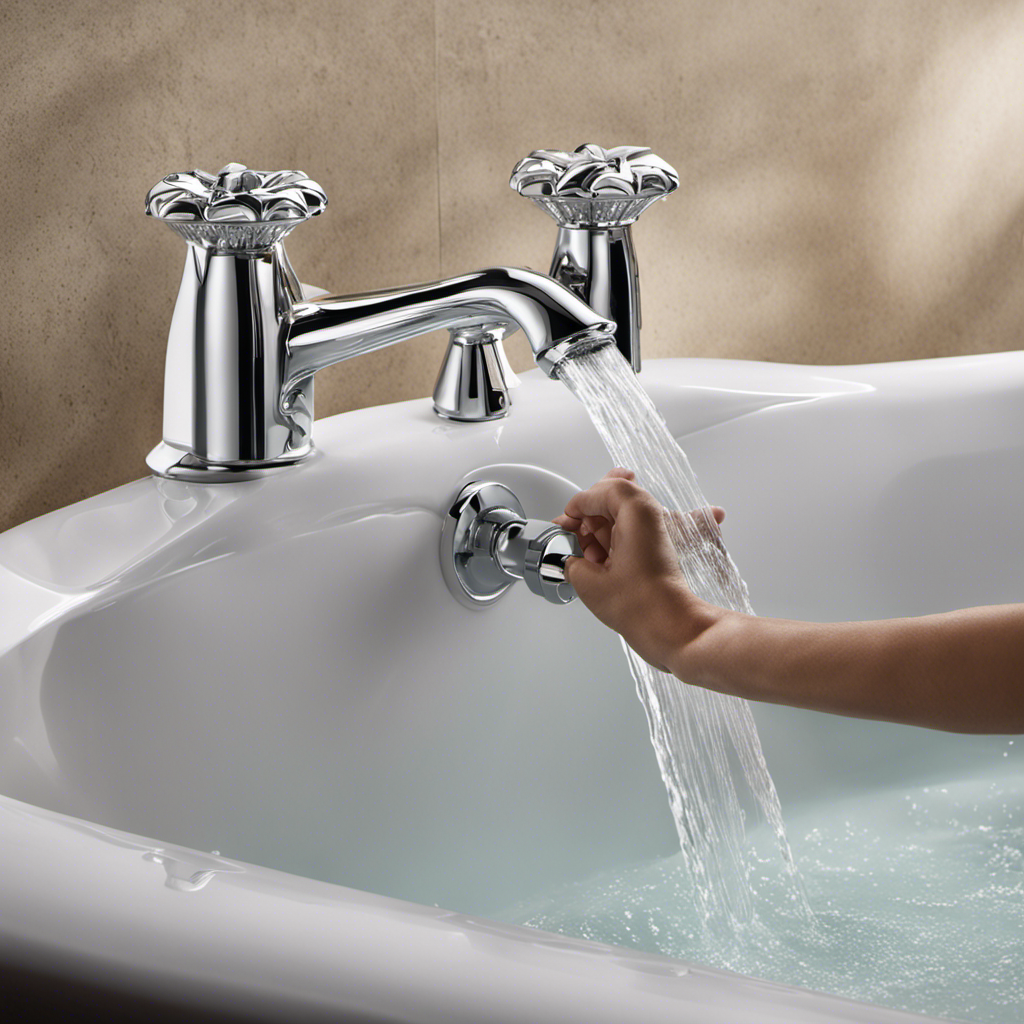
Testing the Faucet for Leaks and Proper Functionality
After reassembling the faucet, it’s important to turn on the water supply and check for any leaks or issues with its functionality. Here are some troubleshooting tips for testing the faucet:
-
Turn on the water supply: Slowly open the water supply valve to allow water to flow into the faucet. Make sure the water pressure is adequate and consistent.
-
Check for leaks: Inspect all connections and joints for any signs of leakage. Look for dripping water or wet areas around the faucet. Tighten any loose connections if necessary.
-
Test the functionality: Turn the faucet handles to different positions (hot, cold, and in between) to ensure smooth operation. Pay attention to any strange noises or difficulty in turning the handles.
Maintenance Tips to Prevent Future Dripping of the Bathtub Faucet
To prevent future dripping of your bathtub faucet, regularly clean the aerator and replace any worn-out washers or O-rings. This simple maintenance routine can help prevent water waste and ensure your faucet functions properly. Here’s a step-by-step guide on how to perform these tasks.
-
Start by turning off the water supply to the faucet. Look for the shut-off valves under the sink or near the water meter.
-
Remove the aerator from the faucet. Use pliers or a wrench if it’s tightly screwed on. Soak the aerator in a vinegar solution to remove any mineral deposits or debris. Scrub it gently with a brush and rinse thoroughly.
-
Inspect the washers and O-rings for any signs of damage or wear. If they appear worn-out or cracked, it’s time to replace them. You can find replacement parts at your local hardware store or online.
-
Install the new washers or O-rings, making sure they fit securely. Reattach the aerator to the faucet and turn on the water supply.
Regular maintenance of your bathtub faucet not only prevents water waste but also extends its lifespan. By keeping the aerator clean and replacing worn-out parts, you can enjoy a drip-free faucet and save on your water bill.
Conclusion
In conclusion, fixing a dripping bathtub faucet is a relatively simple task that can be done with a few basic tools and some patience. By understanding the causes of the issue and following the step-by-step guide provided, you can successfully repair your faucet and prevent any future dripping.
Remember the old saying, ‘A stitch in time saves nine,’ which means that addressing a small problem promptly can prevent it from becoming a larger, more costly issue in the future. So don’t delay, fix that dripping faucet today!

Liam’s journey with us started as a consumer. Having faced challenges while setting up his own modern bathroom, he delved deep into research.
Recognizing his knack for simplifying complex information and his authentic writing style, we were thrilled to welcome him aboard. Liam’s articles often merge practicality with style, ensuring readers find the perfect fit for their homes. Liam is an avid hiker off-duty and often jokes about finding the best “natural toilets” Mother Earth has to offer.