I know how frustrating it can be to deal with a leaking bathtub faucet. But don’t worry, I’ve got you covered.
In this article, I’ll show you step by step how to stop that annoying water leak. With just a few tools and a little know-how, you’ll be able to fix it yourself and save some money on calling a plumber.
So let’s get started and put an end to that pesky leak once and for all.
Key Takeaways
- The source of a leak in a bathtub faucet can be identified by inspecting the faucet closely.
- Common causes of water leakage include worn-out washers, O-rings, valve seats, and cartridges or stems.
- Essential tools for fixing a leaking bathtub faucet include pliers, an adjustable wrench, screwdriver, and Allen wrench.
- To fix the issue, disassemble the faucet, replace any faulty components such as washers or cartridges, and ensure proper reassembly for a proper seal.

Brondell Bidet Toilet Seat Non-Electric Swash Ecoseat, Fits Elongated Toilets, White - Dual Nozzle System, Ambient Water Temperature - Bidet with Easy Installation
CLEAN AND REFRESHING: With Brondell’s Ecoseat 101 Bidet, you’ll experience a soothing, freshwater wash that leaves you feeling...
As an affiliate, we earn on qualifying purchases.
Identifying the Source of the Leak
To identify the source of the leak, you’ll need to inspect the bathtub faucet closely. There are several common causes for water leakage from a bathtub faucet.
One possible cause is a worn-out washer or O-ring, which can lead to a dripping faucet.
Another common cause is a faulty valve seat, which can result in continuous water flow even when the faucet is turned off.
Additionally, a loose or damaged cartridge or stem can also cause water leakage.
To troubleshoot the issue, start by turning off the water supply to the faucet. Then, disassemble the faucet and examine each component for any signs of damage or wear.
Replace any worn-out parts and reassemble the faucet carefully.

BIGCOW Ultra-Slim Bidet Attachment for Toilet - Dual Nozzle (Frontal & Rear Wash) with Adjustable Cold Water Pressure and Stainless Steel Inlet - Hygienic Solution for Fresh Cleanliness, Silver 1 Pcs
【Dual Spraying Modes】- This toilet bidet offers both rear wash for thorough cleaning and a specially designed frontal...
As an affiliate, we earn on qualifying purchases.
Gathering the Necessary Tools
First, you’ll need to gather the necessary tools for fixing the issue with your bathtub faucet. To help you understand the common causes of water leakage in bathtub faucets and guide you through the step-by-step process of fixing it, I have prepared a table below. This table will provide you with the essential information you need, in a concise and informative manner.
| Common Causes of Water Leakage | Step-by-Step Guide to Fixing a Leaking Bathtub Faucet |
|---|---|
| Worn-out washers | Turn off the water supply to the faucet |
| Loose or damaged O-rings | Remove the handle and escutcheon plate |
| Corroded valve seat | Unscrew the packing nut |
| Faulty cartridge | Replace the faulty component |
| Improper installation | Reassemble the faucet and test for leaks |

SAMODRA Bidet Attachment, Non-Electric Cold Water Bidet Toilet Seat Attachment with Pressure Controls, Retractable Self-Cleaning Dual Nozzles for Frontal & Rear Wash - Black
High Quality Parts: Bidet attachment is constructed with durable ABS material, portable control panel, high-pressure faucet quality valves...
As an affiliate, we earn on qualifying purchases.
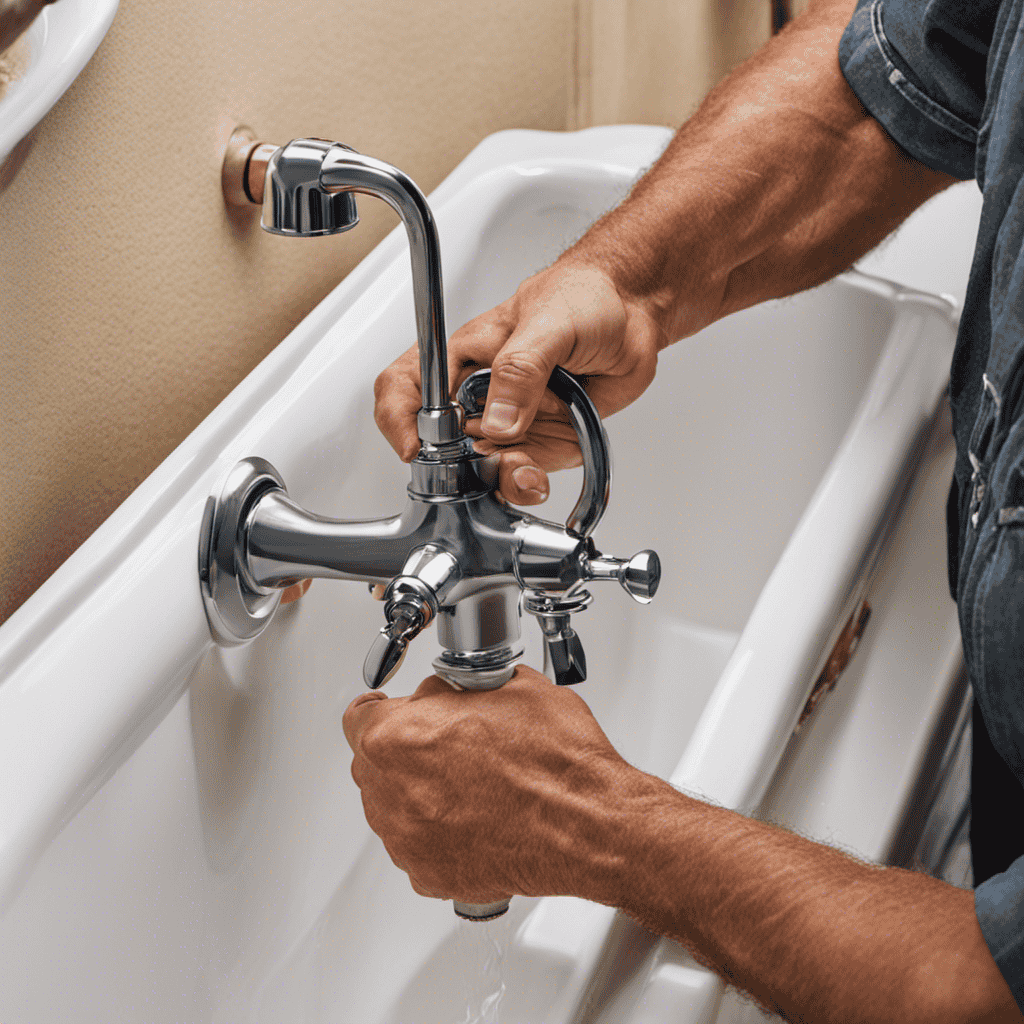
Disassembling the Bathtub Faucet
Now that you have the necessary tools, it’s time to start taking apart the bathtub faucet. Here’s a step-by-step guide on how to disassemble the faucet:
-
Turn off the water supply: Locate the shut-off valve and turn it clockwise to stop the flow of water to the faucet.
-
Remove the handle: Use a screwdriver or an Allen wrench to loosen and remove the screw holding the handle in place. Once the screw is removed, gently pull the handle off.
-
Unscrew the cartridge or stem: Depending on the type of faucet, you may need to unscrew the cartridge or stem using pliers or an adjustable wrench. This will expose the internal components of the faucet.
Taking apart the bathtub faucet is crucial for fixing common causes of faucet leaks, such as worn-out washers, O-rings, or damaged cartridges. By following these steps, you’ll be able to identify the source of the leak and proceed with the necessary repairs.

LUXE Bidet NEO 120 - Single Nozzle, Self-Cleaning, Non-Electric Bidet Attachment for Toilet Seat, Adjustable Water Pressure, Rear Wash (Blue)
THE ULTIMATE VALUE – With a sleek design and high-quality parts, Our Bidet Attachment will give your bathroom...
As an affiliate, we earn on qualifying purchases.
Replacing Faulty Components
Replacing the faulty components is essential for resolving common issues like leaks in the bathtub faucet. When it comes to repairing techniques, it is important to identify the specific component that is causing the leak.
In most cases, the culprit is either the washer or the O-ring. To begin, turn off the water supply to the faucet. Then, disassemble the faucet and locate the faulty component. Remove the old washer or O-ring and replace it with a new one of the same size and type. Make sure to apply plumber’s grease to ensure a proper seal.
Once the new component is in place, reassemble the faucet and turn on the water supply to check for any remaining leaks. If you are unsure about the process or encounter any difficulties, it is always advisable to seek professional help.
Testing for Leaks and Ensuring Proper Functionality
To ensure proper functionality, you should check for any remaining leaks after replacing the faulty components in your bathtub faucet. Here are three steps to follow for testing for leaks and ensuring proper functionality:
-
Turn off the water supply: Before testing for leaks, make sure to turn off the water supply to your bathtub faucet. This will prevent any water from flowing while you perform the tests.
-
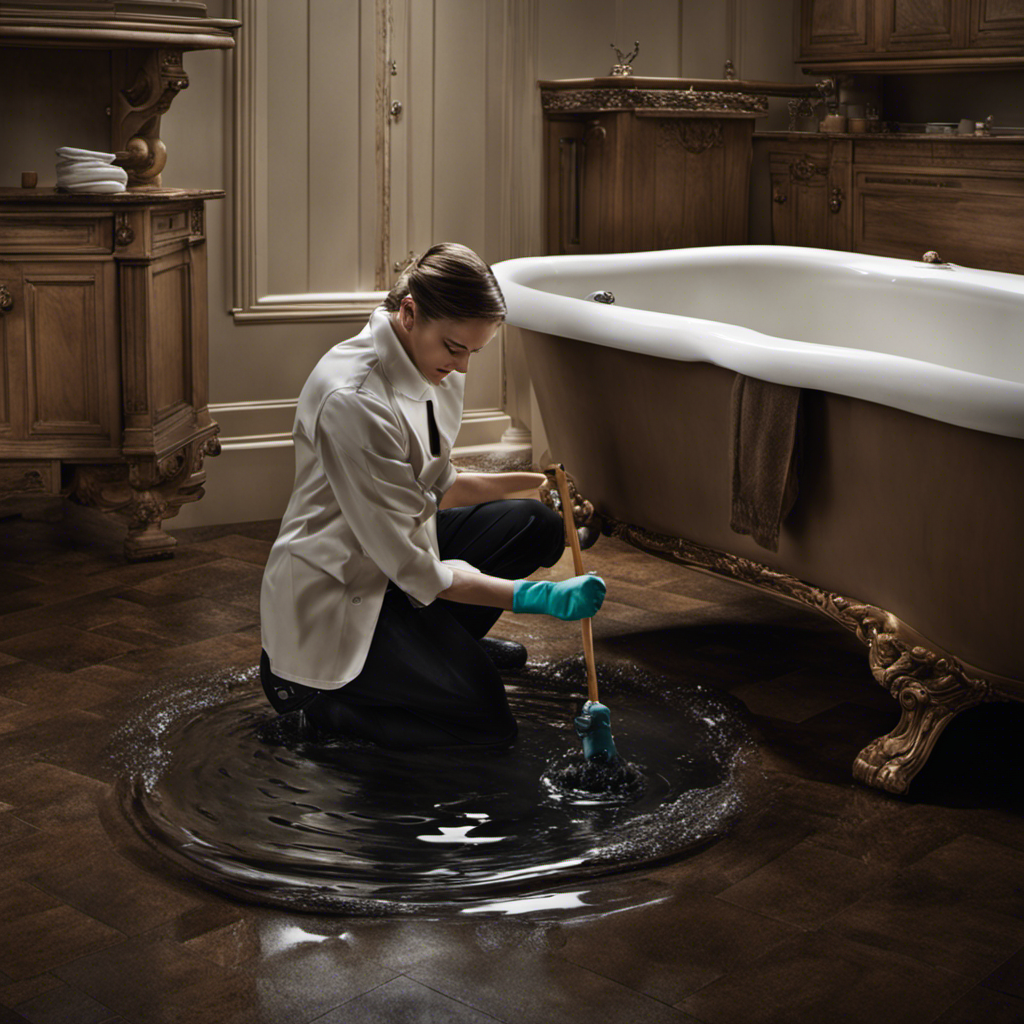
Perform a visual inspection: Carefully examine the area around the faucet for any signs of water leakage. Look for water droplets, dampness, or discoloration on the walls or floor. This will help identify any remaining leaks.
-
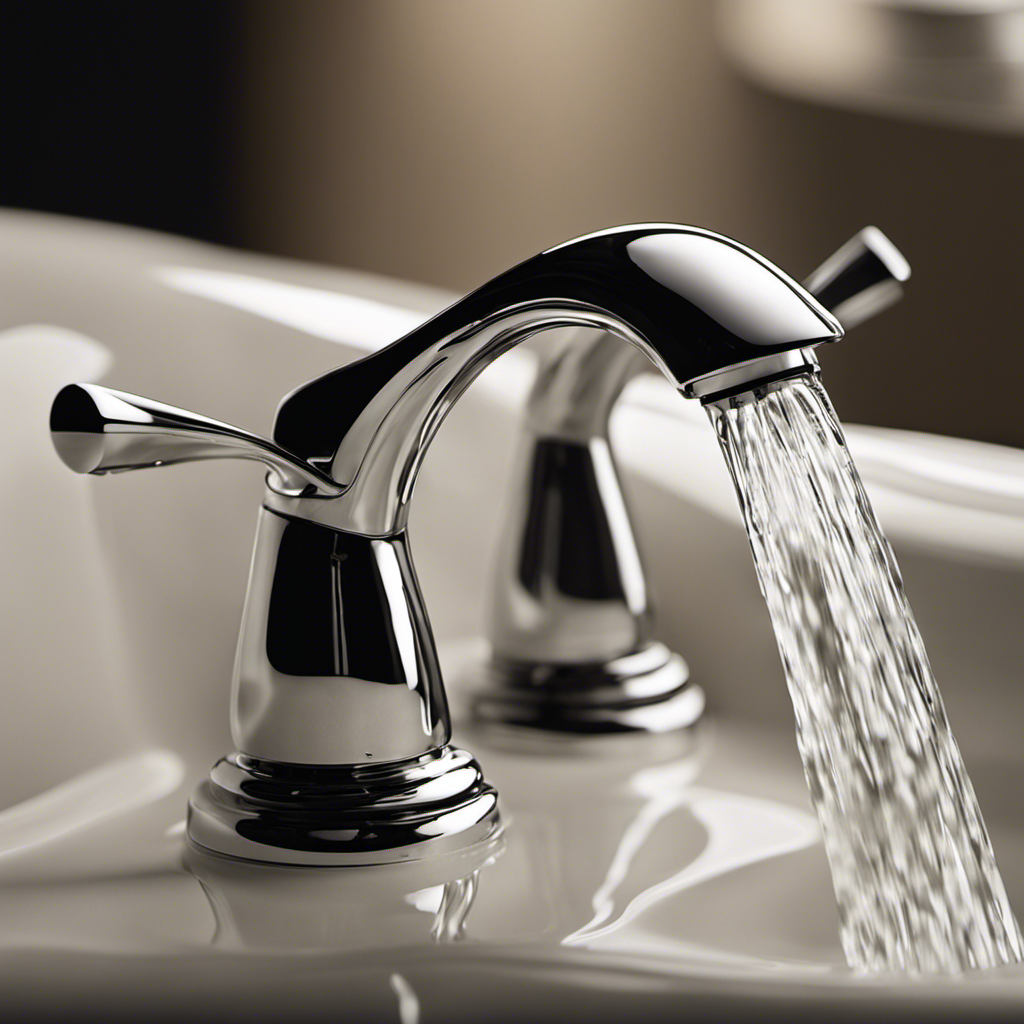
Test water pressure: Turn on the water supply and observe the water pressure coming out of the faucet. It should be consistent and strong. If you notice any decrease in water pressure, it could indicate a leak or an issue with the faucet.
By following these steps, you can ensure that your faucet is functioning properly and prevent any further leaks or water pressure problems.
Regular routine maintenance is essential to keep your bathtub faucet in good working condition.
Conclusion
In conclusion, taking the time to investigate the source of a water leak in your bathtub faucet is essential. This will prevent further damage and unnecessary costs. By following the steps outlined in this article, you can easily identify and replace faulty components. This will ensure proper functionality and eliminate any leaks.
Remember to test for leaks after completing the repair. This will ensure that your bathtub faucet is working effectively. Taking proactive measures can save you time, money, and the headache of dealing with a leaking faucet.