I’ve been dealing with a loose bathtub faucet for weeks, and it’s been driving me crazy. Finally, I decided to take matters into my own hands and figure out how to tighten it myself.
After some research and trial and error, I’ve come up with a step-by-step guide on how to tighten a bathtub faucet.
In this article, I’ll walk you through the process, from understanding the anatomy of the faucet to reassembling it after tightening the internal components.
Let’s get started!
Key Takeaways
- The main components of a bathtub faucet are the spout, handles, valve, and aerator.
- The necessary tools for tightening a bathtub faucet are an adjustable wrench, screwdriver, and pliers.
- Shutting off the water supply is crucial when working on tightening a bathtub faucet to prevent damage.
- Steps for tightening and testing the faucet include proper alignment of grooves, applying gentle pressure while sliding the handle back into place, double-checking the handle position, and testing for tightness and functionality.

RP4993 Faucet repair kit Faucet stem assembly Replacement Kit for Delta two handle faucet repair kit Includes Seats and Springs 8 Pack
RP4993 Replacement Kit for Delta two handle faucet repair kit, Includes 8 pieces Seats and 8 pieces Springs.
As an affiliate, we earn on qualifying purchases.
As an affiliate, we earn on qualifying purchases.
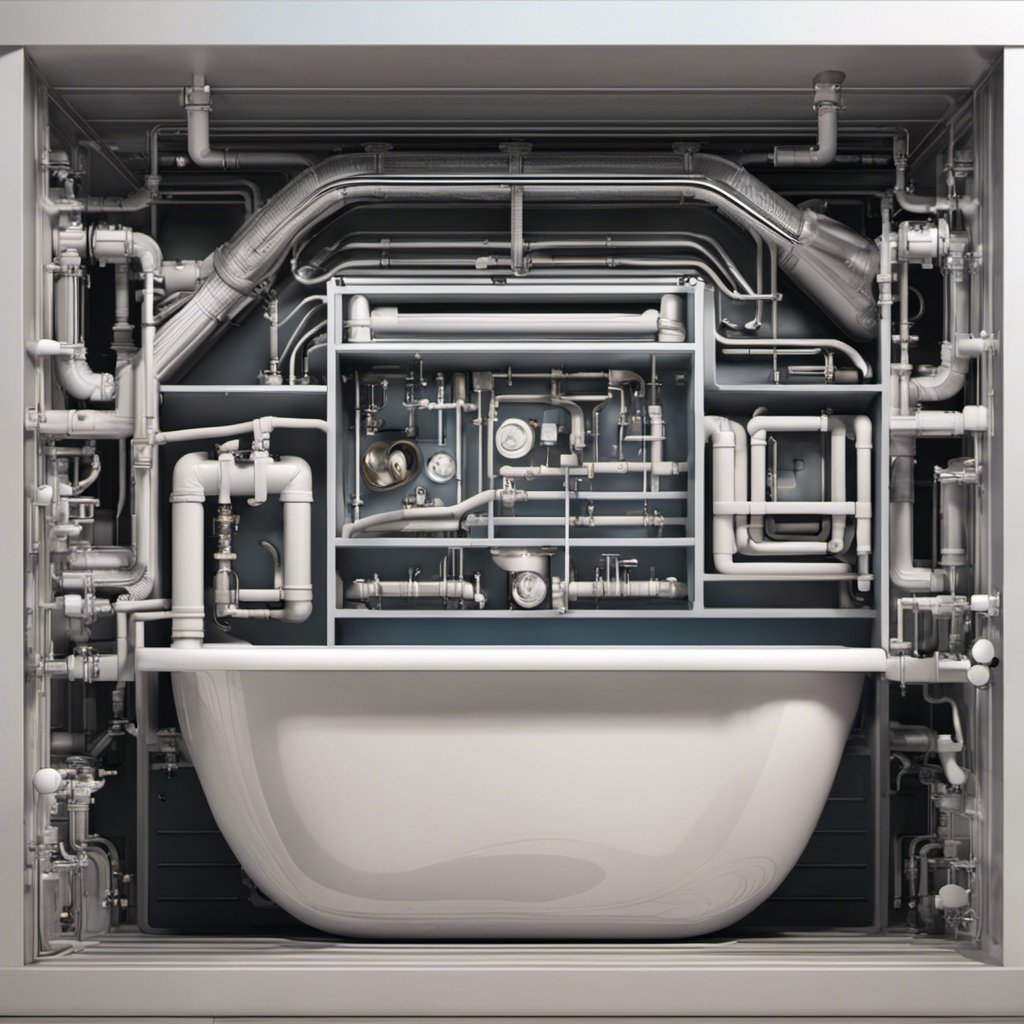
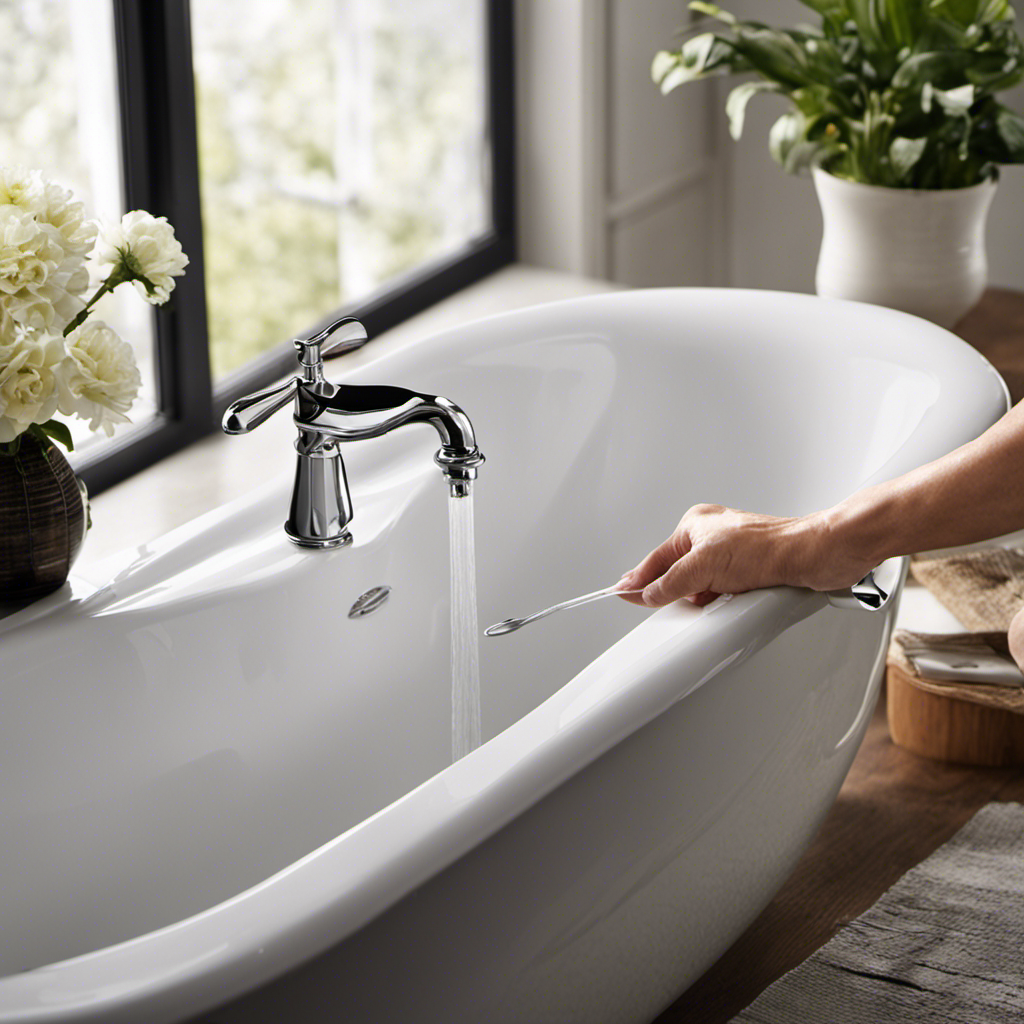
Understanding the Anatomy of a Bathtub Faucet
To understand the anatomy of your bathtub faucet, you’ll need to know the different parts it’s made up of.
The main components of a bathtub faucet are the spout, handles, valve, and aerator.
The spout is the part that water flows out of, and it can be a fixed or adjustable type.
The handles are used to control the water flow and temperature.
The valve is responsible for regulating the water flow and preventing leaks.
Lastly, the aerator is a small device attached to the end of the spout that mixes air with the water to reduce splashing.
Understanding the anatomy of your bathtub faucet is crucial when it comes to troubleshooting common faucet problems, such as leaks, low water pressure, or dripping handles.

WORKPRO 2-Piece Adjustable Wrench Set, 6-Inch & 10-Inch Wide Jaw Black Oxide Wrench, Cr-V Steel, Metric & SAE Scales, Max Jaw Opening 15/16" & 1-5/16", for Home Repairs, Plumbing, Garage Work
DUAL-SIZE SET FOR VERSATILE USE: This 2-piece set includes 6-inch and 10-inch adjustable wrenches, designed for everyday household…
As an affiliate, we earn on qualifying purchases.
As an affiliate, we earn on qualifying purchases.
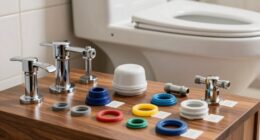
Gathering the Necessary Tools and Materials
When it comes to tightening a bathtub faucet, having the right tools is essential.
The two main tools you will need are an adjustable wrench and a screwdriver. The adjustable wrench allows you to easily tighten or loosen the nuts and bolts, while the screwdriver is necessary for removing and replacing any screws.
As for the required materials for repair, you will typically need plumbers tape, silicone caulk, and replacement parts such as washers or O-rings. These materials are crucial for ensuring a tight and leak-free connection.
Essential Tools for Tightening
You’ll need a few essential tools for tightening the bathtub faucet. When it comes to plumbing, having the right tools can make all the difference.
Firstly, you’ll need an adjustable wrench, which will allow you to easily grip and turn the various nuts and bolts. This tool is especially useful for tightening loose faucet handles or repairing leaks.
Secondly, a screwdriver is essential for removing any screws that may be holding the faucet in place. This will give you access to the internal components and allow you to tighten or replace any parts that may be causing issues.
Lastly, a pair of pliers can come in handy for gripping and turning small nuts or bolts that may be difficult to reach with other tools.
Required Materials for Repair
Having the necessary materials for repair is essential when it comes to bathtub faucet repair and fixing a loose faucet. Here are three items that you will need to successfully complete the repair:
-
Adjustable wrench: This tool is crucial for loosening and tightening the nuts and bolts that hold the faucet in place.
-
Screwdriver: You will need a screwdriver to remove any screws that are holding the faucet handle or trim plate in place.
-
Plumber’s tape: Also known as Teflon tape, this thin white tape is wrapped around the threads of the faucet to create a watertight seal.

Bathroom Faucet Knobs Replacement, Bathtub Faucet Handles 1 Pair Hot and Cold 2 Knobs with A Screwdriver and Screws Compatible with Delta LDR Delex Peerless Faucets
These replacement faucet handles are specifically designed to replace Delta/LDR/Delex/Peerless 2 handle faucets. Please note that only fit…
As an affiliate, we earn on qualifying purchases.
As an affiliate, we earn on qualifying purchases.
Shutting Off the Water Supply to the Faucet
When it comes to shutting off the water supply to a faucet, there are a few key methods that can be used.
One common method is using shut-off valves located near the faucet or in the basement.
Another option is shutting off the main water supply to the entire house.
It is important to know these shut-off methods in case of emergencies or when performing repairs, as shutting off the water can prevent potential water damage and ensure a safe working environment.
Water Shut-Off Methods
To shut off the water supply to your bathtub faucet, simply locate the main water valve in your home and turn it clockwise. This valve is typically located near your water meter or where the main water line enters your home. It is important to know the location of this valve in case of emergencies or when performing repairs on your bathtub faucet.
Here are three key points to remember about water shut-off methods:
-
Shutting off the main water valve is the most effective way to stop the water supply to your bathtub faucet. This ensures that no water will flow through the pipes and reach your faucet.
-
In some cases, you may also have individual shut-off valves for specific fixtures, such as under the sink or behind the bathtub. These valves can be used to isolate the water supply to a specific area without shutting off the entire house’s water supply.
-
If you cannot locate the main water shut-off valve or if it is not functioning properly, it is recommended to contact a professional plumber to assist with shutting off the water supply and performing any necessary bathtub faucet repairs.
Importance of Shutting off
Remember, it’s crucial to shut off the water supply to prevent any potential damage or leaks.
When working on tightening a bathtub faucet, it is important to consider the water pressure that could be exerted on the pipes and fixtures. If the water pressure is not properly regulated and controlled, it can cause significant damage to the plumbing system. Excessive water pressure can lead to leaks, bursts, or even pipe ruptures.
By shutting off the water supply, you can ensure that the water pressure is eliminated, reducing the risk of any potential damage.
Once the water supply is turned off, you can proceed with removing the faucet handle and accessing the internal components for tightening.

weAQUA Shower Filter Spare Pack, Teflon Tape, Silicone O-Ring & Gasket, Leak-Proof Plumbing Accessories for Shower Filter & Shower Head
COMPLETE SHOWER FILTER SPARE PACK : Includes 1× PTFE teflon tape (390" total length, 1/2" width), 3× silicone…
As an affiliate, we earn on qualifying purchases.
As an affiliate, we earn on qualifying purchases.
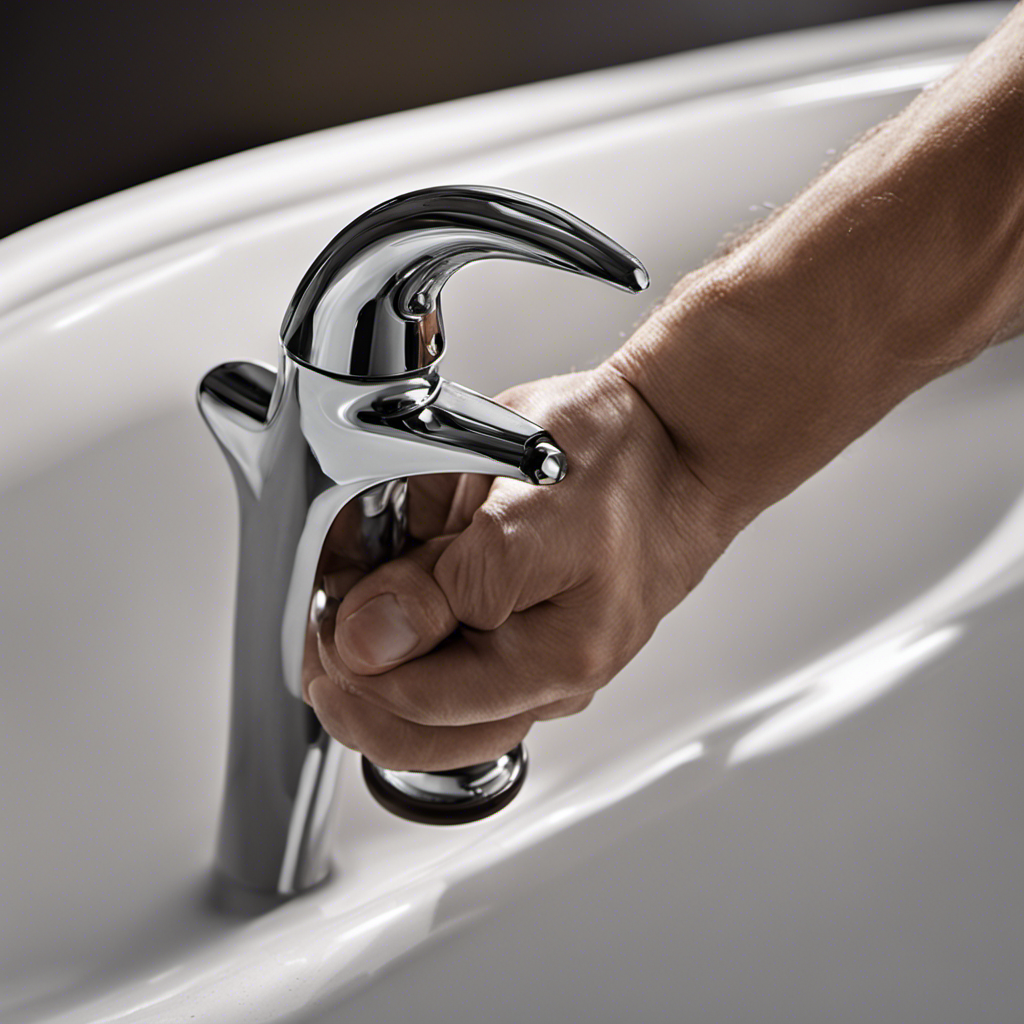
Removing the Faucet Handle
Start by unscrewing the small set screw on the side of the faucet handle. This step is crucial in understanding the mechanism behind the faucet handle and troubleshooting common issues.
Once the set screw is loosened, carefully remove the handle by pulling it straight off.
Here are three key points to consider during this process:
-
Inspect the handle for any signs of damage or wear. Look for cracks or breaks that may be causing the handle to become loose.
-
Check the cartridge or valve stem for any signs of corrosion or buildup. This could be a potential cause for the handle becoming loose and may require cleaning or replacement.
-
Examine the handle adapter or stem extension to ensure it is properly aligned and secured. Adjust or tighten if necessary to restore stability to the handle.
Tightening the Internal Components of the Faucet
After removing the faucet handle, it is important to check the internal components for any signs of looseness or instability.
To ensure a tight and secure faucet, I recommend using a proper tightening technique. Start by inspecting the mounting nut underneath the handle. If it feels loose, use a wrench to tighten it clockwise.
Next, check the cartridge or valve stem for any wobbling or play. If you notice any instability, use pliers or an adjustable wrench to tighten the retaining nut.
Additionally, make sure to verify that all the screws and connections within the faucet are securely tightened.
Reassembling the Faucet Handle
To reassemble the handle, simply align the grooves on the handle with the stem and slide it back into place. This is a crucial step in the reassembling process of your bathtub faucet.
If you encounter any troubleshooting issues during this process, here are three important things to keep in mind:
-
Ensure that the grooves on the handle and stem are properly aligned. Misalignment can lead to a loose or wobbly handle.
-
Apply gentle pressure while sliding the handle back into place. Excessive force can cause damage to the internal components of the faucet.
-
Double-check that the handle is securely in position before proceeding. A loose handle can result in water leakage and potential damage to the faucet.
Testing the Faucet for Proper Tightness and Functionality
Once you have reassembled the handle, it’s important to check for proper tightness and functionality by turning on the water and testing the flow.
To ensure the faucet is securely tightened, grab the handle and give it a gentle twist to see if there is any wobbling or movement. If there is, you may need to tighten the screws or nuts underneath the handle using a screwdriver or wrench, depending on the type of faucet you have.
Next, turn on the water and observe the flow. It should be steady and free from any leaks or drips. If you notice any issues, such as reduced water pressure or dripping, you may need to troubleshoot further by checking for clogs or replacing faulty parts.
Remember to follow proper testing techniques and refer to troubleshooting tips if needed for a fully functional and secure bathtub faucet.
Conclusion
In conclusion, tightening a bathtub faucet is a simple and straightforward task that can be done with just a few tools and materials. By understanding the anatomy of the faucet and following the steps outlined, you can easily fix any looseness or leaks.
It’s like tightening a bolt on a well-oiled machine, ensuring smooth operation and preventing any water wastage.
So go ahead and give your bathtub faucet the attention it deserves, and enjoy a perfectly functioning and leak-free bathing experience.