As a homeowner, I understand the frustration of limited bathroom space and the desire for a luxurious bathtub experience. That’s why I’m excited to share with you my knowledge and expertise on how to turn a shower into a bathtub.
In this detailed guide, I’ll walk you through the steps of assessing the space, choosing the right bathtub type, and preparing the shower area for conversion.
So, let’s dive in and transform your shower into a relaxing oasis!
Key Takeaways
- Assess the space and plumbing requirements before converting a shower into a bathtub
- Consider personal preferences and needs when choosing the right bathtub type
- Properly prepare the shower area for conversion, considering plumbing and electrical requirements
- Ensure proper installation of the bathtub and surrounding materials, including waterproofing and drainage installation
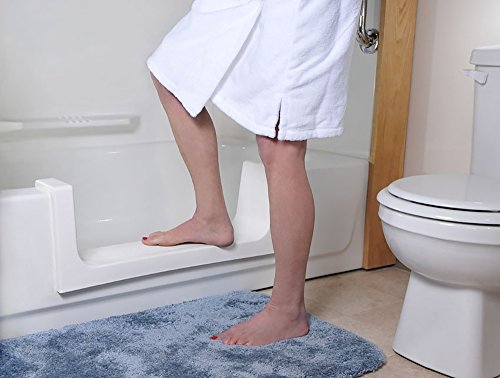
CleanCut Step Bathtub Accessibility Kit – Convert Existing Tub to Step-in Shower (White, Size Large)
Converts existing tub to walk in shower – Affordable bathtub conversion option!
As an affiliate, we earn on qualifying purchases.
As an affiliate, we earn on qualifying purchases.
Assessing the Space and Plumbing Requirements
You’ll need to measure the space in your bathroom and check the plumbing to see if it can be easily converted into a bathtub.
When it comes to plumbing considerations, it’s important to ensure that the existing pipes and drainage system are compatible with a bathtub installation. You may need to consult a professional plumber to assess the feasibility and make any necessary adjustments.
Additionally, the space utilization is a crucial factor to consider. Take into account the dimensions of the bathtub, as well as the surrounding area, to ensure there is enough room to comfortably accommodate the new fixture.
Proper planning and careful evaluation of the plumbing and space will ensure a successful conversion from a shower to a bathtub.

WOODBRIDGE 67" Acrylic Freestanding Bathtub Contemporary Soaking Tub, White Acrylic (Matte Black Drain/Overflow), B0013-MB-Drain &O
Dimensions and specifications: Exterior dimension 67'' long x 31 1/2'' wide x 22 4/5'' deep, effective tub capacity…
As an affiliate, we earn on qualifying purchases.
As an affiliate, we earn on qualifying purchases.
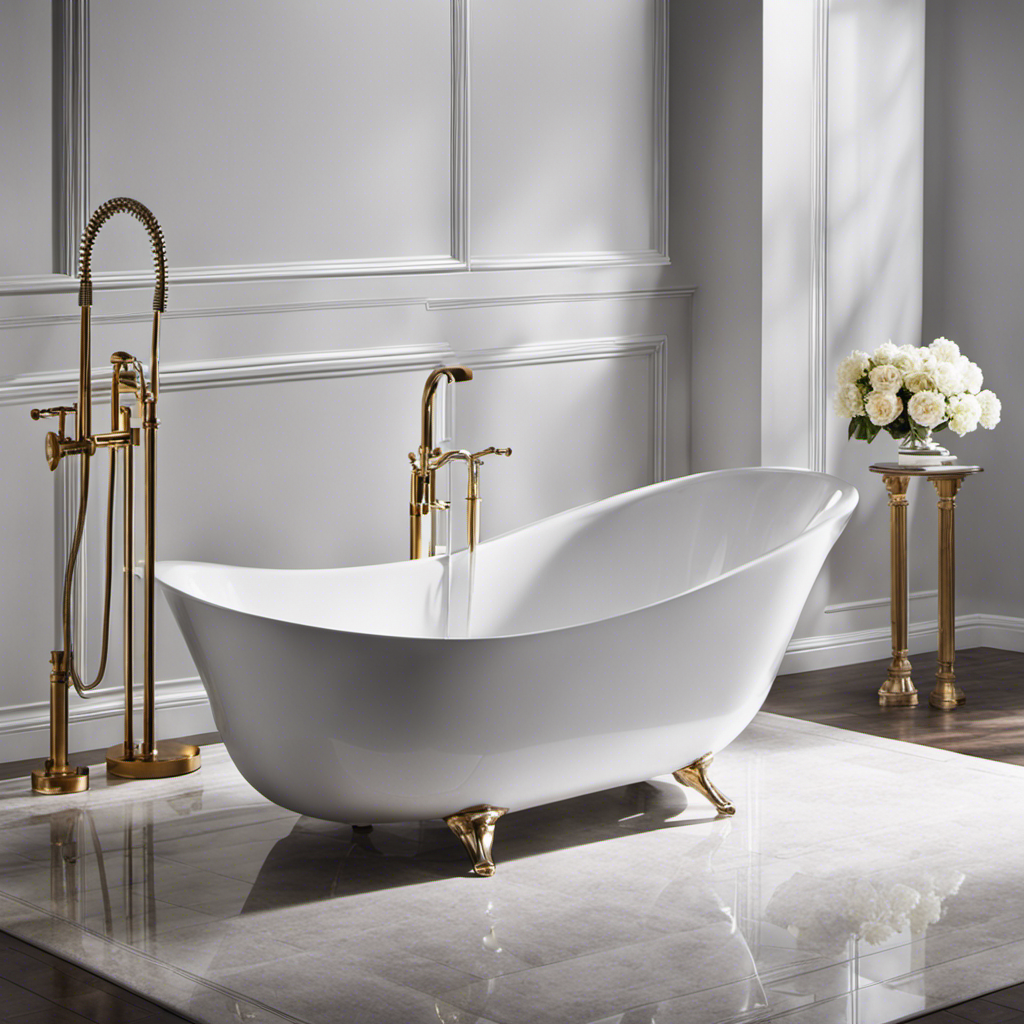
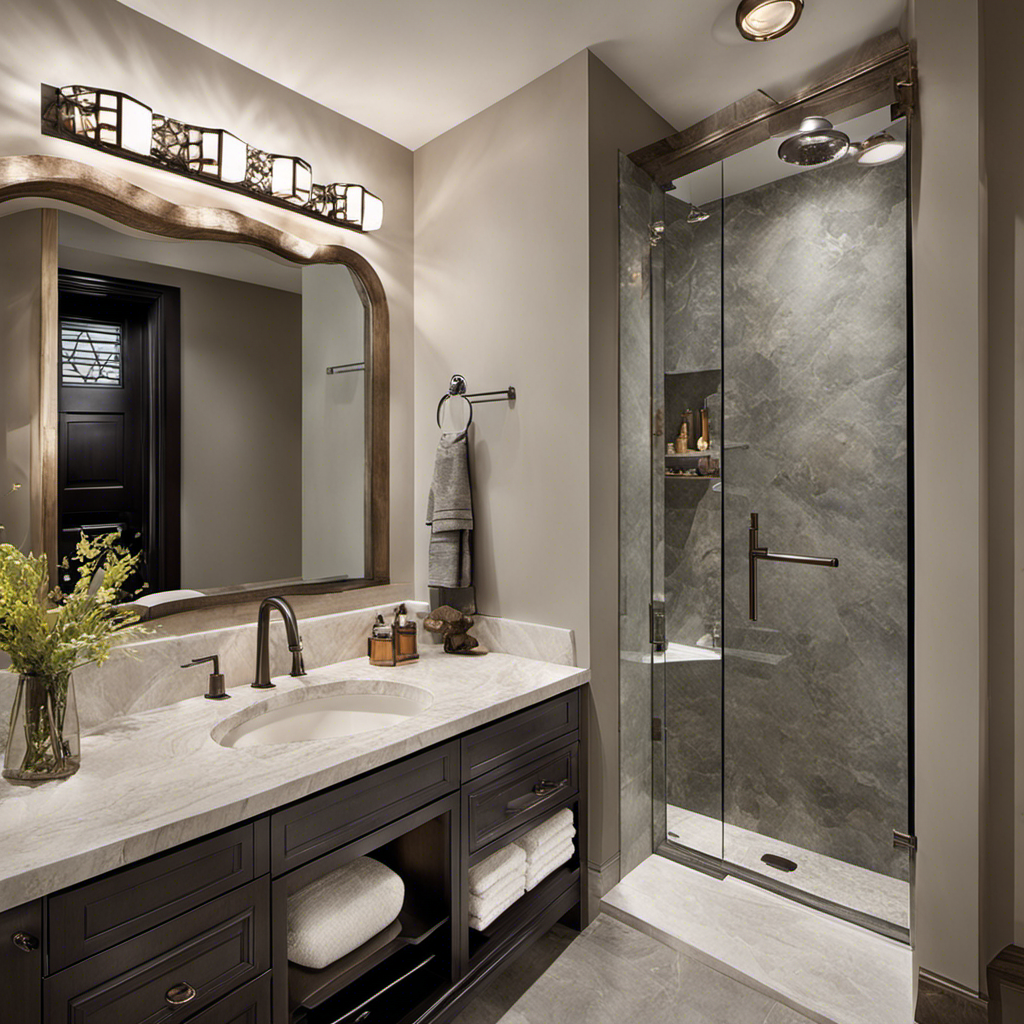
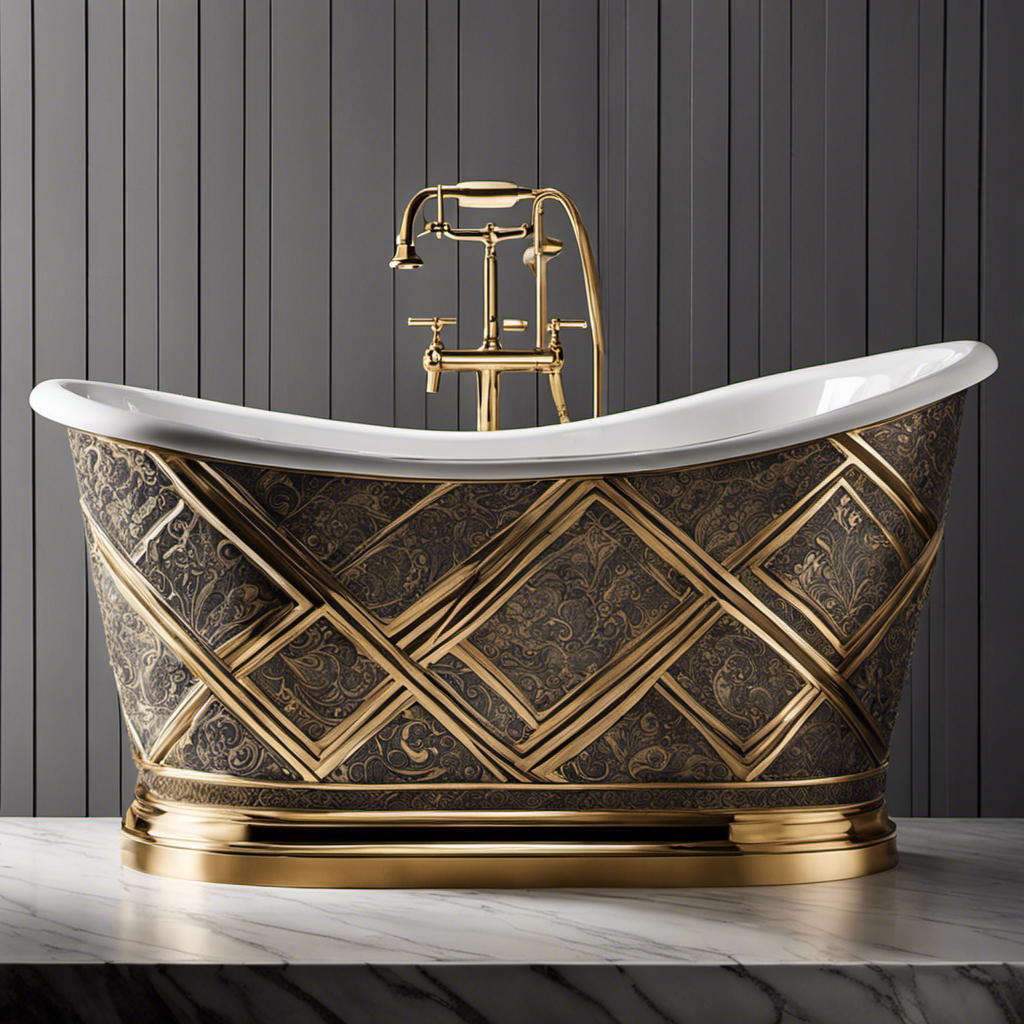
Choosing the Right Bathtub Type
To choose the right type of bathtub, consider your preferences and needs.
When it comes to selecting between freestanding and built-in bathtubs, there are several factors to consider.
Freestanding tubs are a popular choice for those seeking a luxurious and elegant look. They offer versatility in terms of placement, as they can be placed anywhere in the bathroom.
Built-in bathtubs, on the other hand, are more practical and space-saving. They are typically surrounded by walls or integrated into a shower enclosure.
Another important consideration is the material of the bathtub. Common materials include acrylic, fiberglass, cast iron, and stone. Each material has its own unique characteristics in terms of durability, heat retention, and maintenance.
Ultimately, the choice of bathtub type and material should be based on your personal preferences and the specific requirements of your bathroom.

GBBNE Convertor Shower Unit Spout-Type Add-On Tub Shower Conversion Kit Polished Chrome
Multi-Material Construction: Crafted with a SUS304 stainless steel shower riser, and ABS parts for excellent corrosion resistance and…
As an affiliate, we earn on qualifying purchases.
As an affiliate, we earn on qualifying purchases.
Preparing the Shower Area for Conversion
When preparing the shower area for conversion, it’s important to consider the plumbing and electrical requirements. Before starting the shower pan installation, it’s crucial to ensure that the existing plumbing is suitable for a bathtub. This may involve relocating pipes or drains to accommodate the new configuration.
Additionally, electrical outlets and switches should be moved to a safe distance from the bathtub to comply with safety regulations. It’s also a good time to upgrade the electrical wiring if necessary.
As for the shower pan installation, it’s recommended to choose a durable and waterproof material, such as acrylic or fiberglass. Properly installing the shower pan is crucial to prevent leaks and ensure a solid foundation for the bathtub.
Following these bathroom remodeling tips will help create a successful and functional bathtub conversion.

Spidfee Shower Splash Guard Kit, Large Splash Guards for Bathtub Waterproof Self-Adhesive Shower Corner Guards to Keep Water in Shower or Bath, Pack of 2 (9.25 x 9.25 inches)
Our upgraded bathtub splash guard is effective blocks the gap between the shower curtain and the wall to…
As an affiliate, we earn on qualifying purchases.
As an affiliate, we earn on qualifying purchases.
Removing the Shower Components
First, it’s essential to disconnect and remove the showerhead, faucet, and any other fixtures from the shower area. This is a crucial step in converting a shower into a bathtub.
Here are the steps to remove the shower components:
-
Turn off the water supply: Locate the shut-off valves and turn them clockwise to shut off the water supply to the shower area.
-
Disconnect the fixtures: Use a wrench to loosen and remove the showerhead and faucet. Be careful not to damage the pipes or surrounding tiles.
-
Evaluate the space: Once the fixtures are removed, evaluate the space to determine if any modifications or repairs are needed. Consider the plumbing considerations, such as rerouting pipes or adding a drain for the bathtub.
Removing the shower components is the first step towards transforming your shower into a bathtub. It’s important to carefully disconnect and evaluate the space to ensure a successful conversion.
Installing the Bathtub and Surrounding Materials
When it comes to installing a bathtub and the surrounding materials, there are several key points to consider.
First and foremost, choosing the right bathtub is crucial to ensure comfort and functionality.
Secondly, waterproofing the surrounding area is essential to prevent any water damage.
Lastly, proper drainage installation is necessary to ensure that water flows smoothly and efficiently.
Choosing the Right Bathtub
To choose the right bathtub for your shower conversion, you’ll need to consider factors such as size, style, and material.
Size: Measure your bathroom space to determine the maximum dimensions your bathtub can be without overcrowding the area.
Style: Consider the overall aesthetic of your bathroom and choose a bathtub that complements the existing design. Options include freestanding, alcove, drop-in, and corner tubs.
Material: Different bathtub materials offer varying levels of durability, maintenance, and comfort. Common options include acrylic, fiberglass, cast iron, and porcelain enameled steel.
When selecting a bathtub, it’s crucial to ensure it fits your space and suits your personal preferences. Once you have chosen the perfect bathtub, you can move on to the next step, which is waterproofing the surrounding area.
Waterproofing the Surrounding Area
Once you’ve chosen the perfect bathtub, it’s important to waterproof the surrounding area to prevent any water damage.
There are various waterproofing products available that can help you achieve this. One option is to go the do-it-yourself (DIY) route and use products like waterproofing membranes, sealants, and caulk. These products are readily available at home improvement stores and can be applied easily with basic tools. However, it’s crucial to follow the manufacturer’s instructions carefully to ensure proper installation and effectiveness.
On the other hand, if you prefer a professional touch, you can hire a contractor who specializes in waterproofing. They have the expertise and experience to handle the job efficiently, ensuring a watertight seal.
Ultimately, the choice between DIY and professional installation depends on your comfort level and budget.
Proper Drainage Installation
Now that the surrounding area is properly waterproofed, the next crucial step in turning a shower into a bathtub is ensuring proper drainage installation. This is essential to prevent any water damage and ensure efficient water flow.
Here are the key points to consider:
-
Drainage slope: It is important to create a slight slope in the shower floor towards the drain. This allows the water to flow easily and prevents any pooling or standing water.
-
Waterproofing materials: Use high-quality waterproofing materials for the drain area, such as waterproof membranes or prefabricated shower pans. These materials provide an extra layer of protection against leaks and water damage.
-
Proper sealant application: Apply a waterproof sealant around the drain and any joints or seams in the drainage system. This helps to prevent any water from seeping through and causing potential damage.
By following these steps, you can ensure that your new bathtub will have proper drainage and prevent any water-related issues.
Now, let’s move on to the next step of connecting the plumbing and drainage.
Connecting the Plumbing and Drainage
When it comes to connecting the plumbing and drainage in a bathroom renovation project, there are several key points to consider.
Firstly, understanding the different types of plumbing connections and how they work is crucial for ensuring a successful installation.
Secondly, proper drainage installation is essential to prevent any future issues with clogs or leaks.
Lastly, having the right tools for plumbing tasks, such as wrenches, pipe cutters, and pliers, is necessary to ensure a smooth and efficient installation process.
Plumbing Connections Explained
To connect the plumbing for the bathtub, you’ll need to attach the drain and supply lines. Proper plumbing connections are crucial for ensuring a functional and leak-free bathtub.
Here are three common plumbing connection mistakes to avoid and troubleshooting tips:
-
Incorrect pipe sizing: Using pipes that are too small can lead to reduced water flow and clogs. Ensure that the supply and drain lines are appropriately sized for your bathtub.
-
Poor sealing: Inadequate sealing can result in water leaks and damage. Use plumber’s tape or joint compound to create a watertight seal between connections.
-
Improper alignment: Misaligned connections can cause leaks and hinder the proper flow of water. Ensure that all connections are aligned correctly and tightened securely.
Proper Drainage Installation
Proper drainage installation is essential for preventing water leaks and ensuring optimal functionality. When it comes to installing a drainage system, attention to detail is crucial.
First, it is important to determine the appropriate location for the drain. This involves considering factors such as the slope of the floor and the proximity to existing plumbing lines.
Once the location is determined, the next step is to properly prepare the area by removing any debris or obstructions.
The drain should then be securely connected to the existing plumbing lines using the appropriate fittings and connectors. It is essential to ensure that all connections are tight and leak-free.
Finally, a waterproof membrane should be installed around the drain to provide an additional layer of protection against water leaks.
Tools for Plumbing Tasks
You’ll need a variety of tools for your plumbing tasks, such as a wrench, pliers, and a pipe cutter. These tools are essential for any DIY plumbing project and will help you perform plumbing techniques with ease.
Here are the three tools you should have in your toolbox:
-
Wrench: A wrench is a versatile tool that allows you to tighten or loosen nuts and bolts. It’s essential for tasks like tightening pipe connections or removing old fixtures.
-
Pliers: Pliers come in handy for gripping and turning pipes or fittings. They provide a strong grip, making it easier to maneuver and tighten connections.
-
Pipe Cutter: A pipe cutter is necessary for cutting pipes to the desired length. It ensures clean and precise cuts, allowing for proper fitting and installation.
These tools will help you tackle any plumbing project with confidence.
Now, let’s move on to the next section, where we’ll discuss finishing touches and maintenance tips for your newly installed bathtub.
Finishing Touches and Maintenance Tips
For easy maintenance, make sure you regularly clean the bathtub and replace any worn-out seals or caulking. This will help to prevent any water leakage and keep your bathtub in good condition. In addition to regular cleaning, it is important to have a maintenance schedule to ensure that all parts of your bathtub are functioning properly. This includes checking the drain, faucets, and any other components for any signs of wear or damage. When it comes to the finishing touches, choosing decorative tiles can add a touch of elegance to your bathtub. Consider selecting tiles that complement the overall aesthetic of your bathroom. With proper maintenance and attention to detail, your bathtub can remain a functional and stylish addition to your home.
| Maintenance Tips | Finishing Touches |
|---|---|
| Regular cleaning | Choosing decorative tiles |
| Replacing worn-out seals/caulking | Complementing the overall aesthetic |
| Checking drain/faucets for wear or damage | |
| Following a maintenance schedule |
Conclusion
So there you have it, folks! Turning a shower into a bathtub is no small feat, but with the right knowledge and tools, it can be an exhilarating and rewarding project.
From assessing the space and plumbing requirements to choosing the perfect bathtub type and installing it with precision, we’ve covered it all.
Now, imagine soaking in your luxurious bathtub, surrounded by beautiful tiles and enjoying the ultimate relaxation experience. It’s like stepping into a spa right in your own home.
So go ahead, transform your shower into a bathtub and indulge in the lap of luxury!