Have you ever pondered whether it’s possible to modify the flush strength of our toilets? Indeed, the response is affirmative!
In this article, we will explore the importance of adjusting flush pressure, signs that indicate the need for adjustment, and how to properly adjust it.
We will also share tips for maintaining optimal flush pressure and discuss the benefits of doing so.
So, let’s dive in and master the art of adjusting toilet flush pressure!

Key Takeaways
- Adjusting toilet flush pressure is crucial for optimal toilet performance
- It helps conserve water and prevent waste
- Regular adjustment can prevent issues like weak flushes and incomplete clearing of the bowl
- Hiring a professional for flush pressure adjustment can provide additional benefits

Brondell Bidet Toilet Seat Non-Electric Swash Ecoseat, Fits Elongated Toilets, White - Dual Nozzle System, Ambient Water Temperature - Bidet with Easy Installation
CLEAN AND REFRESHING: With Brondell’s Ecoseat 101 Bidet, you’ll experience a soothing, freshwater wash that leaves you feeling...
As an affiliate, we earn on qualifying purchases.
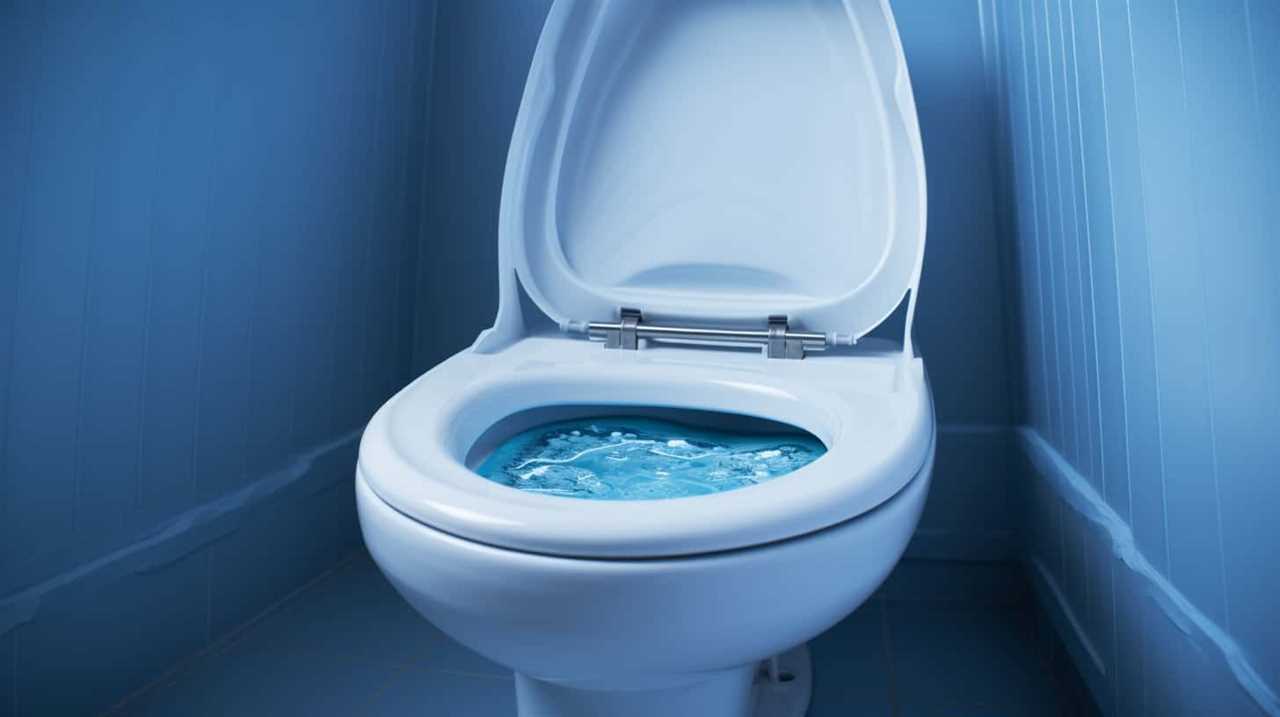
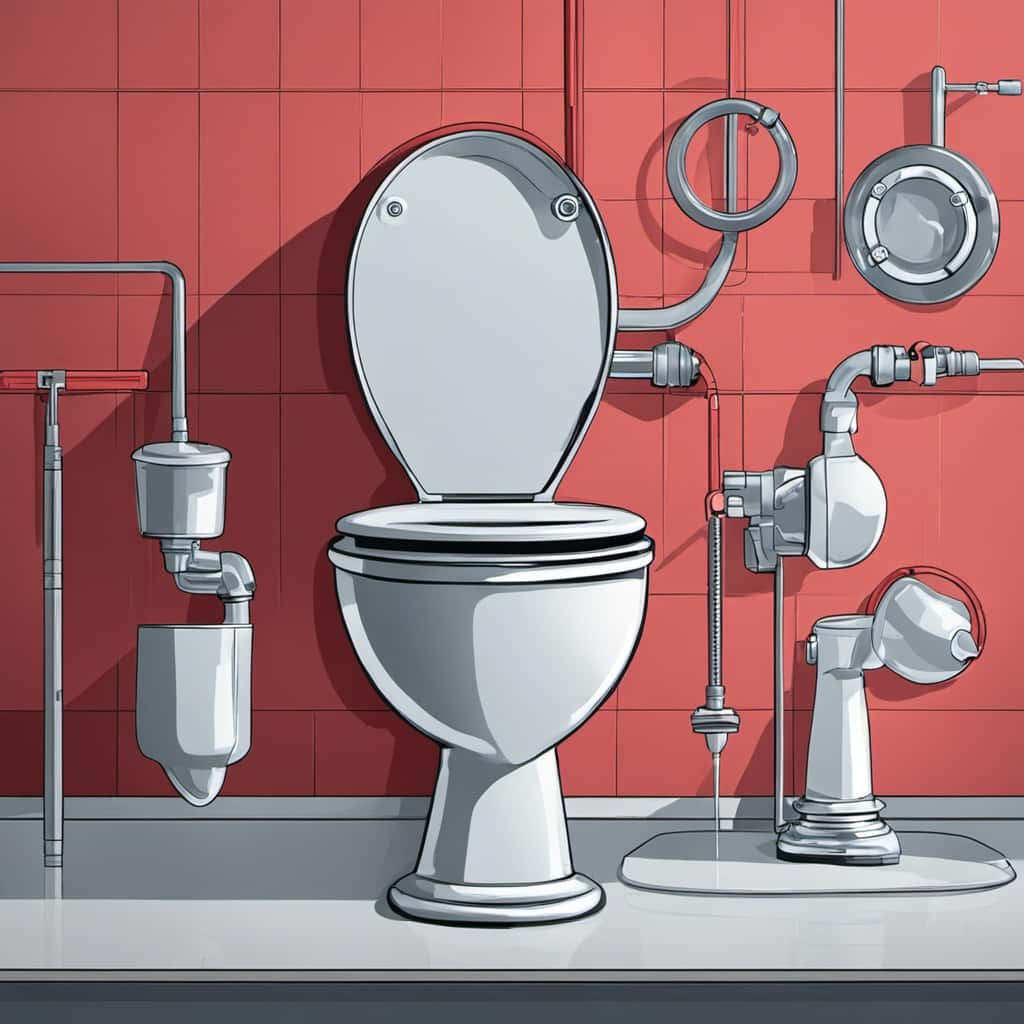
Understanding Toilet Flush Pressure
We frequently adjust the toilet flush pressure to ensure optimal performance. Understanding the toilet flush pressure is crucial for troubleshooting issues with the toilet flush mechanism.
The flush pressure refers to the force with which water is expelled from the toilet tank into the bowl when the flush lever is activated. If the flush pressure is too low, it can result in incomplete flushing and clogging. On the other hand, if the flush pressure is too high, it can lead to excessive water usage and potential damage to the toilet components.
To adjust the flush pressure, you may need to adjust the fill valve or the flapper valve. It’s important to follow manufacturer guidelines and consult a professional if needed to avoid any further damage to the toilet.

LUXE Bidet NEO 120 - Single Nozzle, Self-Cleaning, Non-Electric Bidet Attachment for Toilet Seat, Adjustable Water Pressure, Rear Wash (Blue)
THE ULTIMATE VALUE – With a sleek design and high-quality parts, Our Bidet Attachment will give your bathroom...
As an affiliate, we earn on qualifying purchases.
Importance of Adjusting Flush Pressure
Adjusting flush pressure is essential for maintaining optimal toilet performance and preventing potential issues.
Understanding flush mechanisms and troubleshooting flush pressure issues are crucial steps in ensuring that your toilet functions properly.
By adjusting the flush pressure, you can ensure that the right amount of water is released during each flush, effectively clearing the bowl and preventing clogs. This adjustment also helps conserve water, as excessive flush pressure can lead to unnecessary water waste.
Additionally, adjusting the flush pressure can prevent issues such as weak flushes or incomplete clearing of the bowl, ensuring that your toilet operates efficiently.
By regularly assessing and adjusting the flush pressure, you can maintain a well-functioning toilet and avoid costly repairs.

Now let’s explore the signs that indicate your toilet flush pressure needs adjustment.

BIGCOW Ultra-Slim Bidet Attachment for Toilet - Dual Nozzle (Frontal & Rear Wash) with Adjustable Cold Water Pressure and Stainless Steel Inlet - Hygienic Solution for Fresh Cleanliness, Silver 1 Pcs
【Dual Spraying Modes】- This toilet bidet offers both rear wash for thorough cleaning and a specially designed frontal...
As an affiliate, we earn on qualifying purchases.
Signs Your Toilet Flush Pressure Needs Adjustment
One common sign that indicates the need for adjustment in toilet flush pressure is when the flush is weak or incomplete. If you notice that the water flow from your toilet tank to the bowl isn’t strong enough, it’s a clear sign that the flush pressure needs to be adjusted.
Another sign to look out for is if the flush isn’t able to remove waste effectively from the bowl, leaving behind residue or clogs. To troubleshoot the issue, start by checking the water flow from the tank. Ensure that the water supply valve is fully open and that there are no clogs or obstructions in the water supply line.
If the problem persists, it might be necessary to adjust the flush pressure to improve the toilet’s performance.

LUXE Bidet NEO 120 - Single Nozzle, Self-Cleaning, Non-Electric Bidet Attachment for Toilet Seat, Adjustable Water Pressure, Rear Wash (White)
THE ULTIMATE VALUE – With a sleek design and high-quality parts, Our Bidet Attachment will give your bathroom...
As an affiliate, we earn on qualifying purchases.
Checking the Water Supply Valve
To check the water supply valve, simply turn it off and remove the tank lid. This step is crucial in troubleshooting flush pressure issues.
Start by locating the water supply valve, which is usually located on the wall behind the toilet. Turn the valve clockwise until it’s fully closed. Once the valve is closed, remove the tank lid carefully to expose the inner workings of the toilet.
Inspect the water supply line for any signs of leaks or blockages. Check the valve itself for any visible damage or debris. If everything appears to be in good condition, you can move on to adjusting the fill valve to troubleshoot the flush pressure.
Adjusting the Fill Valve
Now let’s look at how to adjust the fill valve to control the water pressure in your toilet.

By adjusting the fill valve, you can ensure that the tank fills up to the desired level, which directly affects the flush pressure.
This adjustment is crucial for achieving efficient flush settings and preventing any water waste.
Fill Valve Adjustment
To adjust the flush pressure of your toilet, we can start by making adjustments to the fill valve.
The fill valve is responsible for regulating the water level in the toilet tank, which in turn affects the flush pressure.
If you’re experiencing issues with low flush pressure, it’s important to first check the fill valve for any maintenance needs. This may include cleaning or replacing the valve if it’s clogged or damaged.
Troubleshooting the flush pressure can also involve adjusting the fill valve to increase or decrease the water level in the tank.
By making precise adjustments to the fill valve, you can ensure optimal flush pressure and efficient water usage.
Now, let’s move on to the next section about water pressure control.
Water Pressure Control
Moving on from the previous subtopic of fill valve adjustment, let’s now explore how to control water pressure by adjusting the fill valve.
Water pressure maintenance is crucial for efficient toilet operation and preventing any potential water wastage. By adjusting the fill valve, we can regulate the water flowrate entering the toilet tank, thus controlling the pressure.
To adjust the water flowrate, locate the fill valve usually located on the left side of the tank. Turn the adjustment screw clockwise to decrease the flowrate and lower the water pressure. Conversely, turning the adjustment screw counterclockwise increases the flowrate and raises the water pressure.
By fine-tuning the fill valve, we can achieve the optimal water pressure for efficient flushing.
Now, let’s move on to the next section to discuss efficient flush settings.
Efficient Flush Settings
To achieve efficient flush settings, adjust the fill valve to control the water pressure and flowrate entering the toilet tank. By making these adjustments, you can ensure that your toilet is using water efficiently and reducing water waste.
Here are four steps to help you achieve efficient flush settings:
- Locate the fill valve: The fill valve is usually located on the left-hand side of the toilet tank. It’s connected to the water supply line.
- Adjust the water level: Turn the adjustment screw on the fill valve clockwise to decrease the water level or counterclockwise to increase it. The water level should be set just below the overflow tube.
- Check for leaks: After making adjustments, check for any leaks around the fill valve or the tank. Leaks can lead to water waste and should be fixed promptly.
- Test the flush: Flush the toilet and observe the water flowrate. If it seems too high or too low, further adjustments may be necessary.
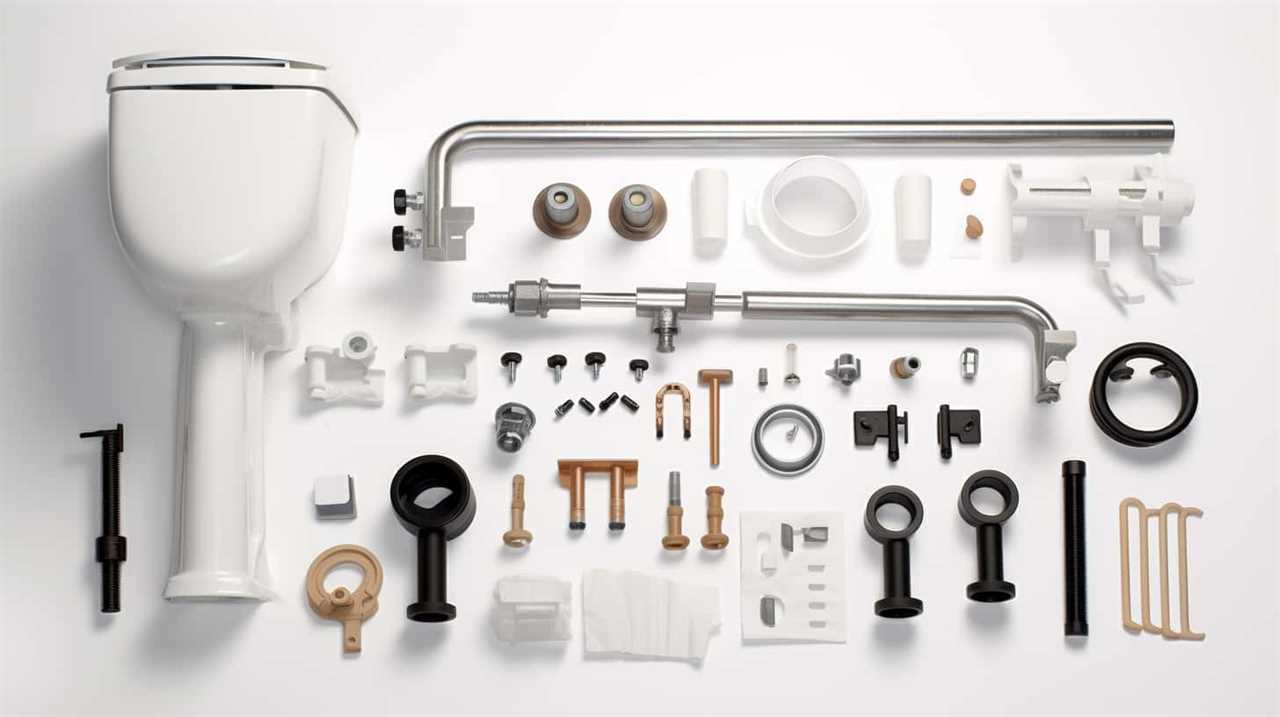
Changing the Flapper or Flush Valve
When it comes to adjusting toilet flush pressure, one option to consider is changing the flapper or flush valve.
The flapper is the rubber seal that opens and closes to release water into the toilet bowl, while the flush valve is the mechanism that connects the toilet tank to the toilet bowl.
Flapper Vs. Flush Valve
We can change the flapper or flush valve to address the issue of adjusting toilet flush pressure.
When deciding between the flapper and flush valve, it’s important to consider their functionalities and benefits. Here are the key points to consider:
- Flapper: The flapper is responsible for controlling the water flow from the tank to the bowl during a flush. It’s a simple rubber mechanism that lifts when the flush handle is pressed, allowing water to flow into the bowl. Flappers are commonly used in older toilet models and may require occasional adjustments or replacement.
- Flush Valve: The flush valve, on the other hand, is a more modern and efficient option. It’s a larger mechanism that releases the water from the tank into the bowl with greater force, resulting in a more powerful flush. Flush valves are commonly found in newer toilets and are designed to maximize water flow while minimizing waste.
Adjusting Water Flow
Let’s explore how adjusting water flow in a toilet can be achieved by changing either the flapper or flush valve.
When troubleshooting leaks or adjusting water pressure, it’s important to consider these components.
The flapper is a rubber valve that controls the flow of water from the tank into the bowl during a flush. If the flapper isn’t sealing properly, it can cause water to continuously leak into the bowl, wasting water and affecting the pressure. To adjust the water flow, you can replace the flapper with a new one that fits properly.
Similarly, the flush valve, which is responsible for releasing water from the tank into the bowl, can also affect water flow. If it isn’t opening or closing properly, replacing it can help regulate the water pressure and prevent leaks.
Installing a Pressure Regulator
By installing a pressure regulator, we can effectively adjust the toilet flush pressure. A pressure regulator is a device that controls and reduces the water pressure in a plumbing system. Installing a pressure regulator can help resolve pressure issues and ensure consistent and optimal flush performance.

Here are four key steps to installing a pressure regulator:
- Locate the main water supply line: Identify the main water supply line to your house and shut off the water supply.
- Install the pressure regulator: Attach the pressure regulator to the main water supply line using appropriate fittings and ensure it’s positioned correctly.
- Connect the outlet pipe: Connect the outlet pipe of the pressure regulator to the water supply line that feeds the toilet.
- Test and adjust: Turn on the water supply, test the flush pressure, and adjust the pressure regulator if needed until the desired flush pressure is achieved.
Installing a pressure regulator can be a simple and effective solution to troubleshooting pressure issues and ensuring optimal toilet flush performance.
Using a Dual Flush Conversion Kit
One option to adjust toilet flush pressure is by using a dual flush conversion kit. Dual flush conversion kits are designed to replace the traditional single flush mechanism with a dual flush system, offering users the ability to choose between a partial flush for liquid waste and a full flush for solid waste.
There are several benefits to using a dual flush conversion kit. Firstly, it helps to conserve water by reducing the amount used for each flush. This can result in significant water savings over time. Additionally, dual flush systems are environmentally friendly and can contribute to water conservation efforts.

When installing a dual flush conversion kit, it’s important to follow the manufacturer’s instructions carefully. This may involve removing the existing flush mechanism and replacing it with the components provided in the kit. It’s also recommended to turn off the water supply before beginning the installation process.
Adjusting Flush Pressure on a Gravity-Flush Toilet
To adjust the flush pressure on a gravity-flush toilet, we can utilize a pressure regulator. This device helps control the flow of water and allows us to adjust the pressure to our desired level.
Here are the steps to adjust the flush pressure on a gravity-flush toilet:
- Locate the pressure regulator: It’s usually located near the water supply valve or inside the toilet tank.
- Adjust the pressure: Use a screwdriver or a wrench to turn the adjustment screw on the pressure regulator. Turn it clockwise to increase the pressure or counterclockwise to decrease it.
- Test the flush: Flush the toilet and observe the water flow. If the pressure is too low, increase it a little more. If it’s too high, decrease it gradually until you achieve the desired flush pressure.
- Fine-tune if needed: Make small adjustments as necessary until you find the optimal flush pressure.
Adjusting Flush Pressure on a Pressure-Assisted Toilet
Our pressure-assisted toilet’s flush pressure can be adjusted using the pressure regulator. To ensure optimal performance, it is important to regularly check the water pressure and troubleshoot any issues with low flush pressure. Here is a table outlining the steps to check water pressure and troubleshoot low flush pressure:
| Step | Action |
|---|---|
| 1 | Turn off the water supply valve to the toilet. |
| 2 | Attach a pressure gauge to the water supply line. |
| 3 | Turn on the water supply valve and note the pressure reading. |
If the water pressure is below the recommended range, you may need to adjust the pressure regulator. Consult the manufacturer’s instructions for specific guidance on adjusting the pressure regulator. If the pressure is within the recommended range but you are still experiencing low flush pressure, it may be necessary to clean or replace the pressure-assisted toilet’s components.
Troubleshooting Common Flush Pressure Issues
Let’s troubleshoot common flush pressure issues together.
If you’re experiencing problems with your toilet’s flush pressure, here are some techniques to help you identify and resolve the issue:
- Check the water level: Ensure that the water level in the toilet tank is at the correct height. If it’s too low, it can affect the flush pressure.
- Inspect the flapper valve: A worn or improperly aligned flapper valve can cause weak flushes. Make sure it seals tightly and replace it if necessary.
- Clean the rim holes: Mineral deposits or debris can clog the rim holes, affecting the flush pressure. Use a small brush or toothpick to clean them effectively.
- Verify the fill valve: A malfunctioning fill valve may not allow enough water to enter the tank, resulting in weak flushes. Adjust or replace the fill valve as needed.
By troubleshooting these common flush pressure issues, you’ll be able to determine the cause and implement the necessary adjustments or repairs.
Now, let’s move on to the next section where we’ll explore tips for maintaining proper flush pressure.
Tips for Maintaining Proper Flush Pressure
Now let’s discuss some key points for maintaining proper flush pressure.
First, adjusting the water level in the toilet tank can help regulate the pressure.
Additionally, regularly inspecting the flapper valve for any damage or wear is crucial in ensuring a strong flush.

Lastly, using a plunger and performing regular drain cleaning can prevent clogs and maintain optimal pressure.
Following these tips will help keep your toilet flush pressure at its best.
Water Level Adjustment
Maintaining proper flush pressure involves adjusting the water level in the toilet tank. Here are some tips for water level troubleshooting and DIY flush pressure adjustment:
- Locate the water level adjustment screw: Look for a small screw or knob on top of the fill valve. This is typically located on the left side of the tank.
- Adjust the water level: Turn the adjustment screw clockwise to raise the water level or counterclockwise to lower it. Make small adjustments and test the flush after each adjustment.
- Check the water level: The water level should be about 1 inch below the overflow tube. This ensures proper flush pressure.
- Test the flush: After adjusting the water level, flush the toilet to check the pressure. If it’s still not satisfactory, further adjustments may be needed.
Flapper Valve Inspection
To continue troubleshooting flush pressure and maintaining optimal performance, let’s move on to inspecting the flapper valve.
The flapper valve is a crucial component in the toilet’s flushing mechanism, responsible for regulating the flow of water from the tank into the bowl. Over time, the flapper valve can deteriorate or become misaligned, leading to flapper issues and a decrease in flush pressure.
To ensure proper flush pressure, regular flapper valve maintenance is necessary. Start by visually inspecting the flapper valve for any signs of damage, such as cracks or warping. If any issues are found, replace the flapper valve with a new one.
Additionally, check for proper alignment by observing if the flapper valve fully seals the flush valve opening when the toilet isn’t in use.
Troubleshooting flapper issues and performing regular flapper valve maintenance will help maintain optimal flush pressure and prevent any potential problems.
Plunger and Drain Cleaning
To ensure optimal flush pressure, we can maintain proper flush pressure by regularly using a plunger and cleaning the drain. Here are some techniques and tools that can help us effectively perform these tasks:
- Plunger Techniques:
- Position the plunger over the drain hole, making sure it forms a tight seal.
- Apply downward pressure and vigorously plunge up and down for about 15-20 seconds.
- Repeat the process if necessary, until the clog is cleared.
- Flush the toilet to check if the flush pressure has improved.
- Drain Cleaning Tools:
- Drain Snake: Insert the flexible metal wire into the drain and rotate it to break up the clog.
- Drain Auger: Similar to a drain snake, but with a rotating head that can penetrate deeper into the drain.
- Chemical Drain Cleaner: Use caution when using these products, as they can be harmful to pipes and the environment.
Benefits of Properly Adjusted Flush Pressure
Properly adjusted flush pressure offers several advantages for efficient toilet operation. By employing the correct adjustment techniques, you can optimize the performance of your toilet and avoid potential problems.
One of the main benefits of properly adjusted flush pressure is water conservation. By ensuring that the flush pressure is set to the appropriate level, you can reduce water waste and contribute to environmental sustainability.
Additionally, a properly adjusted flush pressure can lead to improved flushing power, preventing clogs and ensuring effective waste removal. This translates to a more hygienic and hassle-free toilet experience.

Moreover, adjusting the flush pressure correctly can also help to minimize noise during flushing, providing a quieter and more peaceful environment.
Common Mistakes to Avoid When Adjusting Flush Pressure
When adjusting flush pressure, it’s important to avoid common mistakes that can lead to inefficient flushing or potential damage to the toilet.
One common mistake isn’t setting the correct water level, which can result in weak or incomplete flushes.
Another mistake to avoid is improper flapper adjustment, as this can cause water to continuously leak into the bowl.
Lastly, it’s crucial to avoid over-tightening bolts, as this can lead to cracks or leaks in the toilet tank.
Correct Water Level
One common mistake we often make when adjusting flush pressure isn’t paying attention to the proper water level. The correct water level is crucial for a toilet to function efficiently. Here are some common issues and troubleshooting steps to ensure the correct water level:
- Insufficient water level: If the water level is too low, the flush will be weak and ineffective. Check the water supply valve and adjust it to increase the water level.
- Excessive water level: If the water level is too high, it may cause constant running or even overflow. To fix this, adjust the float ball or cup to lower the water level.
- Uneven water distribution: If the water level is uneven, some parts of the bowl may not get cleaned properly. Adjust the fill valve or refill tube to ensure even water distribution.
- Inconsistent water level: If the water level fluctuates, it may indicate a faulty fill valve or flapper. Inspect and replace these components if necessary.
Proper Flapper Adjustment
To properly adjust the flush pressure, we need to ensure the flapper is adjusted correctly. The flapper is a crucial component of the toilet mechanism that controls the flow of water from the tank to the bowl during a flush.
Proper flapper maintenance is essential for optimal flush pressure. When troubleshooting flapper issues, it’s important to check for common mistakes that can affect the flush pressure.
One common mistake is improper alignment of the flapper. The flapper should be centered over the flush valve opening to ensure a proper seal.
Another mistake is having a flapper that’s too tight or too loose. A tight flapper can restrict the flow of water, resulting in low flush pressure, while a loose flapper can lead to leaks and inefficient flushing.
Avoid Over-Tightening Bolts
To avoid compromising the proper adjustment of flush pressure, it’s important to refrain from over-tightening the bolts. Over-tightening the bolts can lead to several issues, including leaks and damage to the toilet’s components. Here are some troubleshooting tips to avoid these problems:
- Use the correct tools: Ensure that you’re using the appropriate wrench or screwdriver to tighten the bolts. Using the wrong tool can result in excessive force and damage.
- Tighten evenly: When tightening the bolts, make sure to apply equal pressure to both sides. Uneven tightening can cause the toilet to become unlevel, leading to leaks.
- Follow manufacturer’s guidelines: Refer to the toilet’s instruction manual or contact the manufacturer for specific instructions on bolt tightening. Different toilets may have different recommendations.
- Use a torque wrench: Consider using a torque wrench to ensure that the bolts are tightened to the correct specifications. This will help prevent over-tightening and potential damage.
Hiring a Professional for Flush Pressure Adjustment
When it comes to adjusting toilet flush pressure, it may be necessary to hire a professional. While some DIY adjustments can be made, certain issues require the expertise of a trained plumber. Hiring professionals ensures that the flush pressure adjustment is done correctly and efficiently, minimizing the risk of further damage or complications.
Professional plumbers have the knowledge and experience to accurately diagnose the problem and determine the best course of action. They possess the necessary tools and equipment to make precise adjustments, ensuring optimal flush pressure. Additionally, professionals can identify underlying issues that may be contributing to the problem and address them accordingly.
Attempting to adjust flush pressure without the necessary skills and knowledge can lead to costly mistakes and potential damage to the toilet or plumbing system. It’s always advisable to consult a professional to ensure a proper and lasting solution to any flush pressure issues.
Conclusion
In conclusion, adjusting the flush pressure of your toilet is a simple task that can greatly improve its performance.
By checking the water supply valve and adjusting the fill valve, you can ensure that your toilet flushes with the right amount of pressure.

Maintaining proper flush pressure not only prevents clogs and backups but also saves water.
So don’t hesitate to make these adjustments yourself or hire a professional for a hassle-free solution.
Keep your toilet in top shape and enjoy a worry-free flushing experience.