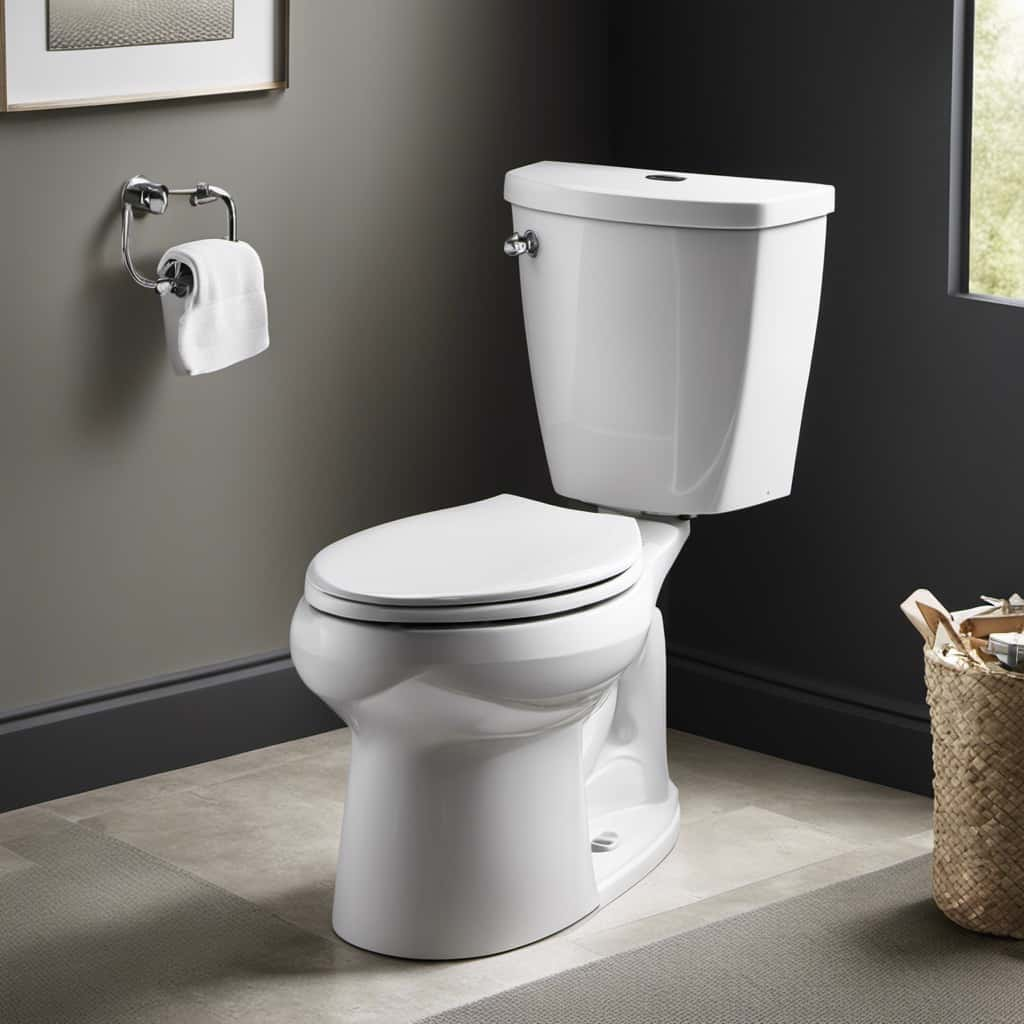
As a DIY enthusiast, I’ve learned that a well-functioning toilet is essential for a smooth-running household. However, if you’re experiencing issues with your toilet fill valve, it’s time to take matters into your own hands.
In this article, I’ll guide you through the process of adjusting the fill valve, ensuring optimal water flow and preventing costly repairs.
So, let’s roll up our sleeves and get ready to tackle this task with confidence!
Key Takeaways
- The water level in the toilet tank is crucial for proper functioning.
- Signs of a faulty fill valve include continuous water running into the overflow tube and improper tank fill-up after flushing.
- Proper adjustment and maintenance of the fill valve ensure efficient water usage and prevent issues such as continuous running water and inadequate water levels in the tank.
- Regular check-ups and maintenance are essential to prevent fill valve problems and maintain proper toilet functionality.
Understanding the Toilet Fill Valve
To understand the toilet fill valve, you’ll need to know how it controls the water flow into the tank. The water level in the toilet tank is crucial for its proper functioning. It ensures that there is enough water for a complete flush and proper refill after each use.
The fill valve is responsible for maintaining this water level. When the fill valve is faulty, it can lead to various issues. One sign of a faulty fill valve is when the water continuously runs into the overflow tube. This can result in a higher water bill and wasted water.
Another sign is when the toilet tank does not fill up properly after flushing. Understanding the importance of water level and recognizing signs of a faulty fill valve will help you maintain the functionality of your toilet.
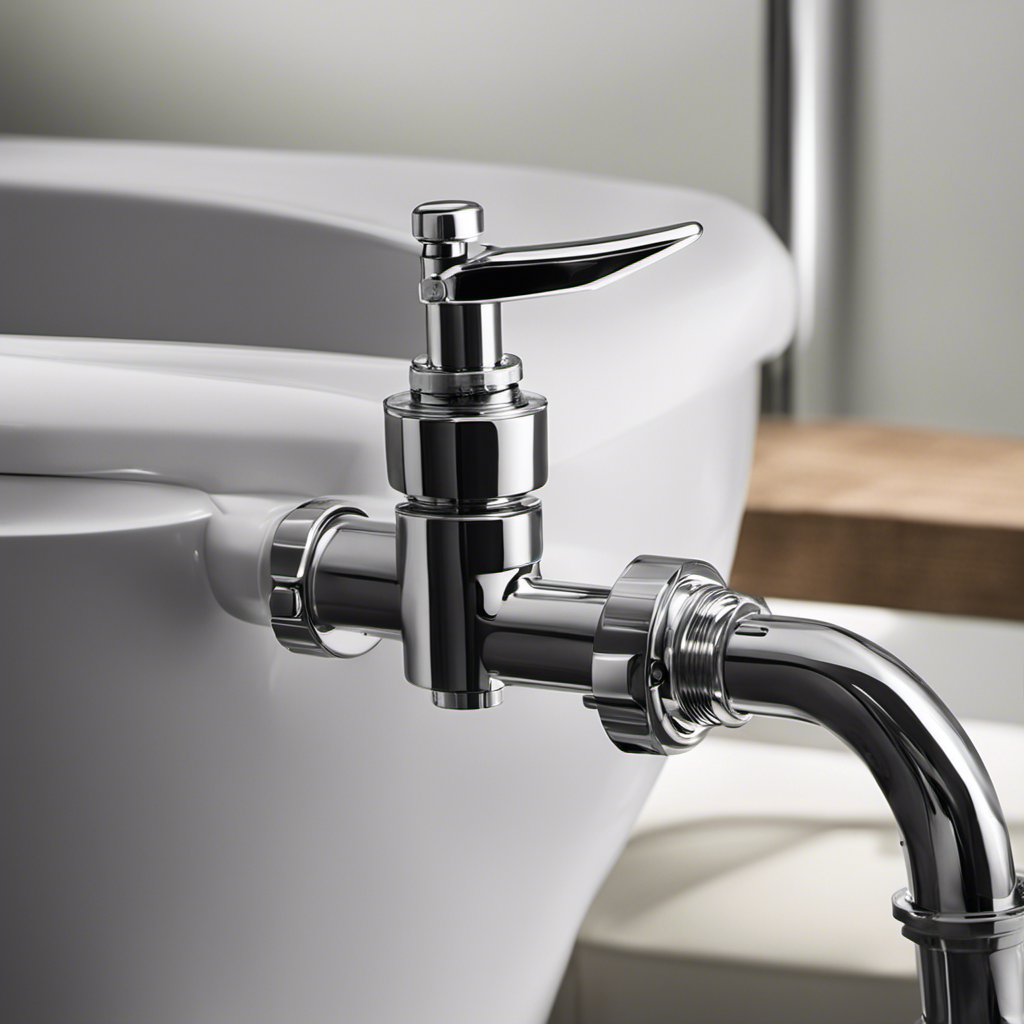
Tools Needed for Adjusting the Fill Valve
You’ll need a few tools to properly tweak the fill valve of your toilet. Here are the essential tools you’ll need for the job:
-
Adjustable wrench: This tool will help you loosen and tighten the nuts that secure the fill valve in place. It’s important to have an adjustable wrench that fits the size of the nuts on your specific fill valve.
-
Screwdriver: A screwdriver is necessary for loosening or tightening any screws that hold the fill valve components together. It’s best to have both a flathead and a Phillips head screwdriver to accommodate different types of screws.
-
Bucket or container: Before you start adjusting the fill valve, it’s important to have a bucket or container handy to catch any water that may spill during the process. This will prevent any mess and potential damage to your bathroom floor.
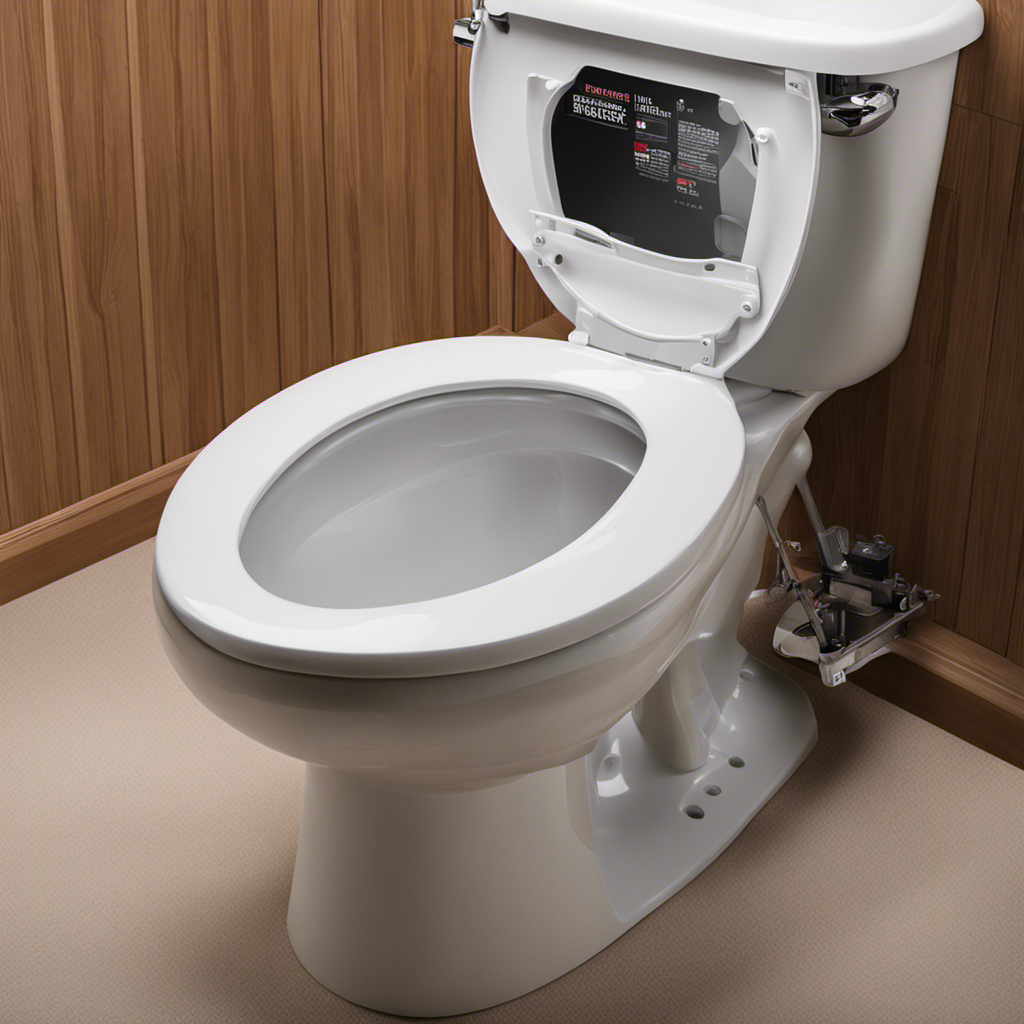
Step-by-Step Guide to Adjusting the Fill Valve
Having the necessary tools is crucial for properly tweaking and maintaining the fill valve of your toilet. To adjust the fill valve, follow these troubleshooting and proper adjustment techniques:
- Turn off the water supply to the toilet.
- Remove the tank lid and locate the fill valve.
- Use a screwdriver to adjust the water level by turning the adjustment screw clockwise to decrease or counterclockwise to increase the water level.
- Check the water level using the table below as a guide.
- Flush the toilet and observe if the water level is at the desired height. Repeat the adjustment if necessary.
- Once the desired water level is achieved, turn the water supply back on.
Proper adjustment of the fill valve ensures efficient water usage and prevents overflow or inadequate flushing.
Troubleshooting Techniques: If the water level is too high or low even after adjustment, check for any leaks or blockages in the fill valve.
Common Issues and Troubleshooting Tips for the Fill Valve
When troubleshooting the fill valve, be sure to check for any leaks or blockages. Here are three common signs of a faulty fill valve:
-
Continuous running water: If you hear the sound of water running in your toilet tank even when it’s not being flushed, it could be a sign of a problem with the fill valve. This can lead to water wastage and higher water bills.
-
Slow tank refill: If your toilet tank takes longer than usual to refill after a flush, it may indicate a fill valve issue. This can result in reduced flushing power and inconvenience.
-
Inadequate water level: If the water level in your toilet bowl is consistently low, it could be due to a faulty fill valve. This can lead to inefficient flushing and unsanitary conditions.
By identifying these signs of toilet fill valve problems, you can take appropriate action to resolve them and ensure proper functioning of your toilet.
Now, let’s move on to the next section about maintenance and regular check-ups for the fill valve.
Maintenance and Regular Check-ups for the Fill Valve
To ensure proper functioning of your toilet, it’s important to regularly maintain and check the fill valve.
The fill valve is responsible for controlling the water level in the toilet tank. Over time, it may start to malfunction, leading to various issues.
One of the most common signs of a faulty fill valve is a constantly running toilet. If you notice that the water is continuously running even after flushing, it’s a clear indication that your fill valve needs attention.
Another sign is a weak flush. If the flush seems weak or incomplete, it could be due to a faulty fill valve not allowing enough water to enter the tank. In such cases, it is recommended to replace the fill valve to restore proper functioning of your toilet.
Regular check-ups and maintenance can prevent these issues and ensure a properly working fill valve.
Conclusion
As I tightened the screw on the toilet fill valve, I couldn’t help but feel a sense of satisfaction. Adjusting the fill valve may seem like a small task, but it symbolizes taking control of your home’s plumbing and ensuring its efficient functioning.
By following the step-by-step guide and troubleshooting tips, I was able to maintain the smooth operation of my toilet. Regular check-ups and maintenance are crucial to prevent any future issues.
So, embrace the power to adjust your toilet fill valve and keep your bathroom running smoothly.

With an impeccable eye for detail and a passion for bathroom-related, Ava leads our editorial team gracefully and precisely.
Under her guidance, Best Modern Toilet has flourished as the go-to resource for modern bathroom enthusiasts. In her free time, you might find Ava exploring antique shops and looking for vintage bathroom fixtures to add to her collection.