As a seasoned DIY enthusiast, I’ve encountered my fair share of plumbing projects. One common issue that arises is a faulty toilet handle. But fear not, because I’m here to guide you through the process of changing it step by step.
In this informative article, I’ll show you how to:
- Gather the necessary tools
- Turn off the water supply
- Remove the old handle
- Install the new one
- Test it out
Get ready to tackle this problem head-on and regain control of your toilet!
Key Takeaways
- Locate and turn off the water shut-off valve before changing the toilet handle to prevent water flow and potential damage.
- Use the appropriate tools to remove the old handle, being careful not to damage surrounding parts.
- Install the new toilet handle securely by tightening the nut and test for smooth operation.
- Troubleshoot common handle problems such as loose handles, weak flush, and sticking handles by adjusting or replacing parts as needed.

Hibbent Universal Metal Front Mount Toilet Handle Replacement Kit, Brass Toilet Flush Tank Lever with Stainless Steel Flapper Chains for Most Toilets, Chrome
Universal Front Mount Brass Toilet Tank Lever: This Front Mount Trip toilet tank lever handle is designed to…
As an affiliate, we earn on qualifying purchases.
As an affiliate, we earn on qualifying purchases.
Gathering the Necessary Tools
To start changing the toilet handle, you’ll need to gather a few tools. First, grab a pair of pliers, a screwdriver, and an adjustable wrench. These tools will help you disassemble the handle mechanism and adjust the handle tension.
Begin by turning off the water supply to the toilet using the shut-off valve located behind the tank.
Next, remove the tank lid and locate the handle assembly inside. Use the pliers to loosen and remove the nut securing the handle to the toilet.
Once the handle is detached, you can adjust the tension by tightening or loosening the nut on the handle arm. Make sure the handle moves smoothly before reassembling everything.
Hibbent Universal Metal Front Mount Toilet Handle Replacement Kit, Brass Toilet Flush Tank Lever with Stainless Steel Flapper Chains for Most Toilets, Chrome
Universal Front Mount Brass Toilet Tank Lever: This Front Mount Trip toilet tank lever handle is designed to…
As an affiliate, we earn on qualifying purchases.
As an affiliate, we earn on qualifying purchases.
Turning off the Water Supply
Before attempting any plumbing repairs or maintenance, it’s crucial to know how to shut off the water supply.
In this discussion, I will guide you through the process of shutting off the water, finding the shut-off valve, and preventing water flow.
Shutting off Water
First, you’ll need to locate the shut-off valve to stop the flow of water to the toilet. This valve is usually located behind or near the toilet, either on the wall or the floor. Once you’ve located the valve, follow these steps to shut off the water:
- Turn the valve clockwise to close it. This will stop the flow of water to the toilet.
- Listen for the sound of the water stopping. This can be satisfying as it signifies that the water flow has been successfully shut off.
- Feel a sense of accomplishment knowing that you have taken the necessary step to prepare for changing the toilet handle.
Shutting off the water supply is an important step in the process of changing the toilet handle. By doing so, you ensure that water doesn’t continue to flow while you make the necessary replacements or repairs. It’s a simple task that can be completed in just a few minutes, but it is crucial for a successful toilet handle replacement.
Finding Shut-Off Valve
Once you’ve located the shut-off valve for the water supply, it’s important to turn it clockwise to stop the flow. Finding the shut-off valve is crucial for any homeowner or DIY enthusiast, as it allows you to shut off water to specific areas of your home without affecting the entire water supply. To locate the shut-off valve, follow these simple steps:
- Check the basement or crawl space: In most homes, the shut-off valve is located near the water meter or where the main water line enters the house.
- Look near exterior walls: The shut-off valve is often installed near an exterior wall for easy access.
- Check utility rooms or mechanical areas: If you have a utility room or mechanical area, the shut-off valve may be located there.
Remember, shutting off the water supply is essential when performing repairs or maintenance to avoid any water damage. Use the table below as a guide to locating the shut-off valve.
| Location | Description | Emotion |
|---|---|---|
| Basement | Near water meter | Convenience |
| Exterior wall | Easy access | Accessibility |
| Utility room | Central location | Efficiency |
Preventing Water Flow
To prevent water from flowing, make sure to tighten the shut-off valve in a clockwise direction. This is an important step in preventing leakage and fixing water flow issues in your toilet.
Here are three emotional reasons why it’s crucial to take action:
-
Peace of mind: By preventing water flow, you can avoid potential water damage and costly repairs. This will give you peace of mind, knowing that your bathroom is safe and protected.
-
Environmental responsibility: Conserving water is not only good for your wallet, but also for the planet. By fixing water flow issues, you are doing your part in preserving this precious resource for future generations.
-
Convenience and comfort: A properly functioning toilet ensures convenience and comfort for you and your family. By preventing leakage and fixing water flow, you can enjoy a hassle-free bathroom experience.
Danco 40098B Toilet Handle Nut, White
Durable plastic construction
As an affiliate, we earn on qualifying purchases.
As an affiliate, we earn on qualifying purchases.
Removing the Old Toilet Handle
Before you can remove the old toilet handle, make sure to turn off the water supply to the toilet. This step is crucial to prevent any water leakage or accidental flushing.
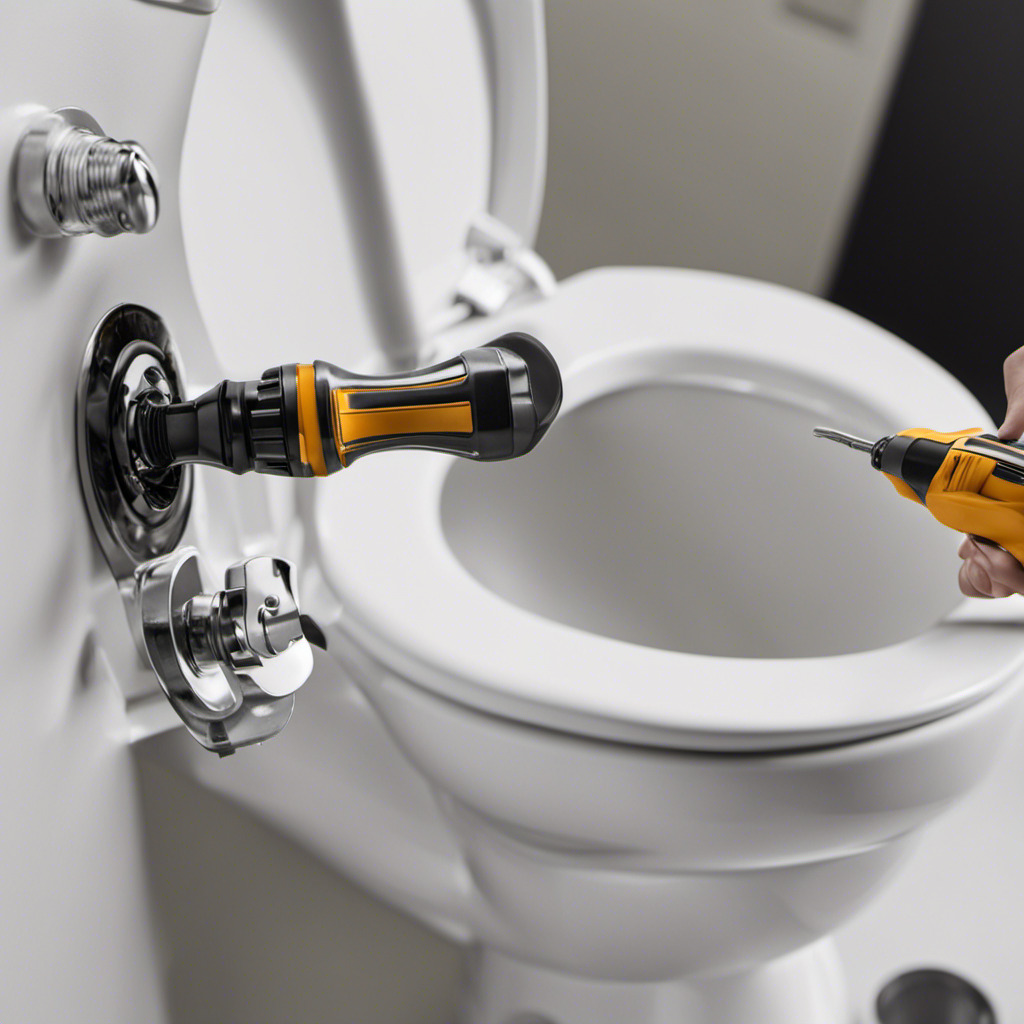
Now, let’s get started on replacing that broken or loose handle. First, locate the small nut underneath the toilet tank that holds the handle in place. Using a wrench or pliers, loosen the nut by turning it counterclockwise.
Once the nut is loose, you can easily slide the old handle out of the hole. Be careful not to damage any surrounding parts.
With the old handle removed, you’re now ready to move on to the next step: installing the new toilet handle.
Hibbent Universal Metal Front Mount Toilet Handle Replacement Kit, Brass Toilet Flush Tank Lever with Stainless Steel Flapper Chains for Most Toilets, Chrome
Universal Front Mount Brass Toilet Tank Lever: This Front Mount Trip toilet tank lever handle is designed to…
As an affiliate, we earn on qualifying purchases.
As an affiliate, we earn on qualifying purchases.
Installing the New Toilet Handle
When it comes to installing a new toilet handle, it’s important to follow the correct installation steps to ensure a secure and functional handle.
In this discussion, we will explore the step-by-step process of correctly installing a new toilet handle.
Additionally, we will address common handle problems that may arise and provide tips on choosing the right handle for your toilet.
Correct Installation Steps
First, make sure you have all the necessary tools and parts for the correct installation of the new toilet handle. To ensure a successful installation, follow these correct installation techniques:
-
Begin by turning off the water supply to the toilet. This will prevent any water leakage during the installation process.
-
Next, remove the old toilet handle by unscrewing the nut that holds it in place. Use a wrench if necessary.
-
Take the new toilet handle and insert it into the hole where the old handle was located. Make sure it fits securely.
-
Tighten the nut onto the handle to secure it in place. Be careful not to overtighten, as this may cause damage.
-
Finally, turn the water supply back on and test the new handle. If it operates smoothly, you have successfully completed the installation.
Troubleshooting tips:
-
If the handle feels loose, try tightening the nut further.
-
If the handle doesn’t flush properly, check the chain length and adjust it accordingly.
-
If any issues persist, consult a professional plumber for assistance.
Common Handle Problems
One common problem with toilet handles is that they may become loose over time. This can be due to wear and tear, improper installation, or simply the passage of time. Fortunately, fixing loose toilet handles is a relatively simple task that can be done with just a few tools and a little bit of know-how.
To begin, turn off the water supply to the toilet and remove the tank lid. Next, locate the nut or screws that hold the handle in place and tighten them using a wrench or screwdriver. If the handle is still loose, you may need to replace the handle altogether. This can be done by purchasing a new handle and following the manufacturer’s instructions for installation.
By properly maintaining your toilet handle, you can ensure that it remains secure and functional for years to come.
Now, let’s move on to choosing the right handle for your toilet.
Choosing the Right Handle
To effectively choose the right handle for your toilet, consider the style and design that will best match your bathroom decor. When it comes to repairing handle issues or troubleshooting handle problems, selecting the right handle is crucial.
Here are some key factors to consider:
- Functionality: Ensure that the handle is easy to use and provides a smooth flushing experience.
- Durability: Look for a handle made from high-quality materials that can withstand frequent use without rusting or breaking.
- Aesthetics: Choose a handle that complements the overall design of your bathroom, whether it’s sleek and modern or classic and traditional.
Testing the New Toilet Handle
Once you’ve installed the new toilet handle, you can test it by pressing down and seeing if it flushes properly. This step is crucial to ensure that the handle is working correctly and that it will withstand regular use.
To test the handle, simply press it down firmly and release it. If the handle springs back up and the toilet flushes smoothly, then it is working properly. You should also check the handle’s durability by applying a bit of pressure and testing it a few more times. Make sure it doesn’t feel loose or wobbly, as this could indicate a weak or faulty handle.
Troubleshooting Common Issues
If you’re experiencing any problems with the new toilet handle, such as a weak flush or a handle that sticks, there are a few troubleshooting steps you can try.
Here are some common issues you may encounter and the steps to resolve them:
-
Weak Flush:
- Check the water level in the tank. If it’s too low, adjust the float valve or fill valve.
- Inspect the flapper for any debris or damage. Clean or replace it if necessary.
- Ensure the flush valve is fully opening. Adjust or replace it if needed.
-
Handle Sticking:
- Tighten the handle’s mounting nut, as it may have come loose.
- Lubricate the handle’s moving parts with silicone grease.
- Check for any obstructions or debris in the handle mechanism. Clean or replace parts as needed.
Conclusion
In conclusion, changing a toilet handle can be a straightforward and simple task. By gathering the necessary tools, turning off the water supply, and removing the old handle, you can prepare for the installation of the new one. Once the old handle is removed, installing the new handle is a straightforward process. After installation, it is important to test the new handle to ensure it is working properly. Remember to troubleshoot any common issues that may arise, such as a loose handle or a handle that doesn’t flush properly. With a little patience and know-how, you’ll be able to tackle this task with ease.
So go ahead and give your toilet a new handle for a hassle-free flush!