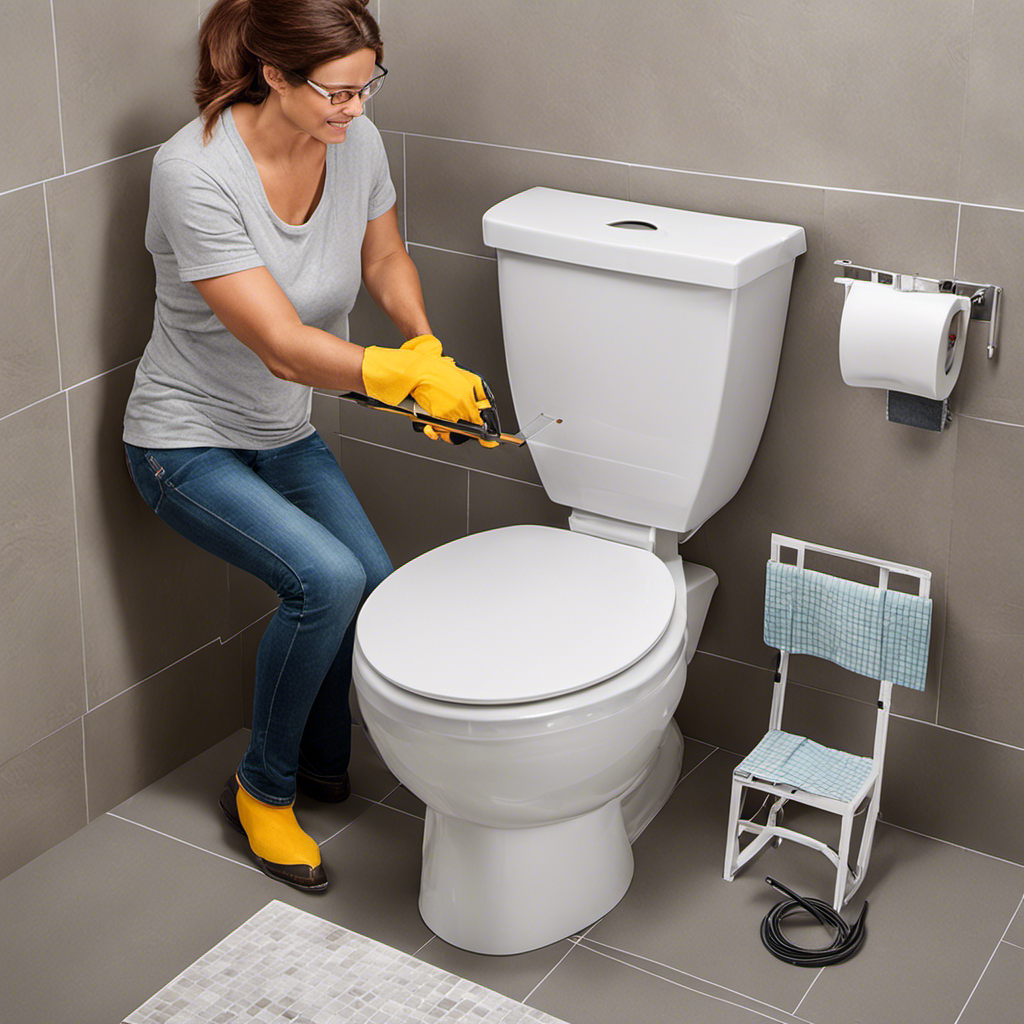
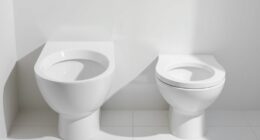
Like a seasoned handyman, I’ll show you how to expertly cut tile around a toilet. With just a few tools and some careful measurements, you’ll be able to tackle this project with confidence.
I’ll guide you through each step, from preparing the area to installing the cut tiles, ensuring a seamless and professional finish.
Let’s dive in and make your bathroom renovation a success!
Key Takeaways
- Use the appropriate tools such as a tile cutter, tile saw, or angle grinder with a diamond blade.
- Measure and mark the exact location where the toilet will be installed, taking into account the dimensions and the distance from the wall to the center of the toilet flange.
- Cut the tiles using a wet saw for accurate results, making sure to measure twice and cut once to avoid mistakes.
- Install the cut tiles by applying a thin layer of tile adhesive to the back of each tile, carefully placing them in position and pressing down firmly for proper adhesion.
Tools and Materials Needed
You’ll need a few tools and materials to cut the tile around the toilet. When it comes to cutting tile around a toilet, there are some common mistakes to avoid in order to achieve a professional-looking tile cut.
First and foremost, make sure you have the right tools on hand. A tile cutter, tile saw, or an angle grinder with a diamond blade will all work well for this task. Additionally, you’ll need a tape measure, pencil, and safety goggles.
To ensure a clean and precise cut, take your time and measure twice before making any cuts. Remember to always wear safety goggles to protect your eyes from any flying debris.
Now that you have the necessary tools and materials, let’s move on to preparing the area.
Preparing the Area
Before starting, it’s important to ensure the area is properly prepared. Here are the key steps to follow:
-
Measure the toilet: Begin by measuring the dimensions of the toilet, including the base and any protruding parts. This will help determine the size and shape of the tile cuts needed.
-
Mark the placement: Use a pencil to mark the exact location where the toilet will be installed. This will serve as a guide when cutting the tiles to fit around the toilet.
-
Remove the toilet: To make the tile cutting process easier, it is recommended to temporarily remove the toilet. This will allow for better access to the floor and prevent any damage to the fixture.
Measuring and Marking the Tiles
To ensure precise tile cuts, it’s important to accurately measure and mark the tiles. Common mistakes to avoid when measuring tiles include not double-checking measurements, using inaccurate tools, and not accounting for grout lines.
To avoid these errors, I recommend using a tape measure and a square to ensure accurate measurements. It’s also crucial to take into account any irregularities in the floor or wall before marking the tiles.
When it comes to marking tiles around toilets, there are a few tips for accuracy. First, measure the distance from the wall to the center of the toilet flange and transfer that measurement onto the tiles. Use a tile cutter or wet saw to make precise cuts along the marked lines.
Cutting the Tiles
When making your cuts, be sure to use a wet saw for the most accurate results. As someone who has worked with tiles for many years, I understand the importance of using the right tools and techniques to achieve precise cuts. Here are three tile cutting techniques that can help you achieve a professional finish:
-
Measure twice, cut once: Accurate measurements are crucial when cutting tiles. Double-check your measurements before making any cuts to avoid costly mistakes.
-
Use a guide: To ensure straight and even cuts, use a straight edge or a tile cutting guide. This will help you maintain a consistent line and prevent the tiles from cracking or breaking.
-
Troubleshooting common issues: If you’re experiencing chipping or cracking while cutting tiles, try using a diamond blade or adjusting the speed and water flow of your wet saw. Experiment with small test cuts before tackling the full tiles.
Installing the Cut Tiles
Now that you have the cut tiles ready, it’s time to start installing them. To ensure a proper installation, you will need tile adhesive and grout for this step. Here is a step-by-step guide on how to install the cut tiles around the toilet:
- Start by applying a thin layer of tile adhesive to the back of the tile using a notched trowel.
- Carefully place the tile in position, making sure it aligns with the existing tiles.
- Press down firmly to ensure proper adhesion.
- Repeat this process for each cut tile, working your way around the toilet.
Once all the tiles are installed, allow them to set according to the adhesive manufacturer’s instructions.
- After the tiles have set, it’s time to apply grout. Use a grout float to push the grout into the gaps between the tiles.
- Wipe away any excess grout using a damp sponge.
- Allow the grout to cure before completing the finishing touches and cleaning up.
Conclusion
After following these steps, you should now have a beautifully tiled floor around your toilet.
The process may seem daunting, but with the right tools and a little patience, you can achieve professional-looking results.
Remember to measure twice and cut once, ensuring precise cuts for a seamless finish.
As the tiles are laid and the pattern emerges, it’s like watching a mosaic masterpiece unfold before your eyes.
So, go ahead and take pride in your newly tiled bathroom floor, knowing that you accomplished this task with skill and precision.
