Oh no, it’s a disaster! Your toilet tank has a big, ugly crack in it. But fear not, because I’m here to save the day!
In this article, I’ll show you the step-by-step process of how to fix that cracked toilet tank. With just a few simple tools and materials, you’ll be able to tackle this problem head-on and have your toilet back in working order in no time.
Let’s get started!
Key Takeaways
- Assess the severity of the crack and determine if professional help is necessary.
- Gather the necessary tools and materials, including the appropriate adhesive for porcelain or ceramic surfaces.
- Drain the toilet tank before attempting any repairs, following proper safety precautions.
- Repair the cracked toilet tank using a sealant and test for leaks before reusing the toilet.
Assessing the Damage
Now, you’ll need to take a close look at the cracked toilet tank to assess the extent of the damage. Evaluating the cost of repairing or replacing the tank will depend on the severity of the crack.
Start by examining the crack carefully. Is it a hairline crack or a larger, more significant one? Check if the crack is leaking water or causing any structural issues.
If the crack is small and not causing any major problems, you may be able to fix it yourself using a toilet repair kit. However, if the crack is significant, leaking profusely, or if you are unsure about your DIY skills, it’s best to seek professional help.
A plumber will be able to provide expert advice and assistance in repairing or replacing the cracked toilet tank.
Gathering the Necessary Tools and Materials
First, you’ll need to gather all the necessary tools and materials for the job. When it comes to fixing a cracked toilet tank, choosing the right adhesive is crucial. Look for an adhesive that is specifically designed for repairing porcelain or ceramic surfaces. Epoxy or polyurethane adhesives are commonly used for this type of repair. Make sure to read the label and follow the instructions carefully to ensure proper application.
Additionally, you may need a putty knife or scraper to remove any old adhesive or debris from the crack before applying the new adhesive. It’s also a good idea to have some sandpaper on hand to smooth out the surface after the adhesive has dried.
If you’re looking for a temporary solution, consider using plumber’s tape or a rubber patch to cover the crack until you can properly repair it. Remember, temporary fixes should only be used as a temporary solution and not as a long-term fix.
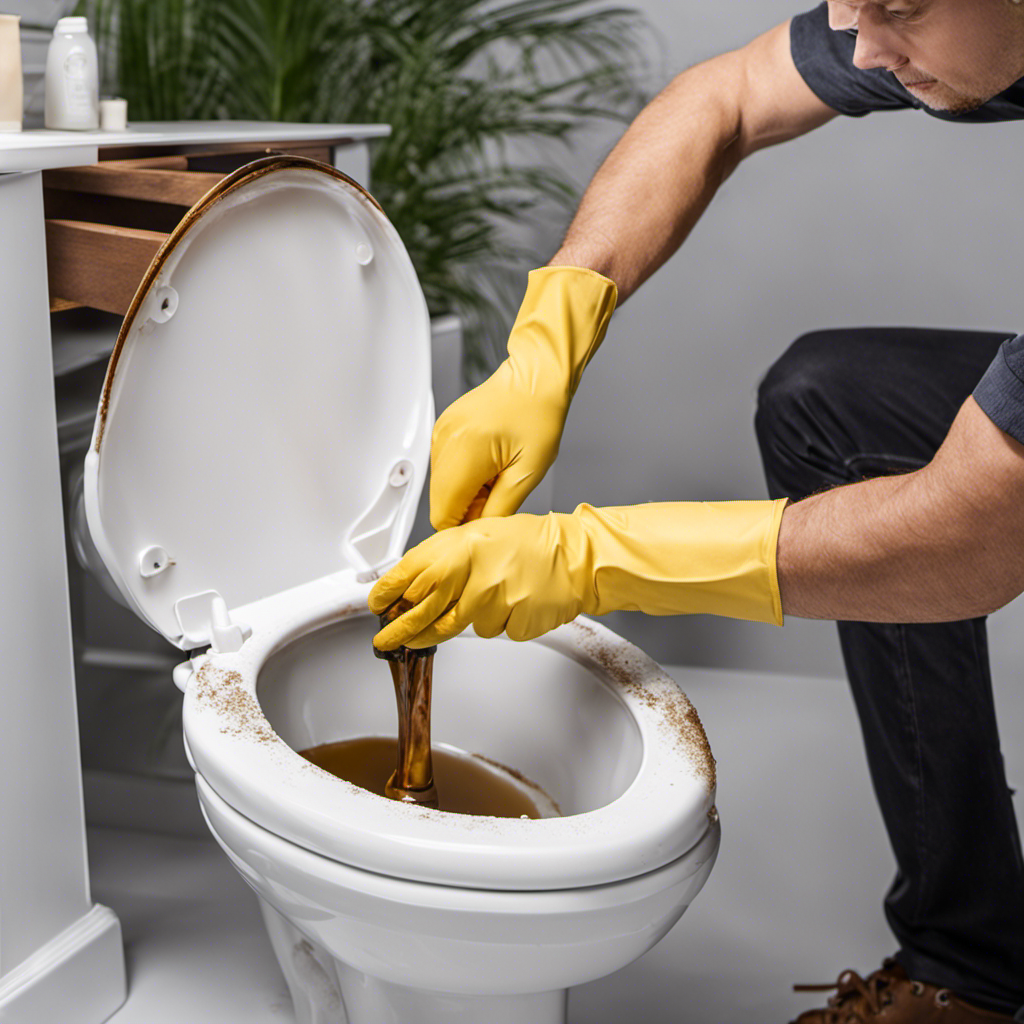
Draining the Toilet Tank
To drain the water from the tank, you’ll need to locate the shut-off valve and turn it clockwise to stop the flow of water. This step is crucial when dealing with toilet tank cracks and water leakage.
The shut-off valve is usually located on the wall behind the toilet or on the floor near the base. It’s important to shut off the water supply before attempting any repairs to prevent further damage and minimize the mess.
Once the valve is closed, flush the toilet to remove as much water as possible from the tank. You can then use a sponge or a towel to soak up any remaining water.
Remember to be cautious and wear gloves to protect yourself from any potential bacteria or pathogens present in the water.
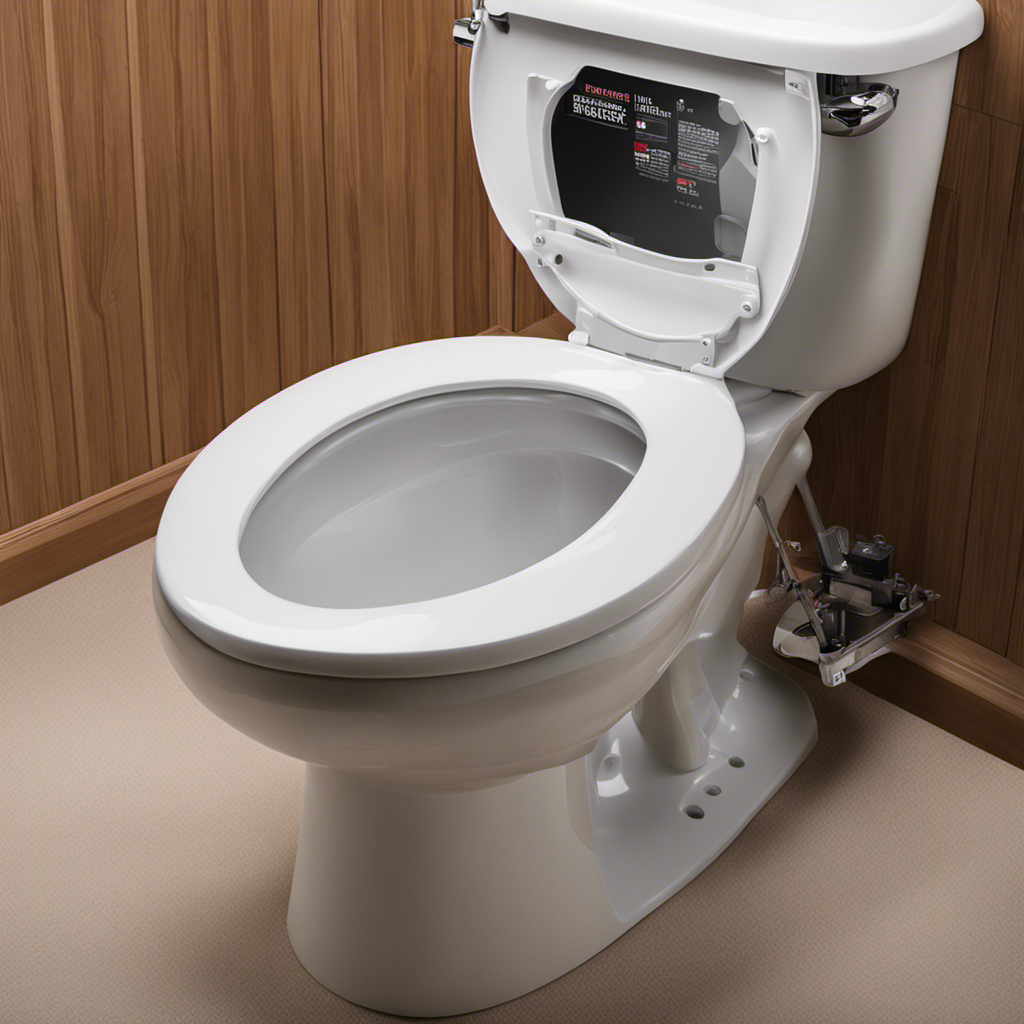
Repairing the Cracked Toilet Tank
After shutting off the water supply, you can begin repairing the toilet tank by applying a sealant to the cracked areas. This is a simple and cost-effective solution that can help extend the life of your toilet tank.
Here are some repair techniques you can try:
- Clean the cracked area thoroughly before applying the sealant.
- Use a high-quality epoxy or silicone sealant that is specifically designed for plumbing repairs.
Testing the Repaired Toilet Tank
Once the water supply is turned back on, you can test the repaired toilet tank for any leaks. It is crucial to ensure that the repair has been successful and that the tank is now watertight.
To test for leaks, simply flush the toilet and observe if any water is escaping from the repaired area. If you notice any leaks, it may indicate that the repair was not effective, and you might need to consider alternative repair methods.
When it comes to toilet tank durability, it is important to choose a high-quality tank that is resistant to cracks and damage. Regular maintenance, such as checking for leaks and addressing them promptly, will also help prolong the lifespan of your toilet tank.
Frequently Asked Questions
How Often Should I Inspect My Toilet Tank for Cracks?
I inspect my toilet tank for cracks regularly as part of my toilet tank maintenance routine. It’s important to catch any cracks early to prevent further damage and costly repairs.
Can I Use Regular Household Glue to Fix a Cracked Toilet Tank?
Yes, I can use regular household glue to fix a cracked toilet tank. However, it is not the best option. There are alternative adhesives specifically designed for toilet tank repair that provide better results.
Is It Safe to Continue Using a Cracked Toilet Tank?
Using a cracked toilet tank is risky. I learned the hard way when mine suddenly shattered, flooding the bathroom. It’s best to replace it or explore professional repair options for safety.
How Long Does It Typically Take to Repair a Cracked Toilet Tank?
Typically, it takes about a couple of hours to repair a cracked toilet tank. The process involves draining the tank, applying a repair kit or epoxy, and allowing it to dry completely.
What Are the Signs of a Cracked Toilet Tank That I Should Look Out For?
I’ve learned that toilet tank maintenance is crucial. Look out for signs of a cracked tank like leaks or water pooling around the base. DIY toilet repairs can save money, but a cracked tank usually requires professional help.
Conclusion
In conclusion, fixing a cracked toilet tank may seem daunting, but it can be a straightforward process with the right tools and materials. By assessing the damage, draining the tank, and carefully repairing the crack, you can restore your toilet to its former glory.
Remember, patience is key, and taking the time to complete each step accurately will ensure a successful outcome. So, don’t let a cracked toilet tank burst your bubble. Tackle it head-on and get back to enjoying a fully functioning bathroom.

Liam’s journey with us started as a consumer. Having faced challenges while setting up his own modern bathroom, he delved deep into research.
Recognizing his knack for simplifying complex information and his authentic writing style, we were thrilled to welcome him aboard. Liam’s articles often merge practicality with style, ensuring readers find the perfect fit for their homes. Liam is an avid hiker off-duty and often jokes about finding the best “natural toilets” Mother Earth has to offer.