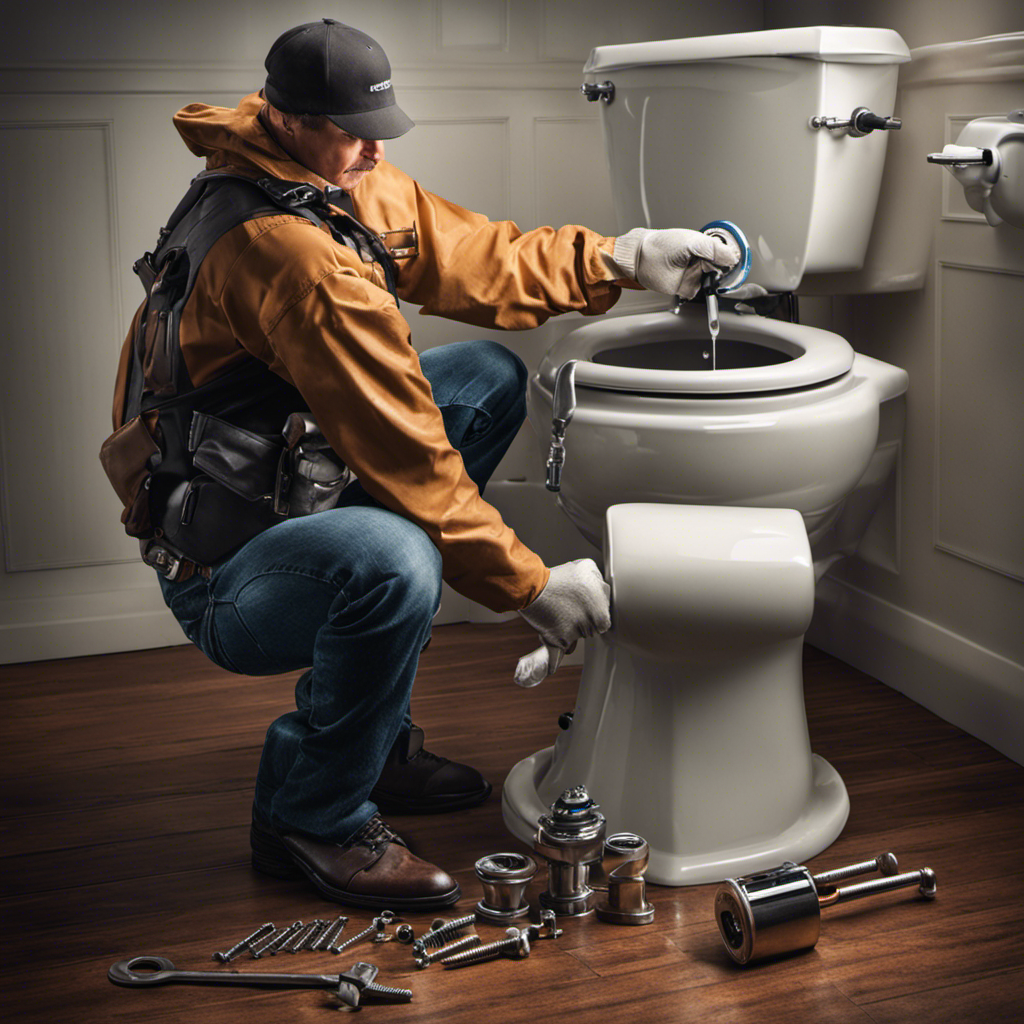
I’ve had my fair share of frustrations with a leaky toilet tank, but I’ve learned a thing or two along the way. If you’re tired of the constant dripping and wasted water, I’m here to show you how to fix it once and for all.
In this guide, I’ll walk you through the steps, from identifying the source of the leak to inspecting and replacing the faulty parts. With a little know-how and some basic tools, you’ll have a leak-free toilet tank in no time.
Key Takeaways
- Identifying the source of the leak is crucial before starting any repairs.
- Gather the necessary tools and materials such as an adjustable wrench, sponge, scraper, and high-quality silicone sealant.
- Shut off the water supply by locating and turning the shut-off valve clockwise to prevent further water flow and potential damage.
- Drain the toilet tank completely to avoid damage or overflow before inspecting and replacing any faulty parts.

Fluidmaster K-400H-039 High Performance Toilet Fill Valve with 2-Inch Adjustable Toilet Flapper Kit
Made in Mexico
As an affiliate, we earn on qualifying purchases.
As an affiliate, we earn on qualifying purchases.
Identifying the Source of the Leak
Before you can fix a leaky toilet tank, you’ll need to identify where the leak is coming from.
There are several common leak causes that may be contributing to the problem.
First, check the supply line connection where the water enters the tank. It may be loose or damaged, causing water to leak out.
Another potential source of the leak is the flush valve seal. This seal can become worn or damaged over time, leading to water leakage.
Additionally, the fill valve may be the culprit. If the fill valve is not functioning properly, it can cause water to continuously flow into the tank and overflow.
To troubleshoot the issue, inspect these areas for any signs of water leakage or damage.

WORKPRO 2-Piece Adjustable Wrench Set, 6-Inch & 10-Inch Wide Jaw Black Oxide Wrench, Cr-V Steel, Metric & SAE Scales, Max Jaw Opening 15/16" & 1-5/16", for Home Repairs, Plumbing, Garage Work
DUAL-SIZE SET FOR VERSATILE USE: This 2-piece set includes 6-inch and 10-inch adjustable wrenches, designed for everyday household…
As an affiliate, we earn on qualifying purchases.
As an affiliate, we earn on qualifying purchases.
Gathering the Necessary Tools and Materials
You’ll need a few tools and materials to get started on this project. First, make sure you have an adjustable wrench to loosen and tighten the nuts on the toilet tank.
You’ll also need a sponge or towel to soak up any water that may spill during the repair process. Additionally, gather a scraper or putty knife to remove any old sealant or gaskets.
Now, let’s talk about choosing the right sealant. It’s important to select a high-quality silicone sealant that is specifically designed for plumbing applications. Look for one that is waterproof and can withstand high temperatures.

Fluidmaster 400H-002 Performax Universal Toilet Fill Valve High Performance Tank and Bowl Water Control, 1-Pack, Multicolor
Fix noisy, or slow filling fill valves with the quietest, most powerful toilet fill valve available
As an affiliate, we earn on qualifying purchases.
As an affiliate, we earn on qualifying purchases.
Shutting off the Water Supply
To start the process, locate the shut-off valve near the base of the toilet and turn it clockwise until the water supply is completely shut off.
This step is crucial in fixing leaks and troubleshooting leaks in the toilet tank. By shutting off the water supply, you prevent any further water flow that could potentially worsen the leak or cause water damage.
It is important to handle the shut-off valve with care and make sure it is fully closed to avoid any water leakage.
Once the shut-off valve is closed, you can proceed to the next step of draining the toilet tank, which is essential for accessing and repairing the source of the leak.

J-B Weld 31310 All-Purpose RTV Silicone Sealant and Adhesive – 3 oz. – Clear
Clear Silicone Sealant & Adhesive: Is A General Purpose Sealant Adhesive, Rtv (Room Temperature Vulcanized)Silicone Designed For Use…
As an affiliate, we earn on qualifying purchases.
As an affiliate, we earn on qualifying purchases.
Draining the Toilet Tank
When it comes to draining the toilet tank, there are several key points to keep in mind.
First and foremost, it’s important to remove the water efficiently in order to prevent any potential damage or overflow.
Secondly, ensuring that the shut-off valve is properly closed is crucial to prevent any further water flow into the tank.
Lastly, it’s important to be cautious and avoid any potential damage to the toilet or surrounding area during the draining process.
Removing Water Efficiently
If the toilet tank is leaking, it’s important to remove the water efficiently before proceeding with the repair. Efficient water usage and water conservation are key considerations in this process.
Here are some steps to remove the water efficiently:
- Locate the shut-off valve: Find the valve near the base of the toilet and turn it clockwise to shut off the water supply to the tank.
- Flush the toilet: Flush the toilet once to drain most of the water from the tank.
- Empty the remaining water: Use a sponge or a bucket to remove any remaining water in the tank.
By efficiently removing the water from the toilet tank, we not only save water but also create a safer environment for the repair process.
Now, let’s move on to the next step: addressing the proper shut-off valve.
Proper Shut-Off Valve
The valve near the base of the toilet needs to be located and turned clockwise to shut off the water supply to the tank. This shut-off valve is crucial for maintaining and replacing the toilet tank. To ensure proper shut-off valve maintenance, it is essential to regularly inspect and test the valve for any leaks or malfunctions. If any issues are detected, shut-off valve replacement may be necessary.
To assist you in understanding shut-off valve maintenance and replacement, I have prepared a table below:
| Issue | Symptoms | Solution |
|---|---|---|
| Leaking valve | Water dripping from valve | Replace valve |
| Stuck valve | Difficulty turning the valve | Loosen or replace valve stem |
| Broken valve | No water flow when valve is turned on | Replace valve |
Avoiding Potential Damage
Regularly inspecting and addressing any issues promptly can help prevent potential damage to your shut-off valve. This valve is crucial for controlling the flow of water to your toilet tank, and if it becomes damaged, it can lead to leaks and other problems.
To avoid future leaks and ensure the longevity of your shut-off valve, here are some important steps to follow:
- Check for any signs of corrosion or wear on the valve body.
- Test the valve by turning it off and on a few times to ensure it operates smoothly.
- Inspect the valve’s connection to the water supply line for any leaks or loose fittings.
By regularly inspecting and maintaining your shut-off valve, you can prevent future leaks and avoid costly repairs.
Inspecting and Replacing the Faulty Parts
To fix a leaky toilet tank, start by inspecting and replacing the faulty parts. Proper toilet tank inspection is crucial for troubleshooting leaks. First, check the water supply line and ensure it is tightly connected to the fill valve. Next, examine the fill valve for any signs of damage or wear, such as cracks or leaks. If necessary, replace the fill valve with a new one. Additionally, inspect the flapper valve for any cracks or warping that could cause water to leak into the bowl. If the flapper valve is damaged, replace it with a compatible one. Finally, check the flush valve and overflow tube for any potential leaks. Make sure the gaskets are properly sealed and replace them if needed.
| Faulty Part | Inspection | Troubleshooting |
|---|---|---|
| Water Supply Line | Check for tight connection to fill valve | Replace if loose or damaged |
| Fill Valve | Look for cracks or leaks | Replace if damaged |
| Flapper Valve | Inspect for cracks or warping | Replace if damaged |
| Flush Valve & Overflow Tube | Check for leaks | Replace gaskets if necessary |
Once all the faulty parts have been identified and replaced, you can proceed to reassemble and test the toilet tank to ensure the leak has been successfully fixed.
Reassembling and Testing the Toilet Tank
After replacing the faulty parts, you can now reassemble and test the toilet tank to ensure the leak has been fixed. Here’s what you need to do:
-
Reconnecting pipes: Carefully reconnect the water supply line to the fill valve by hand-tightening the nut. Make sure it is securely attached to prevent any leaks. Then, reconnect the flapper chain to the flush handle lever, ensuring proper alignment.
-
Checking for leaks: Turn on the water supply valve and let the tank fill up. Inspect all the connections and joints for any signs of leakage. Pay close attention to the fill valve, the water supply line, and the flush valve. If you notice any leaks, tighten the connections or replace any faulty parts as needed.
-
Testing the flush: Flush the toilet multiple times to ensure it is working properly. Check for any unusual sounds or slow flushing. If everything looks and functions smoothly, congratulations! You have successfully reassembled and tested the toilet tank, and the leak should be fixed.
Maintaining a Leak-Free Toilet Tank
Now that we have successfully reassembled and tested the toilet tank, it is important to discuss maintaining a leak-free toilet tank through proper maintenance. Regular toilet tank maintenance is crucial in preventing leaks and ensuring the smooth operation of the toilet.
To begin, it is essential to regularly inspect the components inside the tank for any signs of wear or damage. This includes checking the flapper valve, fill valve, and flush valve for any cracks or deterioration. Additionally, inspect the tank and supply lines for any signs of leakage, such as water stains or puddles.
Furthermore, it is recommended to clean the toilet tank periodically to remove mineral deposits and sediment buildup. This can be done by gently scrubbing the inside of the tank using a mild detergent and a soft brush.
Lastly, it is vital to avoid using harsh chemicals, such as bleach or abrasive cleaners, as they can damage the components of the toilet tank and cause leaks. By following these maintenance tips, you can ensure a leak-free and properly functioning toilet tank for years to come.
Conclusion
Well, congratulations! You’ve successfully fixed your leaky toilet tank. Now you can bask in the glory of being a toilet repair expert.
Who knew that a simple household task could bring such satisfaction? Your newfound knowledge and skills will surely impress your friends and family.
So go ahead, take a moment to appreciate the irony of becoming a hero in the world of leaky toilets. But remember, with great power comes great responsibility.
Stay vigilant and continue maintaining your leak-free throne.