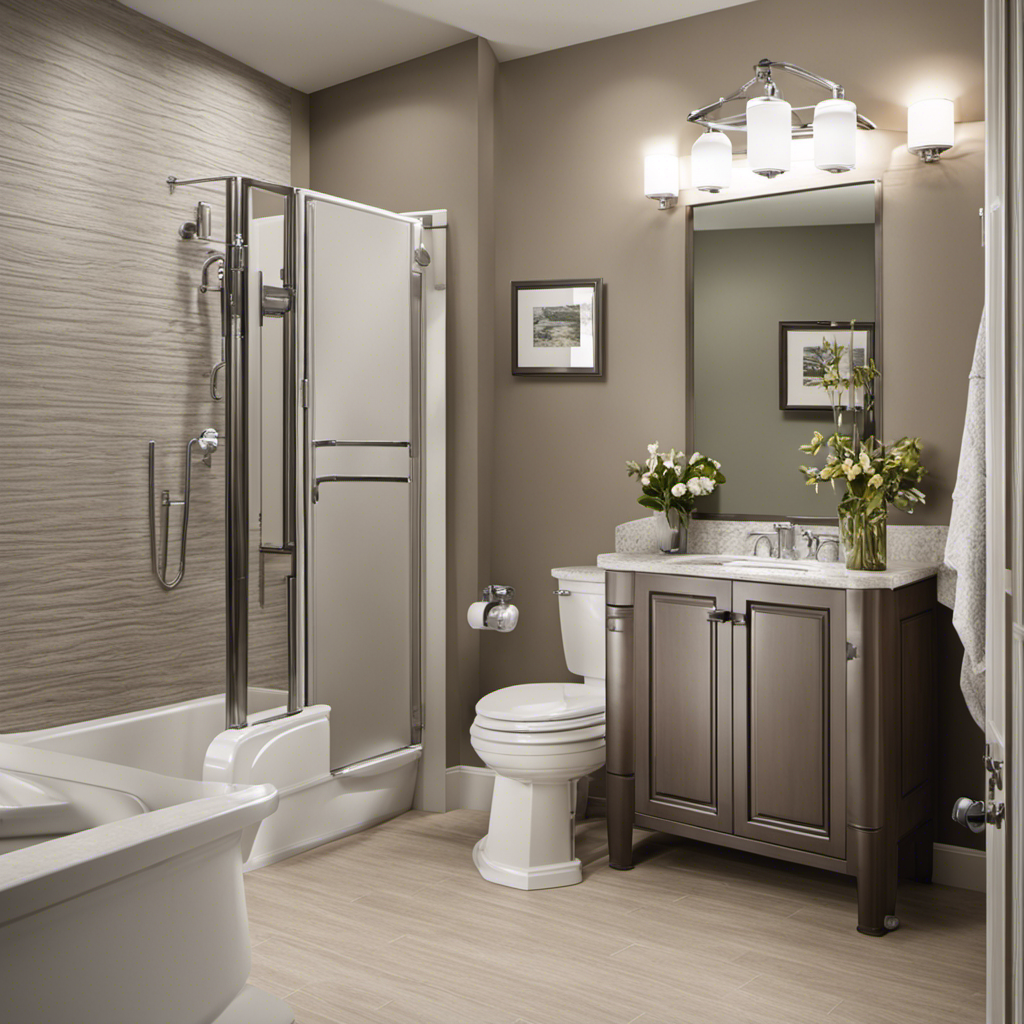
Do you hear that unsettling wobble every time you step onto your bathroom tiles? It’s like a constant reminder of an unstable foundation. But fear not! We’ve got the solution to fix that rocking toilet and restore balance to your bathroom oasis.
In this article, we’ll guide you through the necessary steps and materials to secure your toilet to the floor, check the flange, and make any adjustments needed. Say goodbye to that annoying wobble and hello to a stable throne.
Let’s dive in!
Key Takeaways
- Gently rock the toilet to check for movement
- Inspect the floor for water damage or loose tiles
- Check the stability of the toilet bolts
- Choose durable plastic or rubber toilet shim
Top picks for "rock toilet tile"
Open Amazon search results for this keyword.
As an affiliate, we earn on qualifying purchases.
Assess the Extent of the Rocking Problem
Now, you’ll want to take a closer look at the toilet to see just how severe the rocking problem is. Assessing the problem is crucial to determining the appropriate course of action.
Start by firmly placing your hands on either side of the toilet bowl and gently try to rock it back and forth. Pay close attention to any movement or instability.
Next, inspect the floor around the base of the toilet for any signs of water damage or loose tiles. These could be potential causes of the rocking issue.
Additionally, check the stability of the toilet bolts and ensure they are securely fastened.
Gather the Necessary Tools and Materials
First, you’ll need to gather all the necessary tools and materials to address the issue with your unsteady toilet on the tiled floor.
Start by choosing the right toilet shim, which is a small wedge-shaped material used to stabilize the toilet and prevent it from rocking. Look for shims made of durable plastic or rubber that can withstand moisture and pressure.
Additionally, gather a level, a wrench, and a screwdriver to properly align the toilet. A level will help you ensure that the toilet is perfectly horizontal, while the wrench and screwdriver will allow you to tighten the bolts and nuts that secure the toilet to the floor.
Having these tools and materials ready will make the process of fixing your rocking toilet much easier and more efficient.
Secure the Toilet to the Floor
To secure the toilet to the floor, you’ll need to use a wrench to tighten the bolts and nuts. This is an essential step in preventing toilet wobbling and ensuring a stable fixture.
While there are toilet anchor alternatives available, such as adhesive pads or shims, using bolts and nuts is the most reliable method.
Start by locating the bolts at the base of the toilet and ensure they are properly aligned with the floor flange. Use the wrench to tighten the bolts, alternating between them to ensure even pressure.
As you tighten the bolts, be careful not to overtighten, as this may crack the toilet base.
Once the bolts are secure, give the toilet a gentle shake to ensure it is stable.
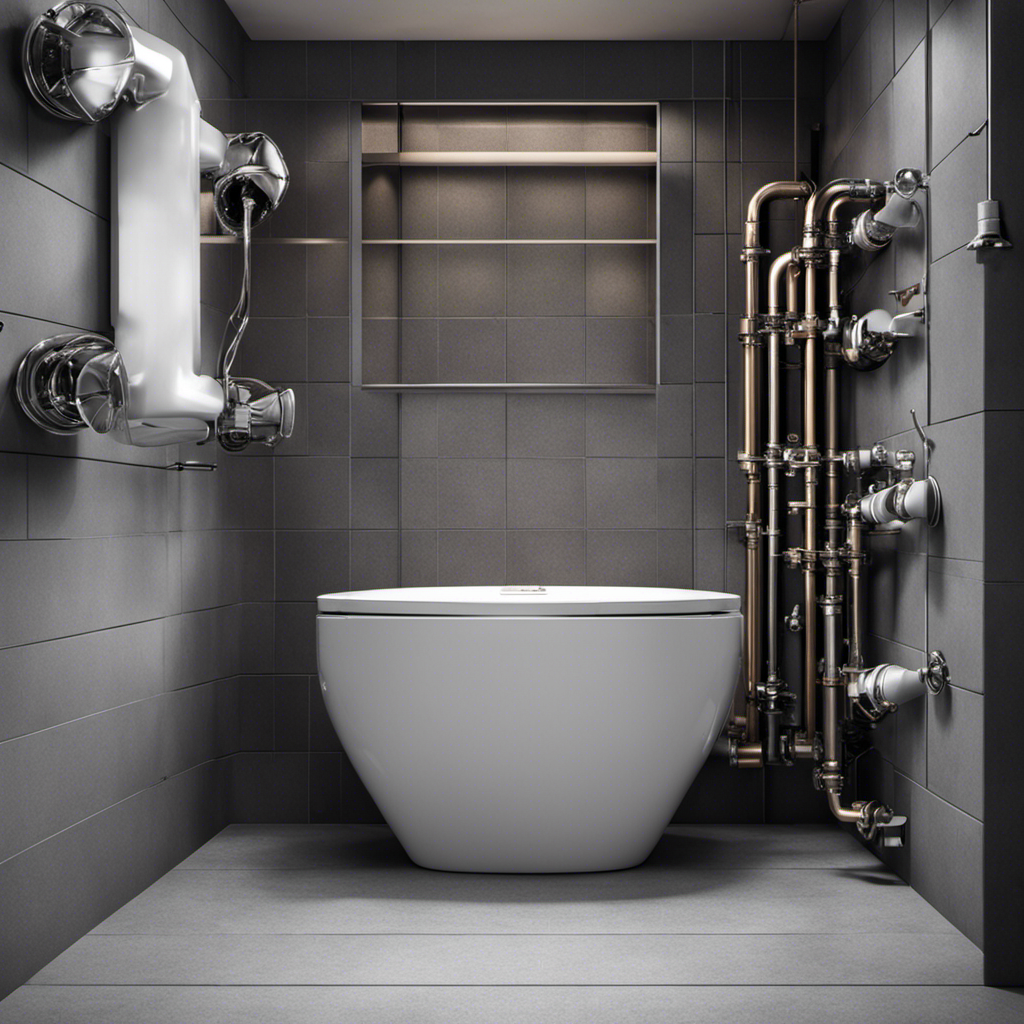
Check and Adjust the Toilet Flange
Check if the toilet flange is securely attached to the floor by inspecting the bolts and ensuring they are tightened. A loose or damaged flange can cause a rocking toilet, leading to leaks and potential water damage.
If the bolts are loose, use a wrench to tighten them, making sure not to overtighten and risk cracking the toilet base.
If the flange is damaged or not level with the floor, it may need to be adjusted. To adjust the flange height, remove the toilet and replace the wax ring.
Next, use a flange extender or a thicker wax ring to raise the flange to the desired height. This will ensure a secure and stable connection between the toilet and the floor, preventing any future rocking or leaks.
Replace or Adjust the Toilet Shims
Make sure you properly align the toilet using shims, if necessary, to ensure a stable and level installation.
After you have checked and adjusted the toilet flange, it’s time to focus on the toilet shims. These small, wedge-shaped pieces can help eliminate any rocking or instability in your toilet.
Start by carefully removing the toilet and inspecting the existing shims. If they are damaged or worn, it’s best to replace them with new ones.
When replacing the shims, be sure to position them evenly around the base of the toilet to provide balanced support. If the toilet is still rocking after replacing the shims, you may need to reposition the toilet slightly to find the most secure placement.
Once you have completed this step, you can proceed to test for stability and make any necessary adjustments to ensure a reliable and secure toilet installation.
Test for Stability and Make Any Necessary Adjustments
Once you’ve replaced the shims and repositioned the toilet, double-check its stability and make any needed adjustments. Balancing the toilet is crucial to prevent further rocking and potential water leaks.
Here are five important steps to reinforce the toilet base and ensure its stability:
-
Tighten the toilet bolts: Use a wrench to securely fasten the bolts on both sides of the toilet base. This will help keep the toilet in place and prevent any wobbling.
-
Check the wax ring: Ensure that the wax ring is properly sealed between the toilet flange and the base. If there are any gaps or damage, replace the wax ring to create a watertight seal.
-
Inspect the floor: Look for any cracks or damage in the tile or underlying subfloor. Repair any issues to provide a solid foundation for the toilet.
-
Use shims if necessary: If the toilet is still slightly unstable, insert shims between the base and the floor to level and stabilize it.
-
Test for stability: Sit on the toilet and gently rock back and forth to see if it remains steady. If there is any movement, repeat the above steps until the toilet is completely stable.
Maintain the Stability of the Toilet Over Time
To maintain the stability of your toilet over time, there are a few key points to keep in mind.
First, make sure the toilet is properly leveled. Use a level to check if the toilet bowl is sitting evenly on the floor. If it’s not, adjust the leveling screws until it is balanced.
Secondly, consider caulking around the base of the toilet to provide additional stability. This will help prevent any movement or rocking.
Lastly, periodically check and tighten any loose bolts that connect the toilet to the floor. This will ensure that the toilet remains secure and stable.
Leveling the Toilet
First, check if the toilet is securely fastened to the floor. If not, tighten the bolts that hold the toilet to the flange. Once the toilet is properly secured, you can focus on leveling it to prevent rocking on your tile floor.
Here are some tips to help you achieve a stable toilet installation and protect your tile floor:
- Use a level to ensure the toilet is perfectly horizontal.
- Place shims under the toilet base to fill any gaps and provide stability.
- Tighten the bolts evenly to avoid putting pressure on one side.
- Test the toilet for rocking by sitting on it and applying pressure.
- Adjust the shims as needed until the toilet is completely stable.
Now that you have leveled your toilet, it’s time to move on to the next step: caulking for stability.
Caulking for Stability
Now that you have successfully leveled your toilet, it’s time to ensure its stability by using caulking techniques.
Caulking not only provides a clean and finished look, but it also helps in preventing future rocking. By creating a waterproof seal between the toilet base and the tile floor, caulking acts as an additional layer of support. This prevents any movement or shifting of the toilet, keeping it firmly in place.
To properly caulk your toilet, follow these steps:
- Clean the area around the base of the toilet.
- Apply a thin and even bead of caulk around the perimeter of the toilet base.
- Smooth the caulk using a caulk smoothing tool or your finger.
By following these caulking techniques, you can ensure the long-term stability of your toilet.
Now, let’s move on to the next step: tightening loose bolts.
Tightening Loose Bolts
After leveling and caulking the toilet, it’s important to tighten any loose bolts to ensure stability. Loose bolts can cause the toilet to wobble or rock, which not only feels unsettling but can also lead to leaks and damage.
Here’s how to tighten the bolts and keep your toilet securely in place:
- Gather the necessary tools: a wrench and a screwdriver.
- Locate the bolts at the base of the toilet.
- Use the wrench to tighten the bolts, alternating between each side to ensure even pressure.
- Check for any remaining movement or rocking.
- If the toilet continues to rock, consider replacing the wax ring or using adhesive for added stability.
Conclusion
Congratulations on successfully fixing the rocking toilet on your tile! By assessing the extent of the problem and gathering the necessary tools and materials, you were able to secure the toilet to the floor and check and adjust the toilet flange.
Additionally, replacing or adjusting the toilet shims and testing for stability were crucial steps in ensuring a stable toilet. As a result, you have achieved a steady and secure toilet that will stand the test of time.
Did you know that a staggering 70% of toilet-related accidents are caused by unstable toilets? By following these steps, you have significantly reduced the risk of accidents and created a safer bathroom environment.
Keep up the good work and enjoy your stable toilet!