
Do you find yourself frustrated with a toilet that seems to sweat profusely? It’s as if it’s working out at the gym and leaving behind a puddle of moisture.
But fear not, because in this article, we’ll show you how to fix that annoying issue step by step. From understanding the cause of the problem to assessing the water supply and adjusting the temperature, we’ve got you covered.
So grab your tools and let’s put an end to that sweaty toilet once and for all.
Key Takeaways
- Condensation forms on the outside of the toilet tank when warm air meets a cold surface.
- Sweating occurs in humid environments or during significant temperature differences.
- Thermal insulation like foam liners or tank covers can prevent condensation.
- It is important to check the inlet valve, water line, and adjust the toilet tank temperature to fix a sweating toilet.
Understanding the Cause of a Sweating Toilet
To understand why your toilet is sweating, you need to know how condensation forms on the outside of the tank. Condensation occurs when warm air meets a cold surface, causing the water vapor in the air to turn into liquid droplets.
In the case of a sweating toilet, the cold water inside the tank cools the air around it, leading to water condensation on the outside. This happens particularly in humid environments or during the summer when the temperature difference between the air and the water is significant.
One way to combat this issue is by using thermal insulation, which helps to maintain a consistent temperature inside the tank and prevents the formation of condensation. Insulating materials like foam liners or tank covers can be easily installed to reduce the temperature difference and eliminate toilet sweating.
Assessing the Water Supply
To assess the water supply for your toilet, there are a few key points to consider.
First, check the inlet valve to ensure it is functioning properly and not causing any leaks.
Next, inspect the water line for any signs of damage or blockage that may be affecting the flow of water.
Lastly, consider the water pressure in your home and whether it may be too high or too low, as this can also impact the performance of your toilet.
Check Inlet Valve
First, make sure you’ve turned off the water supply to the toilet before checking the inlet valve. This is an important step to prevent any water from flowing while you work on the valve.
To check the inlet valve, follow these steps:
-
Remove the toilet tank lid and locate the inlet valve, which is usually located on the left side of the tank.
-
Inspect the float to see if it needs adjusting. The float should be parallel to the water surface when the tank is full. If it’s not, adjust the float by bending the metal rod or adjusting the screw on the float arm.
-
Check the flapper for any signs of wear or damage. If the flapper is cracked or deteriorated, it may need to be replaced.
-
Lastly, inspect the valve for any leaks or loose connections. Tighten any loose connections and replace the valve if necessary.
Inspect Water Line
After checking the inlet valve, it’s important to inspect the water line for any leaks or damage.
The water line is responsible for supplying water to the toilet, so any issues with it can lead to leaks or other problems.
Start by visually examining the water line from the wall to the toilet tank. Look for any signs of moisture or water stains.
If you notice any leaks, you’ll need to fix them to prevent further damage. Depending on the type of leak, you may need to tighten loose connections, replace worn-out washers, or even replace the entire water line.
Remember to turn off the water supply before making any repairs.
Regularly inspecting and fixing water leaks in the water line will help keep your toilet running smoothly and prevent any potential water damage.
Consider Water Pressure
Check if the water pressure in your home is too high or too low. Proper water pressure is crucial for the functioning of your plumbing system and can also affect the performance of your toilet.
Here are some steps to consider when evaluating your water pressure:
-
Use a pressure gauge to measure the water pressure at a faucet. The ideal range for residential water pressure is typically between 40 to 60 psi (pounds per square inch).
-
If the pressure is too high, install a pressure regulator to reduce the incoming water pressure to a safe level.
-
If the pressure is too low, check for any clogs or obstructions in the water line and clean or replace them.
-
Regularly check and maintain the pressure regulator to ensure it is functioning properly.
Proper water pressure is important not only for the functionality of your toilet but also for preventing issues such as condensation. By maintaining the correct water pressure, you can ensure that your toilet operates efficiently and minimize the risk of any related problems.
Adjusting the Toilet Tank Temperature
You can easily adjust the toilet tank temperature to prevent sweating by controlling the temperature of the water that fills the tank. Follow these steps to adjust the toilet tank temperature:
-
Locate the water supply valve behind the toilet. Turn it clockwise to shut off the water supply.
-
Lift the lid of the tank and find the fill valve, usually located on the left side of the tank.
-
Look for a screw or a dial on the fill valve, which is the temperature control adjustment.
-
Using a screwdriver or your hand, turn the screw or dial counterclockwise to decrease the temperature or clockwise to increase it.
-
Adjust the temperature gradually and check for any changes in the sweating issue.
Insulating the Toilet Tank
To further prevent condensation on your toilet tank, you can insulate it using insulating materials. This will help maintain the temperature of the tank and reduce the formation of sweat.
Here’s how you can insulate your toilet tank:
- Purchase insulating materials such as foam insulation or a tank liner.
- Clean the surface of the toilet tank to ensure proper adhesion of the insulation.
- Measure and cut the insulation to fit the sides and the top of the tank.
- Apply the insulation to the tank, making sure to cover all areas.
Insulating the toilet tank will help prevent the temperature difference between the tank and the surrounding air, reducing the likelihood of condensation. Once you have insulated the tank, you can move on to addressing excessive humidity in the bathroom.
Now, let’s explore how to address excessive humidity in the bathroom.
Addressing Excessive Humidity in the Bathroom
Excessive humidity in the bathroom can be caused by a variety of factors. These include inadequate ventilation, hot showers, and water leaks. To prevent moisture buildup, it’s essential to properly ventilate the bathroom. This can be done by installing an exhaust fan and opening windows when possible. If you’re looking for effective ventilation options, consider investing in a high-quality exhaust fan. Make sure it has sufficient airflow capacity to effectively remove moisture from the bathroom.
Causes of Bathroom Humidity
If your bathroom is consistently humid, it could be caused by factors such as poor ventilation or hot showers. Excessive humidity in the bathroom can lead to a variety of issues, including condensation on windows, walls, and mirrors, as well as the growth of mold and mildew. Here are some common causes of bathroom humidity:
-
Poor ventilation: Insufficient airflow can trap moisture in the bathroom, leading to increased humidity levels.
-
Hot showers: Long, hot showers can produce a significant amount of steam, which contributes to higher humidity levels.
-
Leaky fixtures: Dripping faucets, pipes, or toilets can introduce excess moisture into the bathroom.
-
Inadequate insulation: Lack of proper insulation can cause condensation to form on surfaces, resulting in higher humidity.
Understanding the causes of bathroom humidity is crucial in order to address the issue effectively and prevent further damage to your bathroom and your health.
Preventing Moisture Buildup
Proper ventilation and regular cleaning are essential for preventing moisture buildup in the bathroom. Excess moisture can lead to mold growth, damage to walls and ceilings, and unpleasant odors. To control moisture levels in your bathroom, consider installing a dehumidifier.
Here’s a step-by-step guide on how to install a dehumidifier for effective moisture control:
- Choose the right dehumidifier size based on your bathroom’s square footage.
- Select a location near a power outlet and away from water sources.
- Install the dehumidifier according to the manufacturer’s instructions, ensuring proper drainage.
- Set the desired humidity level on the dehumidifier.
- Regularly clean and maintain the dehumidifier to ensure optimal performance.
Effective Ventilation Options
To effectively improve the ventilation in your bathroom, consider installing a bathroom exhaust fan. This will help to remove excess moisture from the air and prevent issues such as mold and mildew growth.
Here are some reasons why a bathroom exhaust fan is a great option for improving ventilation:
-
Removes excess moisture: A bathroom exhaust fan helps to remove the moisture that is produced when taking showers or baths, preventing it from lingering in the air.
-
Controls humidity: By effectively removing moisture, an exhaust fan helps to control humidity levels in your bathroom, reducing the chances of condensation and mold growth.
-
Improves air quality: Ventilation systems like exhaust fans help to remove odors and pollutants from the air, keeping your bathroom fresh and clean.
-
Prevents damage: Proper ventilation can help to prevent damage to your bathroom fixtures, such as peeling wallpaper or warped wood, caused by excess moisture.
Installing a bathroom exhaust fan is a simple and effective way to improve ventilation and moisture control in your bathroom.
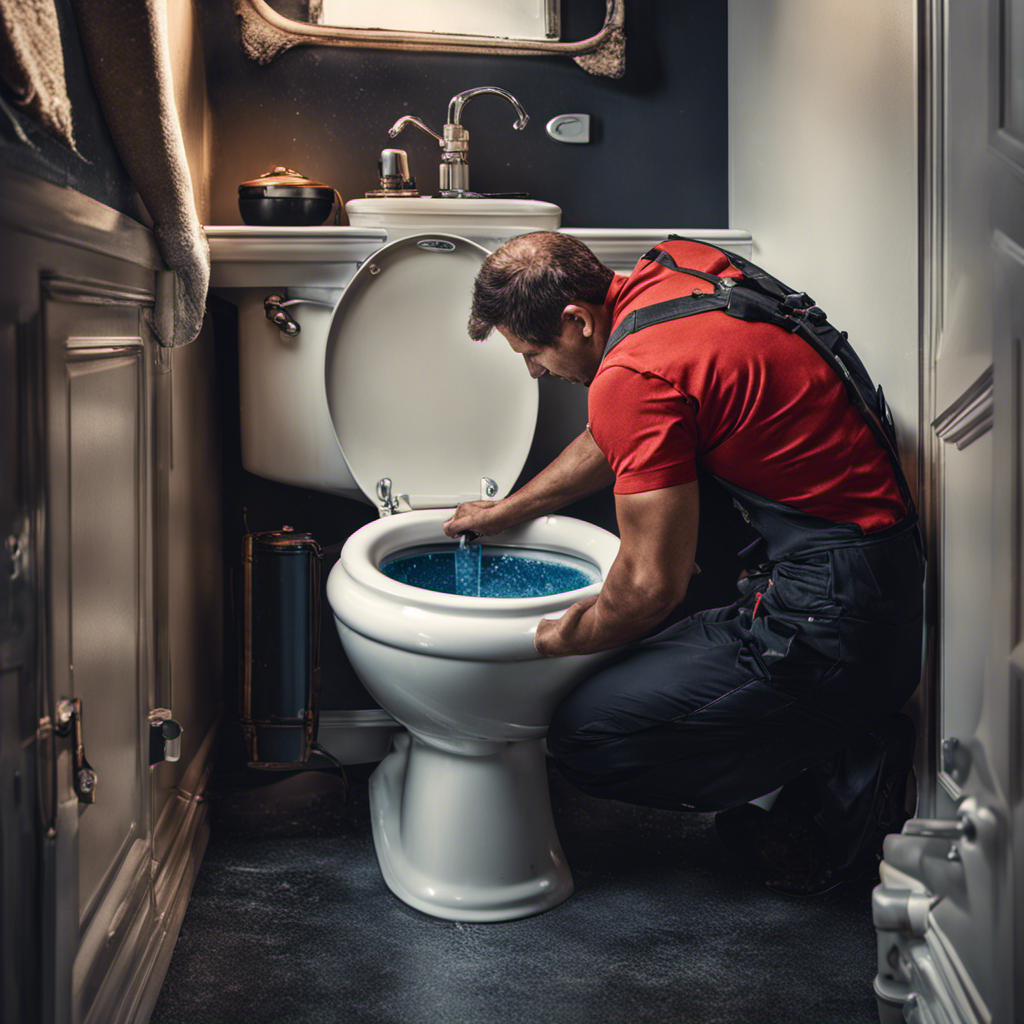
Seeking Professional Help if Needed
You may want to consider contacting a plumber if you are unable to fix the sweating toilet yourself. While there are DIY solutions available, seeking professional assistance can ensure a long-term fix and prevent further damage. A plumber has the expertise and specialized tools to accurately diagnose the issue and provide a reliable solution. Here is a table outlining the advantages of hiring a plumber:
| Advantages of Hiring a Plumber: | Professional Knowledge | Specialized Tools | Time and Cost Efficiency |
|---|---|---|---|
| Plumbers are trained | Plumbers have a | Hiring a professional can | |
| to handle various | wide range of | save you time and money | |
| plumbing issues. | specialized tools | in the long run. | |
| They can accurately | to diagnose and | ||
| identify the cause | fix plumbing | ||
| of the sweating toilet | problems. |
Conclusion
In conclusion, fixing a sweating toilet is a simple yet crucial task that can be easily accomplished by following a few steps. By understanding the cause of the issue and assessing the water supply, you can make necessary adjustments to the toilet tank temperature and insulate it properly.
Additionally, addressing excessive humidity in the bathroom is essential to prevent further sweating. Remember, just like a plumber fixing a leaky pipe, with a little effort and the right knowledge, you can keep your toilet dry and in perfect working condition.