
I’ve had my fair share of frustrating experiences with a faulty toilet flapper. It’s like having a leaky faucet that won’t stop dripping, driving you crazy with every wasted drop.
But fear not, because I’ve learned the ins and outs of fixing this pesky problem. In this article, I’ll guide you through the step-by-step process of understanding, inspecting, and replacing a toilet flapper.
Get ready to regain control over your bathroom and bid farewell to those annoying leaks!
Key Takeaways
- Signs of a faulty flapper include constantly running water, weak flush, or a toilet that won’t flush.
- Common issues with the flapper include wear, misalignment, or mineral deposits.
- Proper understanding of the flapper is essential before attempting repairs.
- Having the right tools allows for efficient and effective problem-solving.
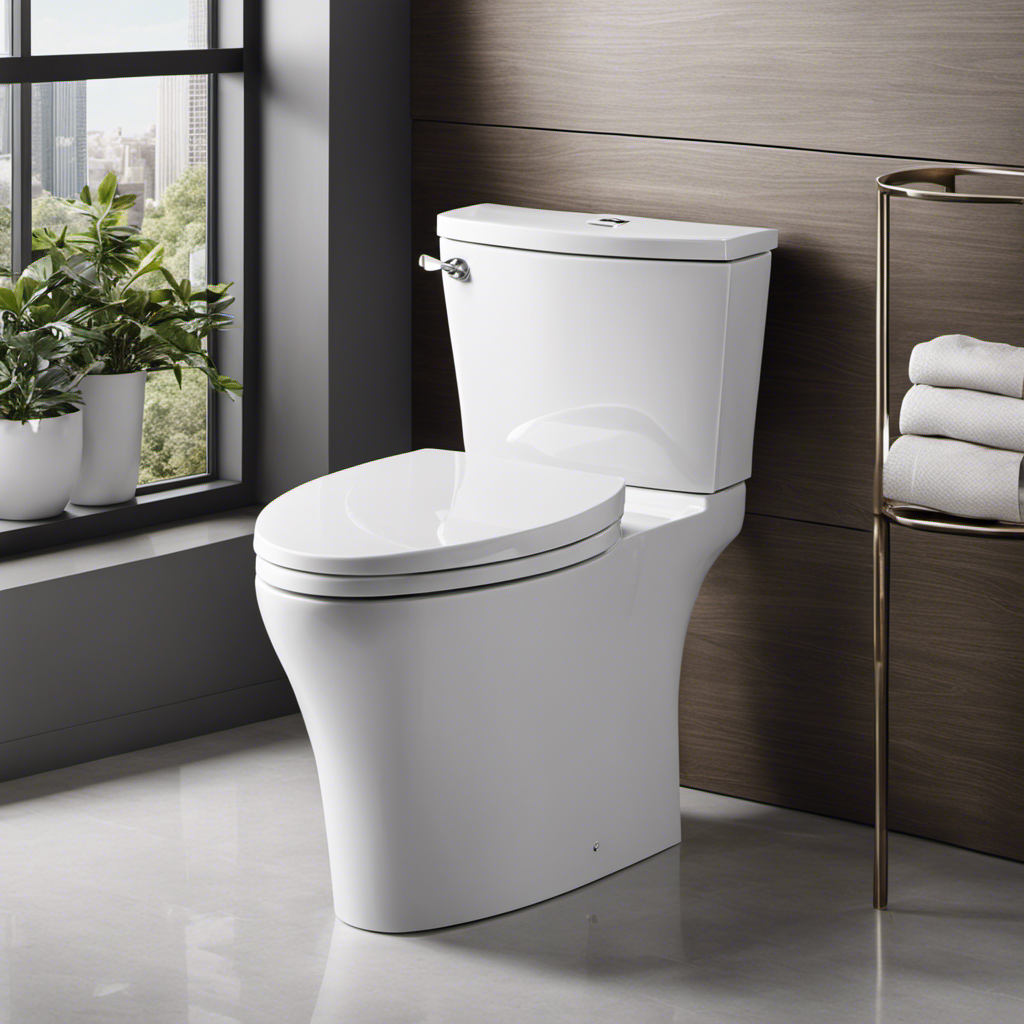
Understanding the Toilet Flapper
To understand the toilet flapper, you’ll need to know how it functions and what signs to look for when it’s not working correctly.
The toilet flapper is a crucial component of the toilet tank that controls the flow of water into the bowl. When you flush, the flapper lifts, allowing the water to rush into the bowl and create the flushing action.
However, if the flapper is not functioning properly, you may experience common toilet flapper problems such as constantly running water, a weak flush, or a toilet that won’t flush at all. These issues can be attributed to a flapper that is worn out, misaligned, or has mineral deposits.
Understanding these troubleshooting signs will help you determine if your toilet flapper needs fixing.
Now, let’s move on to the tools needed for fixing a toilet flapper.
Tools Needed for Fixing a Toilet Flapper
When it comes to fixing a toilet flapper, having the right tools is essential. In order to ensure a successful repair, proper tool selection is crucial.
Additionally, maintaining your tools properly can help prolong their lifespan and ensure they are always ready for use.
Essential Repair Tools
The essential repair tools for fixing a toilet flapper include a wrench, pliers, and a screwdriver. These tools are necessary for the proper installation and maintenance of a toilet flapper.
When it comes to toilet flapper problems, there are a few common issues that can arise. Here are three frustrating situations you may encounter:
- The flapper is not sealing properly, causing water to continuously run, wasting both water and money.
- The flapper chain is too short or too long, resulting in either a weak flush or a flapper that won’t close properly.
- The flapper is worn or damaged, causing leaks and inconsistent flushing.
Having the right tools on hand will allow you to address these problems efficiently and effectively, ensuring a properly functioning toilet flapper.
Proper Tool Selection
Make sure you have the right tools on hand, like a wrench, pliers, and screwdriver, for properly installing and maintaining a toilet flapper.
When it comes to toilet flapper installation, having the proper tools is crucial. A wrench will be needed to remove the old flapper and tighten the new one in place.
Pliers are useful for adjusting the chain length and ensuring a proper seal. A screwdriver may be necessary to loosen or tighten any screws or bolts that secure the flapper to the flush valve.
Tool Maintenance Tips
To keep your tools in good condition, remember to regularly clean and lubricate them. This simple maintenance routine will ensure that your tools perform optimally and have a longer lifespan.
When it comes to toilet flapper maintenance, there are a few common issues that can arise. Here are some troubleshooting tips to help you keep your toilet flapper functioning smoothly:
-
Check for leaks: A leaking toilet flapper can waste a significant amount of water and increase your water bill. Regularly inspect the flapper for any signs of leakage and replace it if necessary.
-
Clean the flapper: Over time, mineral deposits and debris can accumulate on the flapper, causing it to malfunction. Clean the flapper with a mild detergent and a soft brush to remove any build-up.
-
Adjust the chain length: If the flapper doesn’t fully seal after flushing, it may be due to an improperly adjusted chain. Ensure that there is enough slack in the chain to allow the flapper to close completely.
Step-by-Step Guide to Removing the Toilet Flapper
Start by shutting off the water supply to the toilet before you attempt to remove the toilet flapper. This step is crucial to prevent any water leakage or damage.
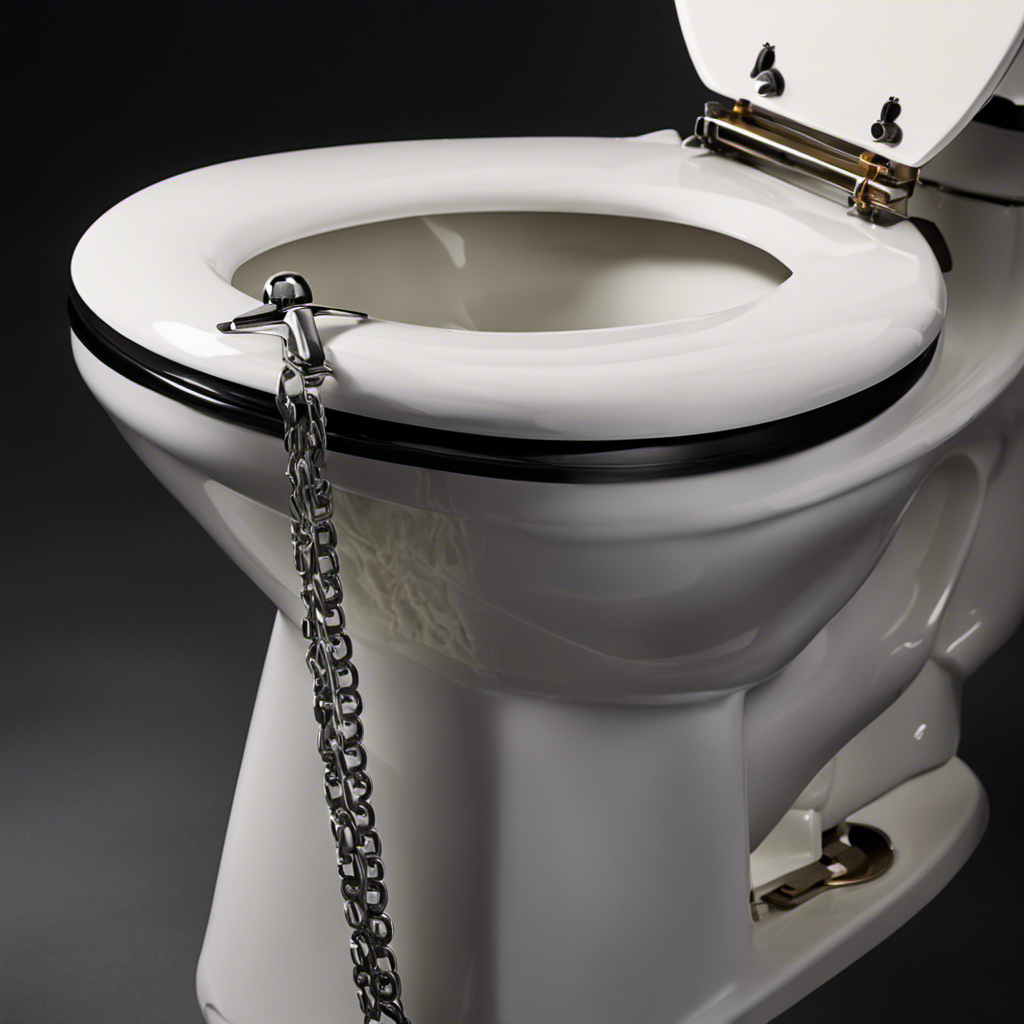
To remove the flapper, first, lift the toilet tank lid and locate the flapper assembly. The flapper is a rubber seal that controls the flow of water from the tank into the bowl.
Disconnect the chain connecting the flapper to the flush handle and remove any mounting screws or clips holding it in place.
Once the flapper is detached, inspect it for any signs of wear or damage. Common issues with flappers include cracks, leaks, or a loss of elasticity.
Troubleshooting these problems will help determine whether the flapper needs replacement or can be fixed through cleaning and maintenance.
Inspecting and Cleaning the Toilet Flapper
Once you’ve detached the flapper, you can inspect it for any signs of wear or damage. This step is crucial in troubleshooting toilet flapper problems. Here are three things to look out for:
-
Cracks or holes: These can cause leaks and prevent the flapper from sealing properly, leading to water wastage and higher bills. It’s important to replace a damaged flapper promptly.
-
Mineral buildup: Over time, minerals from hard water can accumulate on the flapper, affecting its flexibility and ability to form a tight seal. Cleaning the flapper regularly can help prevent this issue.
-
Warping or deterioration: Flappers are typically made of rubber or silicone, which can deteriorate over time due to exposure to chemicals and water. Inspecting for any warping or deterioration can help determine if a replacement is needed.
Replacing a Damaged or Faulty Toilet Flapper
When replacing a damaged or faulty toilet flapper, you’ll want to make sure you have a new one that is compatible with your toilet model. Installing a new flapper is a simple and cost-effective way to fix common toilet flapper problems, such as a running or leaking toilet. To ensure a successful installation, follow these steps:
- Turn off the water supply to the toilet.
- Flush the toilet to drain the water from the tank.
- Remove the old flapper by disconnecting it from the chain and unscrewing any retaining screws.
- Take note of your toilet’s make and model.
- Use the table below to find a flapper that matches your toilet’s specifications.
| Brand | Model | Size (inches) |
|---|---|---|
| Kohler | Cimarron | 2 |
| American Standard | Cadet 3 | 3 |
| TOTO | Drake | 4 |
| Glacier Bay | Dual Flush | 2 |
| Mansfield | Alto | 2 |
Once you have the correct flapper, simply follow the manufacturer’s instructions for installation.
Adjusting the Toilet Flapper for Proper Functioning
When it comes to ensuring proper functioning of a toilet flapper, there are several key points to consider.
First, the length of the flapper chain is crucial in determining the amount of slack needed for a smooth flush.
Secondly, adjusting the water level is essential for achieving optimal performance and preventing water waste.
Lastly, understanding the different options available for flapper replacement can help in choosing the most suitable one for your toilet.
These three aspects play a significant role in maintaining a well-functioning toilet system.
Flapper Chain Length
To adjust the flapper chain length, you’ll need to grab a pair of pliers and locate the metal clip. The flapper chain is an essential component of your toilet’s flushing mechanism. If it is too loose or too tight, it can cause various problems such as incomplete flushing or constant running of water.
Here are some troubleshooting tips and steps for flapper chain replacement:
- Ensure the chain is not tangled or twisted.
- Adjust the chain length so that it has a slight slack, allowing the flapper to fully close after flushing.
- Test the flush after each adjustment to ensure proper functioning.
Water Level Adjustment
Adjusting the water level in your toilet is important for proper flushing and preventing water overflow.
To ensure optimal water flow, it is crucial to adjust the float correctly. The float, usually a round ball attached to a rod, is responsible for regulating the water level in the tank.
Start by locating the adjustment screw or clip on the float assembly. Turn the screw clockwise to decrease the water level or counterclockwise to increase it. It’s essential to find the right balance, as a low water level can affect flushing power, while a high level may cause the tank to overflow.
Regularly checking and fine-tuning the water level will help maintain efficient flushing and prevent any potential water wastage.
Flapper Replacement Options
One of the options for replacing the flapper in your toilet is using a universal flapper that is compatible with most models. This type of flapper is designed to fit different toilet brands and models, making it a convenient solution for homeowners. When it comes to repairing a faulty flapper, it’s important to be aware of common flapper problems such as leaking or not sealing properly.
Here are three reasons why choosing a universal flapper can be a great choice:
-
Easy installation: The universal flapper is designed for easy installation, allowing you to quickly replace the old flapper without any hassle.
-
Cost-effective: Investing in a universal flapper can save you money in the long run, as you won’t have to worry about finding a specific flapper for your toilet model.
-
Reliable performance: These flappers are made with high-quality materials and are built to last, ensuring reliable performance and preventing future flapper issues.
Testing and Troubleshooting the Toilet Flapper
Check if the toilet flapper is leaking by adding a few drops of food coloring into the tank. If the water in the bowl turns colored within 15 minutes, then there is a leak. This simple test helps identify if there are any issues with the flapper. Troubleshooting techniques can be used to diagnose and fix common flapper issues. Here are some common problems and their solutions:
| Common Flapper Issues | Troubleshooting Techniques |
|---|---|
| Flapper not sealing properly | Adjust the chain length or replace the flapper if necessary |
| Flapper gets stuck | Clean the flapper and the flush valve seat |
| Flapper not opening fully | Check for any obstructions and adjust the chain length |
Frequently Asked Questions
How Long Does a Toilet Flapper Typically Last Before It Needs to Be Replaced?
A typical toilet flapper lasts around 5 to 7 years before it needs replacement. Common causes of damage include mineral buildup, wear and tear, and improper installation. Regular maintenance can prolong its lifespan.
Can I Use Any Type of Cleaning Solution to Clean the Toilet Flapper?
No, it is not recommended to use any type of cleaning solution on a toilet flapper. Using alternative methods such as vinegar or baking soda can help remove any buildup without causing damage.
Is It Possible to Fix a Toilet Flapper Without Removing It From the Toilet?
Yes, it is possible to fix a toilet flapper without removing it from the toilet. Troubleshooting toilet flapper issues can often be resolved by adjusting the chain length or cleaning the flapper with vinegar.
What Are the Signs That Indicate a Toilet Flapper Needs to Be Replaced?
When a toilet flapper is worn out, it can cause water leaks and inconsistent flushing. Look for signs like water running continuously, weak flushes, or the toilet not refilling properly. These indicate it’s time to replace the flapper.
Can a Faulty Toilet Flapper Cause a Toilet to Continuously Run?
Yes, a faulty toilet flapper can cause a toilet to continuously run. This can be resolved by performing toilet flapper repair or troubleshooting toilet flapper issues.
Conclusion
In conclusion, fixing a toilet flapper is a fairly simple task that can be easily accomplished with the right tools and a little know-how. By understanding how the flapper works and following the step-by-step guide outlined in this article, you can successfully remove, inspect, clean, and replace a damaged or faulty flapper.
Adjusting the flapper for proper functioning and testing it afterwards will ensure that your toilet is in top working condition. Don’t let a faulty flapper flush away your comfort – fix it today!

Mateo’s flair for writing is matched only by his keen eye for design. As an interior designer turned writer, Mateo brings a unique perspective. He blends aesthetics with functionality in every piece he pens, providing readers with beautifully crafted content that’s also supremely useful.
Mateo loves exploring the latest bathroom tech trends and is our expert on smart toilets. When he’s not writing or designing, Mateo can be found sketching ideas for his next big project at local coffee shops.