Did you know that a broken toilet handle is one of the most common plumbing issues homeowners face?
Well, fear not! In this step-by-step guide, I will show you how to fix a broken toilet handle quickly and easily.
With just a few simple tools and some basic know-how, you’ll have your toilet back in working order in no time.
So let’s get started and get that handle fixed!
Key Takeaways
- A broken toilet handle is a common plumbing issue.
- The handle can become loose due to a loose screw, while a broken lever needs to be replaced.
- The necessary tools for fixing a broken handle include a new handle, screwdriver or wrench, and possibly pliers.
- The process involves removing the broken handle, installing the new handle securely, and testing for any issues or troubleshooting.

Hibbent Universal Metal Front Mount Toilet Handle Replacement Kit, Brass Toilet Flush Tank Lever with Stainless Steel Flapper Chains for Most Toilets, Chrome
Universal Front Mount Brass Toilet Tank Lever: This Front Mount Trip toilet tank lever handle is designed to…
As an affiliate, we earn on qualifying purchases.
As an affiliate, we earn on qualifying purchases.
Assessing the Problem
First, you’ll want to determine if the problem with your broken toilet handle is due to a loose screw or a broken lever.
To troubleshoot the issue, start by examining the handle. If it feels loose or wobbly, it’s likely a loose screw. Grab a screwdriver and tighten the screw connecting the handle to the toilet tank.
If the handle is not loose but still doesn’t flush the toilet, the lever inside the tank may be broken. Open the tank and inspect the lever. Look for any cracks or damage. If you find any, you’ll need to replace the lever.
These are common toilet handle issues that can be easily resolved with a few simple troubleshooting techniques.
Hibbent Universal Metal Front Mount Toilet Handle Replacement Kit, Brass Toilet Flush Tank Lever with Stainless Steel Flapper Chains for Most Toilets, Chrome
Universal Front Mount Brass Toilet Tank Lever: This Front Mount Trip toilet tank lever handle is designed to…
As an affiliate, we earn on qualifying purchases.
As an affiliate, we earn on qualifying purchases.
Gathering the Necessary Tools
Before starting, make sure you have all the necessary tools for the job. Proper maintenance techniques can help prevent a broken toilet handle, but sometimes accidents happen. Common causes of a broken toilet handle include wear and tear, excessive force, and poor installation.
To fix a broken handle, you will need a few simple tools: a new toilet handle, a screwdriver or wrench, and possibly a pair of pliers. These tools will help you remove the broken handle and install the new one.
Now that you have gathered the necessary tools, let’s move on to the next step: removing the broken handle.
Hibbent Universal Metal Front Mount Toilet Handle Replacement Kit, Brass Toilet Flush Tank Lever with Stainless Steel Flapper Chains for Most Toilets, Chrome
Universal Front Mount Brass Toilet Tank Lever: This Front Mount Trip toilet tank lever handle is designed to…
As an affiliate, we earn on qualifying purchases.
As an affiliate, we earn on qualifying purchases.
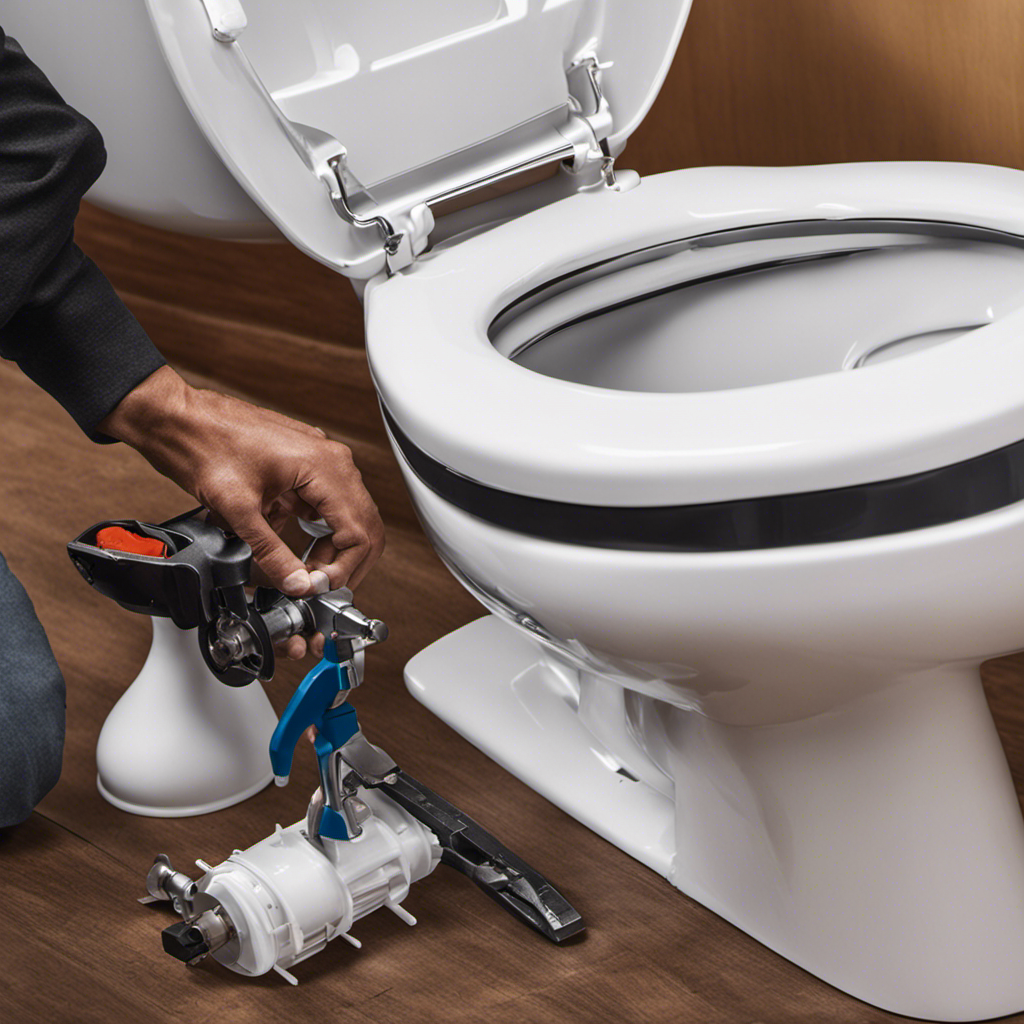
Removing the Broken Handle
Now that you’ve got all the tools, let’s start taking off the old handle. To replace the broken lever or fix a loose handle, follow these steps:
-
Shut off the water supply: Locate the shut-off valve behind or near the toilet and turn it clockwise to stop the water flow.
-
Remove the tank lid: Lift the lid and set it aside in a safe place.
-
Disconnect the chain or rod: Locate the chain or rod connecting the handle to the flushing mechanism. Unhook or unscrew it to detach the handle.
-
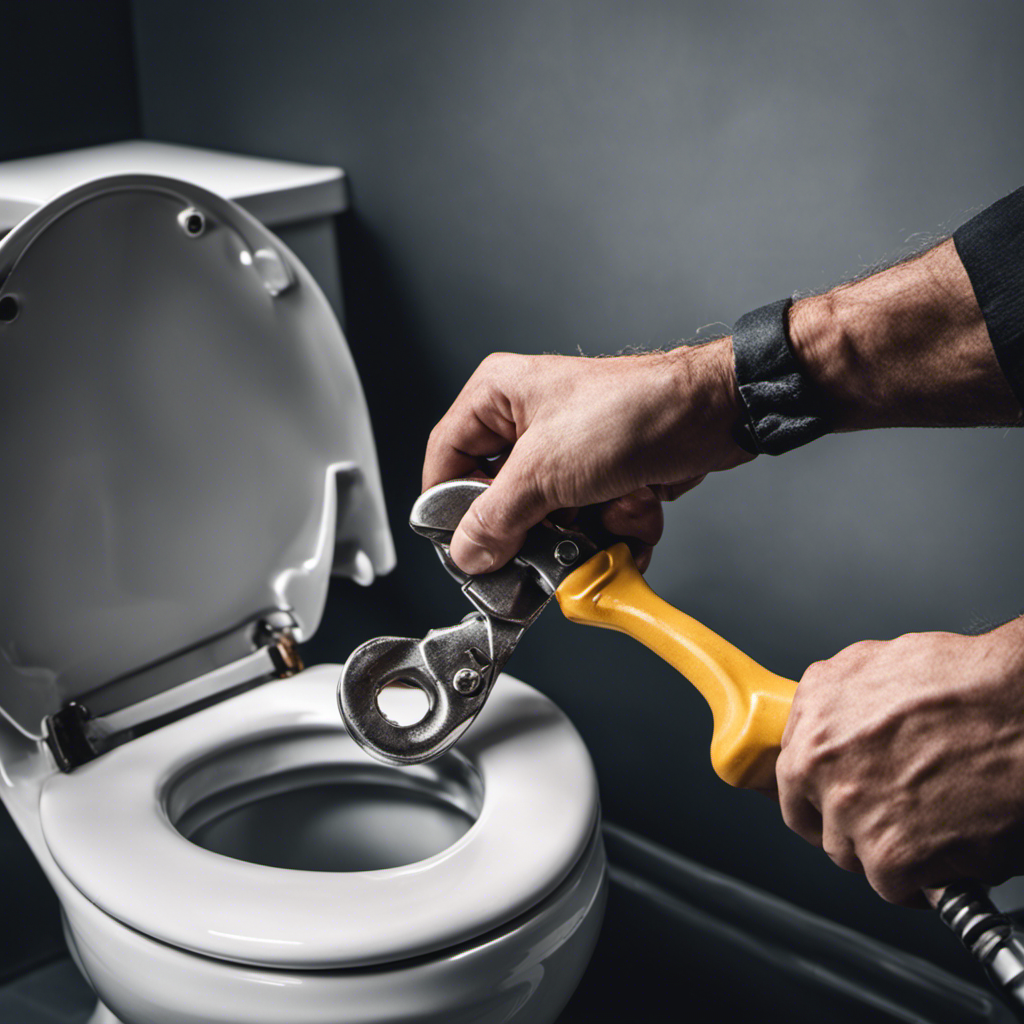
Unscrew the mounting nut: Underneath the toilet tank, locate the mounting nut that secures the handle. Use a wrench or pliers to unscrew it counterclockwise.
-
Remove the old handle: Once the mounting nut is removed, the old handle should easily come off.
With the old handle removed, we can move on to installing the new handle in the next section.
Hibbent Universal Metal Front Mount Toilet Handle Replacement Kit, Brass Toilet Flush Tank Lever with Stainless Steel Flapper Chains for Most Toilets, Chrome
Universal Front Mount Brass Toilet Tank Lever: This Front Mount Trip toilet tank lever handle is designed to…
As an affiliate, we earn on qualifying purchases.
As an affiliate, we earn on qualifying purchases.
Installing the New Handle
Once you have removed the old handle, you can easily install the new one.
First, make sure you have chosen the right toilet handle material. It should be durable and resistant to rust and corrosion. Plastic and stainless steel are popular choices.
Next, align the new handle properly. Insert the handle’s threaded end into the hole on the toilet tank, making sure it fits snugly.
Then, secure it in place by tightening the nut provided with the handle. Use a wrench or pliers to tighten the nut, but be careful not to overtighten and damage the tank.
Testing and Troubleshooting
To make sure everything is working properly, you’ll want to give the flush a try after installing the new handle. Here are some tips for testing and troubleshooting your toilet handle:
- Check for any common issues with toilet handles, such as a loose or stuck handle, or a handle that doesn’t flush properly.
- Ensure that the handle is securely attached to the toilet tank. If it’s loose, tighten the screws or bolts that hold it in place.
- If the handle feels stiff or difficult to push down, lubricate the moving parts with a silicone-based lubricant.
- If the handle still doesn’t work properly, check the chain or lift wire that connects the handle to the flapper or flush valve. Adjust or replace it if needed.
Conclusion
So there you have it, a step-by-step guide on how to fix a broken toilet handle.
It may seem like a daunting task, but with the right tools and a little bit of patience, you can easily tackle this problem on your own.
Just remember to assess the problem, gather the necessary tools, remove the broken handle, install the new one, and test for any issues.
Fixing a broken toilet handle is like fixing a broken bridge – it may seem impossible at first, but with the right knowledge and determination, you can overcome any obstacle.
Happy fixing!