Did you know that a broken or improperly functioning toilet chain can lead to frequent clogs and wasted water? Don’t worry, fixing it is easier than you think.
In this article, we’ll guide you through the steps to fix your toilet chain, ensuring a smooth and efficient flush every time. From understanding the chain’s role to troubleshooting common issues, we’ve got you covered.
So, grab your tools and let’s get started on fixing that chain!
Key Takeaways
- The toilet chain connects the flush handle to the flapper.
- Proper chain length is important for the smooth operation of the toilet.
- Adjust the chain tension by moving it to a higher or lower link.
- Promptly fix any snags or breaks in the chain to ensure proper toilet function.

LOUPUSUO Smart Toilet with Warm Water Sprayer and Dryer, One Piece Bidet Toilet with Auto Dual Flush Foot Sensor Operation,Heated Seat Smart with Built In Fahrenheit LED Display
Powerful Flushing System: Designed with low water consumption (1.26 gallons per flush), this system ensures efficient and thorough...
As an affiliate, we earn on qualifying purchases.
Understanding the Toilet Chain
The toilet chain connects the flush handle to the flapper, allowing water to flow into the toilet bowl. Understanding the toilet chain is crucial when troubleshooting common toilet issues.
One common problem with the toilet chain is that it can become tangled or too loose, causing the flapper to not close properly after flushing. This leads to water continuously running into the bowl. To fix this, simply adjust the length of the chain. Ensure that there is a slight slack in the chain, allowing the flapper to close completely.
Another common issue is a broken or disconnected chain, which prevents the flush handle from properly activating the flapper. In this case, a replacement chain can be easily installed using pliers or a wrench.

Smart Toilet with Bidet Built In, Heated Seat, Warm Water Wash & Dryer, Tankless Bidet Toilet with Foot Sensor & Night Light, Auto Open/Close Lid & Flush, Wireless Remote, 1.26GPF Water-Saving Design
🛠️ Easy Installation & Reliable Support: This smart toilet with bidet built in includes all accessories, flange kit,...
As an affiliate, we earn on qualifying purchases.
Assessing the Chain Length
First, you’ll want to measure the length of the chain to determine if it needs adjustment. Start by locating the toilet chain and inspecting it for any visible signs of damage or wear.
Next, take a ruler or tape measure and stretch it out along the length of the chain. Measure from the top of the toilet handle to the bottom of the chain where it connects to the flapper or flush valve. This measurement will give you an idea of whether the chain is too loose or too tight.
Common chain problems include a chain that is too long, causing it to get caught under the flapper, or a chain that is too short, preventing the flapper from closing properly.
Once you’ve measured the chain length, you can proceed to adjusting the chain tension to ensure proper operation of your toilet.

Loniko Smart Toilet with Bidet Built In, Heated Seat & Dual Auto Flush, Foot Sensor, Tankless Modern Elongated Electric Toilet with Warm Water Wash, Air Dryer, LED Display & 1000g MaP Flush, 1.28 GPF
🧻 [Powerful & Water-Saving Dual Flush System] This one piece smart toilet with bidet built in uses an...
As an affiliate, we earn on qualifying purchases.
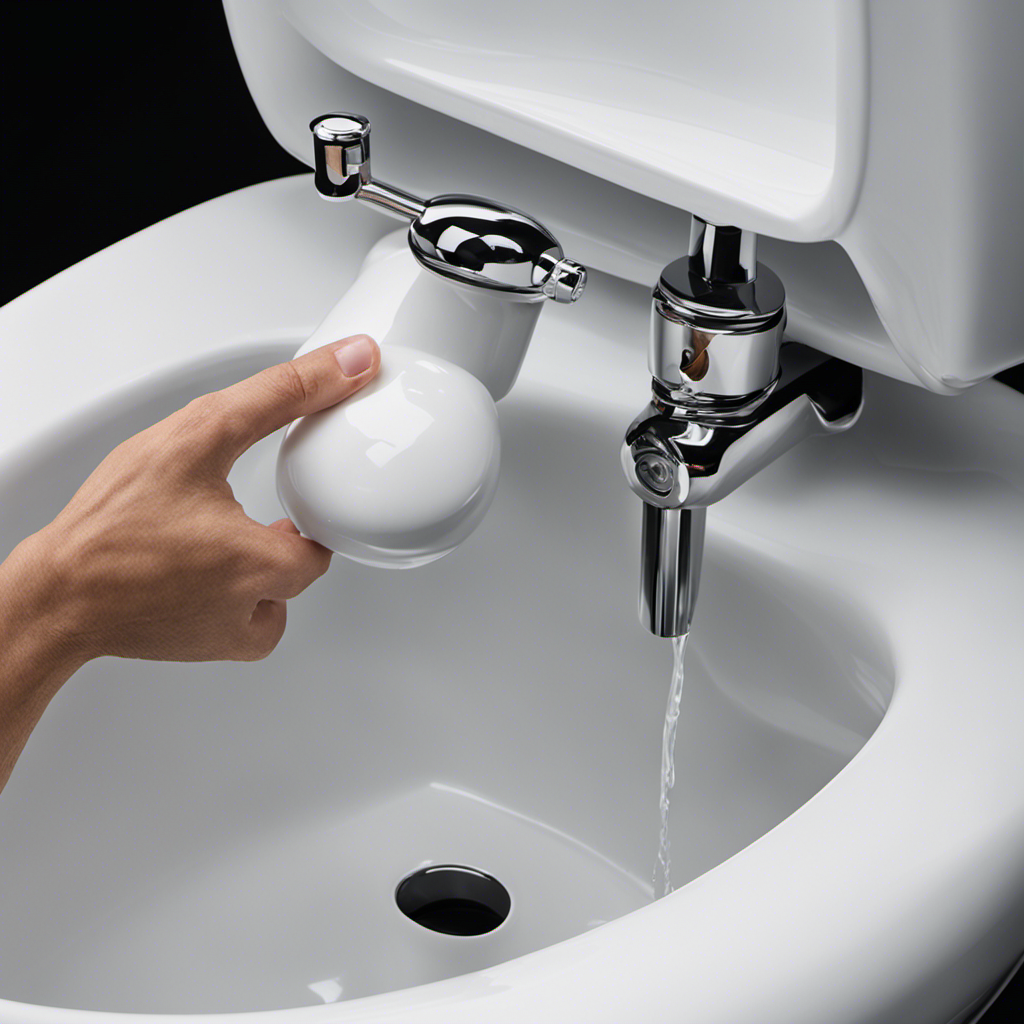
Adjusting the Chain Tension
To properly adjust the tension, you’ll need to locate the toilet handle and determine if it’s too loose or too tight. Start by lifting the toilet tank lid and observing the chain connected to the handle.
If the chain is too loose, it may cause the handle to stick or not flush properly. To fix this, you can adjust the chain position. Simply unhook the chain from the handle and move it to a higher or lower link, depending on the desired tension.
Make sure it’s not too tight or it may cause the flapper to stay open, resulting in a constantly running toilet. Additionally, it’s important to lubricate the chain to maintain smooth and efficient operation. You can use a silicone-based lubricant and apply it sparingly to the chain.

DeerValley Luxury Smart Toilet with Bidet Built in Bubble Wash, Auto Open/Close Lid Water Filter Instant Heated Seat Dryer, Soft-Close Modern Japanese One-Piece Toilet with Night Light for Bathrooms
Advanced Smart Toilet Combo: Experience ultimate hygiene with hands-free automation: The lid auto-opens as you approach and auto-closes...
As an affiliate, we earn on qualifying purchases.
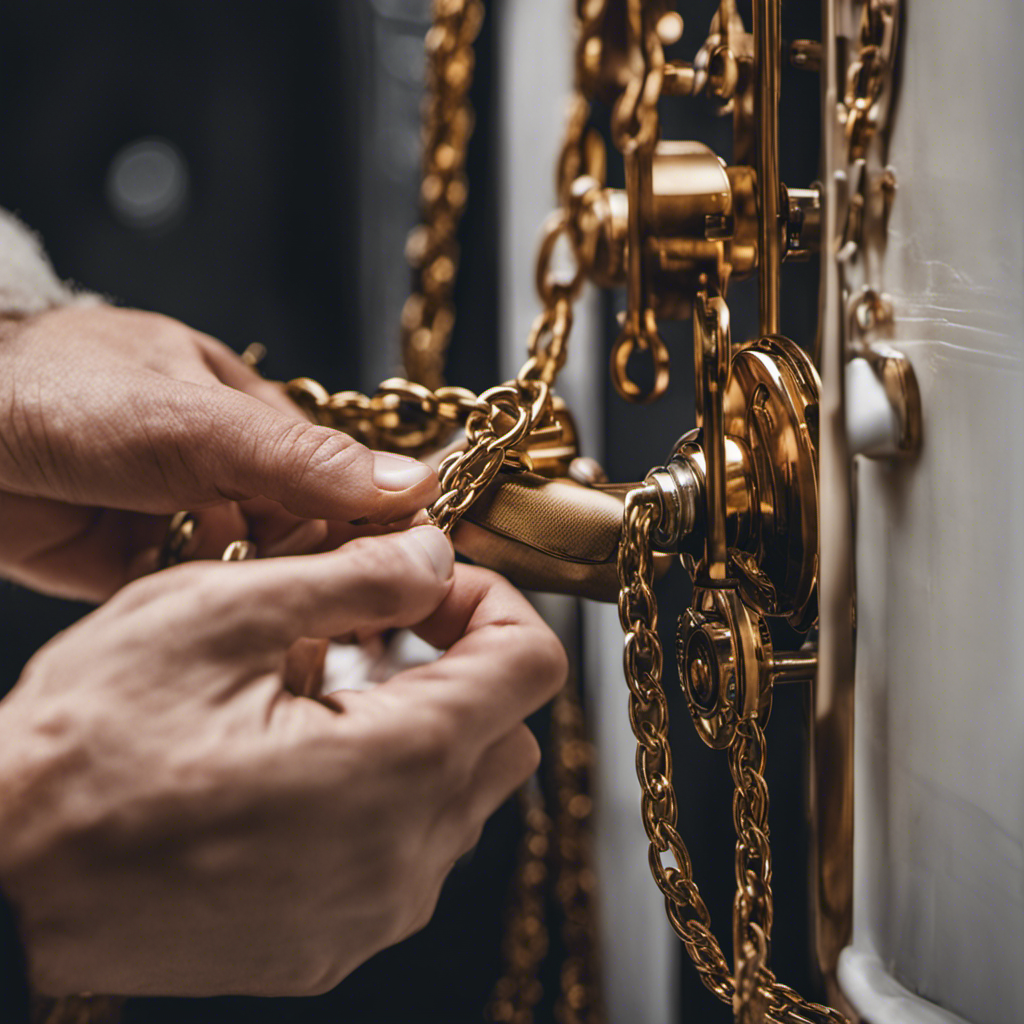
Fixing Chain Snags or Breaks
Check for any snags or breaks in your chain, as these issues can disrupt the flushing mechanism of your toilet. If you notice any snags or breaks, it is important to fix them promptly to ensure your toilet functions properly.
One way to prevent chain rust is by choosing the right chain material. Stainless steel chains are a great option as they are resistant to rust and corrosion. They are also durable and long-lasting. When selecting a chain, make sure it is the correct size and length for your toilet. A chain that is too long or too short can cause problems with the flushing mechanism.
Testing and Troubleshooting the Chain
If you notice any issues with your chain, it’s important to troubleshoot and test it to ensure proper functioning.
Troubleshooting common issues with your toilet chain can help identify the problem and find a solution. One common issue is a chain that is too loose or too tight.
To troubleshoot this, start by adjusting the length of the chain. If it’s too loose, you may need to shorten it by removing a link. If it’s too tight, you can try adding a link or adjusting the position of the chain on the flush lever.
Another important aspect of troubleshooting the chain is testing its strength. Make sure the chain is strong enough to lift the flapper completely and create a proper seal.
Testing the chain strength can be done by manually lifting the flapper and observing if it stays up or falls back down. If the chain is not strong enough, consider replacing it with a stronger one.
Properly troubleshooting and testing your chain will ensure that your toilet functions smoothly and prevents any potential issues.
Conclusion
In conclusion, fixing a toilet chain is a simple task that can save you from potential plumbing disasters. By understanding the inner workings of the chain and assessing its length, you can ensure proper functioning.
Adjusting the chain tension is crucial for a smooth flush, and fixing any snags or breaks will prevent future issues. Remember, a small fix can go a long way in avoiding a ‘ripple effect’ of toilet problems.
So don’t hesitate to tackle this practical DIY project and keep your bathroom running smoothly.