
Are you tired of the constant tinkling sound of a running toilet? Don’t let a faulty toilet float float dampen your day any longer.
In this article, we’ll show you how to fix your toilet float, step by step. With just a few simple adjustments, you’ll be able to restore proper water levels and put an end to those frustrating toilet troubles.
So grab your tools and let’s dive in!
Key Takeaways
- The toilet float is a mechanism that controls the water level in the toilet tank.
- Regular maintenance and troubleshooting are essential to ensure the float is functioning properly.
- Common problems with the float include incorrect water level, bent or damaged float arm, and stuck or corroded parts.
- Proper preparation steps involve gathering the necessary tools and materials and turning off the water supply before starting the repair process.
Understanding the Toilet Float
Now, let’s take a closer look at how you can understand the toilet float and its role in your toilet’s functioning.
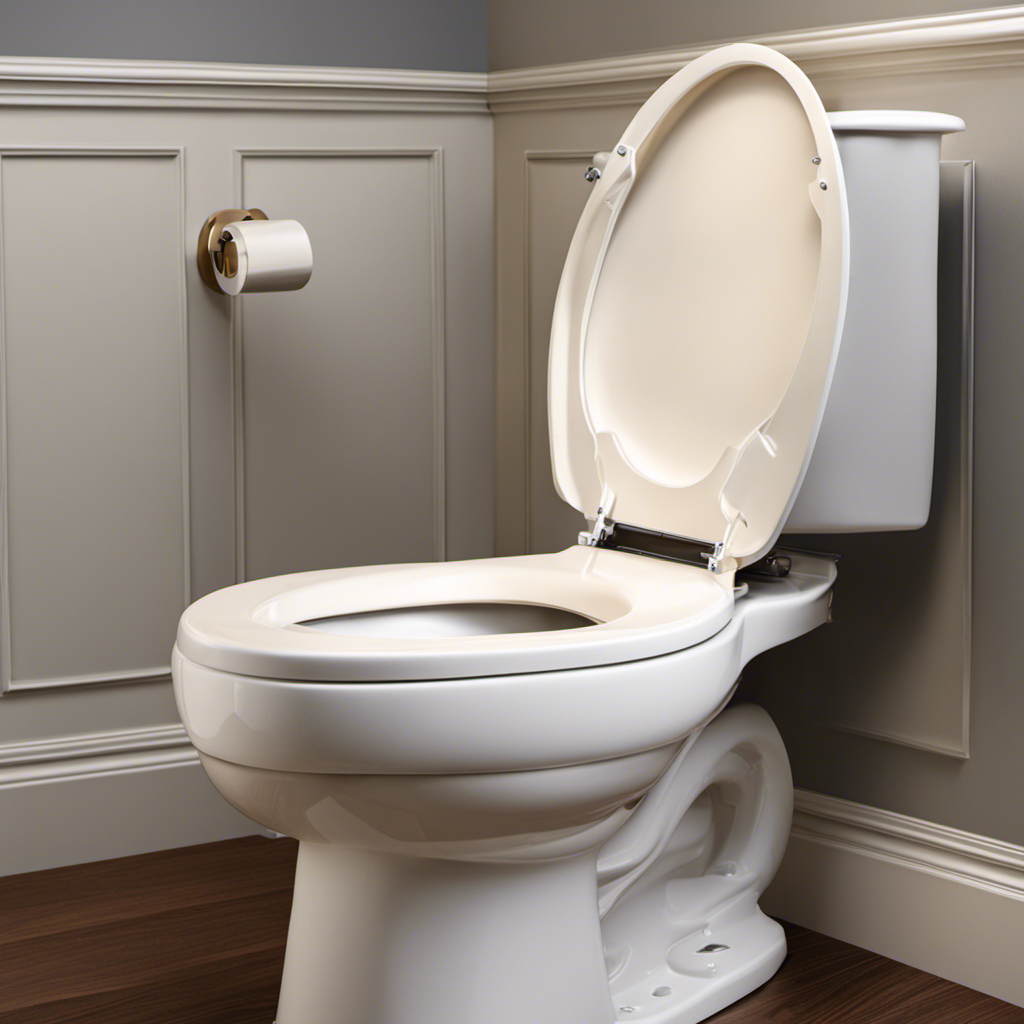
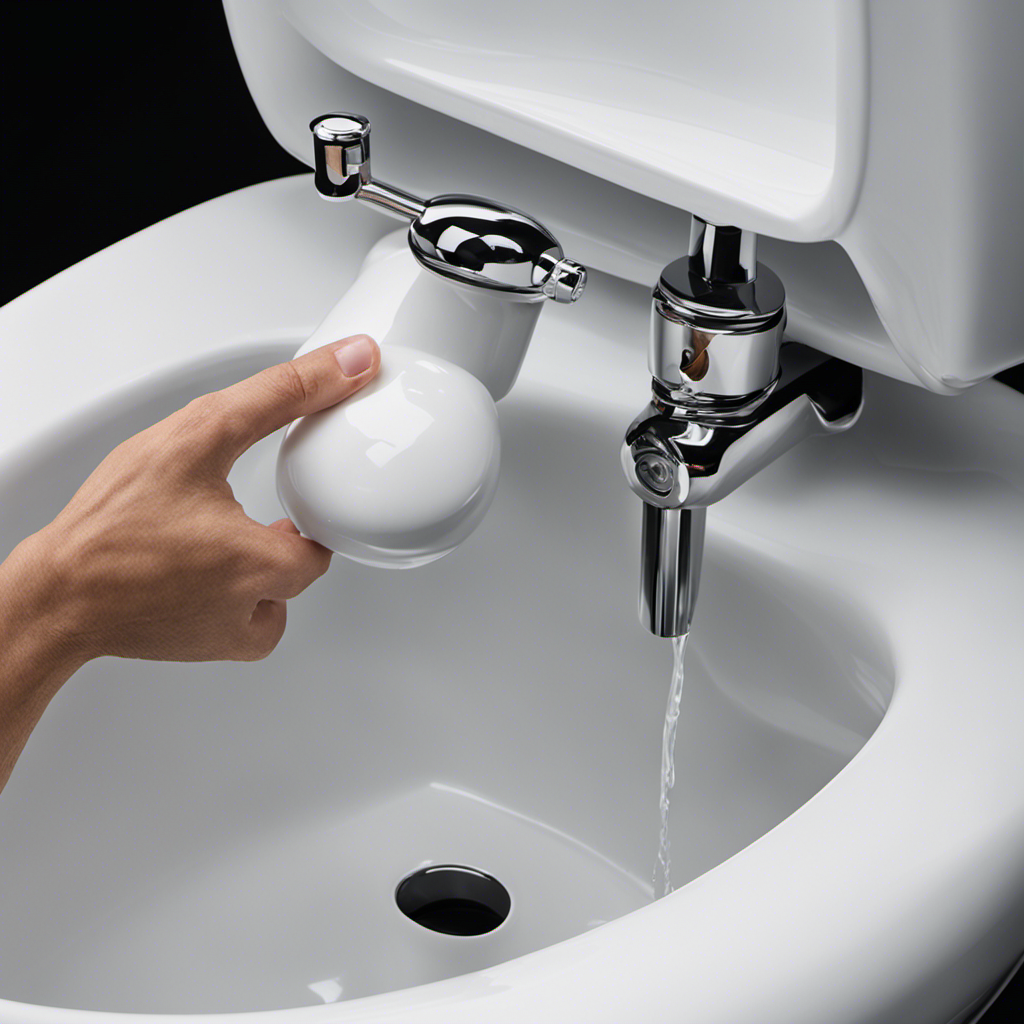
The toilet float is a small mechanism inside the toilet tank that controls the water level. It is usually made of plastic or metal and is attached to a rod or arm.
The float’s main function is to regulate the amount of water in the tank, ensuring proper flushing and refilling.
To ensure proper functioning, regular toilet float maintenance is essential. You should check the float for any signs of damage or wear, such as cracks or leaks.
If you notice any issues, troubleshooting toilet float issues can involve cleaning or adjusting the float to ensure it moves freely.
Identifying Common Toilet Float Problems
First, you need to figure out what might be causing the issue with your toilet float. There are a few common problems that can arise with toilet floats, but with some troubleshooting, you can easily identify and resolve them.
Here are some tips to help you along the way:
-
Check for water level: Ensure that the water level in the tank is set correctly, as an incorrect water level can affect the float’s performance.
-
Inspect the float arm: Make sure that the float arm is properly attached to the float ball and moves freely. If it is bent or damaged, it may need to be replaced.
Gathering the Necessary Tools and Materials
Before diving into fixing your toilet float problem, it’s important to gather the necessary tools and materials. You’ll need a pair of pliers, an adjustable wrench, a screwdriver, a replacement toilet float, and a bucket or towel to catch any water.
Once you have these items ready, you can move on to the proper preparation steps. This involves turning off the water supply, draining the tank, and removing the old float.
It’s also helpful to be aware of potential troubleshooting issues that may arise during the process. For example, you may encounter stuck or corroded parts. These issues can be addressed with lubrication or replacement.
Required Tools and Materials
To fix the toilet float, you’ll need a few tools and materials. Here’s what you’ll need:
-
Tools:
-
Adjustable wrench
-
Screwdriver
-
Materials:
-
Replacement float valve
-
Teflon tape
Toilet float maintenance is essential for proper functioning of your toilet. If you’re experiencing any float problems, troubleshooting is necessary.
The first step in troubleshooting is gathering the necessary tools and materials. An adjustable wrench and screwdriver will help you remove and replace the float valve. Additionally, you’ll need a replacement float valve and Teflon tape for sealing.
These tools and materials will enable you to fix the float efficiently and effectively. Once you have them ready, you can proceed to the next steps of fixing the toilet float.
Proper Preparation Steps
Make sure you have all the necessary tools and materials ready before starting the preparation steps. To prevent toilet overflow and fix the toilet float, you will need a screwdriver, adjustable pliers, and a replacement float if necessary.
Once you have gathered these items, follow these simple steps to adjust the float arm.
First, locate the float inside the toilet tank. It is usually a ball or a cylinder attached to a metal or plastic arm.
Next, locate the adjustment screw on the float arm. Use the screwdriver to loosen or tighten the screw, depending on whether you need to increase or decrease the water level in the tank. Adjust it carefully, making sure the float is positioned at the desired level to prevent any overflow.
Troubleshooting Potential Issues
Now that you’ve properly prepared to fix your toilet float, it’s time to troubleshoot potential issues that may arise during the repair process. Here are some helpful tips to ensure a successful repair:
-
Inspect the float assembly: Check for any visible damage or debris that may be causing the float to malfunction. Clean the float and surrounding area if necessary.
-
Check the water level: If the toilet is not filling up properly, the water level may be too low. Adjust the float arm or the float itself to ensure the water reaches the appropriate level.
-
Ensure proper float adjustment: If the float is not rising or falling properly, it may require adjustment. Refer to the manufacturer’s instructions to adjust the float arm or the float valve.
-
Replace worn-out parts: If troubleshooting does not solve the issue, it may be necessary to replace worn-out or damaged parts of the float assembly, such as the float valve or the fill valve.
Remember to turn off the water supply before attempting any repairs and consult a professional if you’re unsure about any steps.
Adjusting the Water Level in the Toilet Tank
When it comes to adjusting the water level in your toilet tank, there are a few key points to keep in mind.
First, you’ll want to ensure that the water level is set at the optimal height for proper flushing and water conservation.
Secondly, there are various methods you can use to adjust the float and control the water level. These methods include adjusting the float arm or bending the float rod.
Lastly, it’s important to be aware of common float issues that can affect the water level. These issues may include a worn-out or malfunctioning float valve.
Optimal Water Level
To ensure the optimal water level in your toilet, you’ll want to adjust the float. Maintaining the correct water level in the toilet tank is important for several reasons.
Firstly, it ensures proper flushing power, preventing clogs and backups. Secondly, it helps conserve water, as an excessively high water level can lead to unnecessary water waste.
Adjusting the water level in a dual flush toilet is a simple process that you can easily do yourself. Here are the steps:
- Locate the water level adjustment screw: It is usually located on top of the fill valve.
- Turn the screw clockwise to lower the water level or counterclockwise to raise it.
- Make small adjustments: Turn the screw a quarter turn at a time.
- Test the water level: Flush the toilet and observe the water level in the tank.
By following these steps, you can ensure that your toilet has the optimal water level.
Now let’s move on to the next section, where we will discuss different float adjustment methods.
Float Adjustment Methods
One way you can adjust the water level in your toilet tank is by turning the water level adjustment screw. To do this, locate the screw on top of the fill valve, which is connected to the float. Turning the screw clockwise will increase the water level, while turning it counterclockwise will decrease it.
It’s important to adjust the water level so that it reaches the designated mark on the overflow tube. If the water level is too high, it can result in constant running and wasting of water. On the other hand, if the water level is too low, it may not provide enough flushing power.
Regular float maintenance is necessary to ensure proper functioning. If you notice any issues, such as the float not rising or the water level constantly fluctuating, it’s important to troubleshoot and make necessary adjustments.
Common Float Issues
If you notice that your water level is constantly fluctuating, it’s important to troubleshoot and make necessary adjustments to ensure proper functioning. Here are some common float issues you may encounter:
-
The float is stuck: If the float is stuck in the down position, it won’t stop the water from flowing into the tank. To fix this, gently lift the float arm and check for any obstructions. If there are any, remove them and test the toilet to see if the issue is resolved.
-
The float is damaged: Over time, the float may become cracked or damaged, causing it to lose buoyancy. If this is the case, you will need to replace the float. To do this, turn off the water supply, drain the tank, and detach the old float. Install the new float and reassemble the toilet.
Fixing a Stuck or Malfunctioning Toilet Float
When the toilet float gets stuck or malfunctions, you can easily fix it by adjusting the water level. Toilet float maintenance is essential to ensure that your toilet flushes efficiently and doesn’t waste water.
If you’re experiencing problems with your toilet float, here are some troubleshooting tips to help you fix the issue.
First, check if the float is properly connected to the fill valve. Sometimes, the float arm can become loose and cause the float to stick. Simply tighten the connection to fix this problem.
If the float is not sticking, the water level may need adjustment. Locate the adjustment screw on the fill valve and turn it clockwise to lower the water level or counterclockwise to raise it.
Replacing a Damaged or Faulty Toilet Float
Now that you have learned how to fix a stuck or malfunctioning toilet float, let’s move on to the next step: replacing a damaged or faulty toilet float.
If you’ve tried troubleshooting toilet float issues but still can’t get it to work properly, it may be time for a replacement. Here are the steps to follow:
-
Shut off the water supply: Locate the shut-off valve behind the toilet and turn it clockwise to stop the water flow.
-
Drain the tank: Flush the toilet and hold down the handle to completely empty the tank.
- Place a bucket or towel under the toilet tank to catch any leftover water.
- Use a sponge or towel to remove any remaining water in the tank.
-
Remove the old float: Disconnect the float arm or rod from the fill valve assembly and unscrew the mounting nut or clip to detach the float.
- Take note of the float’s orientation and position for the installation of the new one.
-
Install the new float: Attach the new float to the fill valve assembly and secure it with the mounting nut or clip.
- Make sure the float is properly aligned and can move freely.
-
Reassemble and test: Reconnect the float arm or rod to the fill valve assembly, turn on the water supply, and check for any leaks.
- Adjust the float height if necessary to ensure proper water level.
Testing and Troubleshooting the Toilet Float
To properly troubleshoot and test the float, start by shutting off the water supply and draining the tank. This is crucial to ensure your safety and prevent any water damage.
Once the tank is empty, locate the float, which is usually a ball attached to a metal arm. Check for any visible signs of damage or wear, such as cracks or leaks. If the float appears to be in good condition, gently lift it up and down to see if it moves freely. If it is sticking or not moving smoothly, you may need to clean it to remove any debris or mineral buildup.
In some cases, the float may need to be adjusted or replaced if it is causing the toilet to continuously run. By performing regular toilet float maintenance and using proper float repair techniques, you can ensure that your toilet functions efficiently and avoids any unnecessary water waste.
Conclusion
In conclusion, fixing a toilet float is a relatively simple task that can save you from potential water damage and high water bills. By understanding how the toilet float works and identifying common problems, you can easily gather the necessary tools and materials to make the necessary adjustments or replacements.
One interesting statistic to consider is that a leaking toilet can waste up to 200 gallons of water per day, which not only has a negative impact on the environment but also increases your water bill significantly. So, by taking the time to fix your toilet float, you are not only saving money but also conserving water resources.