Ever been in the annoying predicament of dealing with a snapped toilet chain? Don’t worry, because we’re here to walk you through how to flush your toilet despite having a broken chain.
In this concise and informative article, we will provide you with step-by-step instructions on how to gather the necessary materials, identify the broken chain, and attach a makeshift flushing mechanism.
So roll up your sleeves and get ready to master the art of flushing a toilet with a broken chain!
Key Takeaways
- Gather necessary materials and safety precautions, such as rubber gloves, a towel or mop, and a bucket filled with water.
- Remove the toilet tank lid and identify the broken chain, ensuring it is properly connected to the flush handle and flapper.
- Use alternative flushing methods, such as the bucket, wire, or jug method, as temporary solutions until the chain is fixed.
- Test and adjust the flushing mechanism, checking the handle’s return, water supply, water level, and adjusting water pressure if needed.

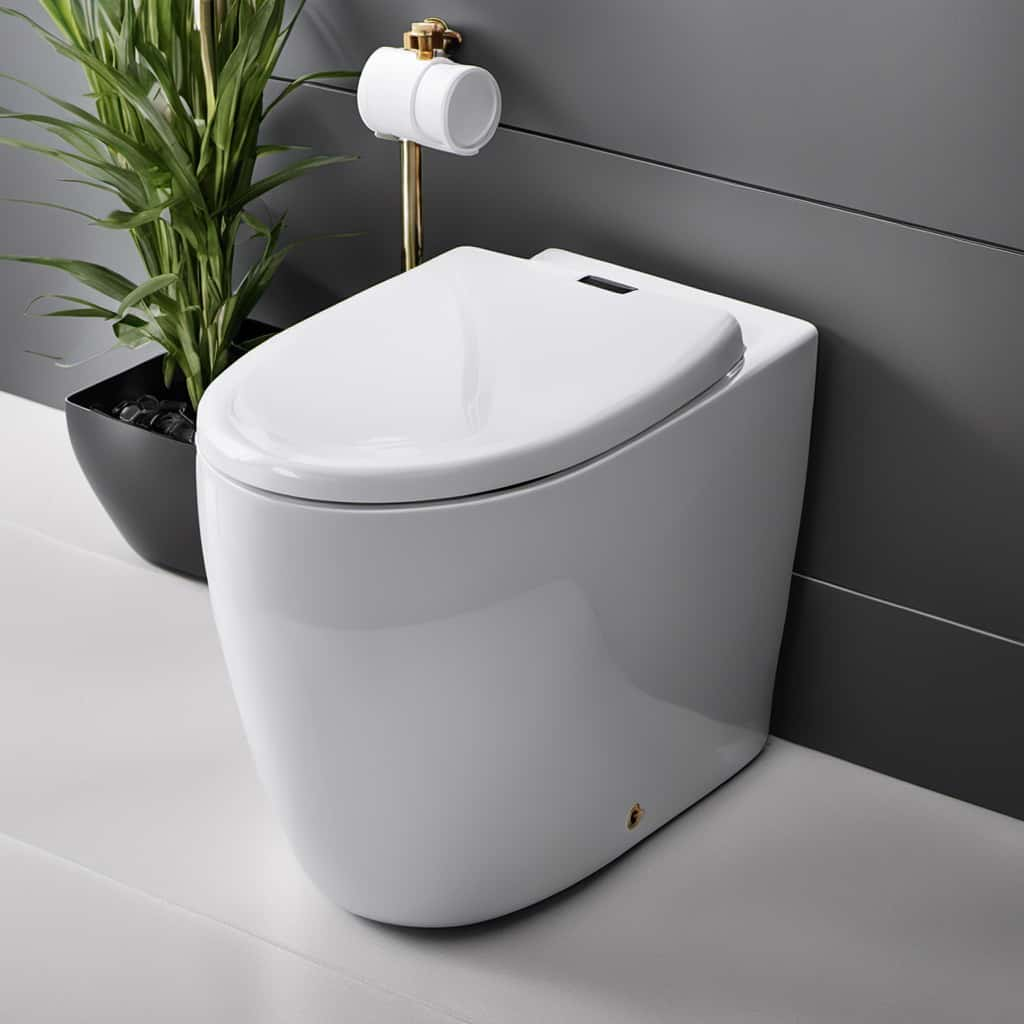
EPLO Smart Toilet with Bidet Built In, Luxury Bidet with Heated Seat ADA Comfort Height & Foam Dispenser, Elongated Japanese Toilet with Automatic Flush, Dryer, Night Light, TEMP Display - iX7 MT
Bidet Toilet Combo ● EPLO iX7-MT Smart Toilet with Bidet built in, Heated Seat, High Speed Dryer,Tankless, Siphonic...
As an affiliate, we earn on qualifying purchases.
Gather Necessary Materials
First, we’ll gather the necessary materials by reaching under the toilet tank and locating the shut-off valve. This will serve as a temporary solution to flush the toilet manually. Additionally, a pair of rubber gloves should be worn to maintain hygiene during the process. It’s also advisable to have a towel or mop nearby in case of any water spills. These DIY temporary toilet repairs will allow you to continue using your toilet until a permanent fix can be implemented.

To begin, we need a bucket filled with water. This will serve as a temporary solution to flush the toilet manually.
Additionally, a pair of rubber gloves should be worn to maintain hygiene during the process.
It’s also advisable to have a towel or mop nearby in case of any water spills.
EPLO Smart Toilet Bidet with Tank,Foam Shield,Blackout Flush,Dual Auto Flush,Heated Seat,Air Dryer,Modern Elongated Japanese One Piece Bidet for Bathrooms E18
Powerful Flush Toilet: Built-in tank with a booster pump overcomes low water pressure, delivering strong, consistent flushing in...
As an affiliate, we earn on qualifying purchases.
Remove Toilet Tank Lid
To successfully remove the toilet tank lid, there are a few techniques to consider.
First, locate and loosen the screws or bolts securing the lid in place using a screwdriver or wrench.
Once the screws are loosened, carefully lift the lid straight up and set it aside in a safe place.
Remember to exercise caution to prevent any damage or injury during the lid removal process.
Lid Removal Techniques
We can easily remove the toilet tank lid by carefully lifting it off after turning off the water supply. To ensure a smooth lid removal process, here are some troubleshooting techniques that may come in handy:

- Inspect the lid: Check for any cracks or damage that may require extra caution during removal.
- Prepare the area: Clear any items near the toilet tank to create space for lid removal.
- Use proper technique: Position yourself properly and grip the lid firmly, ensuring even pressure from both hands.
By following these lid removal techniques, you can troubleshoot the problem effectively and safely remove the toilet tank lid.
Alternative Flushing Methods
To remove the toilet tank lid and flush the toilet with a broken chain, we can utilize alternative flushing methods. These emergency solutions and quick fixes can help you overcome the inconvenience of a broken chain and ensure your toilet remains functional. Here are some alternative methods you can try:
| Method | Description | Steps |
|——–|————-|——-|
| Bucket Method | Fill a bucket with water and pour it directly into the toilet bowl. This will create enough force to flush the waste away. | 1. Fill a bucket with water.
2. Pour the water into the toilet bowl quickly and forcefully. |
| Wire Method | Use a wire or coat hanger to manually lift the flapper valve inside the toilet tank. This will release water into the bowl and flush it. | 1. Straighten a wire or coat hanger.
2. Insert one end into the toilet tank and locate the flapper valve.
3. Lift the flapper valve manually to release water into the bowl. |
| Jug Method | Fill a large jug or pitcher with water and pour it directly into the toilet bowl. This will create enough pressure to flush the waste away. | 1. Fill a large jug or pitcher with water.
2. Pour the water into the toilet bowl quickly and forcefully. |
These alternative flushing methods can provide a temporary solution until the broken chain is fixed. Remember to exercise caution and follow proper safety measures when attempting these methods.

Safety Precautions Advised
For the safety of everyone involved, it’s important to remove the toilet tank lid before attempting any alternative flushing methods. This step is crucial to prevent any accidents or injuries while working on the toilet.
Here are some safety measures to keep in mind:
- Wear protective gloves and eye goggles to avoid contact with any harmful substances or sharp edges.
- Ensure the bathroom is well-ventilated to prevent the buildup of potentially harmful gases.
- Keep children and pets away from the toilet area to avoid any accidents.
By removing the toilet tank lid, you can easily access the inner mechanisms and perform the necessary temporary solutions. Remember to handle the lid with care and place it in a secure location to avoid any breakage or damage.
Prioritizing safety ensures a smooth and risk-free experience while dealing with a broken chain in the toilet.


Erdoru Smart Toilet with Bidet Built-in,One Piece Toilet with Foam Shield,Auto Open/Close Lid,Heated Seat,Warm Water Sprayer & Dryer,Adjustable Night Light,Auto Flush
【Eco-Powerful Flush】With a 1000g MAP rating and 1.28 GPF water-saving system, this tankless smart toilet delivers a strong...
As an affiliate, we earn on qualifying purchases.
Identify Broken Chain
Now that we’ve removed the toilet tank lid, let’s move on to identifying the broken chain. This step is crucial in troubleshooting the problem and finding the right solution.
We’ll discuss temporary fix options to get your toilet flushing again, as well as when it might be necessary to seek professional help.
Troubleshooting the Problem
We often encounter the problem of a broken chain when trying to flush a toilet. To troubleshoot this issue, there are several techniques you can use to identify common chain issues:
- Visual Inspection: Start by opening the toilet tank lid and visually inspecting the chain. Look for any signs of damage or disconnection.
- Chain Length: Check if the chain is too short or too long. A chain that’s too short may prevent the flapper from fully closing, while a chain that’s too long may become tangled or caught.
- Chain Connections: Ensure that the chain is properly connected to both the flush handle and the flapper. Sometimes, the chain may have become disconnected or come loose.
Temporary Fix Options
Inspecting the chain is a crucial step in identifying a broken chain when troubleshooting a toilet flush issue. If the chain is visibly broken or disconnected from the handle or flapper, it’s clear that there’s a problem.
However, sometimes the chain may be tangled or caught in the mechanism, causing the flush to malfunction. In such cases, it’s important to carefully untangle or reposition the chain to allow for proper flushing.
If the chain can’t be fixed temporarily, there are alternative methods to flush the toilet in an emergency. One option is to manually lift the flapper by hand, allowing water to flow into the bowl. Another option is to pour a bucket of water directly into the bowl, creating enough force to flush the waste.
Although these temporary fixes can help in a pinch, it’s always advisable to seek professional help to properly repair or replace the broken chain.
Seeking Professional Help
To properly identify a broken chain, it’s important for us to seek professional help. When faced with a broken chain in our toilet, calling a professional, such as an emergency plumber, can provide the expertise needed to diagnose the issue accurately.

Seeking professional help offers several advantages:
- Expertise: Professionals have the knowledge and experience to quickly identify and fix the problem.
- Safety: Attempting to fix the broken chain ourselves may lead to further damage or injury. Professionals ensure the repair is done safely.
- Efficiency: By relying on professionals, we can save time and effort, as they’ve the necessary tools and skills to address the issue promptly.

Tadashi Bidet Toilet Seat Elongated, Heated Toilet Seat, Instant Warm Water & Dryer, Feminine & Rear Wash, Self-Clean Nozzle, Slow Close Lid, Child/ECO/Silent Mode
Dual Control Convenience: Enjoy the flexibility of a sleek 【Digital Remote】 and a 【Comprehensive Knob Control 】with Night...
As an affiliate, we earn on qualifying purchases.
Attach Makeshift Flushing Mechanism
Attaching a makeshift flushing mechanism involves utilizing common household items to create a temporary solution for flushing the toilet when the chain is broken.
In emergency toilet repairs, it’s important to have a make shift flushing device that can be easily assembled. One option is to use a piece of string or twine as a replacement for the broken chain. Simply tie one end of the string to the lever arm and the other end to the flapper valve. When the lever is pushed, it will pull the string, lifting the flapper valve and allowing water to flow into the toilet bowl.
Another option is to use a wire coat hanger bent into a hook shape. Attach one end of the hook to the lever arm and the other end to the flapper valve. Pushing the lever will pull the hook, lifting the flapper valve and initiating the flushing process.

These makeshift flushing mechanisms provide a temporary solution until the chain can be repaired or replaced.
Test the Flushing Mechanism
To ensure the makeshift flushing mechanism is functioning properly, we need to conduct a thorough test. Here are some steps to follow in order to test the flushing mechanism:
- Test the flush handle:
- Gently press down on the flush handle and observe if it activates the flushing mechanism.
- Check if the handle returns to its original position after flushing.
- Verify that the handle is securely attached to the flushing mechanism.
- Check the water supply:
- Ensure that there’s an adequate water supply for flushing.
- Turn on the water valve and listen for the sound of water flowing into the tank.
- Observe if the water level in the tank rises after turning on the water supply.
Adjust the Flushing Mechanism if Necessary
If any issues are detected during the test, we may need to make adjustments to the flushing mechanism. One common issue that may arise is the water pressure being too high or too low. To adjust the water pressure, locate the fill valve on the toilet tank. Using an adjustable wrench, turn the adjustment screw clockwise to increase the water pressure or counterclockwise to decrease it. Another potential issue could be a clog in the flushing mechanism. To check for clogs, remove the tank lid and visually inspect the flushing mechanism for any debris or blockages. If a clog is found, use a plunger or a toilet auger to clear it. If these adjustments and checks do not resolve the problem, it may be necessary to call a professional plumber for further assistance.
| Steps to Adjust Flushing Mechanism |
|---|
| 1. Turn off the water supply to the toilet by shutting off the valve located behind the toilet. |
| 2. Remove the tank lid and locate the fill valve. |
| 3. Use an adjustable wrench to turn the adjustment screw clockwise to increase water pressure or counterclockwise to decrease it. |
| 4. Flush the toilet and observe if the adjustment has resolved the issue. |
| 5. If the problem persists, check for clogs by visually inspecting the flushing mechanism for any debris or blockages. |
| 6. Use a plunger or toilet auger to clear any clogs if necessary. |
| 7. If adjustments and checks do not solve the problem, consider calling a professional plumber for further assistance. |
Replace the Toilet Tank Lid
We can start by removing and replacing the toilet tank lid with a new one. This step is crucial in ensuring the proper functioning of the toilet. Here are a few reasons why replacing the toilet tank lid is important:
- Safety: A cracked or damaged lid can pose a safety hazard, especially if it shatters while in use.
- Aesthetic appeal: A new lid can improve the overall appearance of the bathroom, giving it a fresh and clean look.
- Efficiency: A properly fitting lid helps maintain the correct water level in the tank, preventing wastage and reducing water bills.
To replace the lid, simply lift the old one off and position the new lid in place. Ensure a snug fit to prevent any leaks or movement.
Troubleshooting Tips if the Problem Persists
Our next step is to assess the situation and determine the cause of the persistent problem. If the toilet still doesn’t flush after replacing the chain, there are a few troubleshooting tips you can try before calling a plumber. Here are some temporary fixes that might help resolve the issue:
| Troubleshooting Tips | Steps |
|---|---|
| Check the flapper valve | Ensure the flapper valve is properly sealed and not obstructed. |
| Adjust the water level | Adjust the water level in the tank to ensure proper flushing. |
| Clean the siphon jet | Remove any debris or mineral deposits from the siphon jet using a wire hanger or brush. |
| Inspect the flush handle | Make sure the flush handle is properly connected and functioning correctly. |
Conclusion
In conclusion, by following these simple steps, one can effectively address the issue of a broken chain in a toilet’s flushing mechanism.
With the use of makeshift tools and careful adjustments, the toilet can be flushed without the need for a functioning chain.

By employing these techniques, one can ensure the functionality of their toilet while maintaining a level of sophistication in their problem-solving approach.