I’ve been in your shoes before, staring at a blank basement floor, envisioning the convenience of having a toilet just a few steps away. Well, I’m here to help you make that vision a reality.
In this step-by-step guide, I’ll show you how to install a toilet in your basement. We’ll cover everything from gathering the necessary tools and materials to connecting the water supply.
So, roll up your sleeves and get ready to transform your basement into a more functional space.
Key Takeaways
- Measure the rough-in distance, width, and depth of the area for the toilet installation
- Inspect the basement for water leakage or moisture and address any issues
- Secure the flange to the floor and ensure a sturdy connection
- Connect the water supply line carefully, check for leaks, and make necessary adjustments

DANCO All-in-One Toilet Installation Kit, Perfect Seal Wax Ring & Zero Cut Bolts, Toilet Repair, Wax-Free, Mounting Toilet Bolts (10879X)
NO MESS: Perfect Seal has a hidden wax ring which causes no mess and 3X's stronger seal than…
As an affiliate, we earn on qualifying purchases.
As an affiliate, we earn on qualifying purchases.
Gathering the Necessary Tools and Materials
Before you begin, make sure you have all the necessary tools and materials for the installation.
Measuring dimensions is crucial to ensure a proper fit for your new toilet in the basement. Start by measuring the rough-in distance, which is the distance from the wall to the center of the toilet flange. Additionally, measure the width and depth of the area where the toilet will be installed to ensure there is enough space.
Safety precautions are essential when handling tools and materials. Always wear safety goggles and gloves when working with sharp tools or chemicals. Use caution when lifting heavy objects, such as the toilet itself, to avoid strain or injury.
Follow manufacturer instructions for specific tools and materials to ensure proper usage.

FlexOn 4 Inch Toilet Flange Repair Kit for Home Improvement, No-Wax Commode Flange with Spacer, Offset Bolts & Seal Gauge – Fits ABS, Cast Iron & Tile Floors, Elevates 3/8" to 1-1/8" (Black/Gray)
【UNIVERSAL 4 INCH TOILET FLANGE】 This 4 inch flange repair kit fits any 4" flange, ABS or cast…
As an affiliate, we earn on qualifying purchases.
As an affiliate, we earn on qualifying purchases.
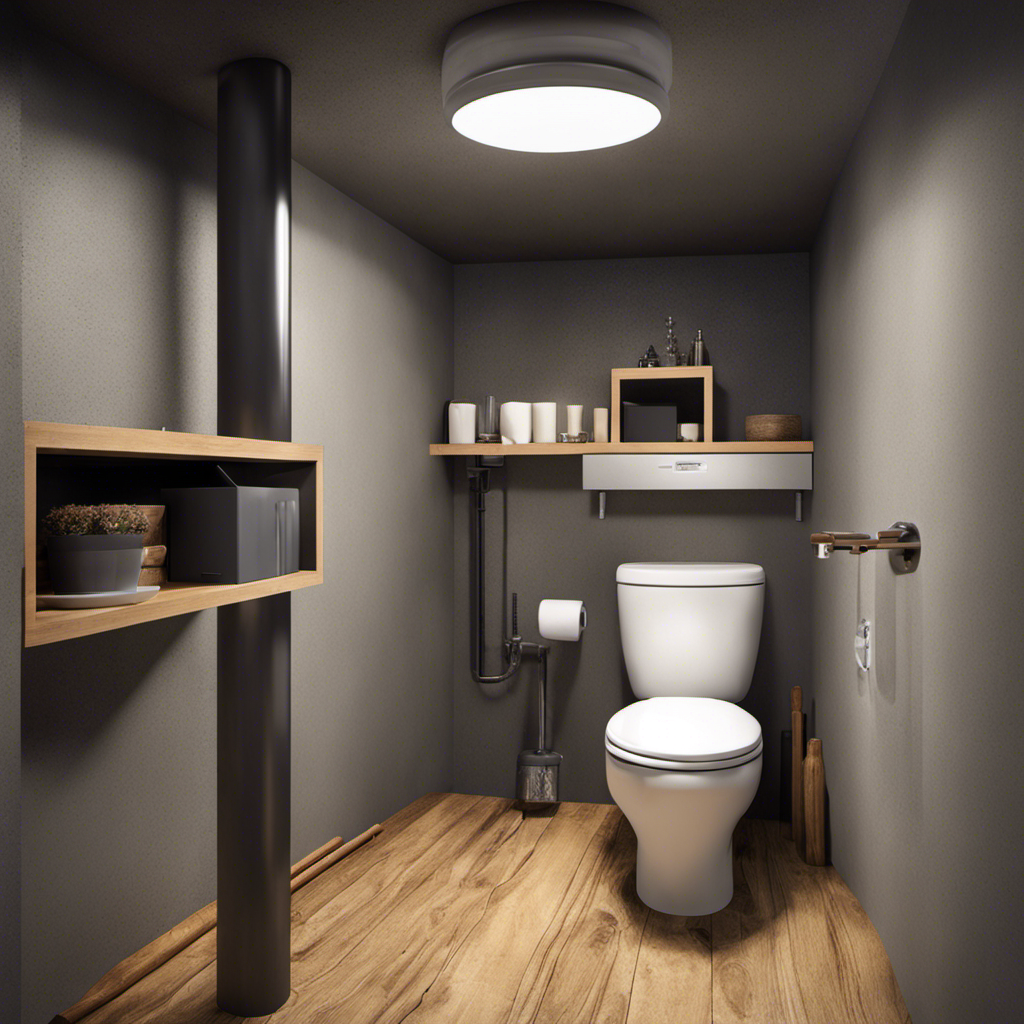
Preparing the Basement for Toilet Installation
To get started, you’ll want to ensure that your basement is properly prepped for the toilet installation. Here are the steps to follow:
-
Basement Waterproofing:
- Inspect the basement for any signs of water leakage or moisture.
- Address any existing water issues by sealing cracks and applying waterproofing solutions.
- Install a sump pump if necessary to prevent future water damage.
-
Floor Leveling:
- Check the floor for any unevenness or dips.
- Use a self-leveling compound to fill in any low areas and create a smooth surface for the toilet installation.
- Allow the compound to dry completely before proceeding.
-
Ensure Proper Ventilation:
- Install a ventilation fan in the basement to prevent the buildup of odors and moisture.
- Ensure that the fan is properly vented to the outside of the house.

Liquid Rubber Basement and Foundation Repair Sealant – Waterproof Concrete Sealer & Crack Filler – Flexible Coating for Indoor & Outdoor Use – Waterproofing Paint – Black, 5 Gallon
SUPERIOR FLEXIBLE SEALANT: Liquid Rubber's foundation sealer creates a permanent waterproof membrane for basement waterproofing, foundation leak repair,…
As an affiliate, we earn on qualifying purchases.
As an affiliate, we earn on qualifying purchases.
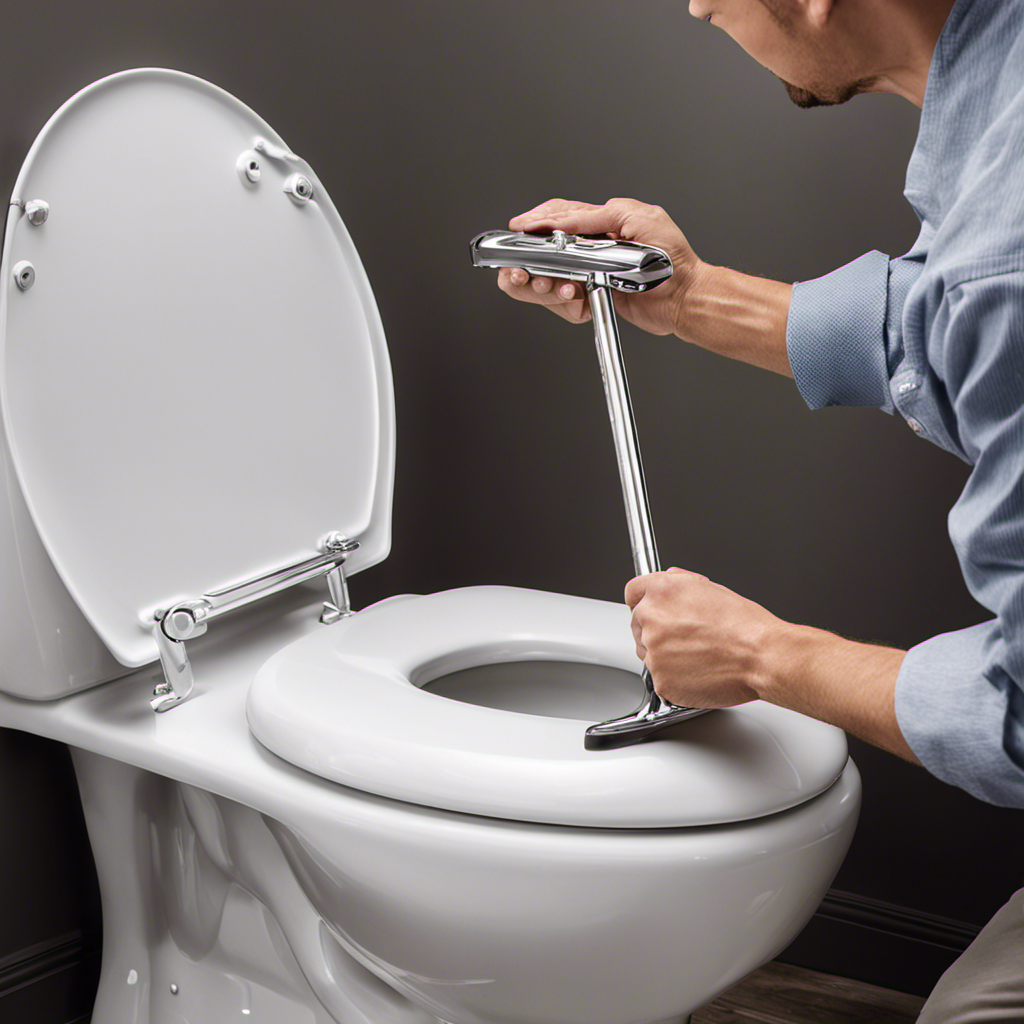
Installing the Toilet Flange and Drain Pipe
Make sure you have the toilet flange and drain pipe ready for installation.
To begin, position the flange over the drain pipe, ensuring that the holes in the flange line up with the holes in the pipe. Proper alignment is crucial for a successful installation.
Once aligned, secure the flange to the floor using screws or bolts, making sure it is tightly fastened. This will ensure a sturdy connection that won’t shift or move over time.
Additionally, apply a thin layer of plumber’s putty or silicone around the base of the flange to create a watertight seal. This step is essential for preventing leaks.
With the flange securely in place, you are now ready to move on to the next step of connecting the water supply and testing for leaks.

ARDEX TL 2000 Fiber Reinforced Self-Leveling Floor Underlayment, Cement-Based Polymer-Modified Compound for Interior Concrete, Wood, Tile, 50 Lbs Bag, 38119
Fiber-reinforced self-leveling floor underlayment for increased durability, tensile strength, and flexural performance
As an affiliate, we earn on qualifying purchases.
As an affiliate, we earn on qualifying purchases.
Connecting the Water Supply and Testing for Leaks
Once the flange is securely in place, you’re ready to connect the water supply and test for leaks. Follow these steps to ensure a proper water supply installation and troubleshoot any leaks that may occur:
-
Connect the water supply line to the shut-off valve: Use a flexible water supply line to connect the shut-off valve to the toilet tank. Make sure to tighten the connection using a wrench, but be careful not to overtighten and cause damage.
-
Turn on the water supply: Slowly turn on the water supply valve to allow water to flow into the toilet tank. Check for any leaks at the shut-off valve connection and the supply line connection. If you notice any leaks, tighten the connections to stop the leakage.
-
Test for leaks in the tank and bowl: Flush the toilet and observe if any water is leaking from the tank or bowl. If there are leaks, check the tank bolts, the tank-to-bowl gasket, and the wax ring for any signs of damage or improper installation.
Finishing Touches and Clean-Up
Now, it’s time for you to put the final touches on the installation and clean up any mess that may have been made. Before you can enjoy your new basement toilet, there are a couple of important things to consider.
First, let’s talk about proper disposal of construction waste. It’s essential to dispose of any leftover materials, such as packaging, old toilet parts, and debris, responsibly. Check with your local waste management facility for guidelines on how to properly dispose of these items.
Next, let’s discuss choosing the right toilet seat for your basement toilet. There are several factors to consider, including comfort, durability, and style. Take measurements of your toilet bowl to ensure a proper fit. Consider materials such as plastic, wood, or cushioned seats, depending on your preferences. Additionally, think about features like slow-close lids or easy-to-clean surfaces. Take your time to research different brands and read customer reviews to make an informed decision.
Once you have completed these final steps, you can take pride in a job well done. Enjoy your new basement toilet and the convenience it brings to your home. Remember to properly dispose of any construction waste and choose the right toilet seat for maximum comfort.
Happy flushing!
Frequently Asked Questions
How Do I Choose the Right Toilet for My Basement?
When choosing a toilet for your basement, consider the toilet installation cost and the types of basement toilets available. It’s important to select a toilet that meets your needs and fits within your budget.
Can I Install a Toilet in a Basement Without a Floor Drain?
Yes, you can install a toilet in a basement without a floor drain. There are alternative drainage options available, such as a macerating toilet or a sewage ejector system, which can effectively handle waste removal.
What Are the Potential Challenges of Installing a Toilet in a Basement?
The potential challenges of installing a toilet in a basement include meeting plumbing requirements and ensuring proper waterproofing methods. It is important to address these issues to ensure a successful installation.
How Long Does It Typically Take to Install a Toilet in a Basement?
Typically, the installation time for a basement toilet is influenced by various factors, such as the existing plumbing infrastructure and the complexity of the project. Common problems may include inadequate ventilation and improper drainage.
Are There Any Special Considerations for Basement Toilets in Terms of Ventilation and Odor Control?
When it comes to basement toilets, proper ventilation is crucial to prevent odors from becoming a problem. Incorporating a ventilation system and using effective odor control methods will ensure a fresh and pleasant bathroom experience.
Conclusion
In conclusion, installing a toilet in a basement is a manageable task that can be accomplished with the right tools and materials.
By following the step-by-step process outlined in this article, you can successfully complete the installation and enjoy the convenience of having a toilet in your basement.
Don’t be afraid to tackle this project yourself, as it can save you time and money.
So, roll up your sleeves and get ready to enjoy the benefits of a fully functional basement toilet!