Alright, folks, let’s dive into the nitty-gritty of installing a toilet seat. Today, I’m going to take you through the step-by-step process of getting this job done right.
So grab your tools and materials, because we’re about to roll up our sleeves and tackle this project head-on.
Get ready to say goodbye to that old, worn-out seat and hello to a shiny new one. Trust me, once you’re finished, you’ll be sitting pretty on your brand new throne.
Key Takeaways
- Choose a toilet seat that matches the shape and size of your toilet bowl.
- Measure the distance between the mounting holes to ensure a proper fit.
- Gather the necessary tools: wrench, screwdriver, and included hardware.
- Align the seat properly, ensuring it is centered and aligned with the front of the bowl.
Gathering the Necessary Tools and Materials
Before starting the installation, make sure you have all the necessary tools and materials ready.
Choosing the right toilet seat is essential for a comfortable and durable installation. Look for a seat that matches the shape and size of your toilet bowl. Measure the distance between the mounting holes to ensure a proper fit. Additionally, consider the material of the seat – plastic, wood, or cushioned – based on your personal preference and maintenance requirements.
Once you have the right seat, gather the following tools: a wrench, a screwdriver, and the included hardware.
Before installing the new seat, take the opportunity to clean the toilet bowl and seat thoroughly. This will ensure a hygienic and long-lasting installation.
Proper toilet seat maintenance includes regular cleaning with mild soap and water, avoiding harsh chemicals, and tightening any loose screws periodically to prevent wobbling.
With the necessary tools and materials ready, you are now prepared to proceed with the installation.
Removing the Old Toilet Seat
To start, you’ll want to unscrew the bolts holding the old seat in place. Here’s a step-by-step guide on how to remove the old toilet seat:
-
Gather the necessary tools: a screwdriver and a pair of pliers.
-
Put on gloves to protect your hands during the cleaning process.
- Safety precautions: Always wear gloves to prevent any contact with germs or bacteria.
- Locate the bolts that secure the toilet seat to the bowl.
- Cleaning process: Use a disinfectant wipe to clean the area around the bolts and the underside of the seat.
- Using the screwdriver, unscrew the bolts counterclockwise.
- Safety precautions: Be careful not to scratch the toilet bowl while removing the bolts.
-
Once the bolts are loose, use the pliers to hold the nut underneath the toilet bowl while unscrewing the bolts completely.
-
Lift the old toilet seat and remove it from the toilet bowl.
-
Cleaning process: Clean the entire toilet bowl with a toilet cleaner and brush.
-
Safety precautions: Make sure to follow the instructions on the cleaning products and avoid mixing different chemicals.
Preparing the Toilet Bowl for Installation
First, grab a disinfectant wipe to clean the area around the bolts and the underside of the toilet bowl. Ensure that the wipe is damp but not dripping wet, as excessive moisture can damage the toilet’s components.
Start by wiping down the area around the bolts, removing any dirt or grime that may have accumulated.
Next, move on to the underside of the toilet bowl, paying close attention to any areas where the seat attaches. Use gentle but firm strokes to thoroughly clean the surface.
Once the area is clean, allow it to air dry completely before proceeding with the installation. This step is crucial for maintaining hygiene and preventing any potential issues with the toilet seat’s stability.
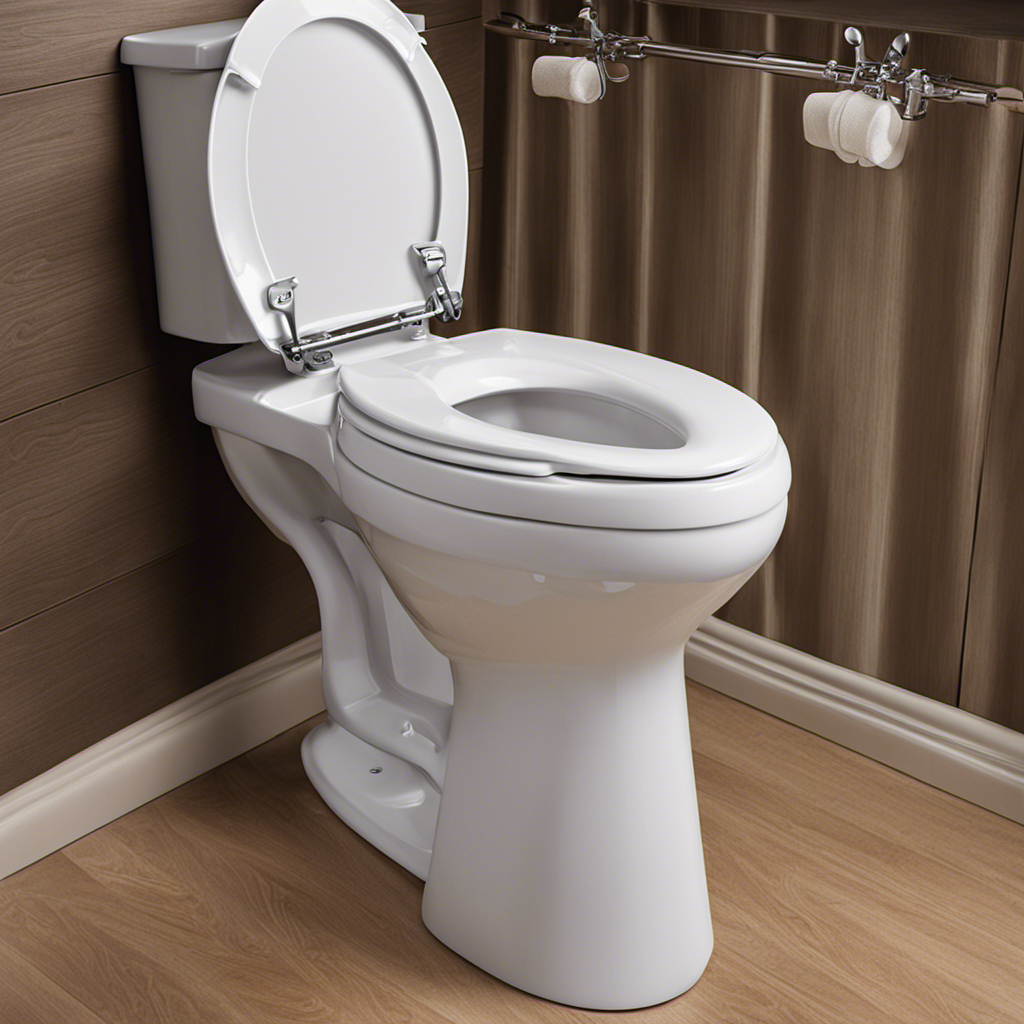
Installing the New Toilet Seat
Once you’ve cleaned the area, it’s important to ensure that the new toilet seat is aligned properly before tightening the bolts. Here are the steps to installing the new toilet seat:
-
Align the seat: Place the seat on the toilet bowl, making sure it is centered and aligned with the front of the bowl.
-
Attach the bolts: Insert the bolts into the holes on the seat hinges, pushing them through the holes in the toilet bowl.
-
Tighten the bolts: Use a screwdriver or wrench to tighten the bolts evenly on both sides of the seat. Be careful not to overtighten, as this can crack the seat or damage the toilet bowl.
-
Proper cleaning techniques: Before installing the new seat, ensure that you have thoroughly cleaned the toilet bowl and seat surface to remove any dirt or residue.
-
Different types of toilet seat materials: Toilet seats can be made of various materials, such as plastic, wood, or cushioned vinyl. Choose a seat material that suits your preferences and budget.
Once the new toilet seat is properly aligned and the bolts are tightened, you can move on to testing and finishing touches.
Transition: Now that the new toilet seat is securely installed, it’s time to test its stability and make any necessary adjustments.
Testing and Finishing Touches
Now that the new seat is securely attached, you can test its stability by sitting on it and checking for any wobbling or movement.
Start by carefully lowering yourself onto the seat, ensuring that your weight is evenly distributed. Gently shift your body from side to side and front to back to test for any signs of wobbling.
If the seat feels loose or unstable, you may need to tighten the bolts further or consider replacing the seat altogether.
Once you are satisfied with the stability, it’s time to focus on the finishing touches. Take a moment to appreciate the newly installed seat and admire its durability.
If you want to add a touch of personal style, consider choosing a seat color that complements your bathroom decor.
Frequently Asked Questions
How Do I Choose the Right Size of Toilet Seat for My Toilet?
To choose the right size of toilet seat for your toilet, you need to consider toilet seat measurements and the different toilet seat sizes available. It’s important to ensure a proper fit for comfort and stability.
Can I Use the Same Bolts and Nuts From the Old Toilet Seat for the New One?
Yes, you can reuse the old bolts and nuts for the new toilet seat. However, there are alternative mounting options available that may offer better stability and longevity. Let’s explore the steps together.
Should I Clean the Toilet Bowl Before Installing the New Seat?
Before installing the new seat, it is important to clean the toilet bowl thoroughly to ensure proper hygiene. Use a toilet bowl cleaner and scrub the bowl, paying attention to hard-to-reach areas. Rinse and dry before proceeding with the installation.
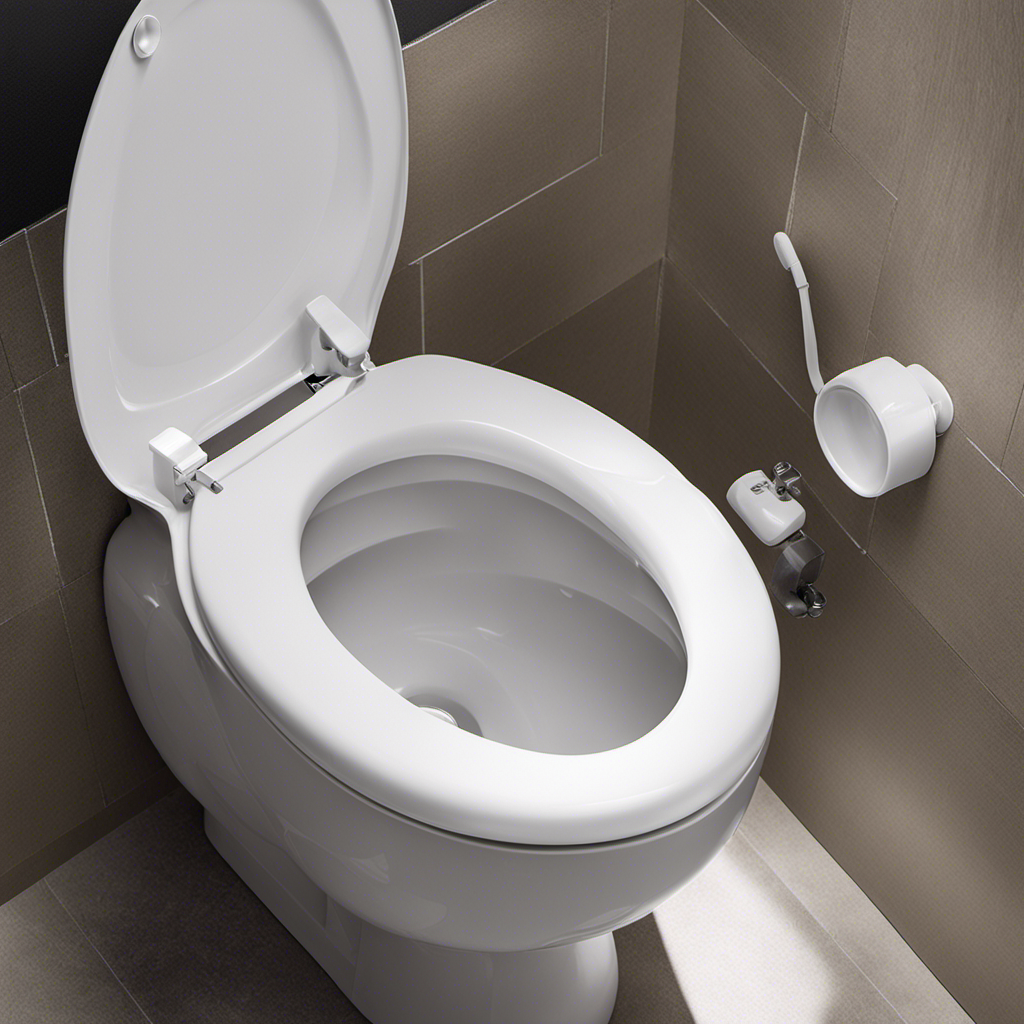
Can I Install a Bidet Seat Instead of a Regular Toilet Seat?
Installing a bidet seat is a great alternative option to a regular toilet seat. Its benefits include improved hygiene and comfort. Let me guide you through the step-by-step process of installing a bidet seat.
How Often Should I Replace My Toilet Seat?
I replace my toilet seat every few years to maintain hygiene and comfort. It’s important to consider toilet seat color options to match the bathroom decor, and the benefits of a padded toilet seat for added comfort.
Conclusion
In conclusion, installing a toilet seat is a simple and straightforward process that can be done with just a few basic tools and materials.
By following the step-by-step instructions outlined in this article, you can easily remove the old seat, prepare the toilet bowl, and install the new seat in no time.
It’s worth noting that according to a recent study, a comfortable and well-maintained toilet seat can significantly improve bathroom hygiene, reducing the risk of bacterial contamination by up to 70%.
So, take the time to install a new seat and ensure a clean and sanitary bathroom experience.

Liam’s journey with us started as a consumer. Having faced challenges while setting up his own modern bathroom, he delved deep into research.
Recognizing his knack for simplifying complex information and his authentic writing style, we were thrilled to welcome him aboard. Liam’s articles often merge practicality with style, ensuring readers find the perfect fit for their homes. Liam is an avid hiker off-duty and often jokes about finding the best “natural toilets” Mother Earth has to offer.