Imagine you’re standing in your bathroom, ready to embark on a DIY project that will upgrade your space and save you money – installing a toilet tank. This step-by-step guide will walk you through the process, from gathering the necessary tools and materials to testing and troubleshooting the installed tank.
With the help of this article, you’ll have a fully functioning toilet tank in no time. So, roll up your sleeves and get ready to tackle this DIY project head-on!
Key Takeaways
- Choose the right toilet tank size based on the rough-in distance.
- Gather all necessary tools and materials before starting the installation.
- Properly disconnect and remove the old toilet tank for disposal.
- Prepare the new toilet tank by cleaning it, checking the gasket/wax ring, and applying a watertight seal before installation.

GIOTOHUN Cat Water Fountain Filter: 12 Cat Fountain Filter Replacement - 12 Pet Fountains Filters Replacement - 6 Filters & 6 Sponges - Suitable for ATMZIQXR GIOTOHUN KOOGMOON UMOCUOY IHOUONE HOOISE
- Compatible with GIOTOHUN Stainless Steel Fountain: Fits GIOTOHUN 2.2L cat water dispenser
- Set of 12 Filters: Includes 6 carbon and 6 sponge filters
- Long-lasting Filters: Suitable for 3-6 months of use
As an affiliate, we earn on qualifying purchases.
Gathering the Necessary Tools and Materials
Before you can begin installing the toilet tank, you’ll need to gather all the necessary tools and materials. Start by choosing the right toilet tank size. Measure the rough-in distance, which is the distance between the wall and the center of the toilet flange. This will determine the size of the tank you need.
Next, make sure you have a wrench, a screwdriver, a level, wax ring, bolts, and a caulking gun. These tools and materials are essential for a successful installation.
Additionally, it’s important to consider the proper tank placement. The tank should be positioned securely on the bowl and aligned with the water supply line. Proper placement ensures efficient flushing and prevents leaks.
Take your time to gather everything you need before starting the installation process.
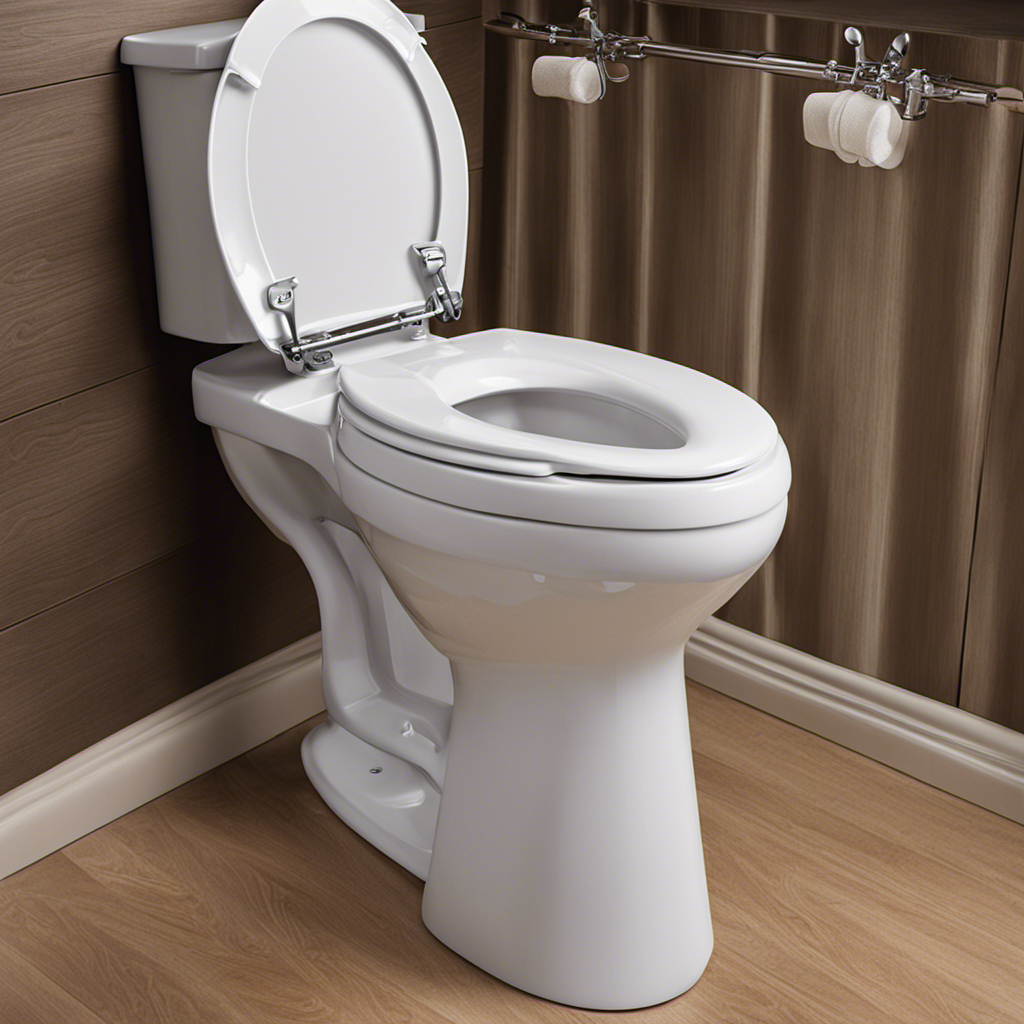
Removing the Old Toilet Tank
To remove the old toilet tank, you’ll need to disconnect the water supply and unscrew the bolts holding it in place. Here’s a step-by-step guide to help you through the dismantling process and ensure proper disposal:
-
Turn off the water supply: Locate the shut-off valve behind the toilet and turn it clockwise to shut off the water flow.
-
Empty the tank: Flush the toilet to remove as much water as possible from the tank.
-
Disconnect the water supply line: Use an adjustable wrench to loosen the nut connecting the water supply line to the bottom of the tank. Once loose, carefully remove the line.
-
Remove the tank bolts: Locate the bolts on the bottom of the tank and use a wrench to unscrew them. Once the bolts are removed, the tank should lift off easily.
Preparing the New Toilet Tank for Installation
After removing the old toilet tank, you’ll need to ensure that the new one is prepared for installation.
Start by thoroughly cleaning the new toilet tank to remove any dirt or debris. Use a mild detergent and a soft cloth or sponge to wipe down the surfaces. Rinse with clean water and let it dry completely.
Next, check the rubber gasket or wax ring that seals the tank to the bowl. Make sure it is in good condition and replace it if necessary.
Apply a thin layer of plumber’s putty or silicone caulk around the bottom of the tank where it will meet the bowl. This will help create a watertight seal.
Once the tank is cleaned and sealed, it is ready to be installed onto the toilet bowl.
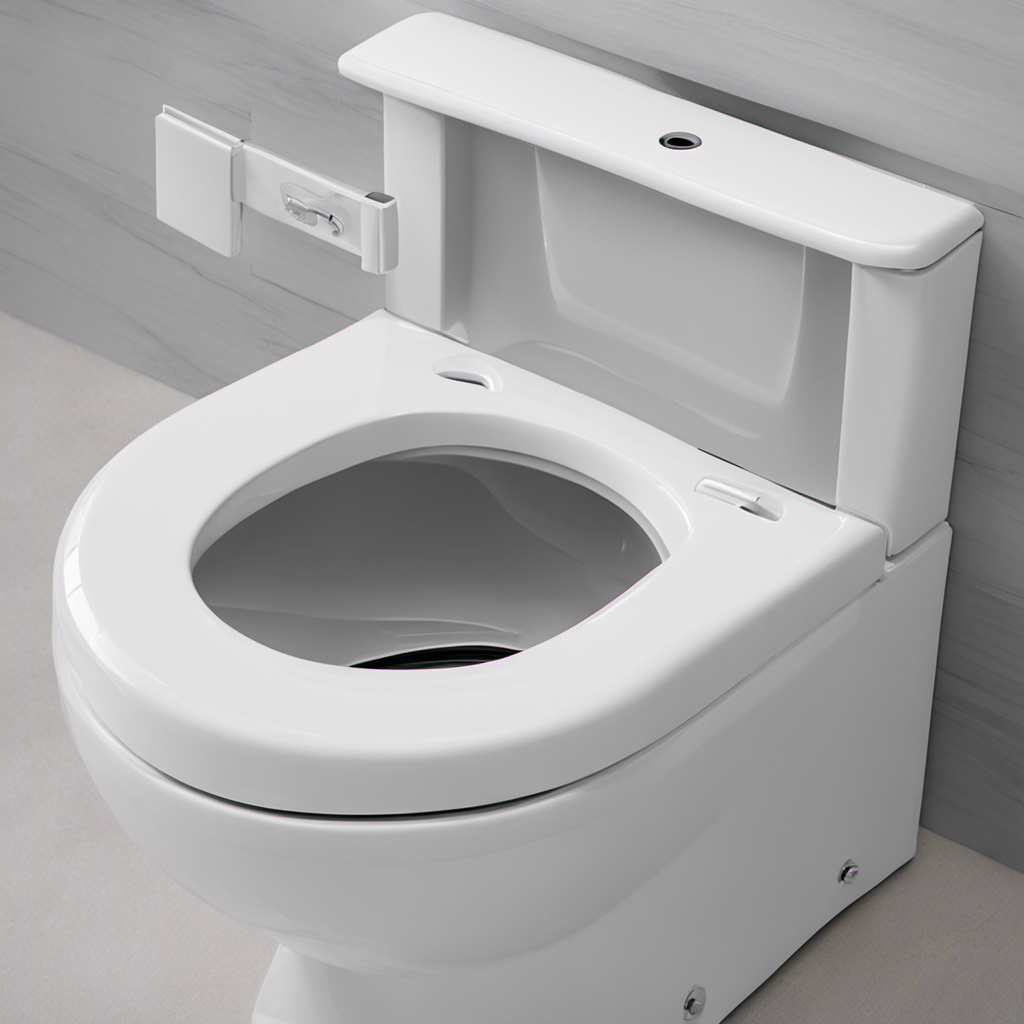
Installing the New Toilet Tank
First, make sure you have all the necessary tools and materials handy for the installation. Here’s a step-by-step guide to installing your new toilet tank:
- Position the tank on top of the toilet bowl, aligning the holes on the tank with the corresponding holes on the bowl.
- Insert the tank bolts through the mounting holes and secure them with nuts, tightening them evenly.
- Attach the water supply line to the fill valve on the bottom of the tank, ensuring it is tight and secure.
- Turn on the water supply and check for any leaks. If you notice any leaks, tighten the connections or replace faulty parts.
When choosing the right toilet tank, consider factors such as the size, style, and water-saving features. It’s important to troubleshoot leaks during installation to prevent any water damage in the future.
Testing and Troubleshooting the Installed Toilet Tank
Make sure you check for any leaks after installing the new toilet tank and tighten any connections if necessary. To test the installed toilet tank, follow these steps:
-
Fill the tank with water: Turn on the water supply valve and allow the tank to fill up completely. Make sure the water stops filling when it reaches the proper level, which is usually indicated by a mark on the inside of the tank.
-
Check for leaks: Inspect the area around the tank and the base for any signs of water leakage. Look for drips or puddles on the floor. If you notice any leaks, tighten the connections between the tank and the water supply line or the tank and the bowl.
-
Adjust the water level: If the water level is too high or too low, adjust it by adjusting the fill valve. Most toilets have a float mechanism that can be adjusted to control the water level.
Conclusion
In conclusion, now that you’ve successfully installed your new toilet tank, you can enjoy the convenience and functionality it brings to your bathroom.
By following the steps outlined in this guide, you were able to remove the old tank and replace it with a new one, ensuring a smooth and efficient installation process.
Remember to test the toilet tank for any leaks or issues, and troubleshoot if necessary.
With your newly installed toilet tank, you can now confidently use your bathroom without any worries.