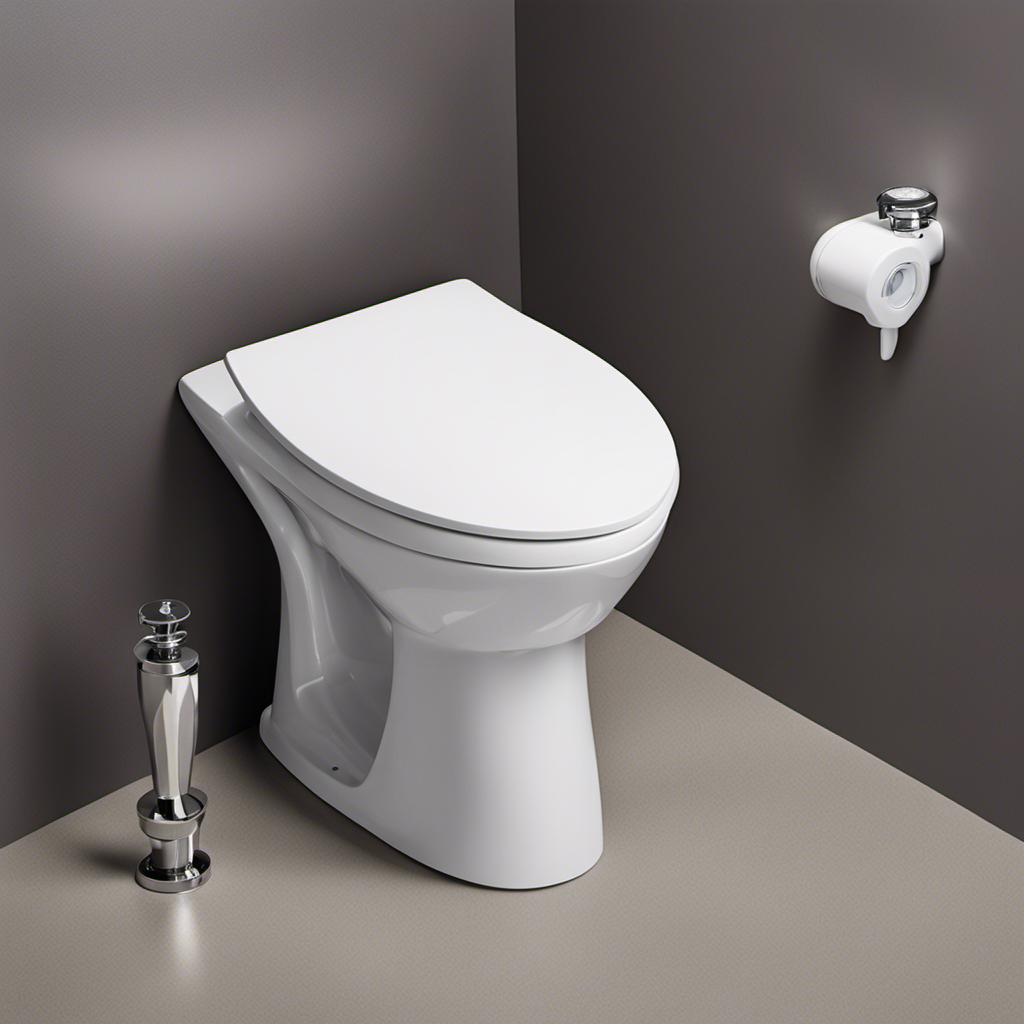
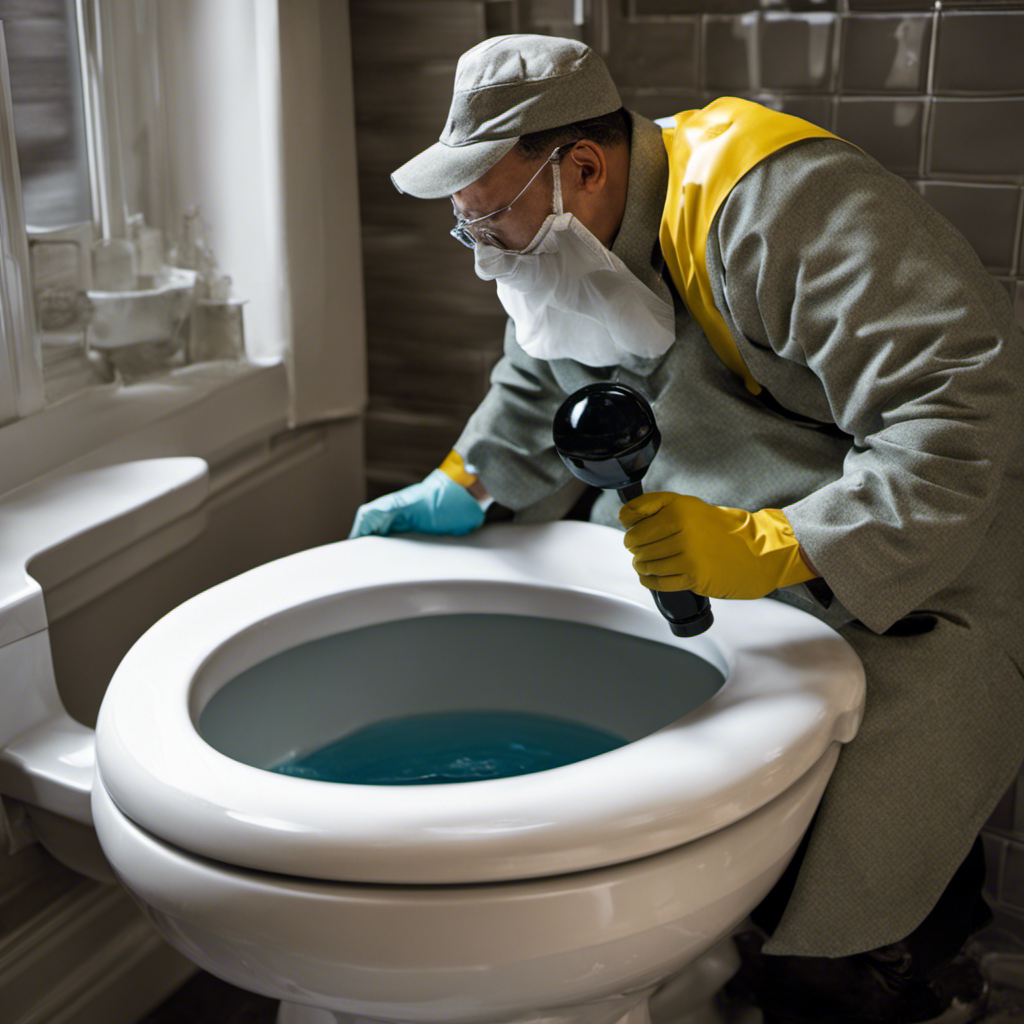
As I stood in the bathroom, staring at the old, worn-out toilet, I knew it was time for a change. Installing a new toilet may seem like a daunting task, but with the right tools and a little know-how, it’s actually quite straightforward.
In this article, I will guide you through the step-by-step process of how to install a toilet, from gathering the necessary materials to connecting the water supply.
So grab your wrench and let’s get started on transforming your bathroom into a modern oasis.
Key Takeaways
- Choose the right toilet seat based on comfort and functionality.
- Gather the necessary tools and materials for installation.
- Properly prepare the bathroom by measuring and marking the placement of the toilet.
- Follow the steps to remove the old toilet and dispose of it correctly.
Gathering the Necessary Tools and Materials
Before starting, make sure you have all the necessary tools and materials for installing the toilet.
Choosing the right toilet seat is crucial to ensure comfort and functionality. There are different types of toilets available, including gravity-fed toilets, pressure-assisted toilets, and dual-flush toilets.
Gravity-fed toilets are the most common and rely on the force of gravity to flush waste. Pressure-assisted toilets use compressed air to generate a powerful flush. Dual-flush toilets offer two flush options, one for solid waste and another for liquid waste, promoting water conservation.
Understanding the different types of toilets will help you select the one that best suits your needs. Additionally, gather tools such as an adjustable wrench, pliers, a screwdriver, and a wax ring to properly install the toilet.
Preparing the Bathroom for Installation
To make sure everything’s ready, you’ll need to clear the area and gather the necessary tools and materials. Before installing a toilet, it is crucial to prepare the bathroom properly. Here are the steps to follow:
-
Ensure proper ventilation:
-
Open windows or use a fan to ensure adequate airflow in the bathroom. This will help dissipate any unpleasant odors or fumes that may arise during the installation process.
-
Measure and mark the placement of the toilet:
-
Use a tape measure to determine the correct distance from the wall and side walls for the toilet. Mark these measurements on the floor using a pencil or masking tape. This will ensure that the toilet is positioned correctly and aligned with other fixtures in the bathroom.
-
Clear the area:
-
Remove any objects or obstacles from the bathroom to create a clear workspace. This will make the installation process easier and safer.
Removing the Old Toilet
Once you’ve gathered the necessary tools and materials, you’ll need to start by disconnecting the water supply to the old toilet. To do this, locate the shut-off valve, usually located behind the toilet near the floor. Turn the valve clockwise to shut off the water supply.
Next, flush the toilet to remove any remaining water in the tank and bowl.
Now, it’s time to remove the old toilet. There are a few methods you can use for this. One option is to unscrew the nuts securing the toilet to the floor bolts and lift the toilet off the bolts.
Another method is to cut the toilet’s wax seal using a utility knife and then lift the toilet straight up.
Once the toilet is removed, you’ll need to dispose of it properly. Check with your local waste management facility for guidelines on how to dispose of the old toilet.
Installing the New Toilet Bowl
Now that you’ve removed the old toilet, it’s time to attach the wax ring to the new toilet bowl. This step is crucial for a proper toilet bowl placement and ensuring a secure installation. Here’s what you need to do:
- Start by flipping the toilet bowl upside down.
- Place the wax ring on the flange, making sure it’s centered.
- Gently press down on the toilet bowl to create a seal with the wax ring.
Next, it’s time to secure the toilet to the floor. Follow these steps:
- Align the toilet bowl with the flange and carefully lower it onto the wax ring.
- Apply downward pressure to compress the wax ring and create a tight seal.
- Insert the bolts into the flange and tighten them evenly using a wrench.
Attaching the Toilet Tank
After attaching the wax ring to the new toilet bowl, the next step is to secure the toilet tank to complete the installation.
Start by placing the tank onto the bowl, aligning the holes at the bottom of the tank with the bolts on the bowl.
Insert the bolts through the holes and hand-tighten the nuts to hold them in place. Use a wrench to tighten the nuts further, ensuring a snug fit without over-tightening.
Once the tank is securely attached, connect the water supply line to the fill valve on the bottom of the tank.
Turn on the water supply and check for any leaks. If you notice any water seeping from the tank, troubleshoot the issue by checking the nuts and bolts for tightness and the fill valve for any damage or wear.
Connecting the Water Supply
To complete the installation, start by connecting the water supply line to the fill valve on the bottom of the tank and then turn on the water supply to check for any leaks. Make sure to follow these steps carefully:
-
Choose the appropriate water supply line for your toilet installation. There are two common types: rigid copper and flexible braided stainless steel. Consider the water pressure requirements of your toilet and select a supply line that meets those specifications.
-
Attach one end of the supply line to the fill valve on the bottom of the toilet tank. Use a wrench to tighten the connection securely.
-
Connect the other end of the supply line to the water supply valve coming out of the wall. Again, use a wrench to ensure a tight and leak-free connection.
Remember to check for any leaks once you turn on the water supply. It’s important to have a properly connected water supply for your toilet to function effectively.
Testing and Finishing Touches
Once you’ve connected the water supply and ensured there are no leaks, it’s time to test the toilet and add the finishing touches.
To ensure proper functioning, testing techniques are essential. Start by flushing the toilet multiple times to check for any issues with water flow or drainage. Observe if the flush is strong enough and if the water fills up to the correct level. Additionally, check for any leaks around the base or connections.
Once you are satisfied with the performance, it’s time to add the finishing touches. Choosing toilet accessories like a toilet seat, tank lever, and paper holder can enhance the overall appearance and functionality. Ensure they are compatible with your toilet model and install them according to the manufacturer’s instructions.
With proper testing and the right accessories, your toilet installation will be complete.
Frequently Asked Questions
How Do I Choose the Right Size and Style of Toilet for My Bathroom?
When selecting a toilet size and style for your bathroom, consider the available space, plumbing requirements, and personal preferences. Measure the rough-in distance from the wall to the center of the drain, and choose a toilet that fits within these dimensions.
Are There Any Safety Precautions I Should Take Before Installing a Toilet?
Before diving into the technicalities of toilet installation, it is crucial to prioritize safety measures. Take precautions like turning off the water supply, using proper tools, and following precise installation techniques to avoid mishaps.
What Should I Do if the Floor Beneath the Old Toilet Is Damaged or Uneven?
If the floor beneath the old toilet is damaged or uneven, I would first repair the floor using appropriate techniques. This may involve replacing damaged sections or using leveling compounds to create a smooth surface for the new toilet installation.
Can I Install a Bidet Attachment on My New Toilet?
Installing a bidet attachment on my new toilet? Absolutely! Let me provide a detailed bidet attachment installation guide, highlighting the precise steps and the numerous benefits of using a bidet.
How Do I Prevent Leaks or Water Damage After Installing a New Toilet?
To prevent toilet leaks and water damage, ensure a proper installation by securely tightening all connections and using a wax ring to create a watertight seal between the toilet and the floor flange. Regularly inspect and maintain the toilet to address any potential issues.
Conclusion
In conclusion, installing a toilet may seem daunting at first, but with the right tools and materials, it can be a straightforward process.
Remember to carefully remove the old toilet, ensuring a clean and level surface for the new one.
Attach the toilet bowl and tank securely, and connect the water supply properly.
Finally, don’t forget to test for any leaks and add those finishing touches.
Just like installing a toilet, tackling any challenge in life requires patience, precision, and attention to detail.


