So, you’ve decided it’s time to tackle that pesky toilet leak yourself. Trust me, I’ve been there. But don’t worry, installing a wax ring on a toilet is easier than you might think.
In this step-by-step guide, I’ll walk you through the process, from gathering the necessary tools to securing the toilet in place.
So grab your wrench and get ready to say goodbye to those annoying bathroom puddles once and for all.
Let’s dive in!
Key Takeaways
- Choose the right wax ring for your toilet installation
- Properly center the wax ring on the flange
- Follow proper installation techniques to prevent leaks
- Inspect the floor for signs of water to troubleshoot for leaks

Brondell Bidet Toilet Seat Non-Electric Swash Ecoseat, Fits Elongated Toilets, White - Dual Nozzle System, Ambient Water Temperature - Bidet with Easy Installation
CLEAN AND REFRESHING: With Brondell’s Ecoseat 101 Bidet, you’ll experience a soothing, freshwater wash that leaves you feeling...
As an affiliate, we earn on qualifying purchases.
Gathering the Necessary Tools and Materials
Before starting the installation, make sure you have all the necessary tools and materials on hand.
The first step is to choose the right wax ring for your toilet installation. Look for a wax ring that is made specifically for your toilet model and has a proper seal.
Once you have the right wax ring, it’s time to begin the installation process. Start by turning off the water supply to the toilet and flushing it to empty the tank and bowl.
Remove the old wax ring and any residue left behind. Place the new wax ring onto the toilet flange, making sure it is centered properly.
Gently press down on the toilet bowl to create a tight seal. Finally, reconnect the water supply and test the toilet for any leaks.
Remember to follow proper wax ring installation techniques for a successful and leak-free installation.

WITMYA Smart Toilet with Bidet Built In, One Piece Bidet Toilet with Auto Dual Flush, Foam Shield, Modern Elongated Tankless Toilet with Foot Sensor, Heated Bidet Seat, Warm Water & Dryer,LED Display
【Efficient Flush & Energy-Saving Design】There smart toilets feature a highly efficient 1.28 GPF water-saving dual flush system with...
As an affiliate, we earn on qualifying purchases.
Removing the Old Wax Ring
When it comes to installing a wax ring on a toilet, there are a few key points to consider.
First, it’s important to know that there are alternatives to using a traditional wax ring, such as rubber or foam rings, which can provide a better seal and are easier to install.
Secondly, there are common installation mistakes to avoid, such as not properly aligning the toilet or not tightening the bolts enough.
Lastly, when it comes to replacing or reusing a wax ring, it’s generally recommended to replace it with a new one to ensure a proper seal and prevent any potential leaks.
Wax Ring Alternatives
There’s a few alternatives to using a wax ring when installing a toilet. One option is to use a toilet sealant, which is a flexible adhesive that creates a watertight seal between the toilet and the floor. Another alternative is to use rubber gaskets, which are placed between the toilet and the flange to prevent leaks. Here’s a comparison of the two options:
| Toilet Sealant | Rubber Gaskets |
|---|---|
| Easy to apply | Quick installation |
| Creates a strong seal | Provides a reliable seal |
| Requires drying time | No drying time required |
| Can be messy | Clean and efficient |
Both options have their advantages, so it’s important to choose the one that best suits your needs. Now, let’s move on to common installation mistakes.
Common Installation Mistakes
Make sure you double-check the alignment of the flange with the floor before proceeding with the installation. This is crucial to ensure a proper seal and prevent any leaks.
Here are some common installation mistakes to avoid:
-
Using an incorrect wax ring size: It’s important to choose the right size wax ring for your toilet. Using a ring that is too thick or too thin can lead to improper sealing and potential leaks.
-
Not properly centering the wax ring: Aligning the wax ring with the flange is essential for a secure seal. Make sure it is centered properly to ensure a tight fit.
-
Applying too much pressure: When installing the toilet, it’s important not to apply excessive force. This can cause the wax ring to deform and compromise its sealing ability.
Replacing Vs. Reusing
To avoid potential issues, it’s important for you to consider whether replacing or reusing is the best option for your specific situation. When it comes to deciding between reusing or discarding something, there are pros and cons to both choices. Let’s take a look at a comparison table to help you make an informed decision:
| Reusing | Discarding |
|---|---|
| Pros: | Pros: |
| – Cost-effective | – Ensures cleanliness |
| – Environmentally friendly | – Provides a fresh start |
| – May have sentimental value | – Eliminates potential issues |
| Cons: | Cons: |
| – May not be as effective | – Can be expensive |
| – May not fit properly | – Adds to waste |

LUXE Bidet NEO 120 - Single Nozzle, Self-Cleaning, Non-Electric Bidet Attachment for Toilet Seat, Adjustable Water Pressure, Rear Wash (Blue)
THE ULTIMATE VALUE – With a sleek design and high-quality parts, Our Bidet Attachment will give your bathroom...
As an affiliate, we earn on qualifying purchases.
Preparing the Toilet Flange
First, you’ll need to remove the old wax ring from the toilet flange. This is an essential step in the toilet flange repair or installation process. Here’s a step-by-step guide on how to prepare the toilet flange:
- Start by turning off the water supply to the toilet.
- Unscrew the bolts that secure the toilet to the floor and carefully lift the toilet off the flange.
- Use a putty knife to scrape off the old wax ring from the flange. Be sure to remove any residue or debris.
- Inspect the flange for any damage or cracks. If you notice any issues, it may require further repair or replacement.
- Clean the flange with a mild detergent and warm water to remove any remaining dirt or grime.

BIGCOW Ultra-Slim Bidet Attachment for Toilet - Dual Nozzle (Frontal & Rear Wash) with Adjustable Cold Water Pressure and Stainless Steel Inlet - Hygienic Solution for Fresh Cleanliness, Silver 1 Pcs
【Dual Spraying Modes】- This toilet bidet offers both rear wash for thorough cleaning and a specially designed frontal...
As an affiliate, we earn on qualifying purchases.
Placing the New Wax Ring
Now that you’ve prepared the toilet flange, it’s time to carefully position the new wax ring onto the flange. Proper positioning is crucial in ensuring a tight seal for your toilet. Here’s how you can do it step-by-step:
- Take the new wax ring out of its packaging and hold it with both hands.
- Position the wax ring on top of the flange, making sure the rounded side is facing up.
- Gently press the wax ring down onto the flange, applying even pressure.
- Wiggle the ring slightly to help it settle into place.
- Check that the wax ring is centered on the flange and aligned with the waste pipe.
- Press down firmly on the wax ring to ensure a tight seal.
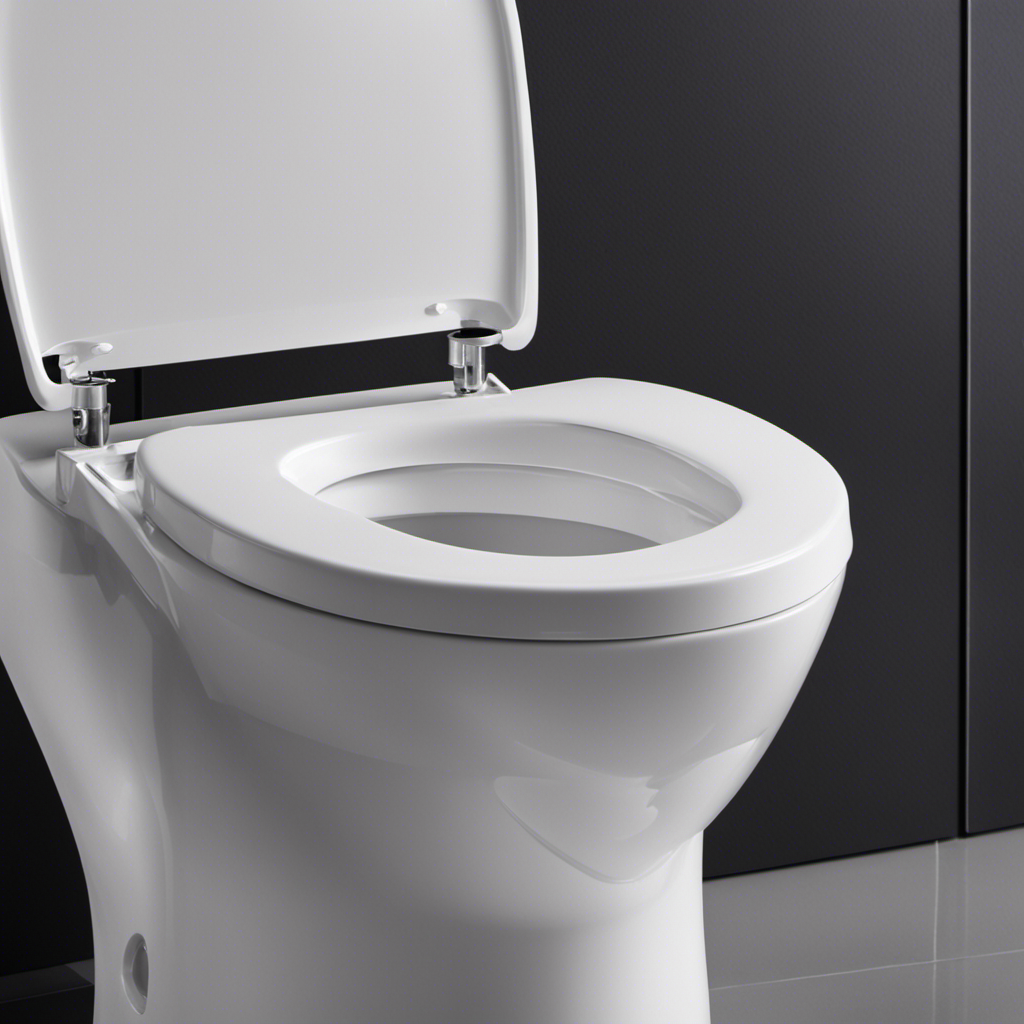
Aligning and Securing the Toilet
Align the toilet bowl with the bolts on the flange to ensure a secure and stable installation.
To properly align the toilet bowl, follow these steps:
- Place the toilet bowl over the flange, making sure the bolts on the flange fit into the corresponding holes on the bottom of the toilet bowl.
- Gently press down on the toilet bowl to compress the wax ring and create a tight seal.
- Slowly rock the toilet bowl back and forth to evenly distribute the weight and ensure proper alignment.
Once the toilet bowl is aligned, it’s time to secure it to the floor.
- Place a washer onto each bolt and hand-tighten a nut onto each bolt, being careful not to overtighten.
- Use a wrench to tighten the nuts, alternating between each side to ensure even pressure.
- Check the toilet bowl for stability by sitting on it or applying pressure to different areas.
By properly aligning and securing the toilet to the floor, you can prevent leaks and ensure a stable installation.
Now, let’s move on to testing for leaks.
Testing for Leaks
To check for any leaks, you’ll want to carefully examine the area around the base of the toilet. This step is crucial in leak prevention and troubleshooting leaks. Here’s a step-by-step guide on how to test for leaks:
-
Start by inspecting the floor around the base of the toilet. Look for any signs of water, such as puddles or dampness.
-
If you notice any water, try to determine its source. Check the connections between the toilet and the floor, as well as the wax ring seal.
-
Carefully examine the wax ring seal for any signs of damage or deterioration. A faulty seal can cause leaks.
-
Next, flush the toilet and observe if any water escapes from the base. If there are leaks, it might be necessary to replace the wax ring.
-
Finally, tighten any loose bolts or connections around the base of the toilet to ensure a secure fit.
Cleaning up and Finishing Touches
After completing the leak testing, you can now focus on cleaning up and adding the finishing touches to your bathroom. Here are some cleaning techniques and post-installation maintenance tips to ensure your bathroom looks its best:
- Start by cleaning any excess sealant or adhesive around the toilet base using a scraper or putty knife.
- Use a mild bathroom cleaner and a soft cloth or sponge to clean the toilet bowl, seat, and exterior surfaces. Avoid using abrasive cleaners that can damage the finish.
- Don’t forget to clean the floor around the toilet, removing any dust or debris that may have accumulated during the installation process.
Once everything is clean, take a moment to inspect the toilet and make any necessary adjustments or tighten any loose bolts. This will help ensure the toilet is properly installed and functioning correctly.
With these cleaning techniques and post-installation maintenance, your bathroom will be ready for use in no time.
Frequently Asked Questions
How Long Does It Typically Take to Complete the Installation of a Wax Ring on a Toilet?
Typically, it takes around 15-30 minutes to install a wax ring on a toilet. This time may vary depending on your experience and the complexity of the installation. Wax rings generally have a lifespan of 10-15 years.
Can a Wax Ring Be Reused or Does It Need to Be Replaced Each Time the Toilet Is Removed?
I’ve always wondered if a wax ring can be reused or if it needs to be replaced each time the toilet is removed. Turns out, it’s best to replace it to ensure a proper seal. There are alternatives to wax rings though!
Is It Necessary to Apply Any Additional Sealant or Adhesive to the Wax Ring Before Placing It on the Toilet Flange?
It is not necessary to apply additional sealant or adhesive to the wax ring before placing it on the toilet flange. Doing so can cause leaks or damage. Common mistakes to avoid when using a wax ring include using alternative sealant options.
Are There Any Specific Safety Precautions That Should Be Taken When Removing the Old Wax Ring?
When removing the old wax ring, it’s important to take safety precautions. Common mistakes to avoid include not wearing gloves and not properly disposing of the old wax ring.
What Should Be Done if the Toilet Wobbles or Is Not Securely Aligned After the Wax Ring Has Been Installed?
If the toilet wobbles or is not securely aligned after installing the wax ring, first check if the toilet is level. If not, use shims to level it. If the wax ring is the issue, troubleshoot the installation and replace if necessary.
Conclusion
So there you have it, folks! Installing a wax ring on your toilet may seem like a daunting task, but with the right tools and materials, it’s actually quite simple.
Just follow these step-by-step instructions and you’ll have a perfectly sealed toilet in no time. It’s like magic, really!
Say goodbye to those pesky leaks and hello to a bathroom that’s fit for royalty. Trust me, you’ll feel like a DIY champion after completing this project.
Happy toilet installation!