I gotta tell you, removing and installing a toilet may not be the most glamorous task, but it’s one that can save you a lot of money and headaches. In this step-by-step guide, I’ll show you exactly how to tackle this project like a pro.
We’ll start by shutting off the water supply, then dive into removing the old toilet and installing the new one. Trust me, with a little patience and the right tools, you’ll have a brand new throne in no time.
Key Takeaways
- Shut off the water supply before removing and installing the toilet to prevent leaks or water damage.
- Use adjustable pliers and a wrench to disconnect the water supply line and remove the toilet bolts.
- Place a new wax ring on the flange and align the bolt holes when installing the new toilet.
- Test for leaks, tighten bolts or connections if necessary, and clean any excess water before finishing the installation.

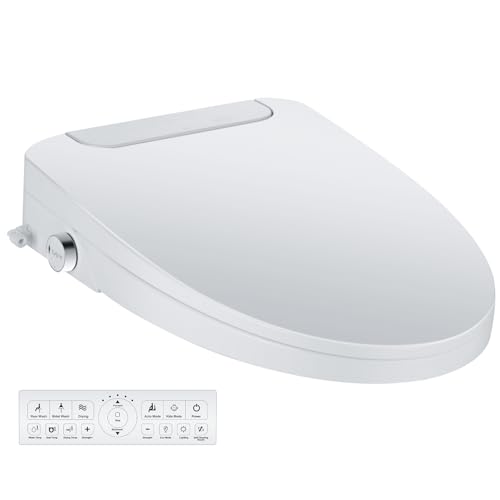
ALPHA BIDET JX2 Elongated Bidet Toilet Seat, White, Endless Warm Water, *NEW* Bowl Mist, LED Light, Quiet Operation, Wireless Remote, Stainless Steel Nozzle, Sittable Lid, 3 Year Warranty
WARM AND SOOTHING - Tankless on-demand water heating for endless warm water
As an affiliate, we earn on qualifying purchases.
Tools and Materials Needed
To remove and install a toilet, you’ll need a few tools and materials. Here are some essential items you’ll need for a successful toilet installation.
First, gather a pair of adjustable pliers, a wrench, and a putty knife. These tools will help you loosen and tighten the necessary connections.
Next, you’ll need a new wax ring, bolts, and a water supply line. The wax ring creates a watertight seal between the toilet and the floor, while the bolts secure the toilet in place.
Finally, make sure you have a level and a bucket nearby. These tools will help you ensure that the toilet is properly aligned and catch any water that may spill during the installation process.
mijashy Electric Bidet Toilet Seat, Elongated, Warm Water with Air Dryer, Heated Seat and Slow Close Lid, Front and Rear Wash, LED Nightlight, Wireless Remote, White, 101
ADJUSTABLE WATER PRESSURE - Enjoy a customized clean with stainless steel nozzles that offer adjustable water pressure and...
As an affiliate, we earn on qualifying purchases.
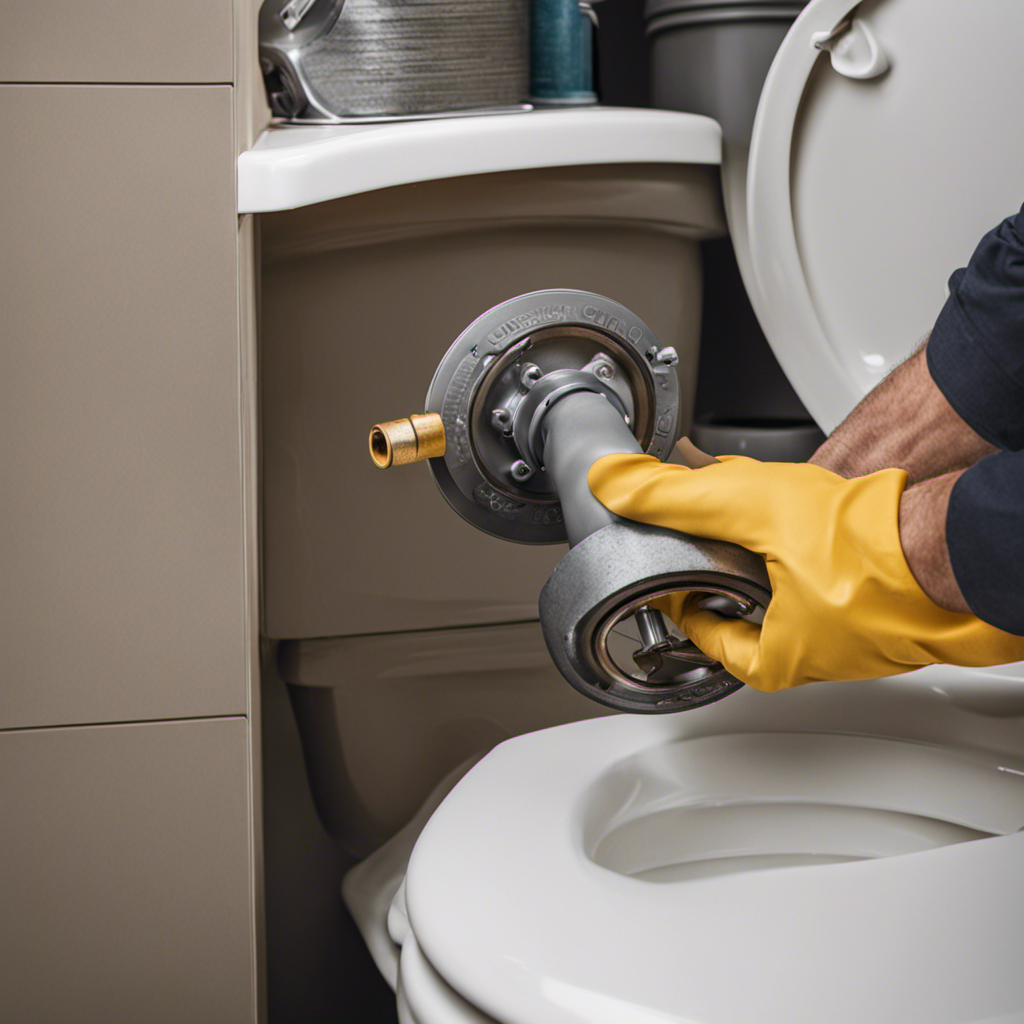
Step 1: Shutting off the Water Supply
First, make sure you’ve turned off the water supply before proceeding. Shutting off the water supply is an essential step in toilet maintenance and is necessary when dealing with common toilet problems.
To do this, locate the shut-off valve usually located behind or near the toilet. Turn the valve clockwise until it is fully closed. This will stop the flow of water to the toilet.
It is important to shut off the water supply to avoid any potential leaks or water damage during the removal and installation process.
Once the water supply is turned off, you can proceed with the next steps in removing and installing the toilet.

WLJBIDET Bidet Toilet Seat with Remote Control, Electronic Heated Bidet Seat with Adjustable Warm Water and Pressure, Warm Air Drying, Display Screen, Night Light, Slow Closed Toilet Lid, Elongated
Warm Water Bidet: Enjoy adjustable comfort with bidet warm water washing (ranging from 92℉ to 102℉) — easily...
As an affiliate, we earn on qualifying purchases.
Step 2: Removing the Old Toilet
After the water supply has been shut off, you can begin removing the old toilet. Here is a step-by-step guide on how to do it properly.
-
Gather the necessary tools: a wrench, a putty knife, and a pair of gloves.
-
Start by disconnecting the water supply line from the bottom of the toilet tank. Use a wrench to loosen the nut and carefully remove the line.
-
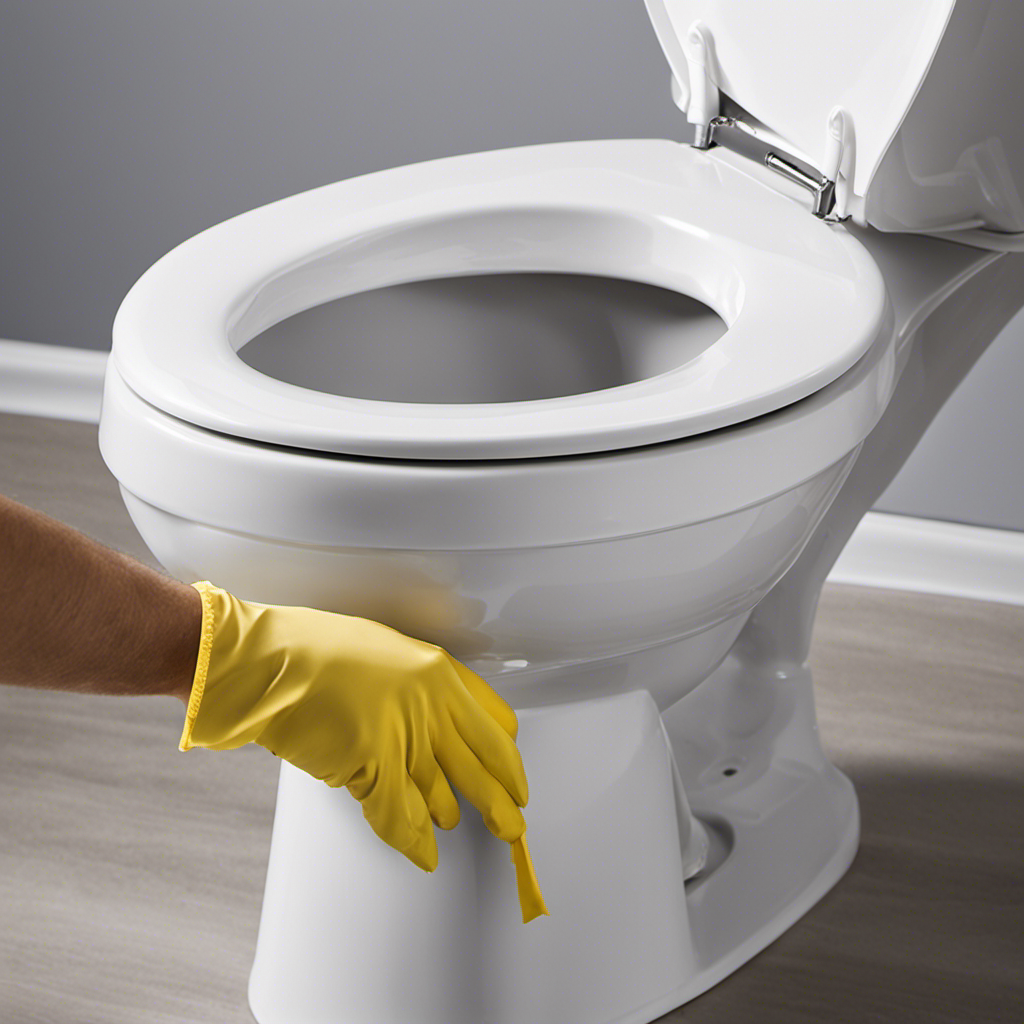
Next, remove the toilet tank lid and set it aside. Use the putty knife to scrape off any old wax or caulk around the base of the toilet.
-
Now, it’s time to remove the toilet bolts. These are located at the base of the toilet. Use a wrench to loosen and remove them.
Once the bolts are removed, carefully lift the toilet straight up and place it on a protective surface. Be careful not to damage the floor or the wax ring.
Now that the old toilet is removed, it’s important to properly dispose of it. Check with your local waste management facility for instructions on how to dispose of the old toilet. Remember to follow any guidelines or regulations they may have.

Tadashi Bidet Toilet Seat Elongated, Heated Toilet Seat, Instant Warm Water & Dryer, Feminine & Rear Wash, Self-Clean Nozzle, Slow Close Lid, Child/ECO/Silent Mode
Dual Control Convenience: Enjoy the flexibility of a sleek 【Digital Remote】 and a 【Comprehensive Knob Control 】with Night...
As an affiliate, we earn on qualifying purchases.
Step 3: Installing the New Toilet
Once you have gathered the necessary tools and disposed of the old toilet, it’s time to prepare for the installation of the new one.
Start by placing the new wax ring on the flange, ensuring it is centered.
Next, carefully lower the new toilet bowl onto the wax ring, aligning the bolt holes with the flange.
Take the toilet bolts and insert them into the corresponding holes, making sure they are aligned properly.
Once the bolts are in place, tighten the nuts by hand until they are snug. Be careful not to overtighten, as this could crack the toilet bowl.
Finally, use a wrench to tighten the nuts a quarter turn more, ensuring a secure fit.
Your new toilet is now ready for use.
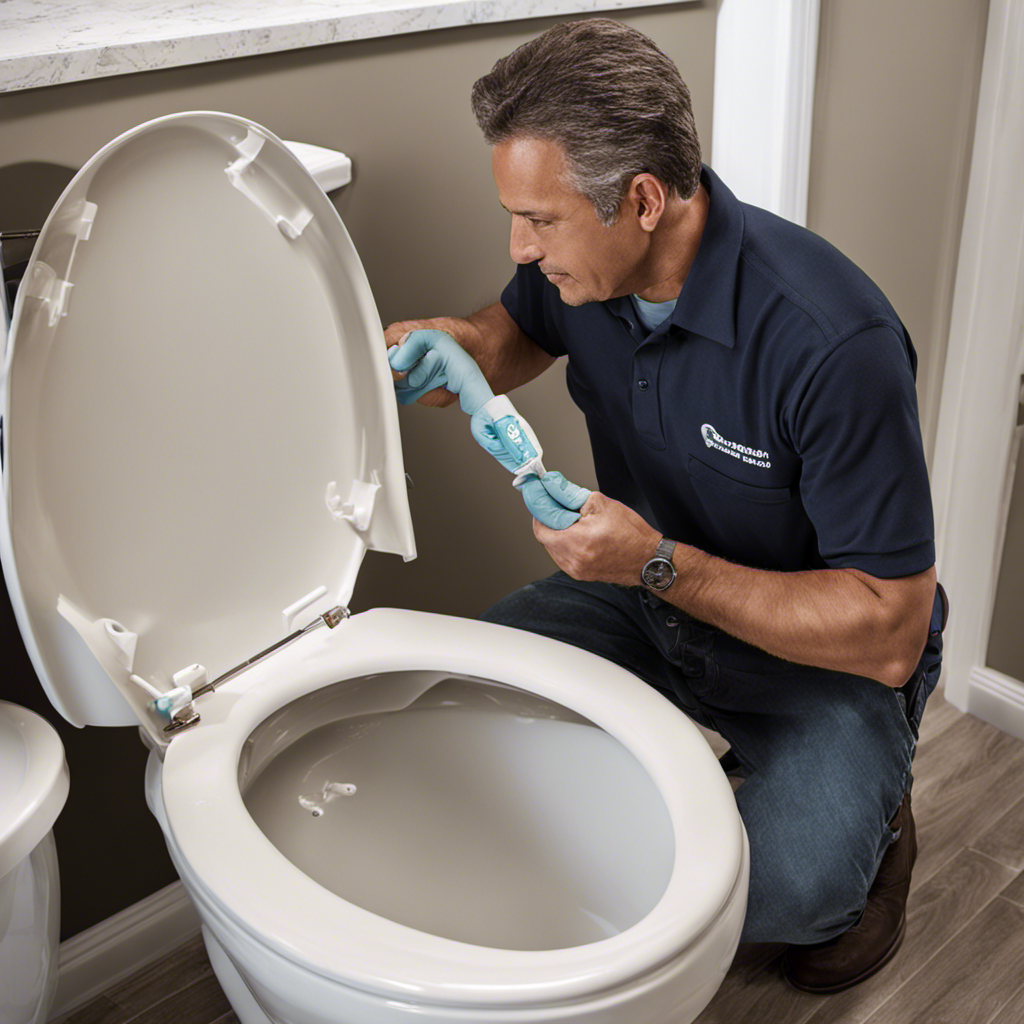
Step 4: Testing and Finishing Touches
To make sure everything is working properly, you should flush the new toilet and check for any leaks. Here’s a step-by-step guide on how to do it:
-
Start by filling the tank with water. Open the water supply valve and let the tank fill completely.
-
Once the tank is full, press the flush lever and observe the flushing action. The water should flow smoothly and the bowl should empty and refill without any issues.
-
After flushing, carefully inspect the base of the toilet for any signs of leaks. Check around the wax ring and the water supply connection.
-
If you notice any leaks, tighten the bolts or connections as necessary. If the leak persists, you may need to replace the wax ring or seek professional help.
-
Finally, wipe down the toilet and clean any excess water. This completes the testing process and ensures that your new toilet is functioning properly.
Frequently Asked Questions
How Long Does It Typically Take to Remove and Install a Toilet?
It typically takes about 1-2 hours to remove and install a toilet. The tools needed include a wrench, plunger, and putty knife. Start by shutting off the water supply, draining the tank, and removing the old toilet.
Can I Reuse the Wax Ring From the Old Toilet When Installing the New One?
Yes, you can reuse the wax ring from the old toilet when installing the new one. However, it is recommended to replace it with a new one to ensure a proper seal.
Is It Necessary to Hire a Professional Plumber to Remove and Install a Toilet?
It is not necessary to hire a professional plumber for toilet removal and installation. There are cost-effective alternatives such as DIY toilet installation. With proper guidance and tools, it can be done successfully.
Can I Use a Different Type of Toilet Seat With the New Toilet?
Yes, you can use a different type of toilet seat with the new toilet. Just ensure that the seat is compatible with the toilet’s dimensions and attachment system. Follow the manufacturer’s instructions for installation.
Are There Any Special Considerations for Installing a Toilet on a Second Floor or in a Basement?
When installing a toilet on upper levels, special considerations must be taken into account to ensure proper support and prevent leaks. Basement toilet installation may require additional steps due to plumbing and drainage issues.
Conclusion
In conclusion, removing and installing a toilet may seem like a daunting task, but with the right tools and materials, it’s as easy as pie!
Just shut off the water supply, carefully remove the old toilet, and install the new one with precision.
Don’t forget to test for leaks and add those finishing touches.
Remember, you’re the master of your porcelain throne kingdom, and with these steps, you’ll conquer any bathroom renovation challenge like a true DIY superhero!