Are you tired of your toilet’s float constantly causing problems? Well, fear not! In this comprehensive guide, we will walk you through the process of replacing the float in your toilet.
With just a few simple tools and materials, you’ll be able to tackle this task like a pro. Say goodbye to those annoying leaks and constant water running – it’s time to take control of your toilet’s float and ensure smooth, hassle-free flushing.
Key Takeaways
- The float in a toilet regulates the water level and can cause issues if it malfunctions.
- To replace a float in a toilet, you will need pliers, a bucket, a new float, and you should turn off the water supply valve.
- The process of removing the old float involves disconnecting the water supply line, unscrewing the nut holding the float assembly, and lifting the old float out of the tank.
- When installing the new float, you should adjust it by bending the float arm downwards and clean it thoroughly before adjusting.
Understanding the Float in Your Toilet
Toilets have a float that helps regulate the water level. The float is a small plastic or metal device that sits inside the toilet tank and controls the flow of water. When the float is working properly, it rises as the water level in the tank rises and then shuts off the water when it reaches the desired level.
However, float malfunctions can occur, leading to issues with the water level in your toilet. If you notice that the water level is constantly too high or too low, it may be time for a float repair. This involves removing the old float and installing a new one, ensuring that it is properly adjusted to maintain the correct water level.
Tools and Materials Needed for Float Replacement
For this task, you’ll need a few tools and materials to successfully replace the float.
The cost of float replacement can vary depending on the type of float and where you purchase it from.
Some common float problems include water constantly running in the toilet tank or the tank not filling up properly.
To replace the float, you’ll need a pair of pliers to disconnect the water supply line, a bucket to catch any water that may spill, and a new float that matches the old one.
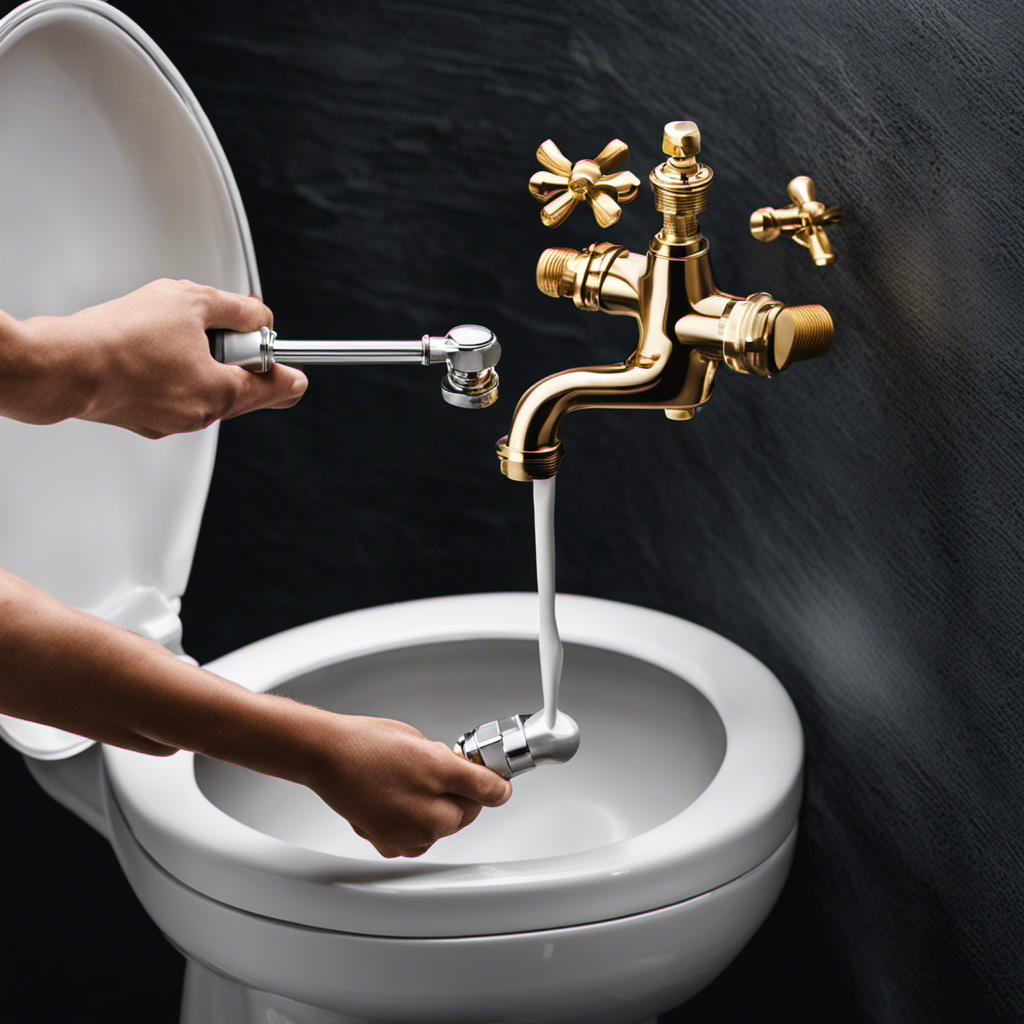
It’s important to turn off the water supply valve before starting the replacement process.
Once you have the necessary tools and materials, you’ll be able to easily replace the float and fix any issues with your toilet.
Step-by-Step Guide to Removing the Old Float
Once you’ve gathered the necessary tools and materials, it’s important to turn off the water supply valve before starting the process of removing the old float. This ensures that no water flows into the toilet tank while you work on it.
To successfully remove the old float, follow these steps:
- Carefully disconnect the water supply line from the bottom of the toilet tank.
- Locate the float assembly and unscrew the nut that holds it in place.
- Gently lift the old float out of the tank, being mindful not to damage any other parts.
- Inspect the float for any signs of damage or wear, such as cracks or leaks.
- Clean the surrounding area in the tank to remove any debris or buildup.
Installing the New Float: A Detailed Walkthrough
When it comes to installing a new float in your toilet, there are a few key points to keep in mind.
First, you’ll want to master the float adjustment techniques to ensure that the water level is properly regulated.
Second, it’s important to be aware of common issues that may arise during the installation process and how to troubleshoot them effectively.
Lastly, to ensure the longevity of your float, implementing some maintenance tips will go a long way in preventing future problems.
Float Adjustment Techniques
To adjust the float in the toilet, simply bend the float arm downwards. This will lower the float and allow for more water to flow into the tank, resulting in a higher water level.
However, before attempting any adjustments, it’s important to clean the float thoroughly to ensure optimal performance. Cleaning the float involves removing it from the toilet tank and wiping away any debris or buildup.
If the float is damaged or not functioning properly, it may require repair or replacement. In such cases, it’s best to consult a professional plumber for assistance.
Remember, proper float adjustment is crucial for the efficient functioning of your toilet.
Now, let’s move on to troubleshooting common issues that may arise with the float.
Troubleshooting Common Issues
Now that you’ve learned about float adjustment techniques, let’s delve into troubleshooting common issues that you may encounter with your toilet float.
It’s not uncommon to experience problems with your toilet float, but fear not, as most of these issues can be easily resolved. If your toilet is constantly running, the most likely culprit is a malfunctioning float. To fix this, start by checking if the float is properly adjusted. Ensure that it is not too high or too low, as this can prevent the toilet from filling or cause it to overfill.
If the float is in good condition and properly adjusted, you may need to replace it. Don’t worry, the process is straightforward and can be done with a few simple tools.
Now that you’ve got a handle on troubleshooting toilet float problems, let’s move on to the next section where we’ll discuss maintenance tips for longevity.
Maintenance Tips for Longevity
For optimal longevity, it’s important to regularly clean and inspect the various components of your toilet. This includes proper maintenance of the float, which helps prevent leaks and ensures the efficient functioning of your toilet.
To ensure the longevity of your toilet, here are some important maintenance tips:
-
Regular cleaning: Clean the float regularly to remove any dirt or debris that may obstruct its movement.
-
Inspect for wear and tear: Check the float for any signs of damage or wear, such as cracks or leaks.
-
Adjust the float height: Ensure that the float is set at the correct height to prevent water wastage and overflow.
-
Check the float valve: Inspect the float valve for any signs of malfunction, such as sticking or failure to shut off properly.
-
Avoid common mistakes: When replacing the float, make sure to follow the manufacturer’s instructions and avoid common mistakes such as improper installation or incorrect float size.
Troubleshooting Common Issues With Float Replacement
One common issue when replacing the float in a toilet is a leaking valve. This can occur if the valve is not properly tightened or if the seal is damaged. To troubleshoot this problem, check the valve for any signs of leakage or damage. If the valve is leaking, try tightening it with a wrench to see if that solves the issue. If the seal is damaged, you may need to replace it. Another common mistake when replacing the float is not cleaning it properly. Over time, debris can accumulate on the float, causing it to malfunction. To avoid this, make sure to clean the float regularly using a mild detergent and warm water. Additionally, be cautious when handling the float to prevent any damage that may affect its functionality.
| Common Float Replacement Mistakes | Float Cleaning Techniques |
|---|---|
| Not tightening the valve properly | Regularly clean the float with mild detergent and warm water |
| Damaging the seal during replacement | Use a soft cloth to gently wipe away debris from the float |
| Mishandling the float, causing damage | Avoid using abrasive cleaners that may scratch the surface of the float |
Tips for Properly Adjusting the New Float
To properly adjust the new float, make sure you carefully follow the manufacturer’s instructions and use the appropriate tools. Float adjustment techniques are crucial in ensuring the proper functioning of your toilet.
Here are some tips to help you adjust the float correctly:
-
Check the water level: Ensure that the water level is set at the recommended height. This will prevent any overflow or inadequate flushing.
-
Test the float: Make sure the float moves up and down freely without any obstructions. This will ensure accurate water level control.
-
Adjust the float arm: If the water level is too high or too low, adjust the position of the float arm. This will help you achieve the desired water level.
-
Inspect the fill valve: Check for any leaks or blockages in the fill valve. A faulty fill valve can affect the float adjustment.
-
Monitor the flush: After adjusting the float, flush the toilet multiple times to make sure it is working properly.
Maintenance and Care Tips for a Long-Lasting Float
Regular maintenance and proper care can help extend the lifespan of your float, ensuring optimal performance and preventing potential issues.
To maintain your float, start by checking it regularly for any signs of wear or damage. Look for cracks, leaks, or any signs of deterioration. If you notice any issues, it’s important to replace the float promptly.
Additionally, make sure the float is installed correctly to prevent any water leakage or malfunction. Proper float installation involves ensuring a secure and watertight connection to the fill valve.
Regularly clean the float to remove any mineral buildup or debris that may affect its functionality.
Finally, consider adjusting the water level in the tank to avoid excessive strain on the float.
Conclusion
In conclusion, replacing a float in your toilet is a task that can be easily accomplished with the right tools and guidance. By understanding the function of the float and following the step-by-step guide, you can successfully remove the old float and install a new one.
However, it is important to investigate the truth of a theory that suggests the float may not be the sole cause of toilet issues. Factors such as water pressure and valve functionality should also be considered for a comprehensive understanding.
By delving deeper into these complexities, you can ensure a precise and detailed approach to float replacement.