Replacing the inside of a toilet is like performing open-heart surgery on your bathroom. It may seem daunting, but with the right tools and a little know-how, it can be a straightforward task.
In this guide, I will walk you through the step-by-step process of replacing the fill valve, flush valve assembly, and flapper. By the end, you’ll have a smoothly functioning toilet that will make you feel like a DIY plumbing pro.
Let’s get started!
Key Takeaways
- The necessary tools and materials for replacing the inside of a toilet include an adjustable wrench, screwdriver, replacement parts (fill valve, flush valve, flapper), and plumbers tape.
- It is important to shut off the water supply to the toilet by turning the shut-off valve clockwise. If there are any issues with the water supply valve, it should be inspected for obstructions or leaks and replaced if necessary.
- To drain the water from the toilet tank, remove the tank lid and turn the water supply valve clockwise. Flush the toilet to remove any remaining water and use a sponge or towel to soak up the rest. Proper maintenance of the toilet tank is crucial for troubleshooting flushing issues.
- The fill valve and flush valve assembly can be replaced by disconnecting the water supply line, unscrewing the nut holding the fill valve in place, and installing the new fill valve. Reconnect the water supply line and check for leaks. Troubleshoot common valve problems like continuous running or improper flushing.
- When replacing the flapper, choose the correct size and type for your toilet model. Remove the old flapper, clean the area for a proper seal, adjust the chain length, and inspect the flapper for wear or damage. Replace the flapper if necessary with a new one that matches your toilet model.

Fluidmaster 400H-002 Performax Universal Toilet Fill Valve High Performance Tank and Bowl Water Control, 1-Pack, Multicolor
Fix noisy, or slow filling fill valves with the quietest, most powerful toilet fill valve available
As an affiliate, we earn on qualifying purchases.
As an affiliate, we earn on qualifying purchases.
Gather the Necessary Tools and Materials
Before you begin, make sure you have all the necessary tools and materials. Proper tools and materials selection is crucial for a successful replacement of the inside of a toilet.
Here are the most common tools and materials you will need:
-
Adjustable wrench: This tool is used to disconnect the water supply line and loosen nuts and bolts.
-
Screwdriver: You will need a screwdriver to remove screws and fasteners.
-
Replacement parts: Depending on the specific problem, you may need to replace the fill valve, flush valve, or flapper.
-
Plumbers tape: This tape is used to create a watertight seal between pipes and fittings.
Some common toilet problems that may require replacement include a constantly running toilet, weak flush, or water leaking from the tank.

Korky Ultra Standard 2-Inch Universal Toilet Flapper – Long Lasting Rubber – Easy to Install – Made in USA, 100BP
TOILET FLAPPER VALVE FITS MOST POPULAR 2 inch toilet brands including, but not limited to: American Standard, Kohler,…
As an affiliate, we earn on qualifying purchases.
As an affiliate, we earn on qualifying purchases.
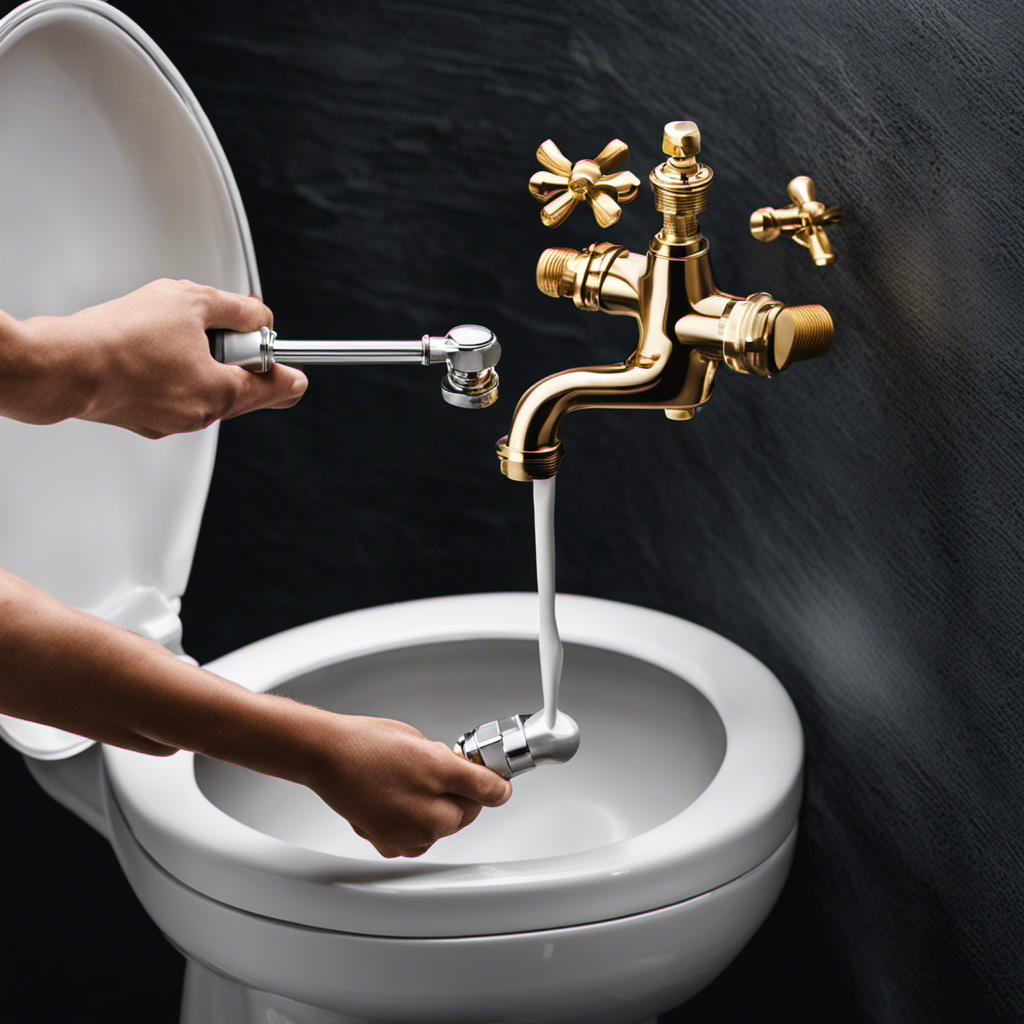
Turn off the Water Supply to the Toilet
To start, make sure to shut off the water supply to the toilet. This is an important step in any plumbing project involving the toilet, as it prevents water from flowing and causing potential mess or damage.
To properly shut off the water supply, locate the shut-off valve near the base of the toilet. Turn the valve clockwise until it is fully closed. If the valve is difficult to turn or does not fully shut off the water supply, you may need to troubleshoot common issues with the toilet’s water supply.
Check for any obstructions or leaks in the valve or the water line. If necessary, replace the valve or seek professional assistance to ensure a proper shut-off.
Fluidmaster 400H-002 Performax Universal Toilet Fill Valve High Performance Tank and Bowl Water Control, 1-Pack, Multicolor
Fix noisy, or slow filling fill valves with the quietest, most powerful toilet fill valve available
As an affiliate, we earn on qualifying purchases.
As an affiliate, we earn on qualifying purchases.
Remove the Toilet Tank Lid and Drain the Water
First, you’ll want to carefully remove the lid of the toilet tank to access the inner mechanisms and drain the water. Start by locating the lid, which is typically made of ceramic or plastic, and is usually secured in place by a couple of screws or clips. Use a screwdriver or your hands to loosen and remove these fasteners.
Once the lid is off, you’ll see the water inside the tank. To drain it, locate the water supply valve near the bottom of the tank and turn it clockwise to shut off the water flow.
Next, flush the toilet to remove any remaining water in the tank. If there is still some water left, you can use a sponge or towel to soak it up.
Proper toilet tank maintenance is crucial for troubleshooting toilet flushing issues and ensuring the smooth operation of your toilet.

Fluidmaster K-400H-021-P8 PerforMAX 2-Inch Everything Toilet Repair Kit, Multicolor
The Everything Kit includes everything you need to fix your toilet in one trip and one purchase
As an affiliate, we earn on qualifying purchases.
As an affiliate, we earn on qualifying purchases.
Replace the Fill Valve and Flush Valve Assembly
Once you’ve removed the toilet tank lid and drained the water, you can easily replace the fill valve and flush valve assembly.
To replace the fill valve with a dual flush system, start by disconnecting the water supply line from the bottom of the fill valve. Next, unscrew the nut holding the fill valve in place and remove it from the tank. Install the new dual flush fill valve by inserting it into the hole at the bottom of the tank and securing it with the nut. Reconnect the water supply line and turn on the water to check for leaks.
Now, let’s troubleshoot some common toilet valve problems. If your toilet continuously runs, check for a faulty fill valve and replace it if necessary. If your toilet doesn’t flush properly, a faulty flush valve may be the culprit. Replace the flush valve and ensure proper alignment with the flush handle.
Install the New Flapper and Adjust the Chain Length
When it comes to replacing the flapper in a toilet, there are a few key tips to keep in mind.
First, make sure to choose the correct size and type of flapper for your specific toilet model.
Secondly, carefully remove the old flapper and clean the area to ensure a proper seal with the new one.
Lastly, when adjusting the chain length, be sure to leave a little bit of slack to prevent the flapper from getting stuck open or closed.
Flapper Replacement Tips
To replace the inside of your toilet, start by checking if the flapper needs to be replaced. The flapper is a rubber valve that controls the water flow from the tank to the bowl. If it is worn out or damaged, it can cause various issues such as water leakage, constant running water, or weak flushes.
Here are some tips for flapper maintenance and troubleshooting common flapper problems:
- Inspect the flapper for any signs of wear or damage, such as cracks or tears.
- Clean the flapper and the area around it to remove any debris or mineral deposits.
- Adjust the chain length to ensure proper flapper operation.
- If the flapper is beyond repair, replace it with a new one that matches your toilet model.
Chain Length Adjustment
Make sure to adjust the length of the chain connected to the flapper in order to ensure proper operation of your toilet. Flapper maintenance is essential to prevent water leakage and maintain the efficiency of your toilet. Here is a step-by-step guide on how to adjust the chain tension:
-
Locate the flapper inside the toilet tank. It is usually connected to the flush valve.
-
Check the chain length. It should have a slight slack, allowing the flapper to fully close after flushing.
-
If the chain is too long, it may get tangled or prevent the flapper from sealing properly. To adjust the length, simply unhook the chain from the flush lever and reattach it to a shorter link.
-
If the chain is too short, it can prevent the flapper from fully opening, resulting in weak flushes. In this case, unhook the chain and attach it to a longer link.
-
Test the toilet by flushing it a few times. Ensure that the flapper opens and closes smoothly without any issues.
Ensuring Proper Water Flow
Ensure that you have proper water flow in your toilet by checking for any clogs or obstructions. Troubleshooting water flow issues is essential to ensure proper water pressure and functionality of your toilet. Follow these steps to ensure proper water flow:
- Inspect the toilet bowl for any visible debris or blockages.
- Check the toilet tank for any obstructions, such as a stuck flapper or a faulty fill valve.
- Clean the toilet tank and bowl thoroughly to remove any build-up or mineral deposits.
- Adjust the water level in the tank to the recommended level.
By following these steps, you can troubleshoot and resolve any water flow issues in your toilet, ensuring proper water pressure and functionality.
Once you have completed these steps, you can now reassemble the toilet tank and turn the water supply back on.
Reassemble the Toilet Tank and Turn the Water Supply Back on
Now that you’ve finished reassembling the toilet tank, go ahead and turn the water supply back on.
To do this, locate the shut-off valve, usually located near the base of the toilet. Turn it clockwise to open the valve and allow water to flow into the tank.
Once the water supply is turned on, observe the tank for any leaks or unusual behavior. If you notice any leaks, tighten the connections or replace any faulty parts.
Additionally, check the water level in the tank and adjust the float if necessary. If the water continuously runs or the tank does not fill properly, adjust the float or check the flapper valve for any issues.
Troubleshooting these common issues will ensure proper water flow and prevent any future problems.
Conclusion
In conclusion, replacing the inside of a toilet may seem like a daunting task, but it can be done easily with the right tools and materials. Remember to turn off the water supply before starting the process and take your time to carefully remove and replace the various components.
Did you know that on average, a toilet can use up to 3.5 gallons of water per flush? By replacing the inside of your toilet, you can ensure that it operates efficiently, saving both water and money in the long run.