I’ve got a leaky toilet shut off valve, and it’s driving me crazy. But don’t worry, I’ve learned how to replace it and I’m here to share my knowledge with you.
In this article, I’ll guide you through the step-by-step process of replacing a toilet shut off valve. From gathering the necessary tools and materials to testing and troubleshooting the new valve, I’ve got you covered.
So, let’s dive in and put an end to that annoying leak once and for all.
Key Takeaways
- Gather the necessary tools and materials, such as an adjustable wrench, bucket or towels, replacement shut-off valve, and plumber’s tape.
- Shut off the water supply by locating and turning the main shut-off valve clockwise, and close individual shut-off valves for specific areas.
- Remove the old shut-off valve by inspecting it for rust or corrosion, loosening the nuts connecting it to the water line, and twisting and pulling it to remove it.
- Install the new shut-off valve by positioning it parallel to the water pipe, tightening the compression fittings without over-tightening, and using Teflon tape on threaded connections.

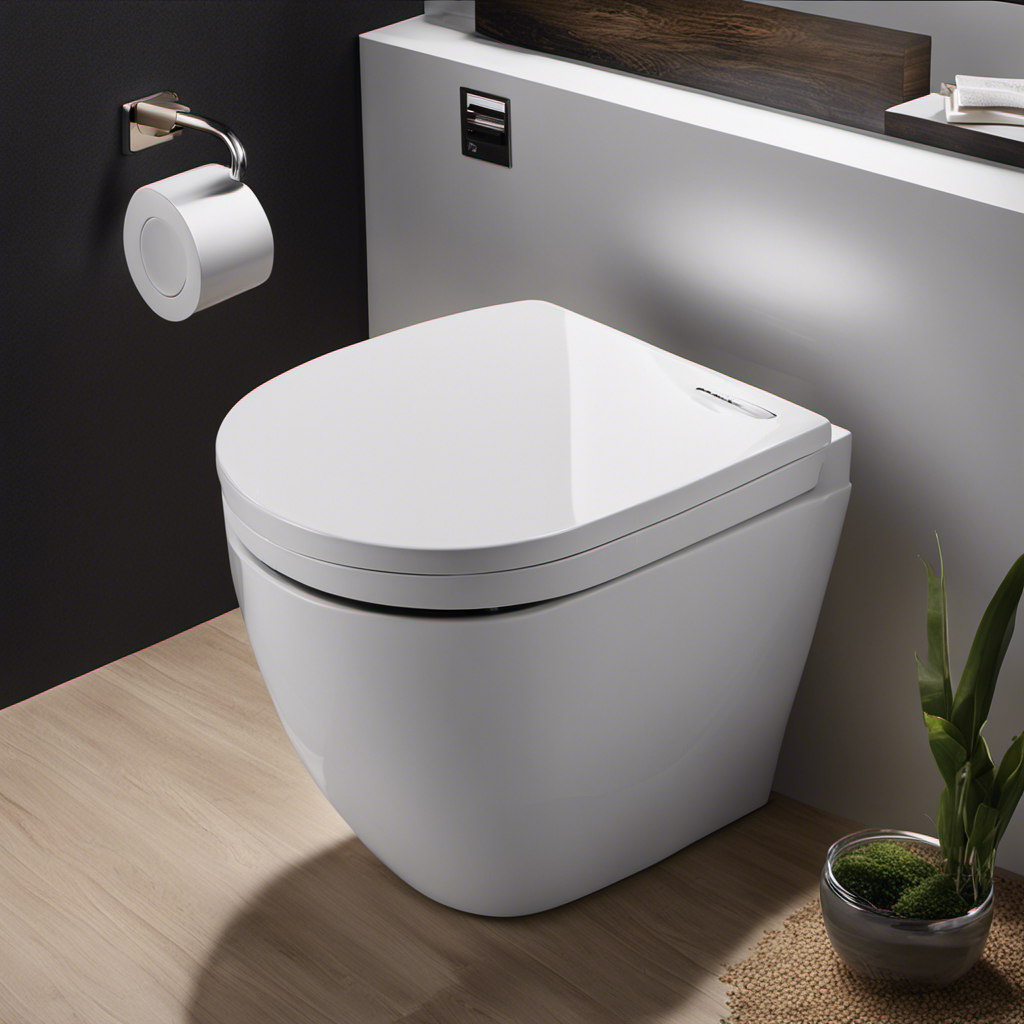
CANEST Smart Toilet, Smart Toilet with Bidet Built in, ADA Comfort Height, Intelligent Temp Control, Foot Sensor Operation, Warm Water, Heated Seat, Air Dryer, Digital Display (TC-100GE)
Smart Toilet for Bathroom:No more stumbling around in the dark! Our built-in LED nightlight offers a soft glow...
As an affiliate, we earn on qualifying purchases.
Step 1: Gathering the Necessary Tools and Materials
First, you’ll need to gather all the necessary tools and materials for replacing the toilet shut off valve.
To successfully complete the DIY shut off valve replacement, you will require a few specific items. Firstly, you’ll need an adjustable wrench, which will allow you to tighten and loosen the connections.
Additionally, have a bucket or towels handy to catch any water that may leak during the process.
You will also need a new shut off valve, which can be purchased at a hardware store. Make sure to choose a valve that matches the size and type of your existing one.
Lastly, have some plumber’s tape on hand to ensure a tight and secure connection.

TOTO® WASHLET® S2 Electronic Bidet Toilet Seat with Instantaneous Water Heating, PREMIST and EWATER+ Wand Cleaning, Elongated, Cotton White - SW3346#01
A REFRESHING CLEAN FOR EVERYONE - Instant and continuous warm water stream will last as long you need...
As an affiliate, we earn on qualifying purchases.
Step 2: Shutting off the Water Supply
Next, you’ll need to turn the water supply off before proceeding.
Shutting off the water supply properly is crucial before replacing the shut off valve. This step ensures that you won’t have any water leakage or damage during the replacement process.
To do this, locate the main water shut off valve for your house, usually found near the water meter. Turn it clockwise until it is fully closed.
It’s important to note that some houses may have individual shut off valves for specific areas, like the bathroom. Make sure to close these valves as well. Avoid common mistakes such as only partially closing the valve or forgetting to close the individual shut off valves.
Once the water supply is off, you’re ready to move on to the next step: removing the old shut off valve.

TOTO® WASHLET® C5 Electronic Bidet Toilet Seat with PREMIST and EWATER+ Wand Cleaning, Elongated, Cotton White - SW3084#01
A REFRESHING CLEAN FOR EVERYONE - Gentle yet powerful water spray provides an effective clean; Adjustable warm water...
As an affiliate, we earn on qualifying purchases.
Step 3: Removing the Old Shut off Valve
Now that the water supply is turned off, it’s time to remove the old shut off valve.
Before starting the process, it’s important to inspect the valve for any signs of rust or corrosion. If the valve is rusted, it may be more difficult to remove.
Using a wrench, carefully loosen the nuts connecting the valve to the water line and toilet supply line. If the nuts are particularly stubborn, applying some penetrating oil can help loosen them.
Once the nuts are loosened, gently twist and pull the valve to remove it from the pipes. It’s crucial to properly dispose of the old shut off valve to prevent any environmental harm. Check with your local waste management facility for guidance on the appropriate disposal method.
With the old valve removed, we can now move on to step 4: installing the new shut off valve.

TOTO Drake Two-Piece Elongated 1.28 GPF TORNADO FLUSH Toilet with CEFIONTECT and SoftClose Seat, WASHLET+ Ready, Cotton White - MS776124CEG#01
POWERFUL PERFORMANCE WITH LESS FREQUENT CLEANING - TORNADO FLUSH swirls water in a circular pattern to fully wash...
As an affiliate, we earn on qualifying purchases.
Step 4: Installing the New Shut off Valve
After removing the old shut off valve, it’s time to install the new one. Proper positioning is crucial to ensure the correct alignment of the new shut off valve. Here are the steps to follow:
- Step 1: Begin by placing the new shut off valve in the desired location, ensuring it is parallel to the water pipe.
- Step 2: Use a wrench to tighten the compression fittings on both ends of the shut off valve. Make sure they are snug but not over-tightened to avoid damaging the fittings.
Securing the connections is essential to prevent leaks in the future. Here are some tips for tightening and sealing the fittings of the new shut off valve:
- Tip 1: Use Teflon tape on the threaded connections to create a watertight seal.
- Tip 2: Tighten the fittings with a wrench, but be careful not to overtighten, as this can damage the valve or the pipe.
Step 5: Testing and Troubleshooting the New Shut off Valve
To ensure the proper functioning of the new shut off valve, you should turn on the water supply and check for any leaks or issues.
Common issues with toilet shut off valves include leaks, low water pressure, and difficulty in adjusting the water flow. If you notice any leaks, tighten the connections or replace any faulty parts.
To adjust the water flow on a new shut off valve, locate the adjustment screw or knob on the valve and turn it clockwise to decrease the flow or counterclockwise to increase it. It’s important to find the right balance to avoid excessive water pressure or inadequate flushing.
Remember to test the toilet after making any adjustments to ensure it is working properly.
Conclusion
In conclusion, replacing a toilet shut off valve is a relatively simple task that can be done with just a few tools and materials. By following the step-by-step guide outlined in this article, you can ensure that the process is completed smoothly and efficiently.
Did you know that according to a recent survey, over 60% of homeowners have experienced issues with their shut off valves? This statistic highlights the importance of knowing how to replace them, as it is a common problem that can lead to water damage if not addressed promptly.