So, you’ve found yourself in a bit of a predicament with your toilet tank, huh? Fear not, my friend, for I am here to guide you through the process of replacing it.
In this informative and detailed article, I will show you how to:
- Assess the tank
- Gather the necessary tools and materials
- Drain and remove the old tank
- Confidently install the new one.
By the time we’re done, you’ll be flush with knowledge and ready to tackle this task with authority.
Let’s get started, shall we?
Key Takeaways
- Assess the toilet tank for any visible damage or issues before replacing it.
- Gather the necessary tools and materials, including measuring the dimensions of the current tank and considering compatibility with the flushing mechanism and water supply connection.
- Drain and remove the old tank by turning off the water supply, disconnecting the water supply line, and removing the tank bolts.
- Install the new tank carefully by following the manufacturer’s instructions, ensuring proper alignment with the bowl, and avoiding over-tightening the bolts.

LUXE Bidet NEO 120 - Single Nozzle, Self-Cleaning, Non-Electric Bidet Attachment for Toilet Seat, Adjustable Water Pressure, Rear Wash (White)
THE ULTIMATE VALUE – With a sleek design and high-quality parts, Our Bidet Attachment will give your bathroom...
As an affiliate, we earn on qualifying purchases.
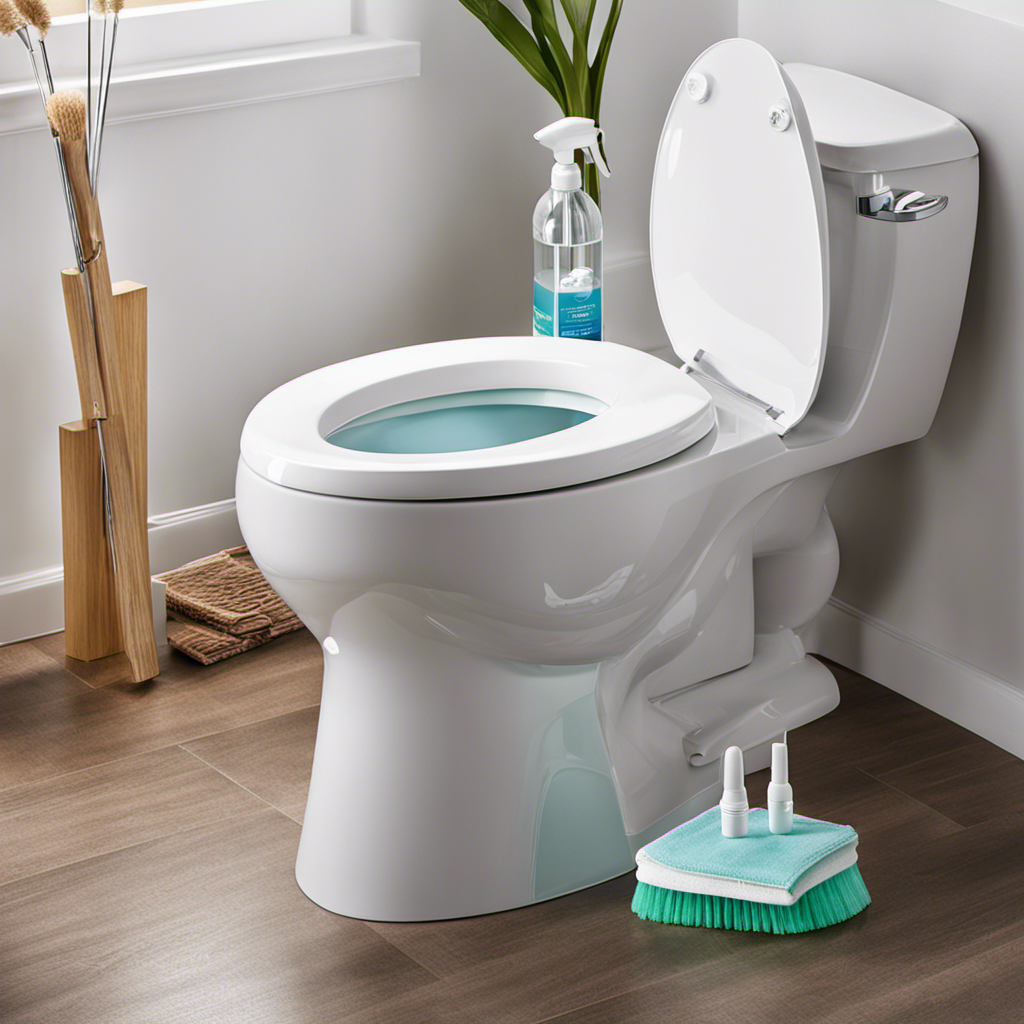
Assessing the Toilet Tank
First, you’ll want to check if the toilet tank is securely attached to the bowl. Common toilet tank problems can include leaks, cracks, or loose connections. Troubleshooting toilet tank issues is essential before replacing it.
Start by examining the tank for any visible signs of damage, such as water pooling around the base or cracks in the porcelain. Check the bolts and nuts that secure the tank to the bowl to ensure they are tight. If there is a leak, it may be due to a faulty gasket or a broken valve. Additionally, inspect the flushing mechanism to make sure it is functioning properly.
Once you have assessed the toilet tank, you can move on to gathering the necessary tools and materials for the replacement process.

SAMODRA Bidet Attachment, Non-Electric Cold Water Bidet Toilet Seat Attachment with Pressure Controls, Retractable Self-Cleaning Dual Nozzles for Frontal & Rear Wash - Black
High Quality Parts: Bidet attachment is constructed with durable ABS material, portable control panel, high-pressure faucet quality valves...
As an affiliate, we earn on qualifying purchases.
Gathering Tools and Materials
Next, you’ll want to make sure you have all the necessary tools and materials for the task at hand.
When it comes to choosing the right replacement tank for your toilet, there are a few things to consider.
Firstly, you’ll need to measure the dimensions of your current tank to ensure a proper fit. Additionally, take note of the flushing mechanism and water supply connection to ensure compatibility. It’s also important to consider the style and design of the new tank to match your bathroom decor.
As for removing stubborn bolts, there are a few tips to make the process easier. Applying penetrating oil to the bolts and letting it sit for a few minutes can help loosen them. Using a wrench or pliers with a firm grip will provide the necessary leverage to break the bolts free. Remember to turn the bolts counterclockwise to remove them.
With the right tools and a little patience, you’ll be well-prepared to tackle the task of replacing your toilet tank.

BIGCOW Ultra-Slim Bidet Attachment for Toilet - Dual Nozzle (Frontal & Rear Wash) with Adjustable Cold Water Pressure and Stainless Steel Inlet - Hygienic Solution for Fresh Cleanliness, Silver 1 Pcs
【Dual Spraying Modes】- This toilet bidet offers both rear wash for thorough cleaning and a specially designed frontal...
As an affiliate, we earn on qualifying purchases.
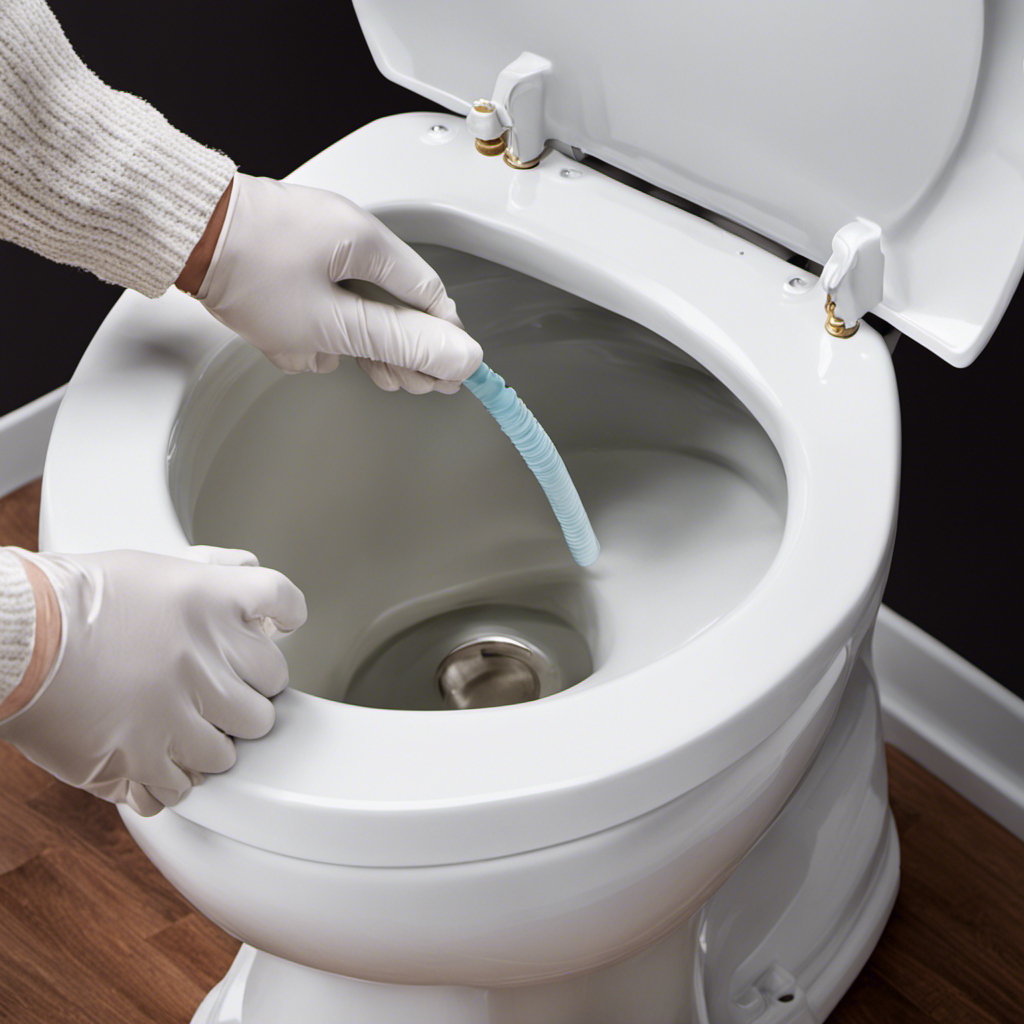
Draining and Removing the Old Tank
Before draining and removing the old tank, make sure to turn off the water supply to avoid any potential spills or leaks. To drain the tank, locate the water shut-off valve usually located on the wall behind the toilet. Turn the valve clockwise until it is fully closed. Next, flush the toilet to remove as much water as possible. Place a bucket or towels under the tank to catch any remaining water. Disconnect the water supply line from the bottom of the tank using a wrench. Once the water supply line is disconnected, remove the tank bolts that secure the tank to the bowl. Gently lift the tank off the bowl and set it aside. Now you are ready to troubleshoot common tank issues and perform necessary maintenance.
| Common Tank Issues | Troubleshooting Tips | Maintenance Tips |
|---|---|---|
| Weak Flush | Check for a clogged rim holes or a worn-out flapper | Clean rim holes or replace flapper |
| Constantly Running | Inspect the flapper and adjust the chain length | Replace flapper or adjust chain length |
| Leaking | Check for cracks or loose connections | Replace cracked parts or tighten connections |
| Condensation | Use a tank liner or insulating kit | Install tank liner or insulating kit |

PIKETS Bidet Attachment for Toilet, Dual Nozzle (Frontal and Rear Wash) Non-Electric Fresh Water Toilet Seat Attachment with Nozzle Self Cleaning, Adjustable Water Pressure(Chrome Silver)
Fresh - Get a fresh toilet experience at a reasonable price. Try washing the rear with fresh water,...
As an affiliate, we earn on qualifying purchases.
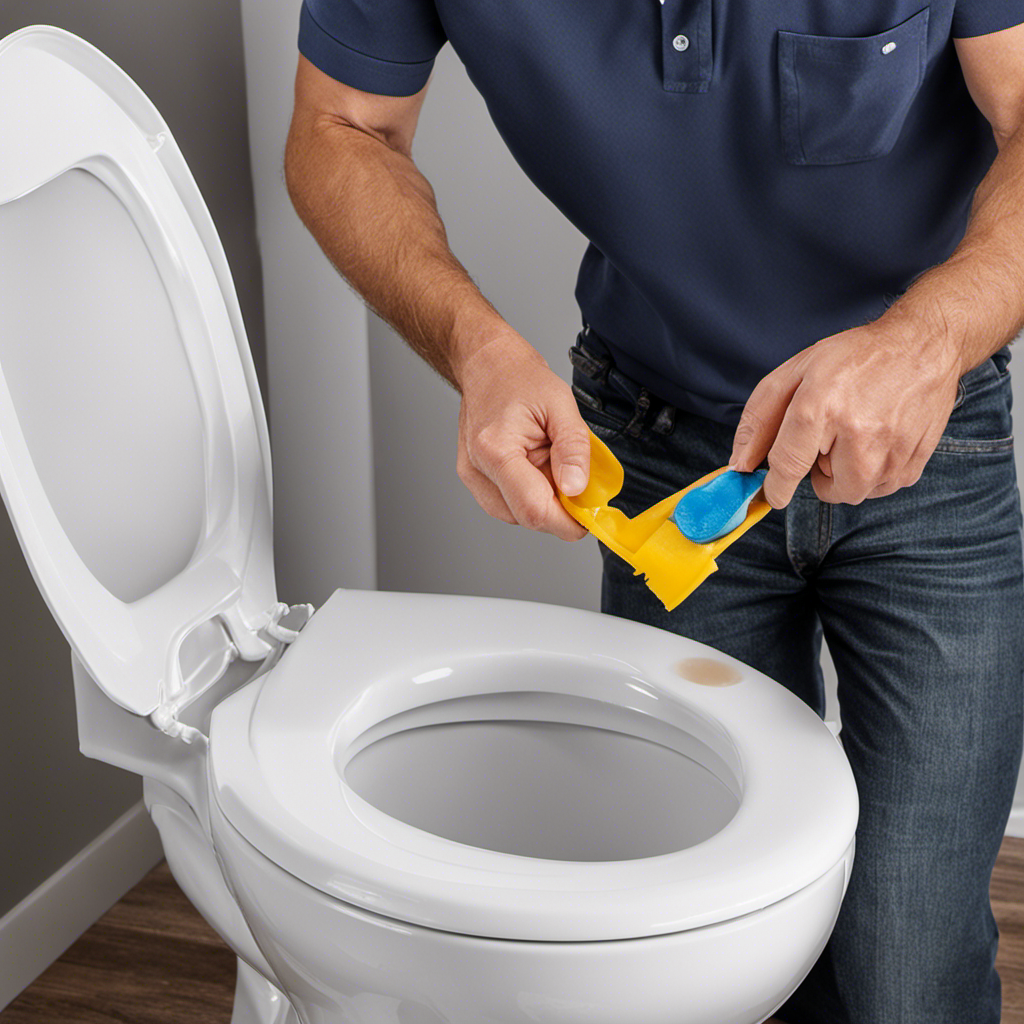
Installing the New Tank
Once the water supply line is disconnected, you can go ahead and install the new tank.
Installing the new tank may seem daunting, but with the right approach, it can be a seamless process.
To ensure a successful installation, there are some common mistakes you should avoid.
First, make sure to read the manufacturer’s instructions carefully before proceeding. This will help you understand any specific requirements or steps for your particular tank model.
Additionally, be cautious when tightening the bolts that secure the tank to the bowl. Over-tightening can cause cracks and leaks. To prevent this, tighten the bolts evenly and just enough to secure the tank in place.
Finally, don’t forget to properly align the tank with the bowl to ensure a proper fit.
Testing and Finishing Up
Now that the installation is complete, it’s time to test the water supply and finish up the final touches.
To ensure that everything is functioning properly, there are a few testing procedures that need to be followed.
First, turn on the water supply and check for any leaks around the tank and supply line. If there are no visible leaks, flush the toilet multiple times to ensure that the water flows smoothly and the tank refills properly. Additionally, check the flush mechanism to make sure it is working correctly.
Once the testing is complete and everything is in working order, it’s time to finish up the final touches. This includes tightening any loose bolts, adjusting the water level if necessary, and securing the tank lid.
With these final touches, your toilet tank replacement is complete and ready to be used.
Conclusion
As I tightened the last bolt on my newly installed toilet tank, I couldn’t help but feel a sense of accomplishment.
The process of replacing the tank seemed daunting at first, but with the right tools and materials, it was actually quite straightforward.
I carefully followed each step, draining and removing the old tank before installing the new one.
Now, all that’s left is to test it out and ensure everything is in working order.
The suspense builds as I eagerly await the moment of truth, hoping that my efforts will pay off and my bathroom will once again be fully functional.