Did you know that a leaking toilet can waste up to 200 gallons of water per day?
If you’re experiencing this problem, don’t worry – I’ve got you covered.
In this article, I will guide you through the step-by-step process of replacing toilet tank parts.
With just a few tools and supplies, you’ll be able to fix that pesky leak and save water in no time.
So let’s get started and take control of your toilet’s functionality!
Key Takeaways
- Understanding the different toilet tank components and their functions is crucial for successful replacement.
- Gathering the necessary tools and supplies before starting the repair ensures preparedness and efficiency.
- Following a step-by-step guide for removing old toilet tank parts helps in the effective removal process.
- Installing high-quality replacement parts and conducting regular maintenance prevents leaks, improves flush performance, and extends the toilet’s lifespan.

Fluidmaster 400AKR Universal All in One Toilet Repair Kit for 2-Inch Flush Valves, Easy Install
RESTORES OVERALL TOILET PERFORMANCE: All in one toilet repair kit replaces inefficient fill and flush valves, leaky flappers,…
As an affiliate, we earn on qualifying purchases.
As an affiliate, we earn on qualifying purchases.
Understanding the Toilet Tank Components
To understand the toilet tank components, you’ll need to know what each part does. Proper toilet tank maintenance is essential to prevent common toilet tank problems.
Let’s start with the fill valve, which regulates the water level in the tank. It has a float attached that rises with the water level and shuts off the water when it reaches the desired level.
The flush valve, on the other hand, is responsible for releasing the water from the tank into the bowl when you flush. It has a flapper that seals the tank to prevent leaks.
Lastly, the trip lever is the handle you push or pull to activate the flush. Understanding how these components work together is crucial for any repair or replacement.
Now that we know the basics, let’s move on to gathering the necessary tools and supplies.

Fluidmaster 400H-002 Performax Universal Toilet Fill Valve High Performance Tank and Bowl Water Control, 1-Pack, Multicolor
Fix noisy, or slow filling fill valves with the quietest, most powerful toilet fill valve available
As an affiliate, we earn on qualifying purchases.
As an affiliate, we earn on qualifying purchases.
Gathering the Necessary Tools and Supplies
First, you’ll need a few tools and supplies to get the job done. Toilet tank maintenance is important to ensure the smooth functioning of your bathroom. Common toilet tank problems can include leaks, weak flushes, and constantly running water.
To fix these issues, you’ll need a few essential items. Firstly, a pair of adjustable pliers will help you loosen and tighten nuts and bolts. A toilet tank repair kit, which typically includes a fill valve, flush valve, and flapper, is crucial for replacing worn-out parts. Additionally, a sponge or towel will come in handy to clean up any water spills. Finally, having a bucket nearby will help you catch excess water during the repair process.
With these tools and supplies, you’ll be well-prepared to tackle any toilet tank maintenance issues.

Korky Ultra Standard 2-Inch Universal Toilet Flapper – Long Lasting Rubber – Easy to Install – Made in USA, 100BP
TOILET FLAPPER VALVE FITS MOST POPULAR 2 inch toilet brands including, but not limited to: American Standard, Kohler,…
As an affiliate, we earn on qualifying purchases.
As an affiliate, we earn on qualifying purchases.
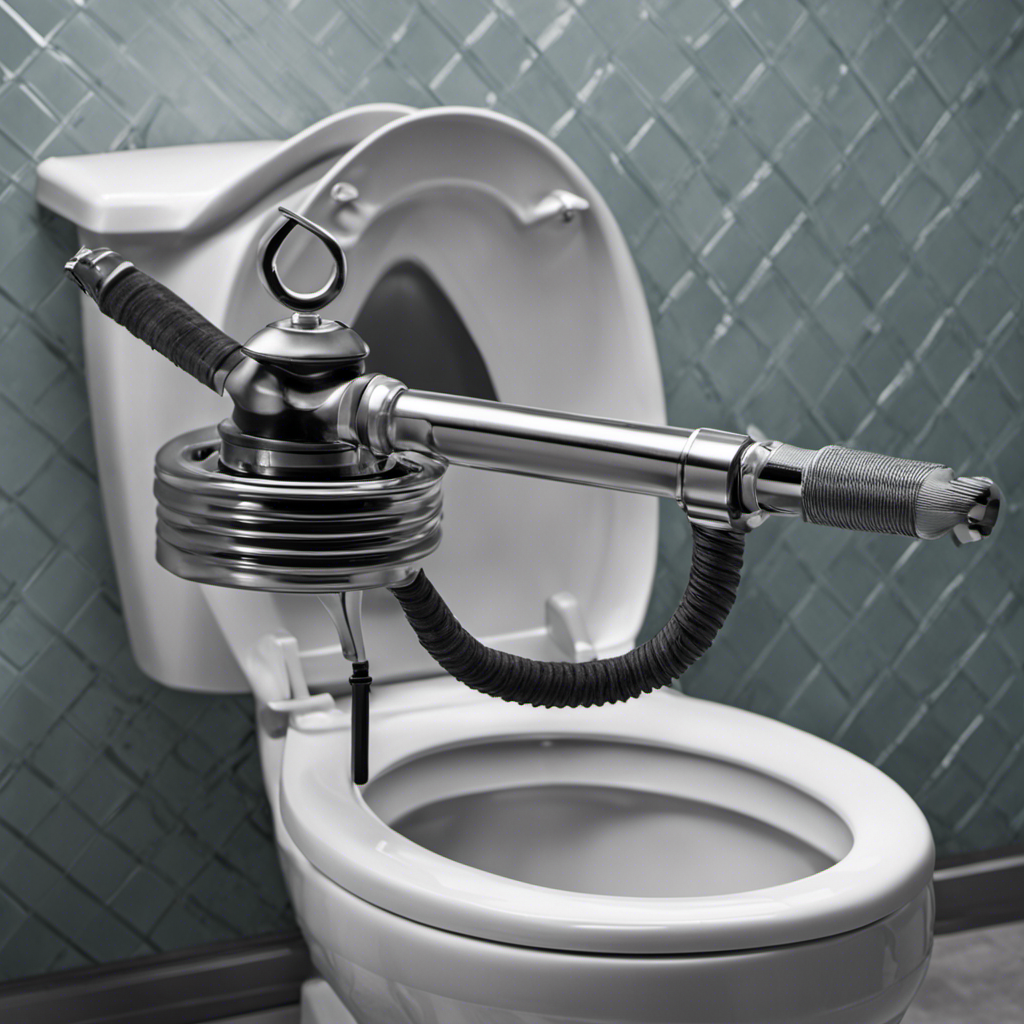
Step-by-Step Guide to Removing Old Toilet Tank Parts
Now, it’s time to remove the old parts of your toilet tank and replace them with new ones. Before we dive into the step-by-step guide, let’s take a moment to understand some common mistakes to avoid when replacing toilet tank parts. One mistake is not turning off the water supply before starting the process, which can lead to a messy and potentially damaging situation. Another mistake is using low-quality parts, which may result in frequent leaks and malfunctions. To ensure you choose high-quality toilet tank parts, here are a few tips: 1) Look for reputable brands known for their durability and reliability. 2) Check for certifications such as WaterSense, which ensures water efficiency. 3) Read customer reviews to gauge the performance and longevity of the parts. With these precautions in mind, let’s proceed with the step-by-step guide to removing old toilet tank parts.
| Common Mistakes to Avoid | Tips for Choosing High-Quality Toilet Tank Parts |
|---|---|
| Not turning off the water supply | Look for reputable brands known for durability and reliability |
| Using low-quality parts | Check for certifications such as WaterSense |
| Forgetting to read customer reviews | Read customer reviews to gauge performance and longevity |
Fluidmaster 400H-002 Performax Universal Toilet Fill Valve High Performance Tank and Bowl Water Control, 1-Pack, Multicolor
Fix noisy, or slow filling fill valves with the quietest, most powerful toilet fill valve available
As an affiliate, we earn on qualifying purchases.
As an affiliate, we earn on qualifying purchases.
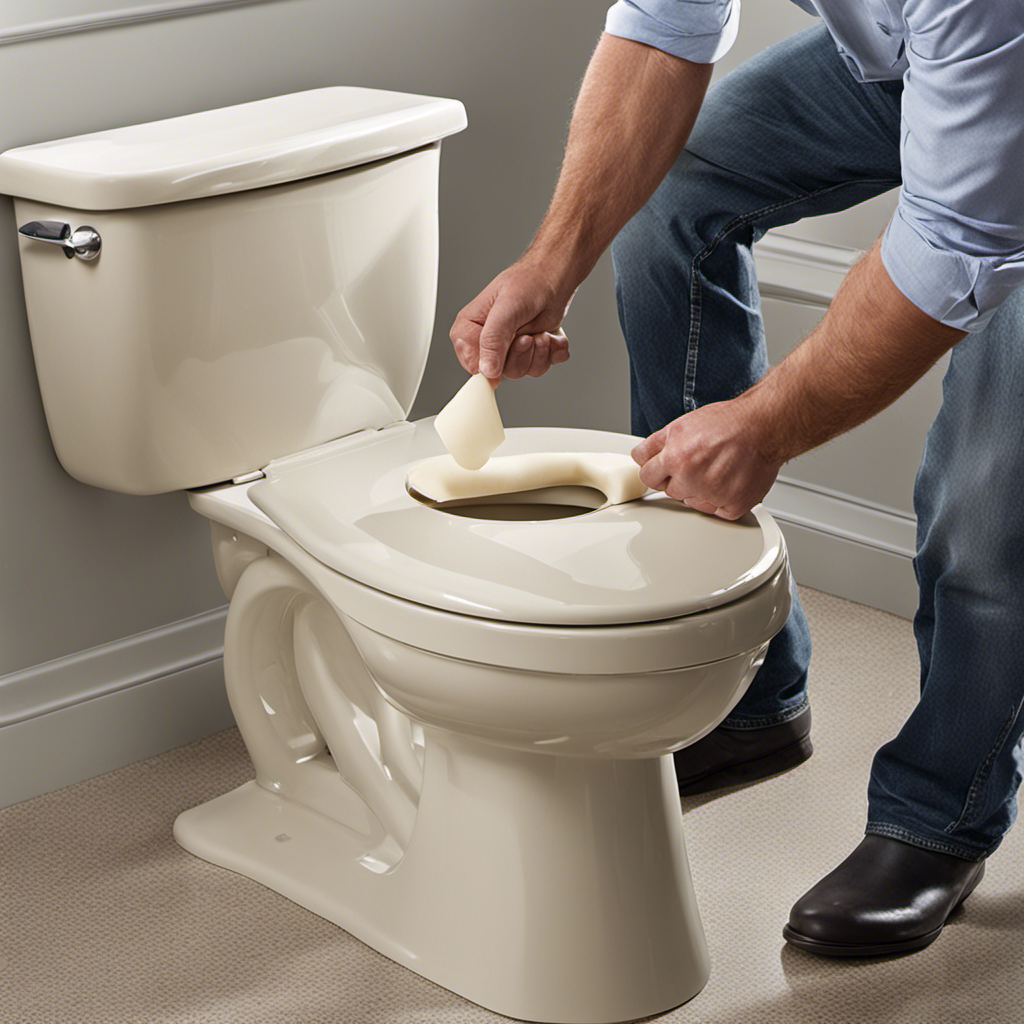
Installing the New Toilet Tank Parts
After removing the old toilet tank parts, it’s time to install the new ones. This step is crucial to ensure the proper functioning of your toilet. Before starting, it’s important to troubleshoot any common toilet tank issues you may be experiencing, such as leaks or weak flushes. By replacing worn-out parts, you can solve these problems and avoid more serious issues down the line.
Regular maintenance is key to keeping your toilet tank in good working condition. By replacing parts as needed, you can prevent leaks, improve flush performance, and extend the lifespan of your toilet. It’s recommended to inspect the tank components at least once a year and replace any faulty parts promptly. This will save you from costly repairs and water damage in the long run.
To install the new toilet tank parts, follow the manufacturer’s instructions carefully. Start by installing the fill valve, making sure it is securely attached to the tank. Then, attach the flapper or flush valve, ensuring a tight seal to prevent leaks. Finally, connect the supply line and tighten the nuts with a wrench. Once everything is in place, turn on the water supply and check for any leaks. If everything looks good, give your toilet a test flush to ensure proper functioning.
Testing and Troubleshooting the Replaced Toilet Tank Parts
To ensure everything is working properly, you’ll want to test the newly installed toilet tank components for any potential issues. Here are some troubleshooting and maintenance tips to help you with this process:
-
Check for leaks: Fill the tank with water and observe if there are any leaks around the connections or the base of the tank.
-
Test the flush: Flush the toilet multiple times to ensure that it flushes properly and the water refills the tank adequately.
-
Inspect the fill valve: Make sure the fill valve is functioning correctly by checking if the water stops flowing once the tank reaches the appropriate level.
-
Adjust the water level: If the water level is too high or too low, adjust the float or water level adjustment screw accordingly.
-
Listen for unusual sounds: Pay attention to any unusual sounds, such as hissing or gurgling, which could indicate a problem with the components.
Frequently Asked Questions
How Do I Know if I Need to Replace My Toilet Tank Parts?
If I notice signs of wear or experience common toilet tank problems like constant running or leakage, it may be time to replace my toilet tank parts. It’s important to address these issues promptly to avoid further damage.
Can I Use Universal Toilet Tank Parts for Any Type of Toilet?
Yes, you can use universal toilet tank parts for any type of toilet! They are designed to fit most toilets, but there may be some compatibility issues. Always check the product specifications to ensure proper fit.
Are There Any Specific Safety Precautions I Need to Take When Replacing Toilet Tank Parts?
When replacing toilet tank parts, it’s important to take safety precautions. Common mistakes include not turning off the water supply, mishandling tools, and not following proper installation instructions. Be careful and follow the necessary steps.
What Should I Do if the Toilet Tank Parts I Purchased Don’t Fit My Toilet?
If the toilet tank parts I purchased don’t fit my toilet, I can try alternative solutions. First, I can double-check the compatibility of the parts. If they are indeed incompatible, I can troubleshoot by contacting the manufacturer or seeking professional assistance.
How Often Should I Replace My Toilet Tank Parts to Ensure Optimal Performance?
To ensure optimal performance, I replace my toilet tank parts as often as I replace my toothbrush – when they start showing signs of wear. Proper toilet tank maintenance keeps things running smoothly.
Conclusion
Well folks, we’ve come to the end of our journey into the world of toilet tank parts replacement.
I hope this guide has enlightened you and given you the confidence to tackle this daunting task on your own.
Remember, replacing toilet tank parts is not for the faint of heart, but with the right tools and a little patience, you can become a master plumber in no time.
So go forth, my friends, and may your toilets always flush with ease!