Picture this: you’re standing in the midst of a bathroom renovation, ready to take on the task of roughing in a toilet.
Don’t worry, it’s easier than you think! In this step-by-step guide, we’ll show you how to locate the rough-in point, measure and mark the dimensions, and cut and remove the floor for the toilet drain.
Plus, we’ll guide you through installing the toilet flange and connecting the drain pipe.
Get ready to conquer this essential plumbing project and bring your bathroom dreams to life!
Key Takeaways
- Use the correct tools and materials, such as a wrench, screwdriver, wax ring, closet bolts, and pipe cutter, for the rough-in process.
- Take accurate measurements and consider factors like clearance, venting, and building codes to ensure proper alignment of the toilet.
- Measure and mark the rough-in dimensions, which is the distance between the wall and center of the toilet drain, using a pencil or masking tape on the floor.
- Cut and remove the floor to expose the subfloor for toilet drain installation, ensuring to inspect and make any necessary repairs. Then, install the toilet flange and connect the drain pipe following the manufacturer’s instructions.

Smart Toilet with Bidet Built In, Heated Seat, Warm Water Wash & Dryer, Tankless Bidet Toilet with Foot Sensor & Night Light, Auto Open/Close Lid & Flush, Wireless Remote, 1.26GPF Water-Saving Design
🛠️ Easy Installation & Reliable Support: This smart toilet with bidet built in includes all accessories, flange kit,...
As an affiliate, we earn on qualifying purchases.
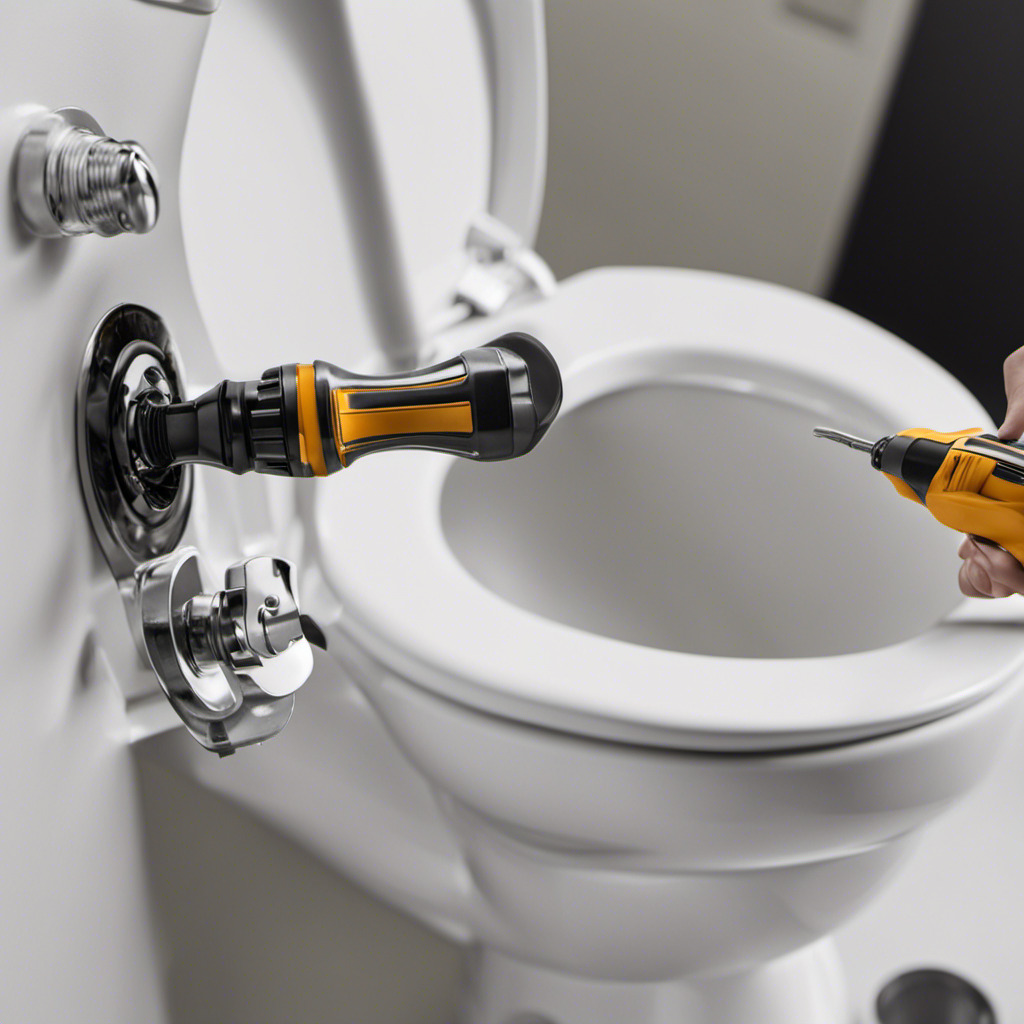
Required Tools and Materials
When it comes to toilet installation, having the right tools and materials is essential to ensure a smooth and successful project. Here are the basic plumbing basics you’ll need:
-
Wrench: A wrench is essential for tightening and loosening nuts and bolts. You’ll need it to secure the toilet to the floor.
-
Screwdriver: A screwdriver is necessary for removing the old toilet and attaching the new one.
-
Wax ring: This is a crucial component that creates a watertight seal between the toilet and the drain pipe.
-
Closet bolts: These bolts secure the toilet to the floor and keep it stable.
-
Pipe cutter: If you need to adjust the length of the water supply line, a pipe cutter will come in handy.
Having these tools and materials ready will make the toilet installation process much easier and ensure a successful outcome.

Loniko Smart Toilet with Bidet Built In, Heated Seat & Dual Auto Flush, Foot Sensor, Tankless Modern Elongated Electric Toilet with Warm Water Wash, Air Dryer, LED Display & 1000g MaP Flush, 1.28 GPF
🧻 [Powerful & Water-Saving Dual Flush System] This one piece smart toilet with bidet built in uses an...
As an affiliate, we earn on qualifying purchases.
Locating the Rough-in Point
First, find the ideal location for where the plumbing should be installed. This is a crucial step in roughing in a toilet, as any mistakes can lead to costly repairs or inconvenience down the line. Here are some common mistakes to avoid when locating the rough-in point:
-
Incorrect measurements: Take precise measurements to ensure proper alignment. Remember to account for baseboards or any obstructions that may affect the placement.
-
Inadequate clearance: Allow for enough space around the toilet for comfortable use and maintenance. Ensure that there is sufficient room for the toilet tank, seat, and access to the water supply.
-
Improper venting: Make sure to locate the rough-in point near a vent stack or vent pipe to prevent plumbing issues such as clogs or odors.
-
Ignoring building codes: Familiarize yourself with local building codes and regulations to ensure compliance and avoid any legal issues.
To ensure proper alignment during roughing in the toilet, here are some tips:
- Use a level to ensure the toilet is perfectly horizontal.
- Double-check the measurements before making any cuts or installations.
- Consider using a template or marking the rough-in point on the floor to guide the installation process.
- Seek professional advice if you are unsure about any step or encounter any difficulties.

Smart Toilet with Elongated Heated Seat, Auto Flush, One Piece Toilet for Bathrooms Soft-Close Seat & Lid, Night Light, Electric Tankless Toilets with Dual Flush Remote - Pre-Wetting
【Electrical Outlet Necessary&No Built-in Bidet】This smart toilet has no bidet built in function.This toilet power cord is1.5M, please...
As an affiliate, we earn on qualifying purchases.
Measuring and Marking the Rough-in Dimensions
To ensure accurate placement, it’s important to measure and mark the dimensions for the rough-in point. Proper toilet placement is crucial for a functional and comfortable bathroom.
The rough-in measurement refers to the distance between the wall and the center of the toilet drain. The most common rough-in measurements are 10 inches, 12 inches, and 14 inches.
To determine the rough-in measurement, start by measuring from the finished wall to the center of the existing drain pipe. Once you have the measurement, mark it on the floor using a pencil or masking tape. This will serve as a guide when cutting and removing the floor for the toilet drain, which we will discuss in the next section.
With the rough-in dimensions accurately marked, you can proceed with confidence to the next step.

LOUPUSUO Smart Toilet with Warm Water Sprayer and Dryer, One Piece Bidet Toilet with Auto Dual Flush Foot Sensor Operation,Heated Seat Smart with Built In Fahrenheit LED Display
Powerful Flushing System: Designed with low water consumption (1.26 gallons per flush), this system ensures efficient and thorough...
As an affiliate, we earn on qualifying purchases.
Cutting and Removing the Floor for the Toilet Drain
Measure the distance between the wall and the center of the drain pipe, then use a pencil or masking tape to mark the rough-in dimensions accurately on the floor.
Now that you have marked the rough-in dimensions, it’s time to prepare the floor for the toilet drain. Follow these steps:
-
Use a utility knife to cut through the flooring material along the marked dimensions. Be careful not to cut into any pipes or wires underneath.
-
Remove the cut piece of flooring to expose the subfloor.
-
Inspect the subfloor for any damage or decay. If necessary, make any necessary repairs to ensure a solid surface for the toilet installation.
-
Once the floor is repaired, you can proceed with the installation of the toilet drain, following the manufacturer’s instructions.
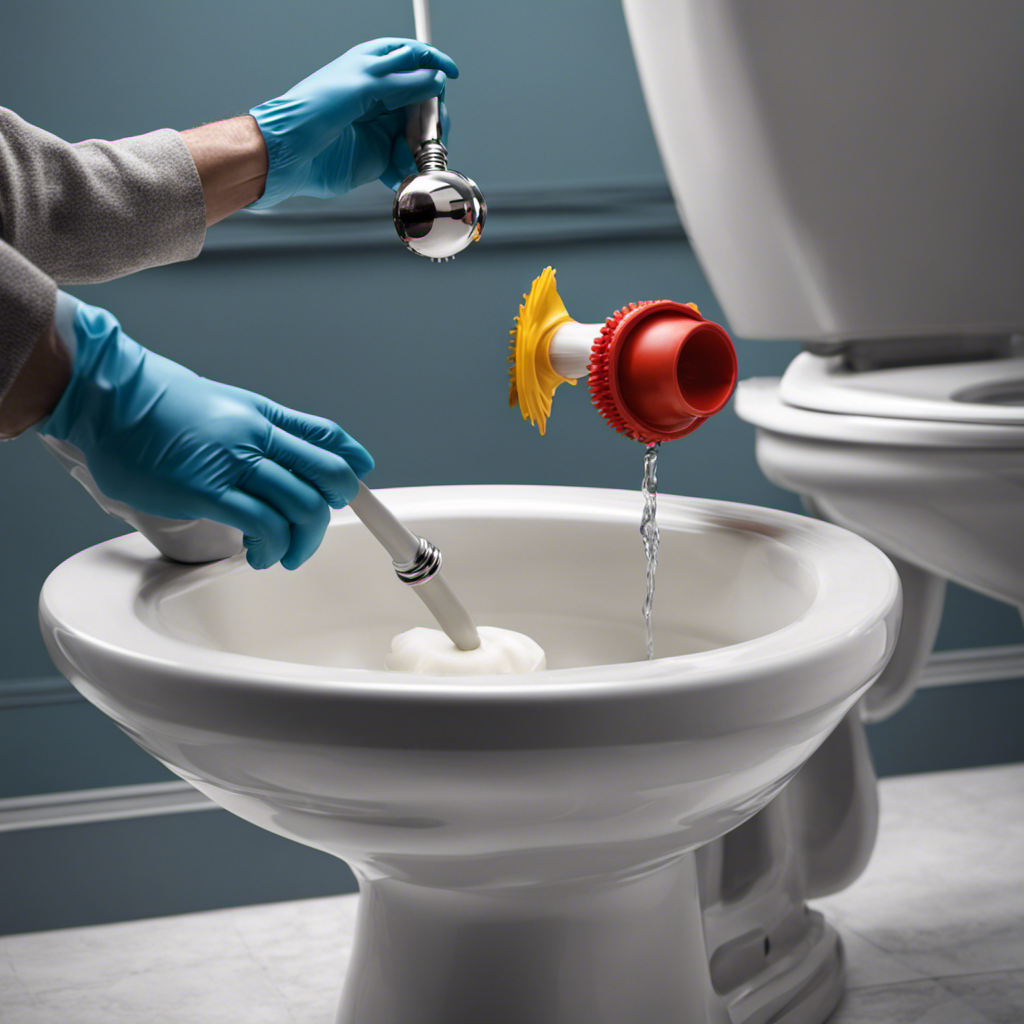
Installing the Toilet Flange and Connecting the Drain Pipe
Now that you’ve repaired the subfloor, it’s time to install the toilet flange and connect the drain pipe.
The toilet flange is a crucial component that connects the toilet to the drain pipe and provides a secure base for the toilet to rest on. Start by placing the flange over the drain pipe, ensuring that it fits securely. Use screws or bolts to attach the flange to the floor, making sure it is level and centered.
Next, seal the toilet flange to the floor using a waterproof sealant. This will prevent any leaks or odors from escaping.
Conclusion
Congratulations! You’ve successfully learned how to rough in a toilet. By following these steps, you can confidently install a toilet in your bathroom without any hassle.
Remember, measuring accurately and using the right tools are crucial for a smooth installation. Just like a master craftsman, you’ve now added another skill to your repertoire.
So go ahead and confidently tackle this project, knowing that you’re well-equipped to handle it like a pro!