
As an experienced plumber, I’ve learned that dealing with a leaky toilet can be a real pain in the neck. But fear not, because I’m here to share my expertise and guide you through the steps to stop that annoying drip.
In this article, I’ll show you how to:
- Identify the source of the leak
- Shut off the water supply
- Inspect and replace the flapper valve
- Check and tighten bolts and connections
- Test for leaks and make any necessary adjustments
Let’s get started and put an end to that pesky leak once and for all!
Key Takeaways
- Check the toilet tank and connections for visible signs of water.
- Shut off the water supply by locating the shut-off valve and turning it clockwise.
- Inspect and replace the flapper valve if necessary.
- Inspect and tighten the bolts and connections securing the toilet to the floor.

Korky Ultra Standard 2-Inch Universal Toilet Flapper – Long Lasting Rubber – Easy to Install – Made in USA, 100BP
TOILET FLAPPER VALVE FITS MOST POPULAR 2 inch toilet brands including, but not limited to: American Standard, Kohler,…
As an affiliate, we earn on qualifying purchases.
As an affiliate, we earn on qualifying purchases.
Identifying the Source of the Leak
To determine the source of the leak, start by checking the toilet tank and connections for any visible signs of water. Common causes of a leaky toilet can include a faulty wax ring, loose connections, or a cracked tank or bowl.
Begin by inspecting the wax ring, which is located at the base of the toilet. If it appears worn or damaged, it will need to be replaced. To repair the wax ring, first, shut off the water supply to the toilet. Then, remove the toilet by disconnecting the water supply line and unscrewing the bolts securing it to the floor.
Once the toilet is removed, scrape off the old wax ring and replace it with a new one, ensuring a tight seal. With the wax ring repaired, you can move on to shutting off the water supply.

Korky 6000BP Universal Toilet WaxFree Seal with Hardware – Toilet Installation Made Easy – Made in USA , Red
NO WAX, NO MESS – The easiest way to install a toilet seal ring & fix leaks
As an affiliate, we earn on qualifying purchases.
As an affiliate, we earn on qualifying purchases.
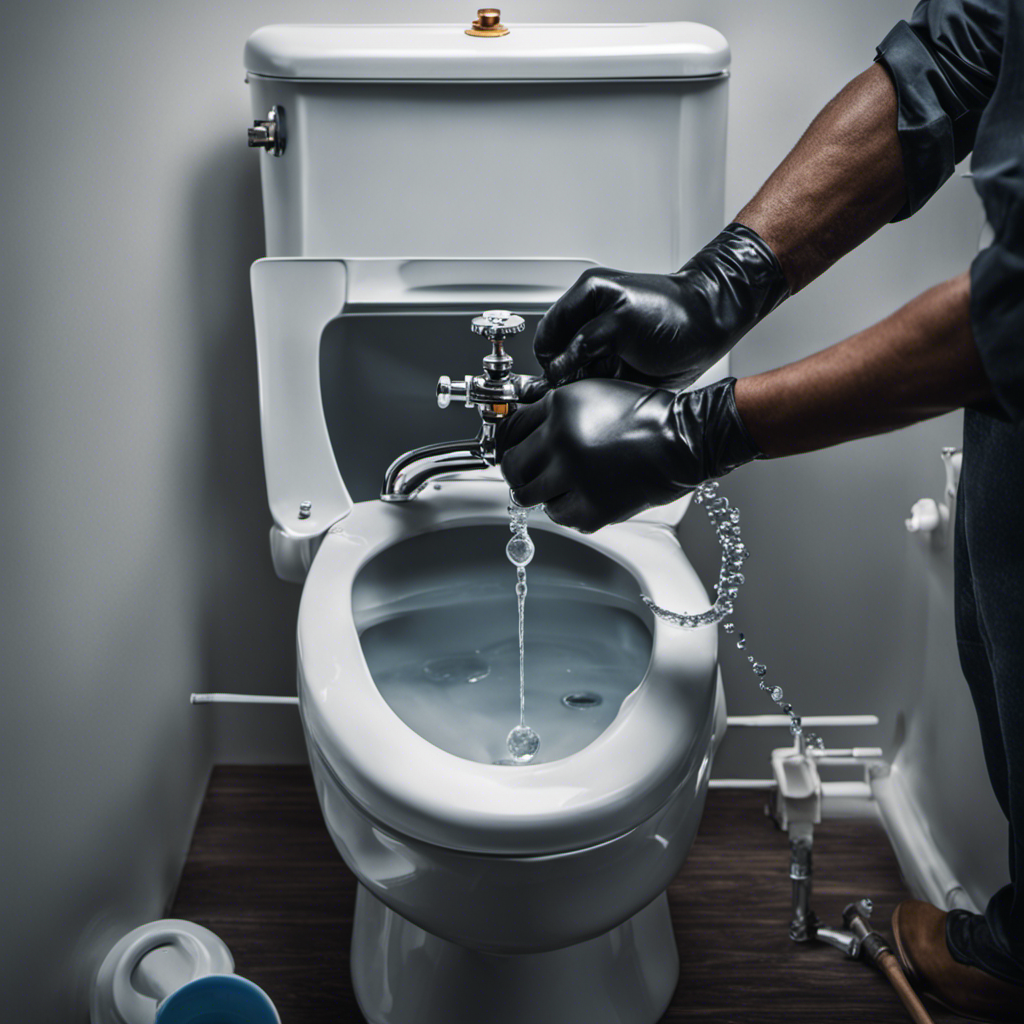
Shutting off the Water Supply
First, you’ll need to locate the shut-off valve for the water supply to your toilet. This valve is usually located on the wall behind the toilet or near the floor. Once you’ve found it, follow these steps to shut off the water supply:
-
Turn the valve clockwise to close it. You may need to use a pair of pliers if the valve is stiff.
-
Listen for the sound of water stopping. This means the valve is closed and the water supply to the toilet has been shut off.
-
Flush the toilet to remove any remaining water in the tank and bowl.
-
Use towels or a bucket to catch any water that may still be leaking from the tank or bowl.

Toilet Connector Water Line Kit with 12" Length Long 3/8" COMP x 7/8" BC Toilet Connector Hose, 1/2 inch NOM Inlet x 3/8 inch OD Compression Outlet Angle Shut Off and Escutcheon Plate
COMPLETE INSTALLATION KIT:Our toilet water supply line set includes 1 pc toilet connector,1 pc 1/4 turn angel stop…
As an affiliate, we earn on qualifying purchases.
As an affiliate, we earn on qualifying purchases.
Inspecting and Replacing the Flapper Valve
Once you’ve shut off the water supply, the next step is to inspect and potentially replace the flapper valve.
The flapper valve is a crucial component of your toilet’s flushing system, responsible for sealing the flush valve and preventing water from continuously flowing into the bowl. If you’re experiencing a leaky toilet, the flapper valve may be the culprit.
To troubleshoot common issues, start by visually inspecting the flapper valve for any signs of damage or wear. Look for cracks, warping, or deterioration. If you notice any issues, it’s time to replace the flapper valve.
Alternatively, if the flapper valve appears to be in good condition, you can try adjusting the chain length or cleaning any mineral buildup on the valve to improve its performance.

Fluidmaster Universal Install/Uninstall Toilet Repair Tool
Fluidmaster’s universal install and uninstall toilet tool makes any toilet repair job simple
As an affiliate, we earn on qualifying purchases.
As an affiliate, we earn on qualifying purchases.
Checking and Tightening the Bolts and Connections
Make sure you check and tighten the bolts and connections to ensure a secure and stable toilet. Here are four important steps to follow:
-
Begin by inspecting the bolts that secure the toilet to the floor. Use a wrench to tighten any loose bolts. This will prevent the toilet from wobbling or shifting.
-
Next, examine the water supply line connections. Look for any signs of leakage or looseness. If necessary, use pliers to tighten the connections and ensure a proper seal.
-
Don’t forget to check the connections between the tank and bowl. These can also become loose over time. Tighten them using a wrench, being careful not to overtighten and risk damaging the porcelain.
-
Lastly, consider replacing the wax seal between the toilet and the floor. This seal can deteriorate over time, leading to leaks. Follow the manufacturer’s instructions to remove the old seal and install a new one.
Testing for Leaks and Making Final Adjustments
After completing the tightening and connection checks, it’s important to test for leaks and make any final adjustments to ensure the toilet is functioning properly.
One common issue with toilets is a leak from the tank into the bowl, which can lead to wasted water and increased utility bills.
To troubleshoot this leak, first, adjust the water level in the tank. This can be done by adjusting the float valve or the fill valve. If the water level is too high, it may overflow into the bowl. Conversely, if it’s too low, the toilet may not flush properly.
Additionally, check for any cracks or damage to the toilet bowl or tank that could be causing the leak.
Conclusion
So there you have it, a complete guide on how to stop a leaky toilet. By following these steps, you can quickly and efficiently fix the problem and avoid any further damage.
Remember, a leaking toilet can waste up to 200 gallons of water per day, which not only leads to higher water bills but also contributes to water scarcity. Taking the time to fix a leaky toilet is not only practical but also environmentally responsible.
Don’t hesitate to take action and keep your bathroom dry and efficient.