Hey there, have you ever found yourself in a sticky situation with a toilet that just won’t flush? Well, you’re not alone.
In fact, did you know that clogged toilets are one of the most common plumbing problems homeowners face? But fear not, because I’m here to guide you through the steps to get your toilet back in working order.
From checking the water supply to adjusting the float ball, we’ll cover all the necessary troubleshooting techniques to help you fix the issue yourself.
So let’s dive in and tackle this problem head-on!
Key Takeaways
- Check the water supply valve and pressure in the house to ensure they are fully open and sufficient for flushing.
- Inspect and replace the flapper valve if it is damaged or not functioning properly.
- Clear clogs using plunging techniques or a toilet auger if necessary.
- Adjust the float ball to control the water level in the tank and ensure proper flushing.

GIOTOHUN Cat Water Fountain Filter: 12 Cat Fountain Filter Replacement - 12 Pet Fountains Filters Replacement - 6 Filters & 6 Sponges - Suitable for ATMZIQXR GIOTOHUN KOOGMOON UMOCUOY IHOUONE HOOISE
- Compatible with GIOTOHUN Stainless Steel Fountain: Fits GIOTOHUN 2.2L cat water dispenser
- Set of 12 Filters: Includes 6 carbon and 6 sponge filters
- Long-lasting Filters: Suitable for 3-6 months of use
As an affiliate, we earn on qualifying purchases.
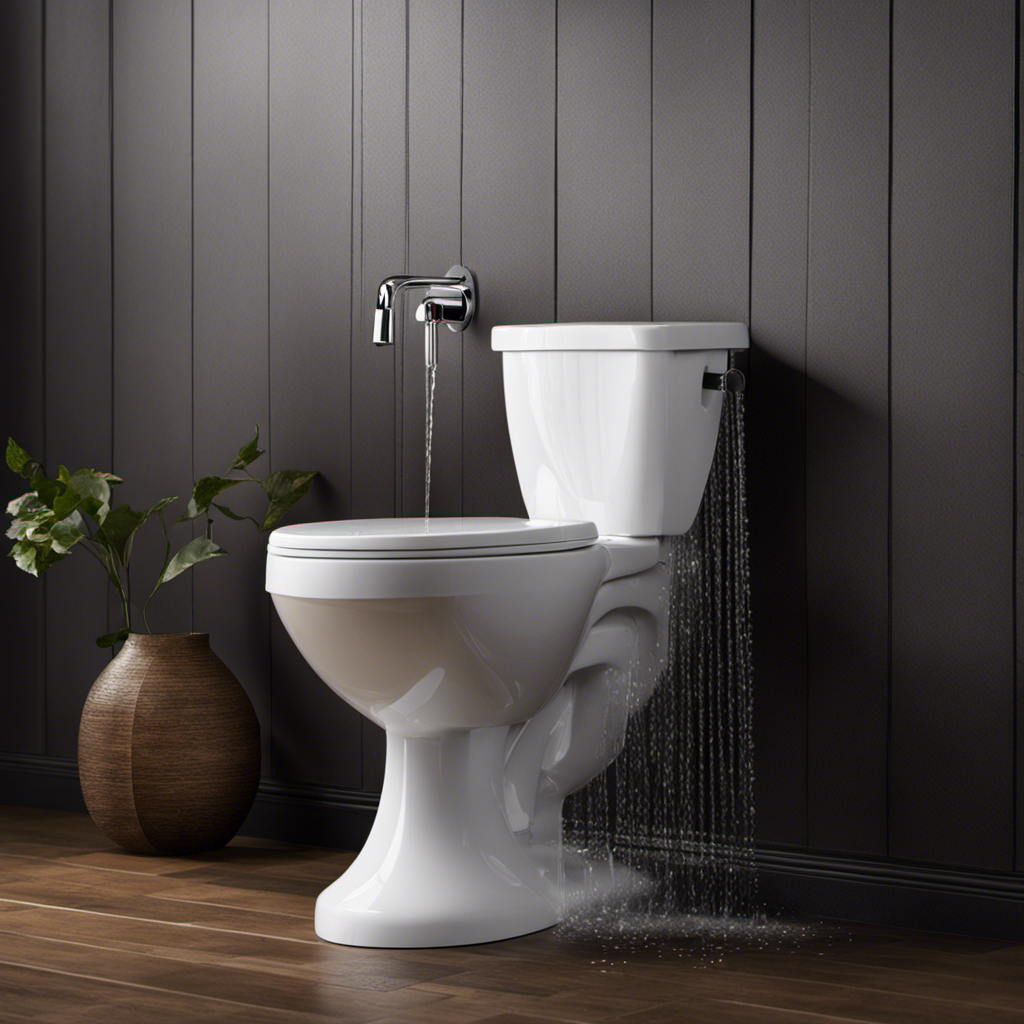
Checking the Water Supply
First, check if you’ve turned on the water supply to the toilet. Sometimes, the flush handle doesn’t work simply because there’s no water flowing into the tank.
To troubleshoot the flush handle, start by locating the water shut-off valve behind or near the toilet. Ensure that the valve is fully open, allowing water to flow into the tank.
If the valve is already open, the issue may lie with the water pressure. Evaluating the water pressure can help determine if it’s strong enough to effectively flush the toilet. You can do this by turning on other faucets in the house and observing if they have good water pressure.
If not, there might be a problem with the water supply system that needs attention.
Inspecting the Flapper Valve
Next, check the flapper valve for any signs of damage or wear. The flapper valve is a crucial component in the toilet’s flushing mechanism. It is responsible for controlling the flow of water from the tank to the bowl during a flush.
If the flapper valve is damaged or worn out, it can cause issues with flushing. To inspect the flapper valve, start by removing the tank lid and locating the valve at the bottom. Look for any cracks, tears, or deterioration in the rubber material. If you notice any damage, it is essential to replace the flapper valve to restore proper flushing function.
Additionally, if troubleshooting the flush handle doesn’t solve the problem, inspecting the flapper valve is the next step in resolving toilet flushing issues.
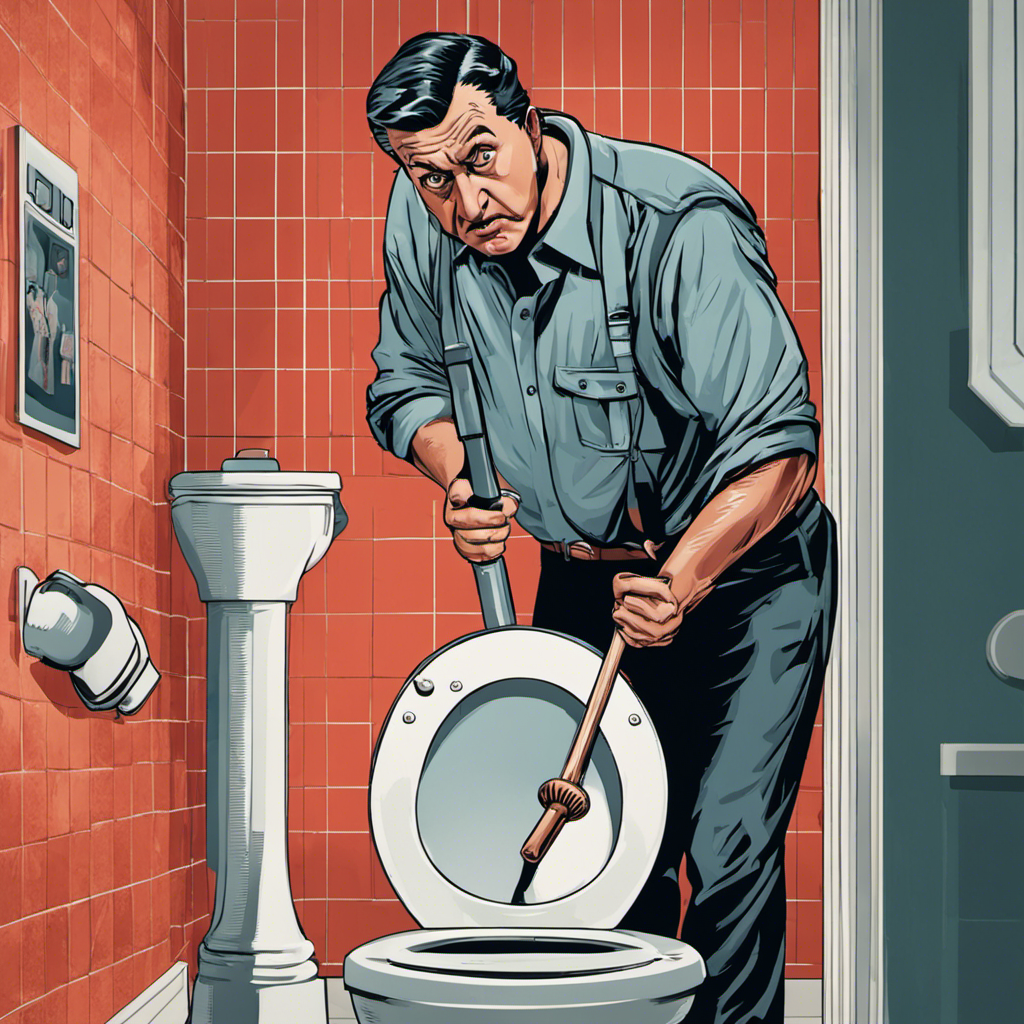
Clearing the Clog
Now, you’ll want to address the clog in your toilet. Clearing a clog can be done using plunging techniques or a toilet auger. Plunging is the most common method and can often dislodge the obstruction.
To plunge properly, follow these steps:
- Ensure there is enough water in the bowl to cover the plunger.
- Position the plunger over the drain hole and create a tight seal.
- Push down forcefully, then pull up quickly, repeating the motion several times.
If plunging doesn’t work, you can try using a toilet auger. This tool has a flexible cable that can be inserted into the drain to break up the clog. Simply insert the auger into the drain, rotate the handle clockwise, and push it in until you feel resistance. Then, slowly pull back while continuing to rotate the handle.
Now that you’ve cleared the clog, let’s move on to adjusting the float ball.
Adjusting the Float Ball
To properly adjust the float ball, you’ll need to locate the fill valve in your toilet tank. Here’s a step-by-step guide on how to adjust the float ball and ensure the correct water level in your toilet:
-
Turn off the water supply: Locate the shut-off valve near the base of the toilet and turn it clockwise to stop the water flow.
-
Remove the tank lid: Lift the lid and set it aside carefully.
-
Locate the float ball: The float ball is usually attached to the fill valve by a metal or plastic arm.
-
Adjust the water level: To lower the water level, bend the float arm downwards; to raise it, bend it upwards. Test the flush after each adjustment.
If adjusting the float ball doesn’t solve the issue, you may need to consider replacing parts or seeking professional assistance.
Seeking Professional Help
If adjusting the float ball doesn’t solve the issue, you may want to consider getting professional help. Hiring a plumber or calling a professional technician can be a wise choice when dealing with a persistent toilet flushing problem.
A trained professional will have the experience and expertise to diagnose and fix the underlying cause of the issue. They can quickly identify any plumbing or mechanical problems that may be affecting the toilet’s flushing mechanism. Additionally, a professional can ensure that any repairs or adjustments are done correctly, preventing further damage or complications.
While it may be tempting to try and fix the problem yourself, seeking professional help is often the most efficient and effective solution for resolving a toilet flushing problem.
Conclusion
In conclusion, when faced with a toilet that won’t flush, there are a few steps you can take to remedy the situation.
By checking the water supply, inspecting the flapper valve, clearing any clogs, and adjusting the float ball, you can often solve the problem yourself.
However, if these measures don’t work or if you’re unsure about performing them, it’s always best to seek professional help.
For example, imagine you have guests coming over and your toilet refuses to flush. By following these steps, you can quickly resolve the issue and avoid any embarrassing situations.