
Do you know that a running toilet can waste up to 200 gallons of water per day? If you’re tired of the constant sound and the higher water bills, it’s time to fix that pesky problem.
In this article, we’ll guide you through the step-by-step process of troubleshooting and fixing a toilet that keeps running. From checking the flapper valve to adjusting the water level, we’ve got you covered.
Say goodbye to the never-ending flush and hello to a properly functioning toilet.
Key Takeaways
- Check the flapper valve for signs of damage or debris and replace if necessary.
- Adjust the water level by lowering the float mechanism and test the flush power after adjustment.
- Inspect for water leaks around the toilet base, supply line connection, and flush valve, and fix any leaks found.
- Fix a faulty fill valve by shutting off the water supply, draining the tank, and installing a new fill valve.

Smart Toilet with Warm Water Sprayer and Dryer, One Piece Bidet Toilet with Auto Dual Flush Foot Sensor Operation,Heated Seat Smart with Built In Fahrenheit LED Display
Powerful Flushing System: Designed with low water consumption (1.26 gallons per flush), this system ensures efficient and thorough...
As an affiliate, we earn on qualifying purchases.
Identifying the Cause of a Running Toilet
To figure out why your toilet is running, you’ll want to start by checking the flapper valve. This valve is responsible for controlling the flow of water from the tank into the bowl. If it’s not sealing properly, water will continue to flow and cause the toilet to run.
To troubleshoot the flushing issue, first, remove the tank lid and observe the flapper valve. Check for any signs of damage or debris that may be preventing it from closing completely. If necessary, clean the valve and ensure it’s properly aligned.
Additionally, inspect the toilet flush handle. Make sure it’s not stuck or broken, as this can also cause a running toilet. If needed, adjust or replace the handle to restore proper flushing functionality.

Smart Bidet Toilet, Booster Pump, 1000g MaP Powerful Flush, Foam Shield
No water pressure limit / Foam shield / Dual flush / Blackout flush
As an affiliate, we earn on qualifying purchases.
Checking the Flapper Valve for Issues
First, check if the flapper valve is causing the issue with your running toilet. The flapper valve is a rubber or plastic component that controls the flow of water from the tank to the bowl. If it is not functioning properly, it can cause the toilet to continuously run.
Here’s how to check for issues with the flapper valve:
- Remove the toilet tank lid and locate the flapper valve at the bottom of the tank.
- Inspect the flapper valve for any signs of damage, such as cracks or tears. If you notice any, it’s time for a flapper valve replacement.
- If the flapper valve appears to be in good condition, check its adjustment. Ensure that it is properly aligned and forms a tight seal when closed.
- Test the flapper valve by flushing the toilet and observing its behavior. If the water continues to run even after the flapper valve closes, it may need further adjustment or replacement.
Amazon Product B0G4L1X68K
As an affiliate, we earn on qualifying purchases.
Adjusting the Water Level in the Toilet Tank
To adjust the water level in your toilet tank, there are a few key points to consider.
First, you can lower the water level by adjusting the float mechanism. This can be done by either bending the float arm downwards or adjusting the screw on the float valve.
Secondly, it is important to check for any leaks in the tank or toilet bowl that may be causing the water level to rise.
Lowering Water Level
You can try adjusting the float to lower the water level in the toilet tank. Follow these steps to successfully lower the water level:
-
Locate the float inside the toilet tank. It is usually a ball attached to a metal arm.
-
Gently bend the metal arm downwards to lower the float.
-
Flush the toilet and observe if the water level has decreased. If not, repeat steps 1 and 2 until the desired water level is reached.
-
Once you have adjusted the float to the desired position, test the flush power of the toilet. If the flush power is too weak, you may need to adjust the float slightly higher.
Lowering the water level in the toilet tank can help in adjusting flush power and repairing the water supply. By following these steps, you can effectively fix a toilet that keeps running.
Adjusting Float Mechanism
When adjusting the float mechanism, make sure to gently bend the metal arm downwards to lower the float.
Start by locating the float mechanism inside the toilet tank. It is usually attached to the fill valve.
Identify the metal arm connected to the float ball or cup. If the water level is too high, causing the toilet to keep running, you need to lower the float.
Gently bend the metal arm downwards, ensuring not to apply too much pressure.
Test the water level by flushing the toilet and observing if it stops running after filling up.
If the problem persists, you may need to replace the float valve. Follow the manufacturer’s instructions to remove the old float valve and install a new one.
Checking for Leaks
Toilet leaks can be a common problem that cause your toilet to keep running. It’s important to detect and fix any leaks to prevent water waste and potential damage to your bathroom.
Here are the steps to check for leaks in your toilet:
- Remove the toilet tank lid and set it aside.
- Look and listen for any signs of water leaking. Check around the base of the toilet, the supply line connection, and the flush valve.
- If you see or hear water dripping or running, it indicates a leak.
- To confirm the leak, you can conduct a dye test. Drop a few drops of food coloring into the tank and wait for about 15 minutes. If the color appears in the bowl without flushing, you have a leak.
Toilet leaks can be caused by a faulty flapper, a loose connection, or a cracked toilet bowl. Identifying and fixing these common toilet problems will help stop your toilet from running and save water.

LEIVI Smart Toilet with Built-in Heated Seat, Tankless Toilet with Auto Flushing, Adjustable Seat Temp, Flush Remote Control, Elongated
Built-in Heated Toilet Seat - Specifically designed for cold weather, the built-in heater quickly warms the seat for...
As an affiliate, we earn on qualifying purchases.
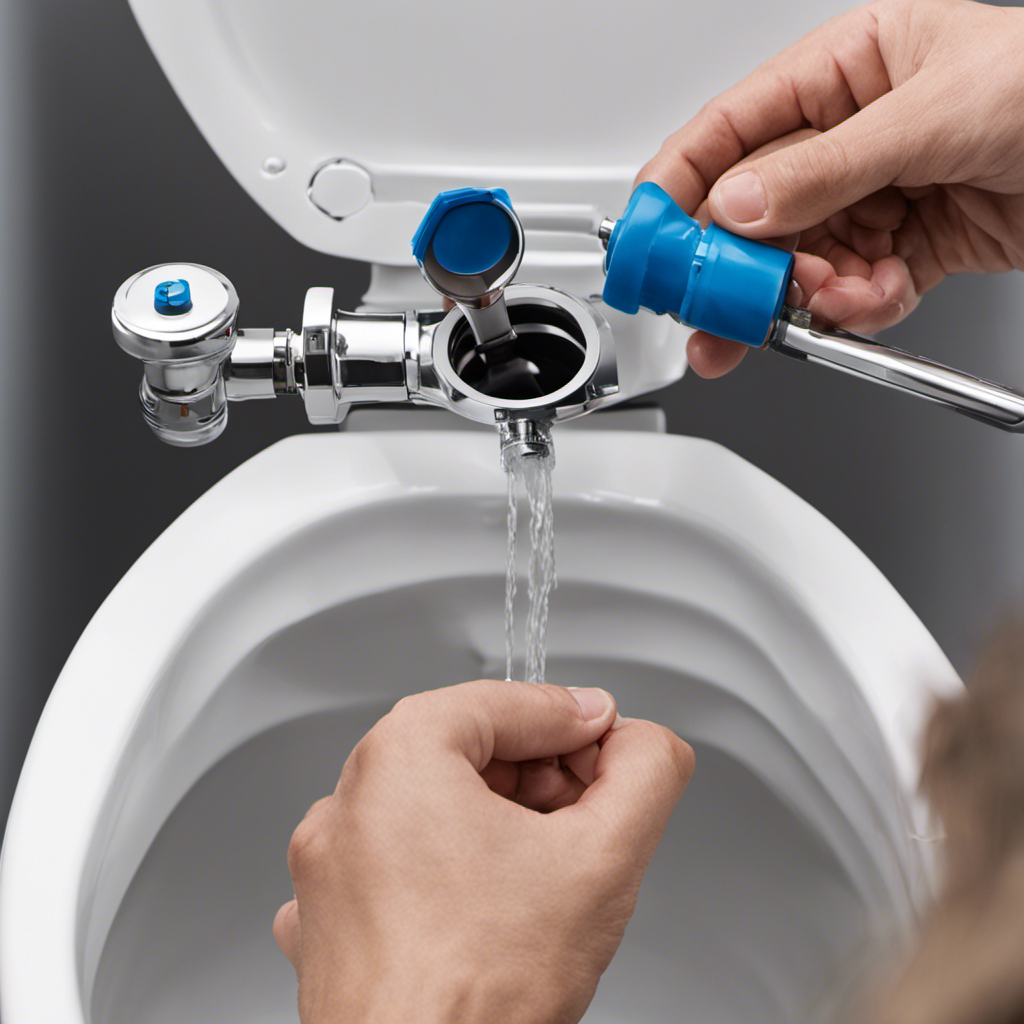
Fixing a Faulty Fill Valve
If you’re fixing a faulty fill valve, start by shutting off the water supply to the toilet. This is important to prevent any water from flowing while you work on replacing the fill valve.
Once the water supply is turned off, flush the toilet to drain any remaining water in the tank. Now, remove the lid of the tank and locate the fill valve, which is usually on the left side.
Common fill valve problems include leaks, low water level, and constant running. To replace the fill valve, first, disconnect the water supply line from the bottom of the tank. Then, unscrew the lock nut holding the fill valve in place and remove the old valve.
Install the new fill valve by following the manufacturer’s instructions. Finally, reconnect the water supply line and turn on the water.
Cleaning or Replacing the Float Ball
If you’re experiencing issues with your toilet’s float ball, it’s important to address the problem promptly to avoid further damage.
In this discussion, we will guide you through the steps of float ball maintenance and troubleshooting. By following these simple steps, you can ensure that your float ball is functioning properly and your toilet is working efficiently.
Float Ball Maintenance
First, check if the float ball is properly adjusted to prevent your toilet from continuously running. If the float ball is not functioning correctly, it may need to be replaced. Here are the steps to troubleshoot and maintain your toilet float ball:
-
Turn off the water supply to the toilet by shutting off the valve located near the base of the toilet.
-
Flush the toilet to drain the tank completely.
-
Locate the float ball assembly inside the tank. It is usually connected to the float arm and the fill valve.
-
Inspect the float ball for any cracks or damage. If it is damaged, it needs to be replaced with a new one.
Troubleshooting Toilet Float
To troubleshoot the toilet float, start by checking if the float ball is properly adjusted. A common float problem is when the ball is set too high, causing the water to continuously run. To fix this, simply bend the float arm downwards to lower the ball.
If the ball is damaged or filled with water, it may not be able to float properly. In this case, you will need to replace the float ball with a new one.
Another issue to look out for is a float that is stuck in the upright position. This can occur if the float arm is bent or obstructed. Carefully examine the arm and adjust it if necessary.
Now that you’ve addressed the float issues, let’s move on to inspecting and repairing the overflow tube.
Inspecting and Repairing the Overflow Tube
One common issue with a running toilet can be a faulty overflow tube that needs inspection and repair. To fix this problem, follow these steps:
-
Turn off the water supply: Locate the shut-off valve behind the toilet and turn it clockwise to stop the water flow.
-
Remove the tank lid: Lift the lid off the tank and set it aside.
-
Inspect the overflow tube: Look for any cracks, leaks, or blockages in the tube. If you notice any damage, it needs to be replaced.
-
Replace the overflow tube: Disconnect the tube from the fill valve and remove it from the tank. Install a new overflow tube and reconnect it to the fill valve.
Troubleshooting Persistent Running Issues
If your toilet continues to run despite previous attempts to fix it, there may be other underlying issues that require troubleshooting. Here are some common problems and steps on how to stop a running toilet:
-
Check the flapper: Ensure that the flapper is properly seated on the flush valve. If it’s worn or damaged, replace it.
-
Adjust the chain: If the chain connecting the flapper and the flush handle is too long or too short, it can prevent the flapper from closing properly. Adjust the chain length accordingly.
-
Inspect the fill valve: The fill valve controls the water level in the tank. Make sure it is functioning correctly and not stuck in the open position. If necessary, clean or replace the fill valve.
-
Look for leaks: Check for any leaks around the base of the toilet or in the water supply line. Fixing these leaks can help prevent the constant running.
Conclusion
So there you have it, you toilet troubleshooter extraordinaire! Armed with the knowledge and know-how to fix a running toilet, you can now take on any plumbing challenge that comes your way.
Remember, just like a conductor leading a symphony, you have the power to silence the never-ending symphony of water flowing. With a few adjustments here and there, you can bring harmony back to your bathroom oasis.
So go forth, fearless fixer, and conquer that running toilet once and for all!